Maggiolina Adventure Roof Top Tent Mods
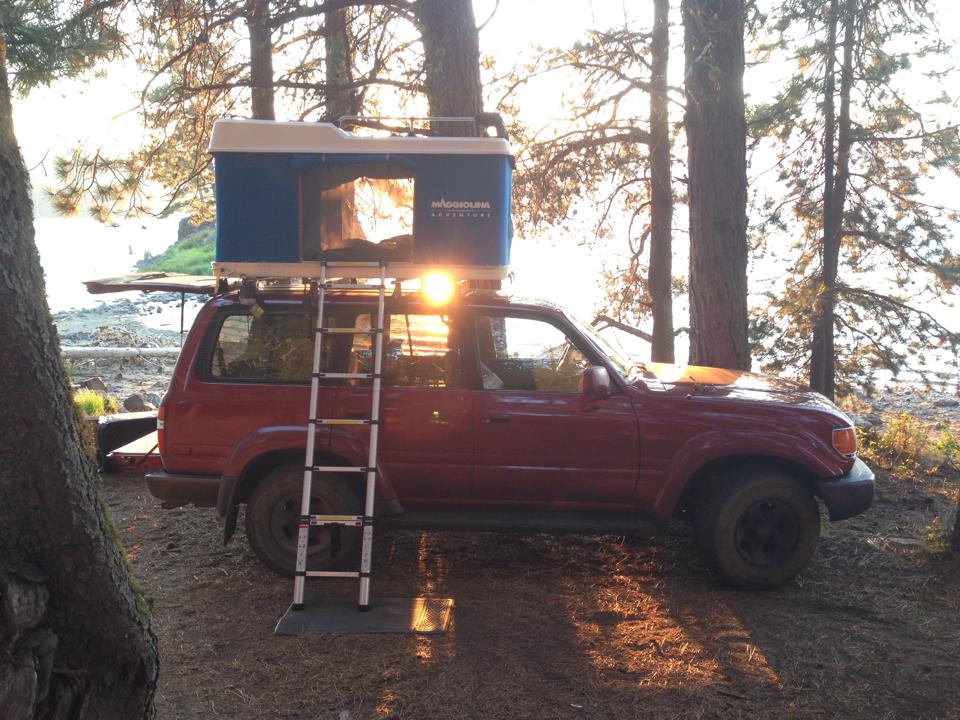
The modifications I made are to our classic Maggiolina roof top tent adventure model, which is no longer made and sold in the United States. We have had our Maggiolina for over five years now and used it on top of our Toyota Land Cruiser and our Audi Avant.
I finally found the autohome specs for the Maggiolina Adventure RTT.
- Art. M/03 – Maggiolina Adventure Small
Art. M/04 – Maggiolina Adventure Large
SMALL Maggiolina Adventure dimensions
Mod. 130 x 200 (51.2 in X 79 in)
Closed h: cm 30 (12 in)
Open h: cm 92 (36 in)
Weight: about 57 kg (125 lbs)
Large Maggiolina Adventure Dimensions
Mod. 160 x 215 (63 in x 85 in)
Closed h: cm 30 (12 in)
Open h: cm 92 (36 in)
Weight: about 73 kg (160 lbs)
The decision and processes of buying a 2nd hand RTT
It was a hard decision to spend the money on a hard shell RTT but in the end it has been worth it and I wouldn’t hesitate to do it again. I chose a hard shell tent that cranks open because;
- It is easier to set up and take down by one person than a soft shell RTT.
- I couldn’t find any negative reviews from owners or previous owners on any of the Ih8Mud or overland expedition forums on the clam shell tents.
- The hard shell would protect the canvas and interior from rain and debris when driving.
- The owners I have met of the pop up clam shell tents have all shared the same complaint with me. They would never buy the pop up again because its difficult when putting the tent back together vs the crank style which allows you to stop and do a complete walk around and tuck in all the last minute straps and fabric before completely closing the clam shell.
I encourage anyone who doesn’t like spending a lot of time setting up camp to choose the hard shell RTT over the soft bag style. I have an older model that isn’t manufactured anymore but I am so thankful I bought it especially the crank style. Having that extra time to stop and make sure all of the fabric and straps are tucked in is so helpful when putting the tent away.
- One thing to note is that the tent consumes all of our roof storage space and we are still running stock front and rear bumpers which eliminates other viable storage areas. Therefore I remembered I could still store items ontop of the Maggiolina and added additional cross bars for mounting our Maxtrax (see below for modification).
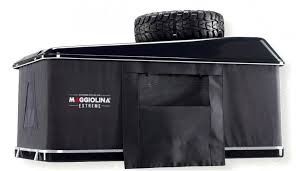
TIP: Buy a rooftop tent hard shell with an integrated roof rack such as the Maggiolina Extreme. This will allow you to store extra items such as Maxtrax, water, bikes, paddle boards, roof luggage carriers and so much more.
July 2024 update: Maggiolina is redesigning their tents and it looks like they will only offer the Extreme version in a black shell 💔.
Finding a used RTT
I looked for over a year and I would do searches weekly on “all of craigslist”, Overland Expedition portal, and IH8MUD until finally I found one for sale on craigslist and I lucked out because it was in my home state, crank style, it was the adventure model (extreme edition) that has roof bars on top of the clam shell and the sellers were traveling to our city and offered to Deliver it to us. So I jumped on the opportunity to buy it and have it delivered!!!
Modifications
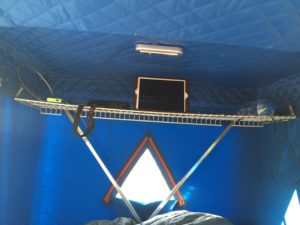
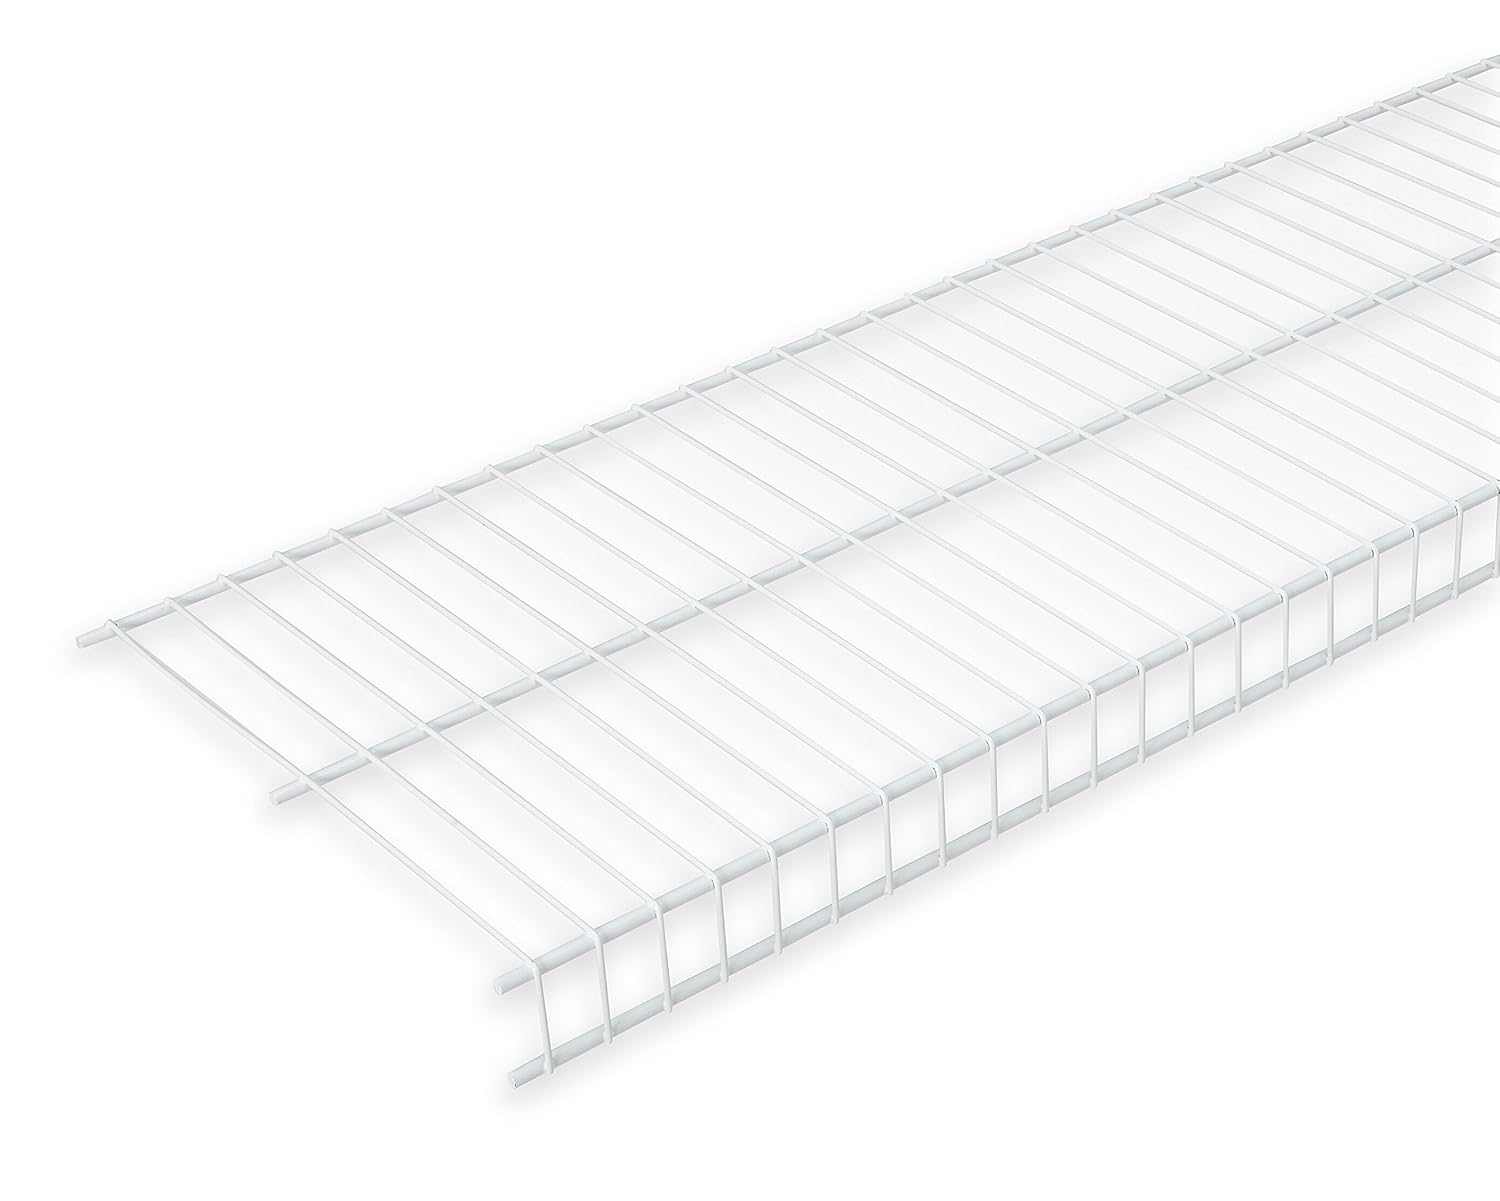
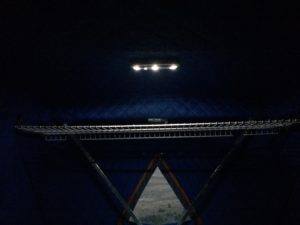
Interior Shelf
The first mod I made was to add an interior shelf
Supplies
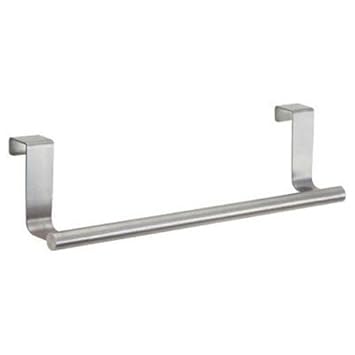
(2) Two cabinet towel hangers (I purchased them at Fred Myers)
(1) One wire shelf (I had an extra one left over from our laundry room renovation, I also found a lot of used ones at habitat for humanity when I did my green house shelving build).
Process
1. The towel holders slipped inside of the fabric roof rivets on opposing sides of the interior of the tent.
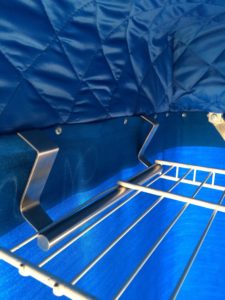
2. I measured the distance between the towel holders and cut the shelf down to size (46″ wide”).
3. File down the metal ends before dry fitting into place.
4. Use plasti-dip to cover the cut metal to reduce tears in your interior fabric, sleeping blankets/bags, and sheets.
Ladder/Ceiling hoist
The next mod I made was to upgrade the ladder. The original that Came with the tent was very cumbersome and took up a lot of precious cargo space So now it lives in my shed being used to access the upper shed roof storage.

I was able to go into our local Off Road 4×4 shop and buy a telescopic ladder, Cascadia Telescopic ladder. Then I called up Auto Home to order the ceiling lift, which I found cheaper for you here… (Harken 4 point ceiling lift $140.00). You can buy the ceiling lift from Autohomes web site for $170.00 but they don’t sell the ladder.
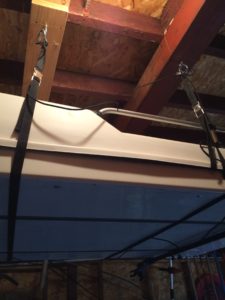
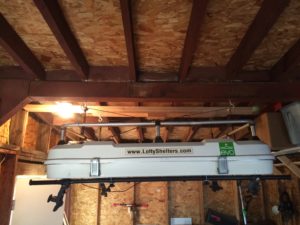
WARNING!! We didn’t realize that we wouldn’t be able to pull the Land Cruiser into the garage with the roof top tent for mounting and dismounting in a standard 8ft high garage door opening (such as our old house). This was important to me as I didn’t want to leave the RTT on top of the Land Cruiser all summer. So this leaves us open for further DIY solutions to come. Current Solution was that when we moved we bought a house with a large enough garage door opening so that we could pull the SUV with the tent on top inside for mounting and dismounting I understand that we will be facing the 8ft high garage door issue again in the future as long as we keep the RTT.
On my wish lists of future projects I could see something like this picture being done.

Lights
The Maggiolina Adventure comes with a light that is 12v powered and attached to the header of the tent right above where I place our interior shelf. We often didn’t use this light due to its poor location and need to be plugged into a power source.
I searched many forums and finally found the solution which is a battery powered Touch operated LED light, OxyLED Closet Lights,Touch Light,4 LED Touch Tap Light,Stick-on Anywhere Push Light,Cordless Touch Sensor LED Night Light,Stair Lights, Light Panel Can Be Rotated 140°(1 Pack,White,Battery Operated).
I called up Auto Home dealer and ordered the light through them.
- Cons: The light mounts by either a magnet (which requires cutting into the fabric liner), or a mediocre Velcro. So this had to be upgraded with 3M Velcro that we had left over from an earlier project.
- Pros: I love the access of the light and the touch on/off capability, The battery power is great vs having to have it run off our battery.
Wind Fairing
Please see my wind fairing write up!
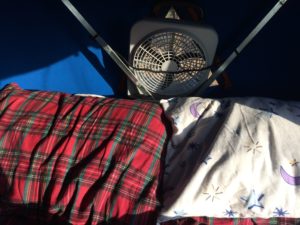
Camping Fan Road Pro VS 02COOL off the shelf
RoadPro RP8000 10″ Indoor/Outdoor Dual Power Fan
I bought the Road Pro RP8000 10″ fan on Amazon over the 02 cool fan because the 02 cool fan comes packaged with a DC power cord and not the 12V port. O2 cool fans charge extra to buy the 12v cord plus S&H.
**I don’t use the batteries and store the 12v port in the battery compartment when not in use.**
I used Home Depot large twist ties to hold the fan in place on the lift bars.

We took this camping for the first time to Zion national park (1st week of September 2017) and used it every night flawlessly in 98+ temps. I ended up with a different twist tie set up by the final night of camping. The fan never fell on us and I kept it at our head because the air was best felt there.
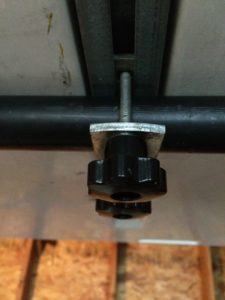
Tool Free Mounting
I wanted to find a way to make mounting and dismounting the RTT faster and streamlined where tools wouldn’t be falling on the roof of the Land Cruiser. So I ordered these tool less star head knob grips on Amazon.
10 Pcs 32mm Dia M6 Thread Screw On Type Star Head Clamping Knob Grip
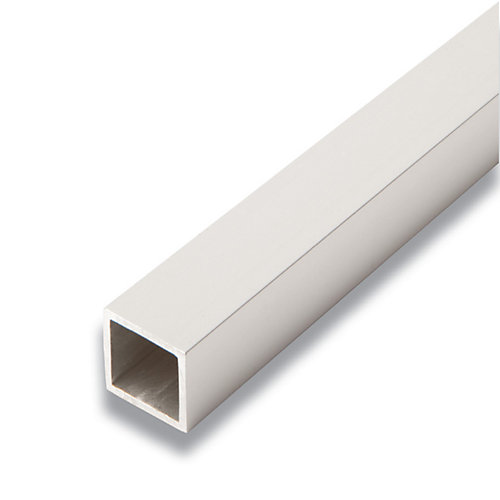
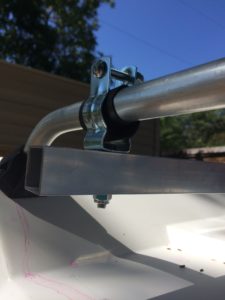
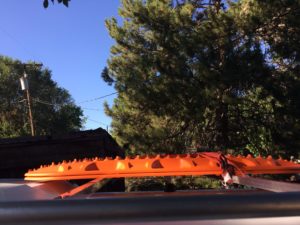
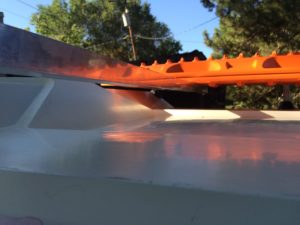
Adding cargo cross bars to mount Maxtrax
With limited roof cargo space I turned to the cargo bars on top of the Maggiolina as a solution for mounting our 16lb Maxtrax.
Supplies
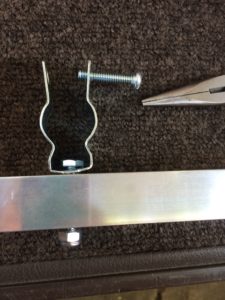
- (2) 1″ aluminum square 4ft cross bars $20 each
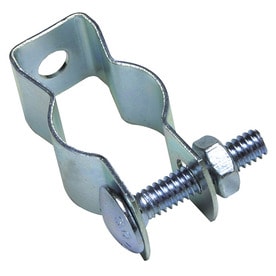
- (4) 3/4″ galvanized conduit hanger $0.68 each
- (4) 1/4″x 1 1/5″ bolts and lock nuts
- scrap rubber from an old tire tube
Process
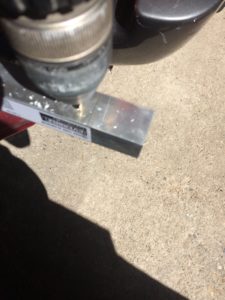
I measured 1.5″ in on both sides of the square cross bars and used a titanium drill bit to drill the holes straight through both sides.
Attach the bolt through the bottom of the conduit hanger and then attach it through the square cross bar and add lock nut.
Attach rubber around the Maggiolina cross bars before attaching the conduit hanger and bolting it down.
For now we are going to have to use tie downs until I come up with a different system.
I did eventually find a different mounting system using Yakima recovery track Mounts.
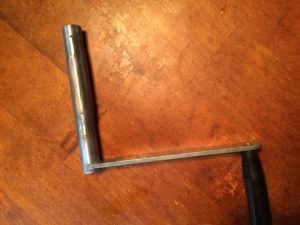
Extending The Shaft of the Tent Crank
So we installed the Eezi-Awn k9 roof rack and our Maggiolina RTT only to find that our original tent crank would no longer freely turn without hitting the newly installed roof rack.
I called up Andrew at Autohome and he informed me that they no longer offer the extended crank adapter but he would see if they might have an old one laying around. So I called him back and he found one but it would cost $85+shipping.
Solution
Instead he suggested I go get some 3/4″ EMT conduit and stop by an auto shop and have someone weld it together for me. I took his suggestion (minus buying the EMT) and for $40 I have myself an extended tent crank. I contacted a local welder and he cut the crank in half and then added a middle extension portion and welded it all back together!! 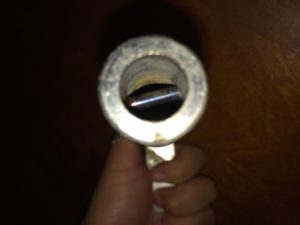
I have also added new chrome trim to my RTT, redone the interior neoprene sealing gasket, and replaced and improved the screen doors. Look for my recent posts!