Maggiolina Adventure Wind Fairing
Update 9/2021- Through trial and error over time and use I added two more support bars and gave it finishing touches with Cordura covers for the foam. I can’t stress how important the roam covers are for protecting the rooftop tent.
I realized after taking long road trips with the RTT that #1 it was hard to drive in heavy head winds, #2 Long term I want to build a pull out solar panel shelf under the RTT and use the cargo space on top of the RTT without sustaining rock damage, and finally #3 we were collecting a lot of dead bugs. So began my DIY RTT wind fairing. The research and development of this was difficult and tedious and has undergone re vamping a few times.
The final version has 5 supporting L brackets!
Tools
- Jig Saw
- Clamps
- Drill
- soft metal bender
Supplies
- Large enough cardboard
- old bicycle inner tube
- Auto Edge Trim (Local Auto Parts store)
- Lexan clear 50in x 20in x 1/8in ($30 from local plastics manufacturer)
-
3M Clear Paint Protection Vinyl Film (Found on Amazon)
-
-
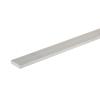
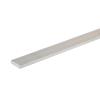
Everbilt 1/2 in. x 36 in. Aluminum Flat Bar (5) pieces
-
-
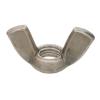
Everbilt 1/4 in.-20 Coarse Zinc Plated Steel Wing Nuts
- Rustoleum painters touch 2x 120z basic black
- 1/4″ split lock washers
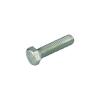
- Everbilt 1/4″ x 1″ x 1-13/16″ zinc plated steel U-bolt (3) three.
Process
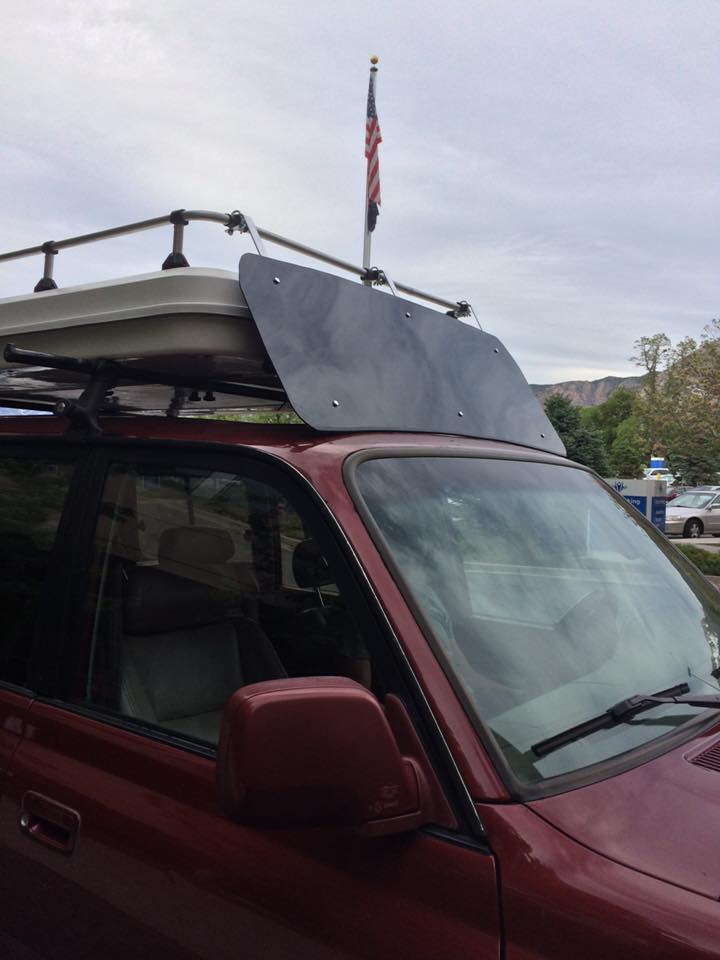
- I took the rear wind deflector off of the land cruiser and used it as a stencil to make my much larger front wind fairing card board cut out.
- I dry fit my cardboard cut out on top of the SUV with the RTT in place.
- I discovered that the best material to use for a wind fairing is Lexan plastics 1/8in thick. So I called a local plastics manufacturer and ordered the giant size i needed (20″x 50″ x 1/8″ ) in clear for $30.00 (SIGNIFICANTLY more AFFORDABLE than home depot or lowes).
***DIY soft metal bender***
At this point I followed the above tutorial to make my DIY soft metal bender.
4. I took my measurements from the top of the cargo bars on my RTT and placed my aluminum flat bars into my metal bender and bent my three bars that would attach to the RTT cargo bars.
5. I then used the metal bender to bend three additional bars in an “L” shape to provide structural support behind the attachment bars of the wind fairing.
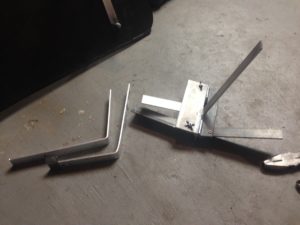
6. Holes were drilled into the “L” supporting bars and attached with either bolts or zip ties.
7. I attached the bent aluminum flat bars to the RTT cargo bars by wrapping old bicycle inner tube around the bar and then using the 1/4″ U bolt and butterfly nuts.
8. I used the cardboard cut out to attach to my aluminum straps and after centering it i marked the lines for where the straps would attach to the fairing.
9. Once the cardboard was taken down three attachment holes were centered on the cardboard and I poked holes through it.
10. Using A jig saw and my cardboard template I clamped the cardboard to the Lexan and began cutting.
11. Using whatever sandpaper I had I sanded down the rough edges
12. dry fit the Lexan to the aluminum flat bars and attached the mounting screws and nuts
13. Use the rustoleum spray paint to paint the BACK of the Lexan. This will allow the front to be washable without ruining your paint.
14. Attached the auto door molding to the bottom of the Lexan (I made the mistake of trying to dry fit it but what I didn’t realize was that the inside of the molding is already primed with adhesive)
15. ATTACH THE 3M anti scratch ahesive to the top of your vehicle where the fairing will be. This is to prevent any possability of scratching through your auto paint and primer.
From this view you can see that we still have quick access to the buckles through the sunroof.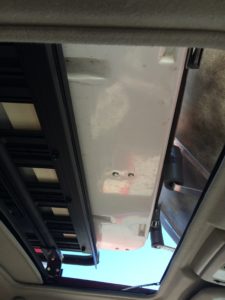
u
can see 
Finishing touches of adding cordura foam covers!
