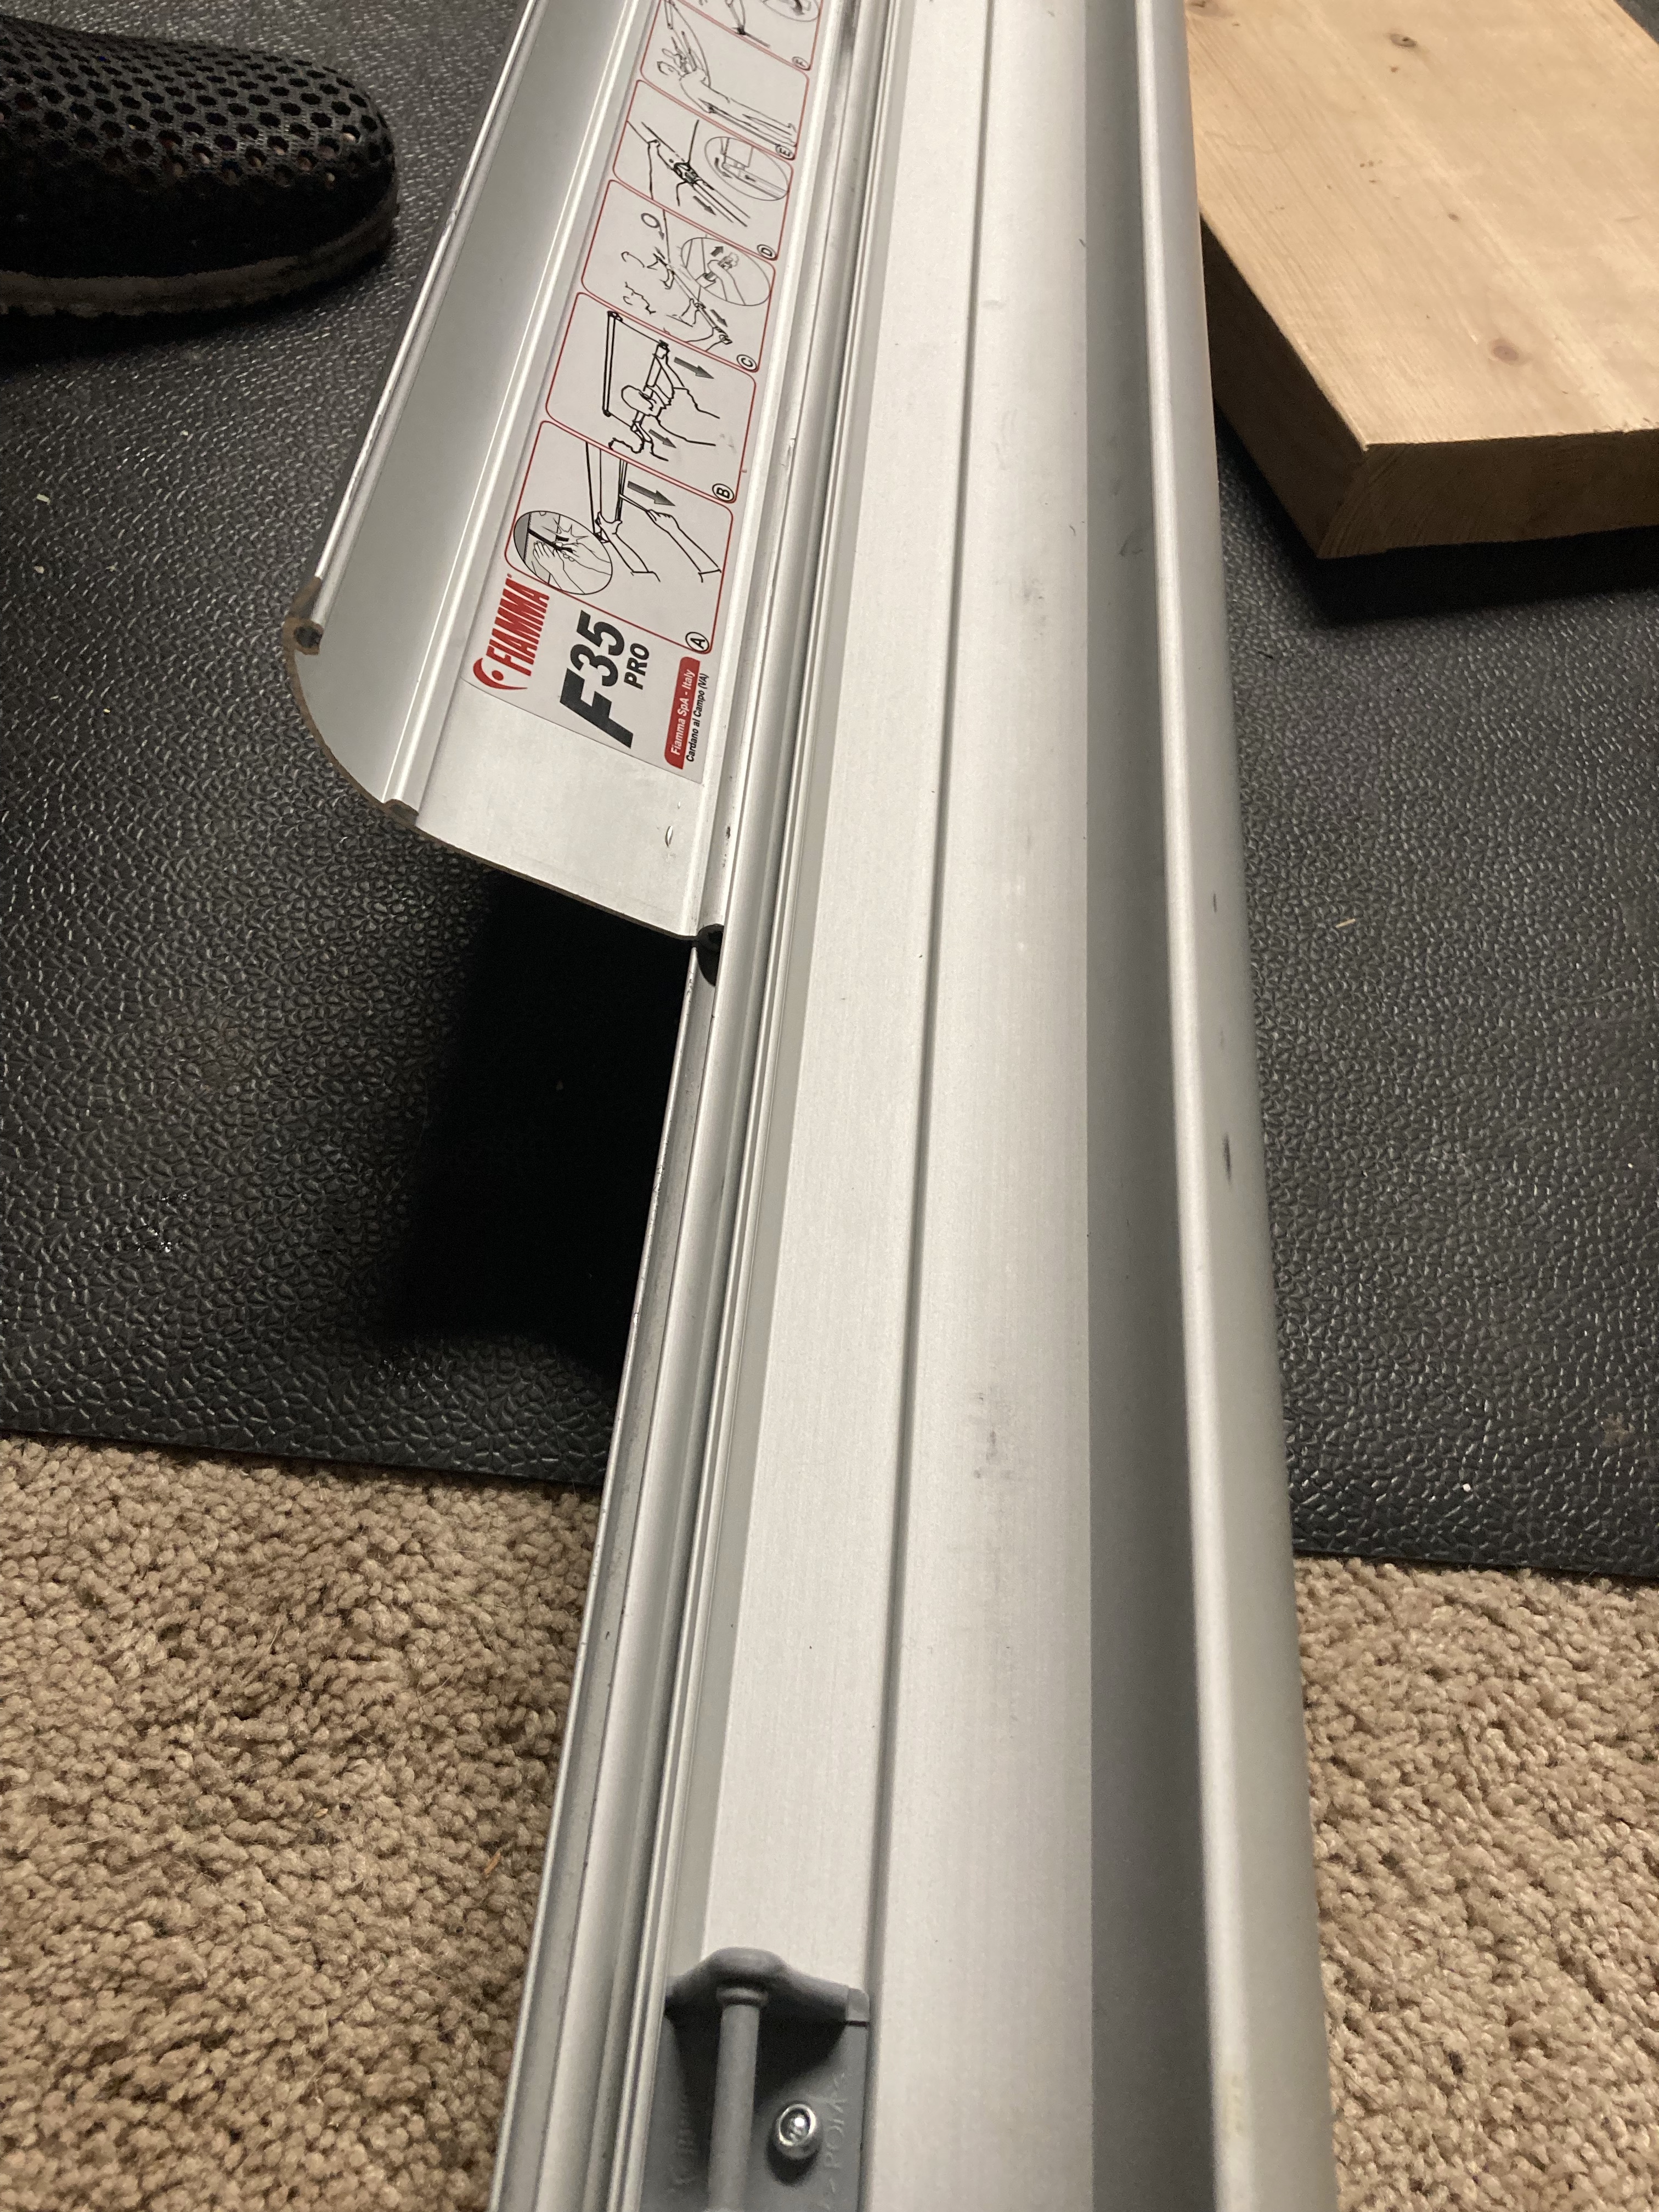
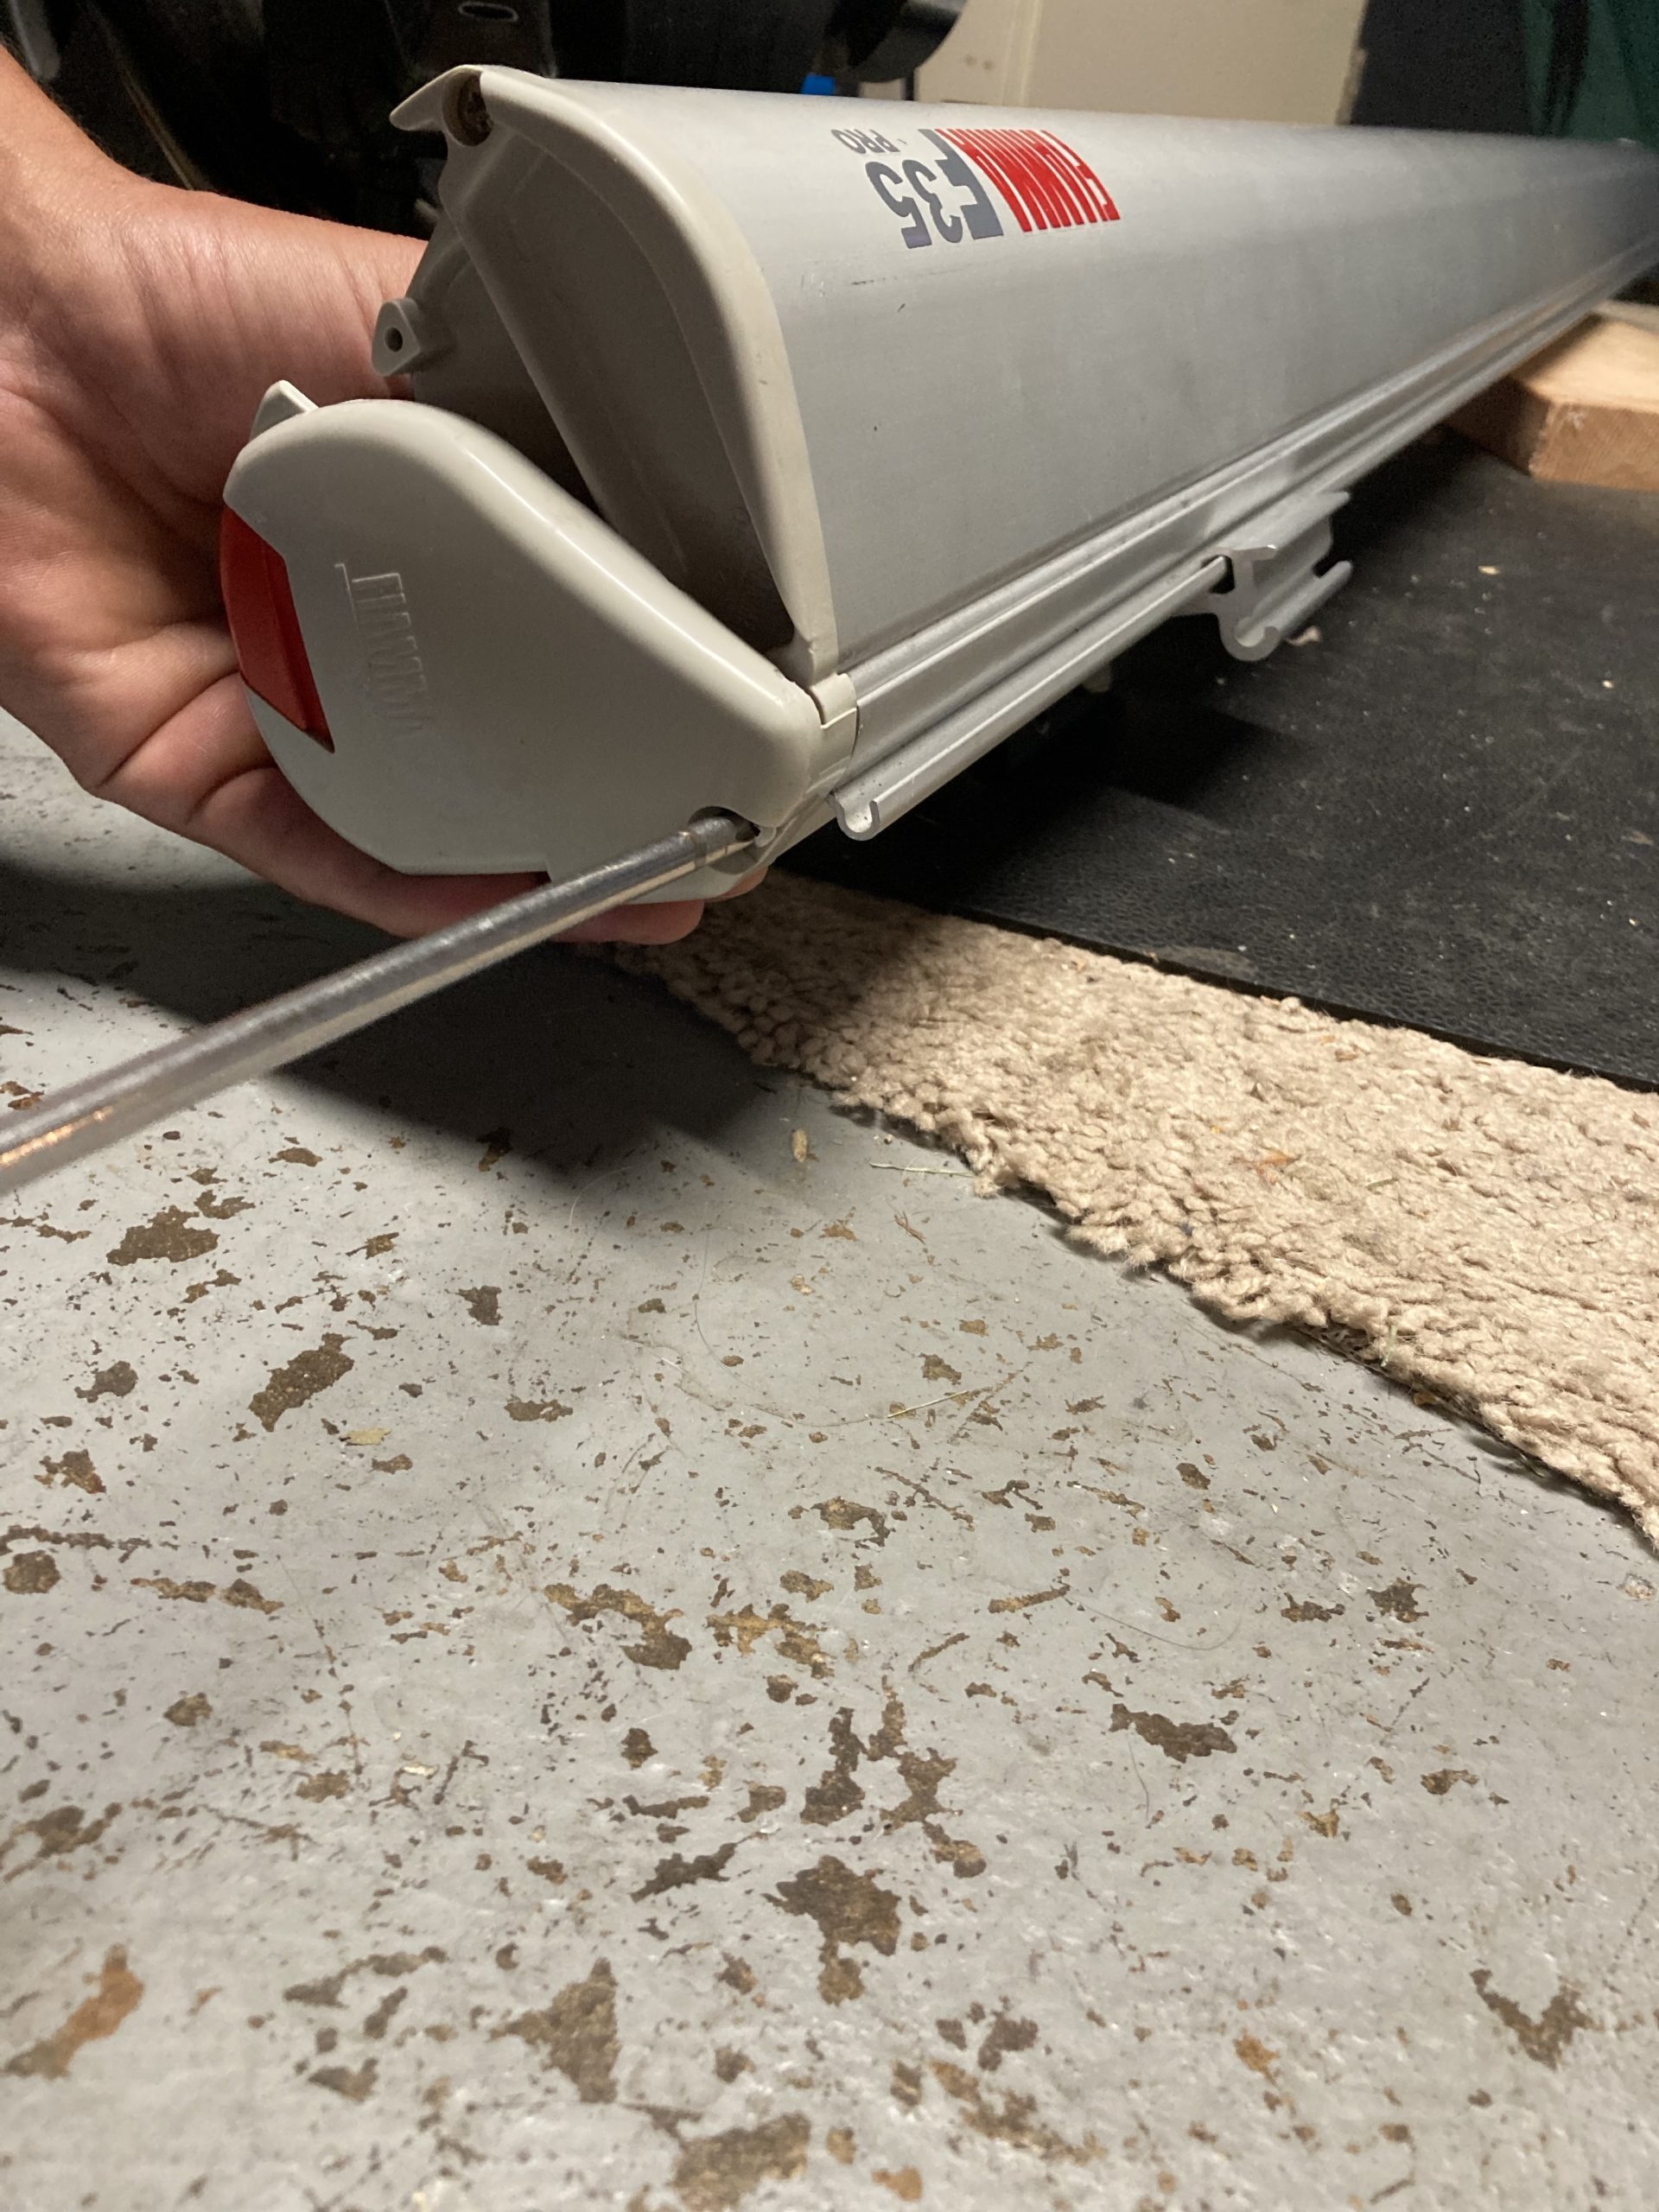
Fiamma F35 Pro
Wind Damage
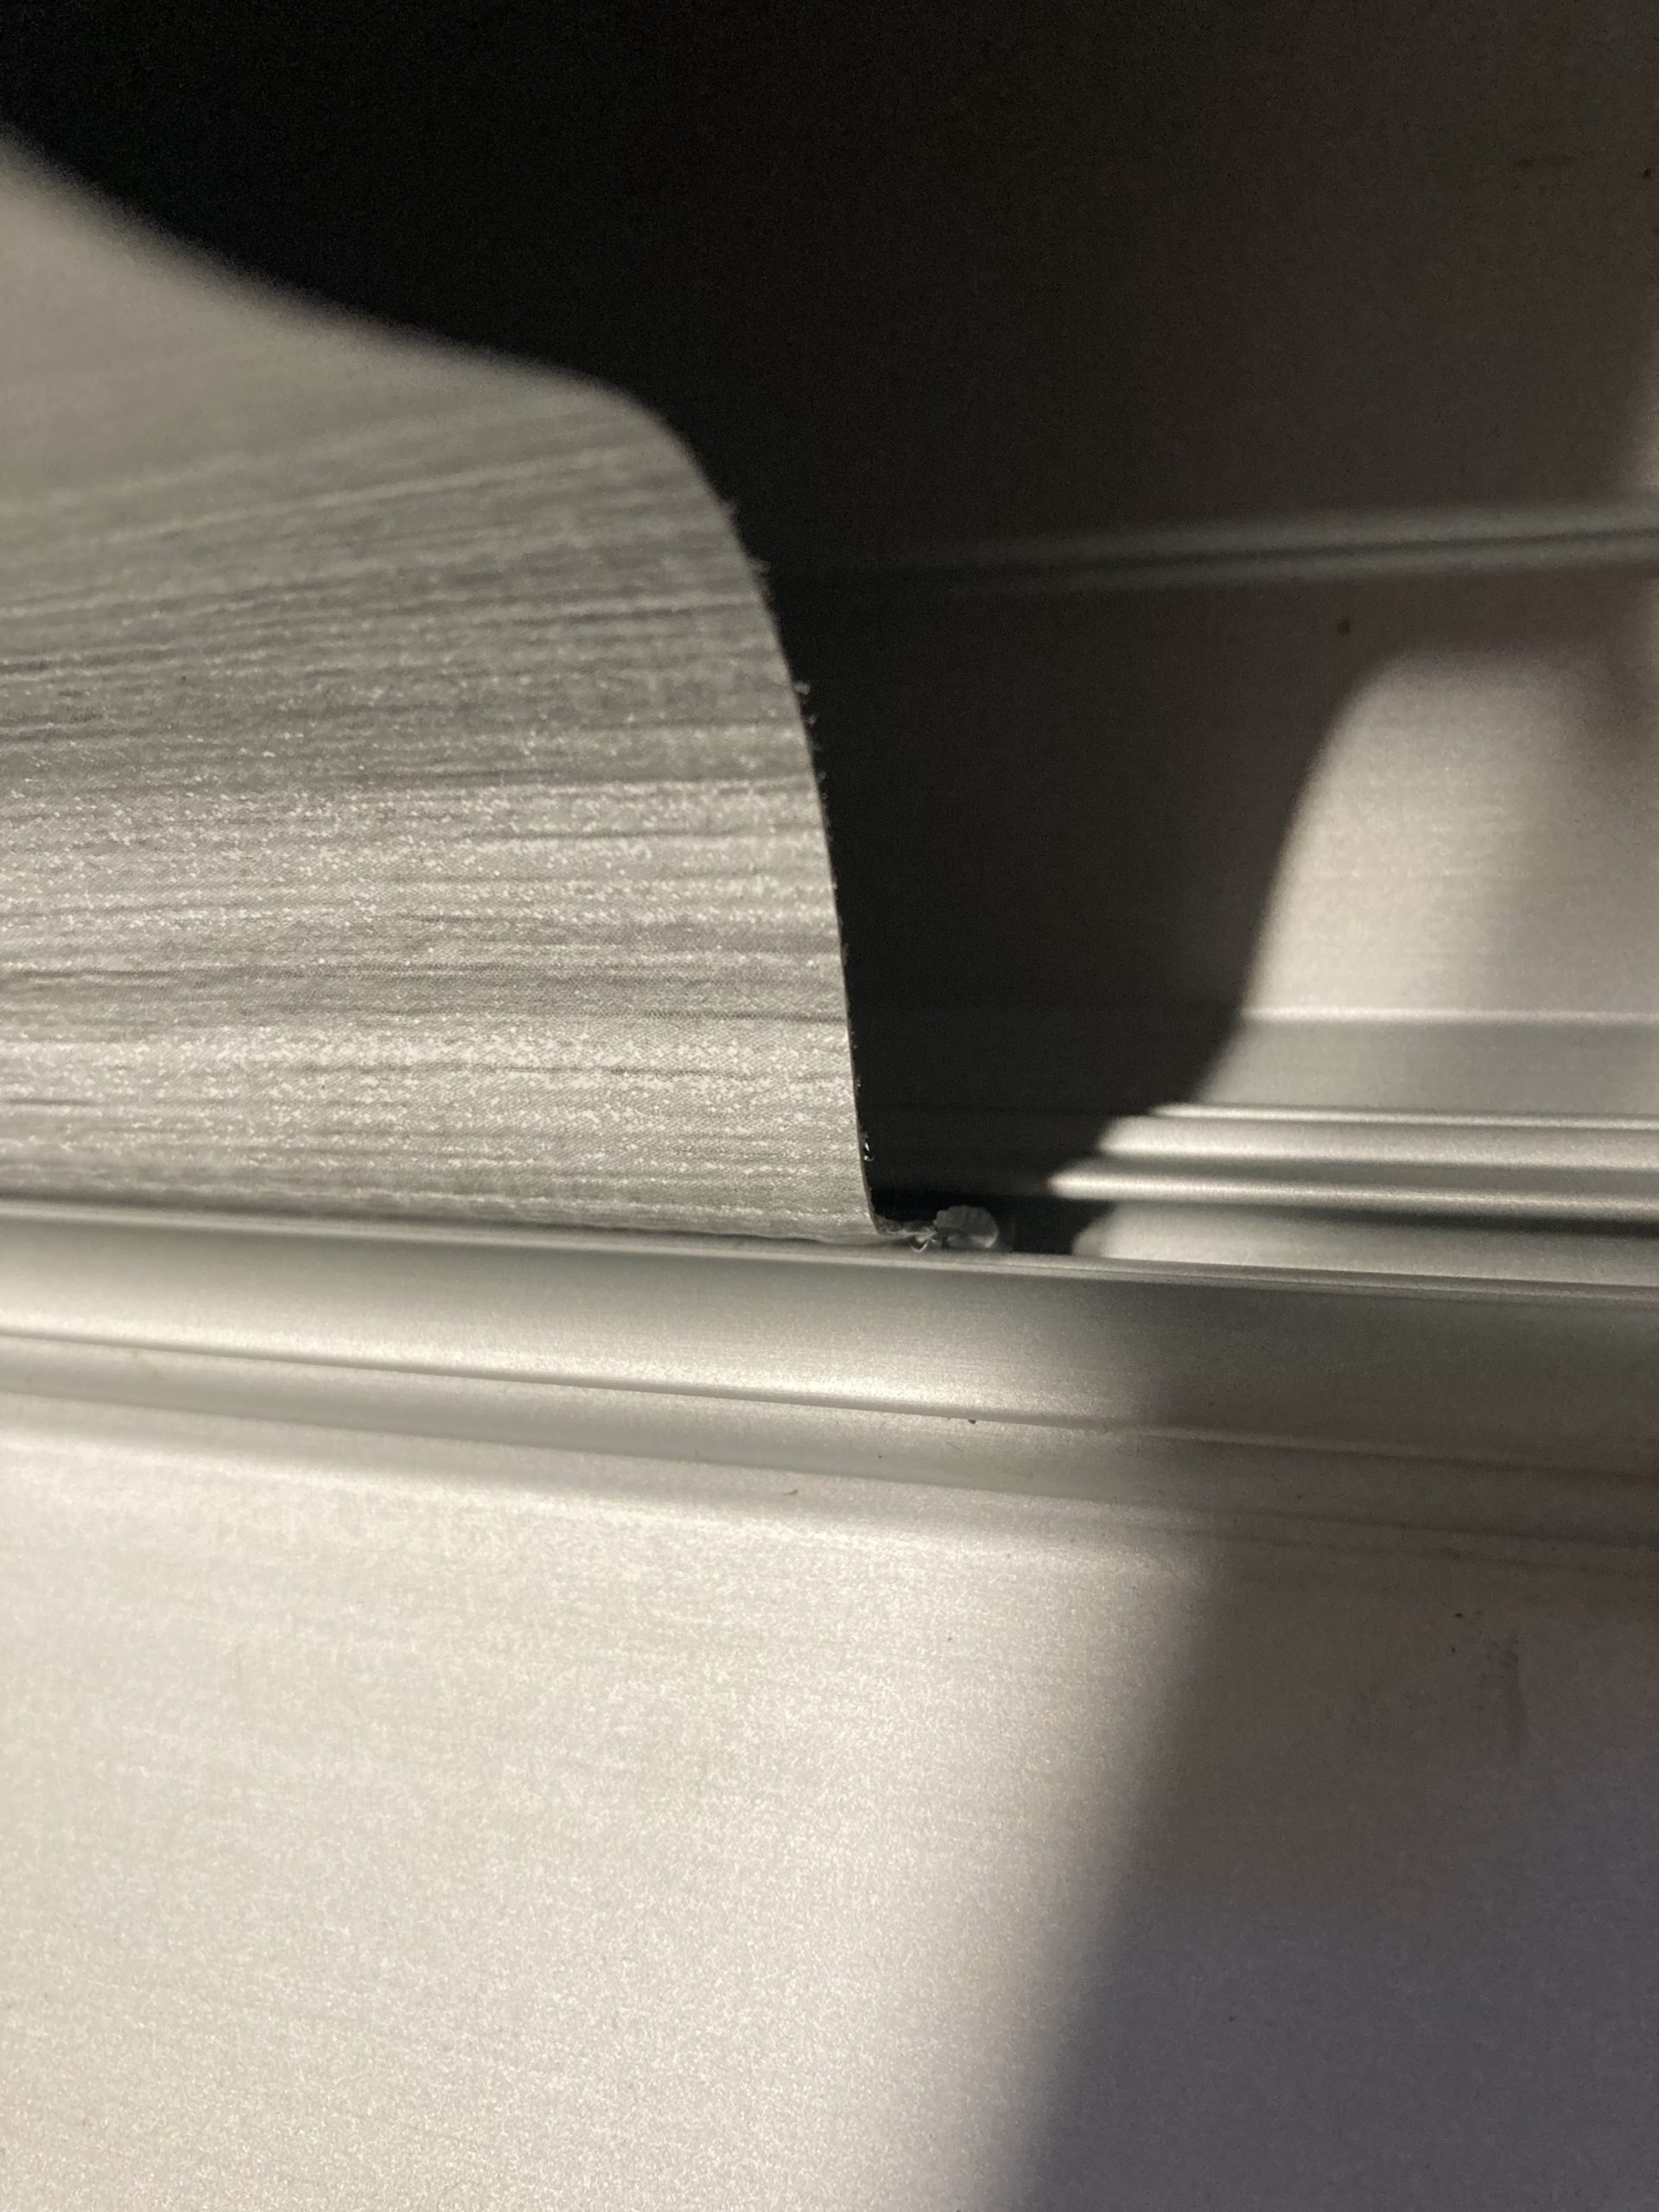
So on this last camping trip Eric set up the awning and left it out without any tie downs or anchors and then he left camp with a friend, even after me telling him tie it down first. A few minutes later a breeze picked up and flipped the awning backwards onto the roof of the SUV. The extension arms (180-03697-05) were badly damaged and the lid was pulled out of its C channel in two places. Thankfully nothing else was broken that couldn’t be repaired. The lid wouldn’t close so we had to remove the awning and throw it inside the SUV for the drive home.
There aren’t any Fiamma dealers or repair shops near me so I had to fix it myself. Here are some pictures to help anyone else to understand how to disassemble the awning.
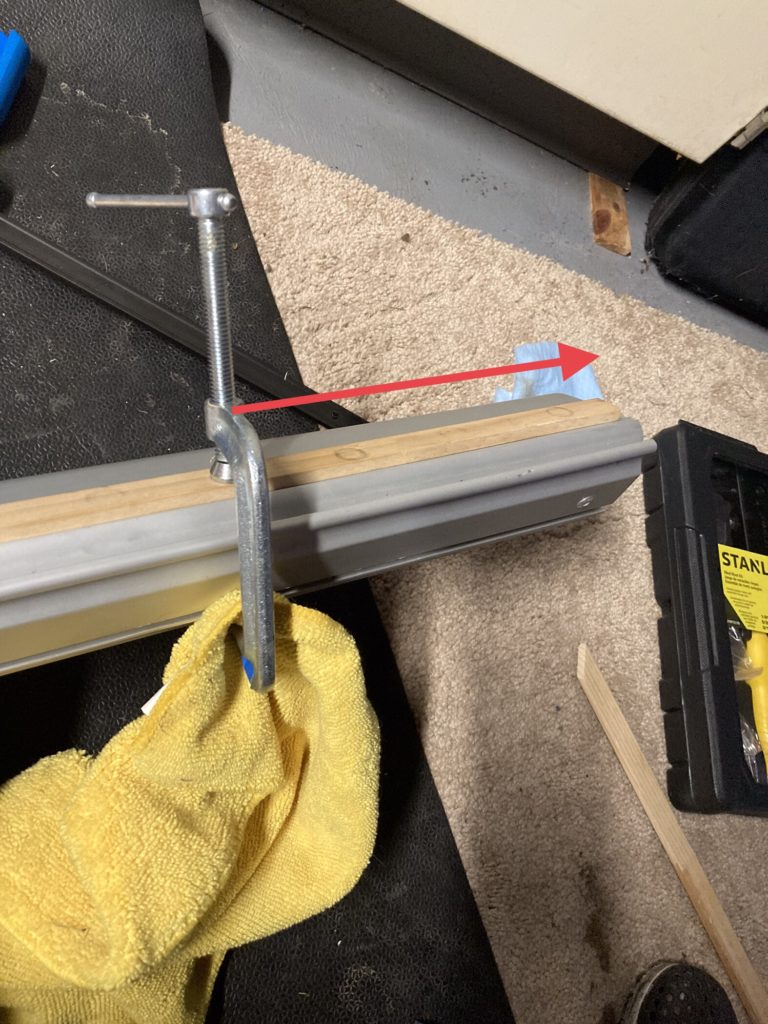
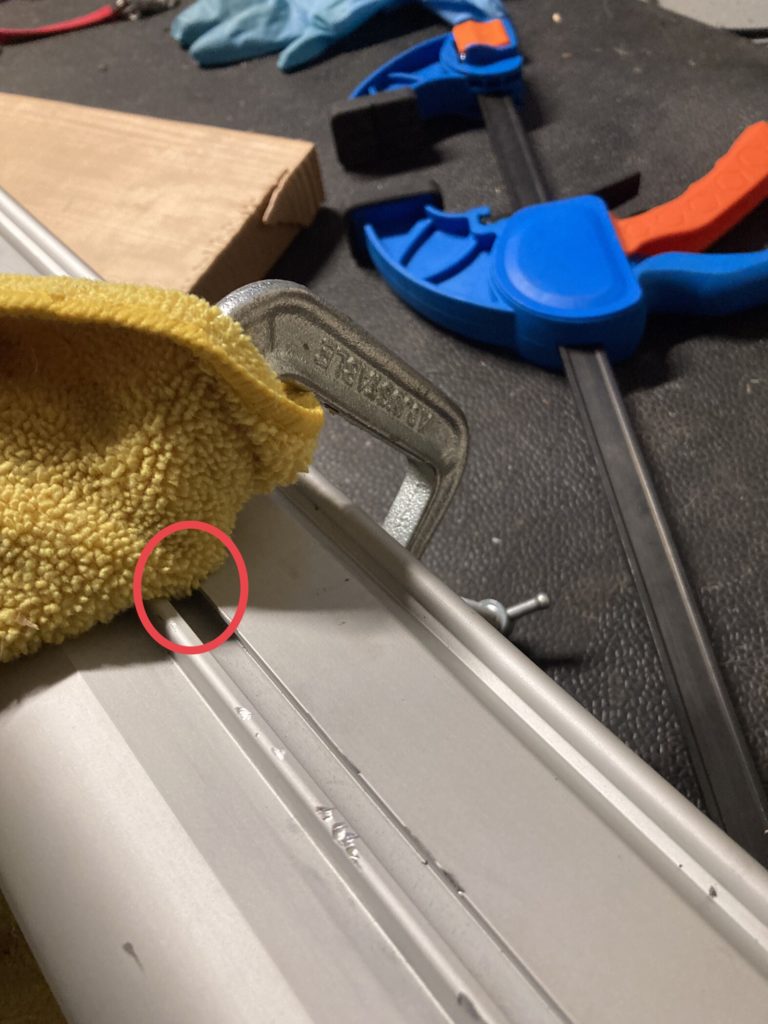
To fix this I used 2.5” clamps, a piece of scrap trim wood and a towel to evenly apply compression to press the lid back into the bottom case C channel. I can’t stress enough how important it is to have the correct C clamps. I tried using a few others that we have but none of them worked except the one pictured below.
Disassembly
Supplies
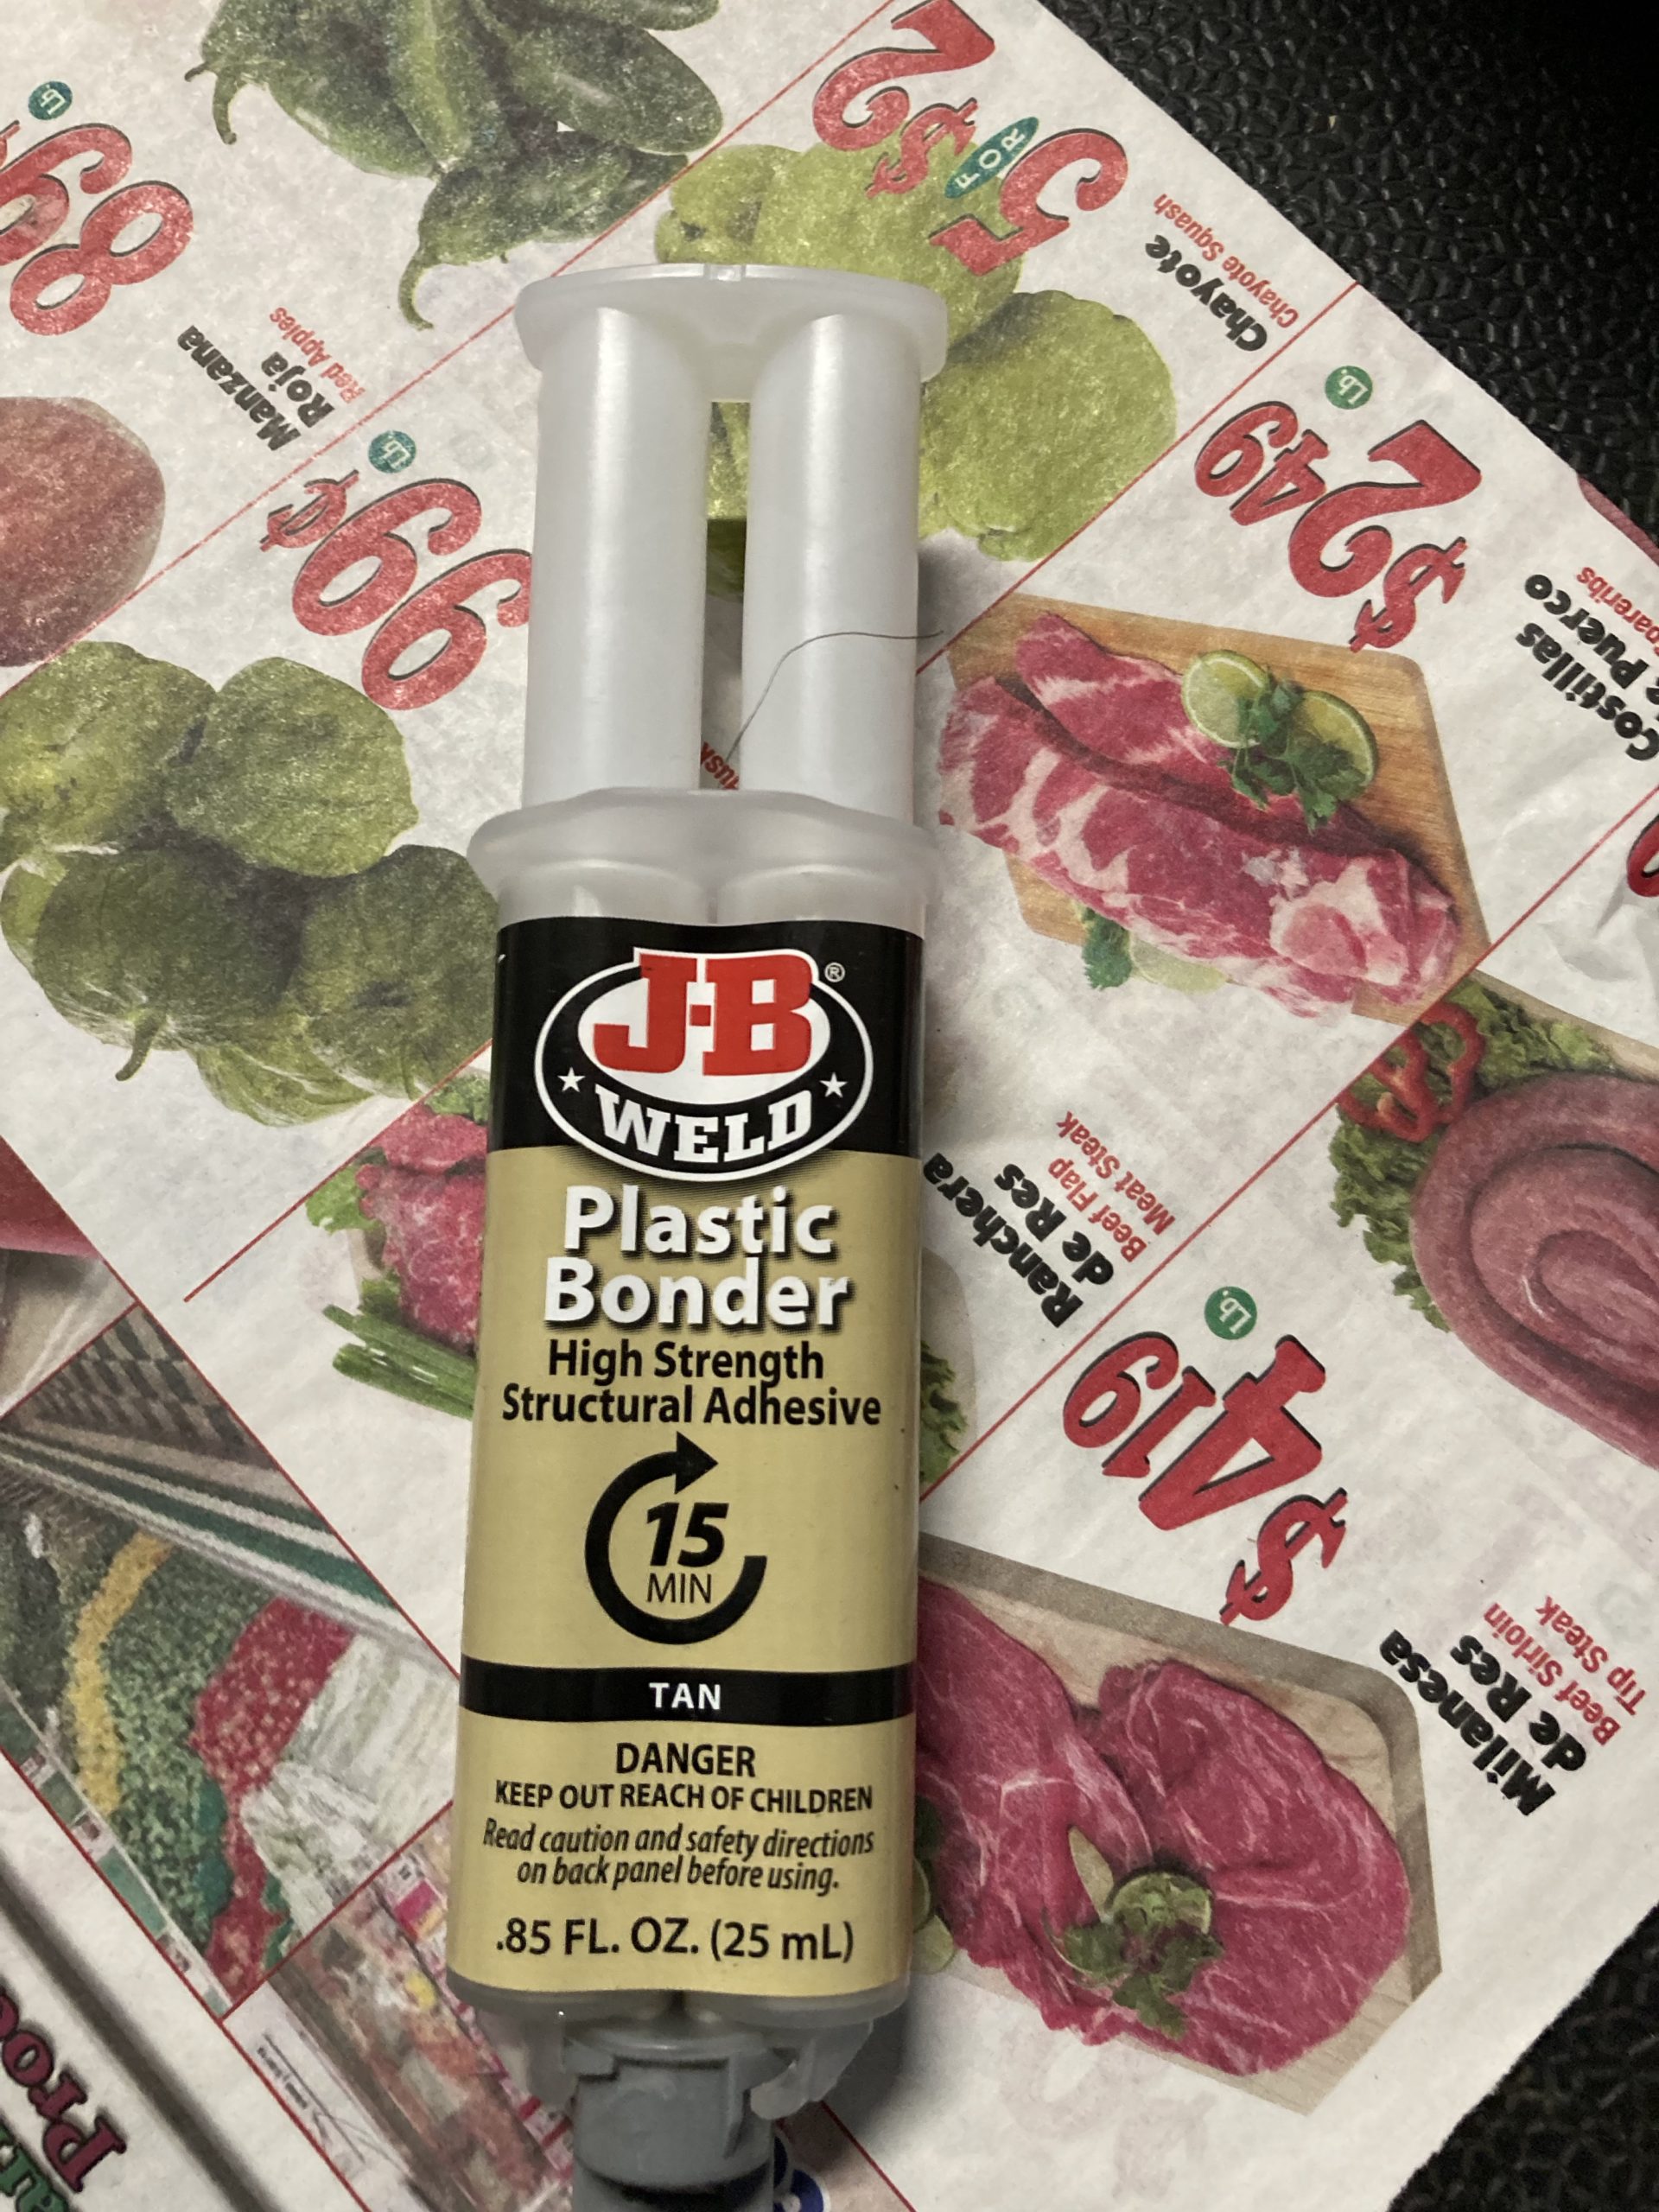
- Jb Weld Plastic Bonder
- C clamps
- Rivet Gun
- Phillips screw driver
- Shop rag
- Drill + bit
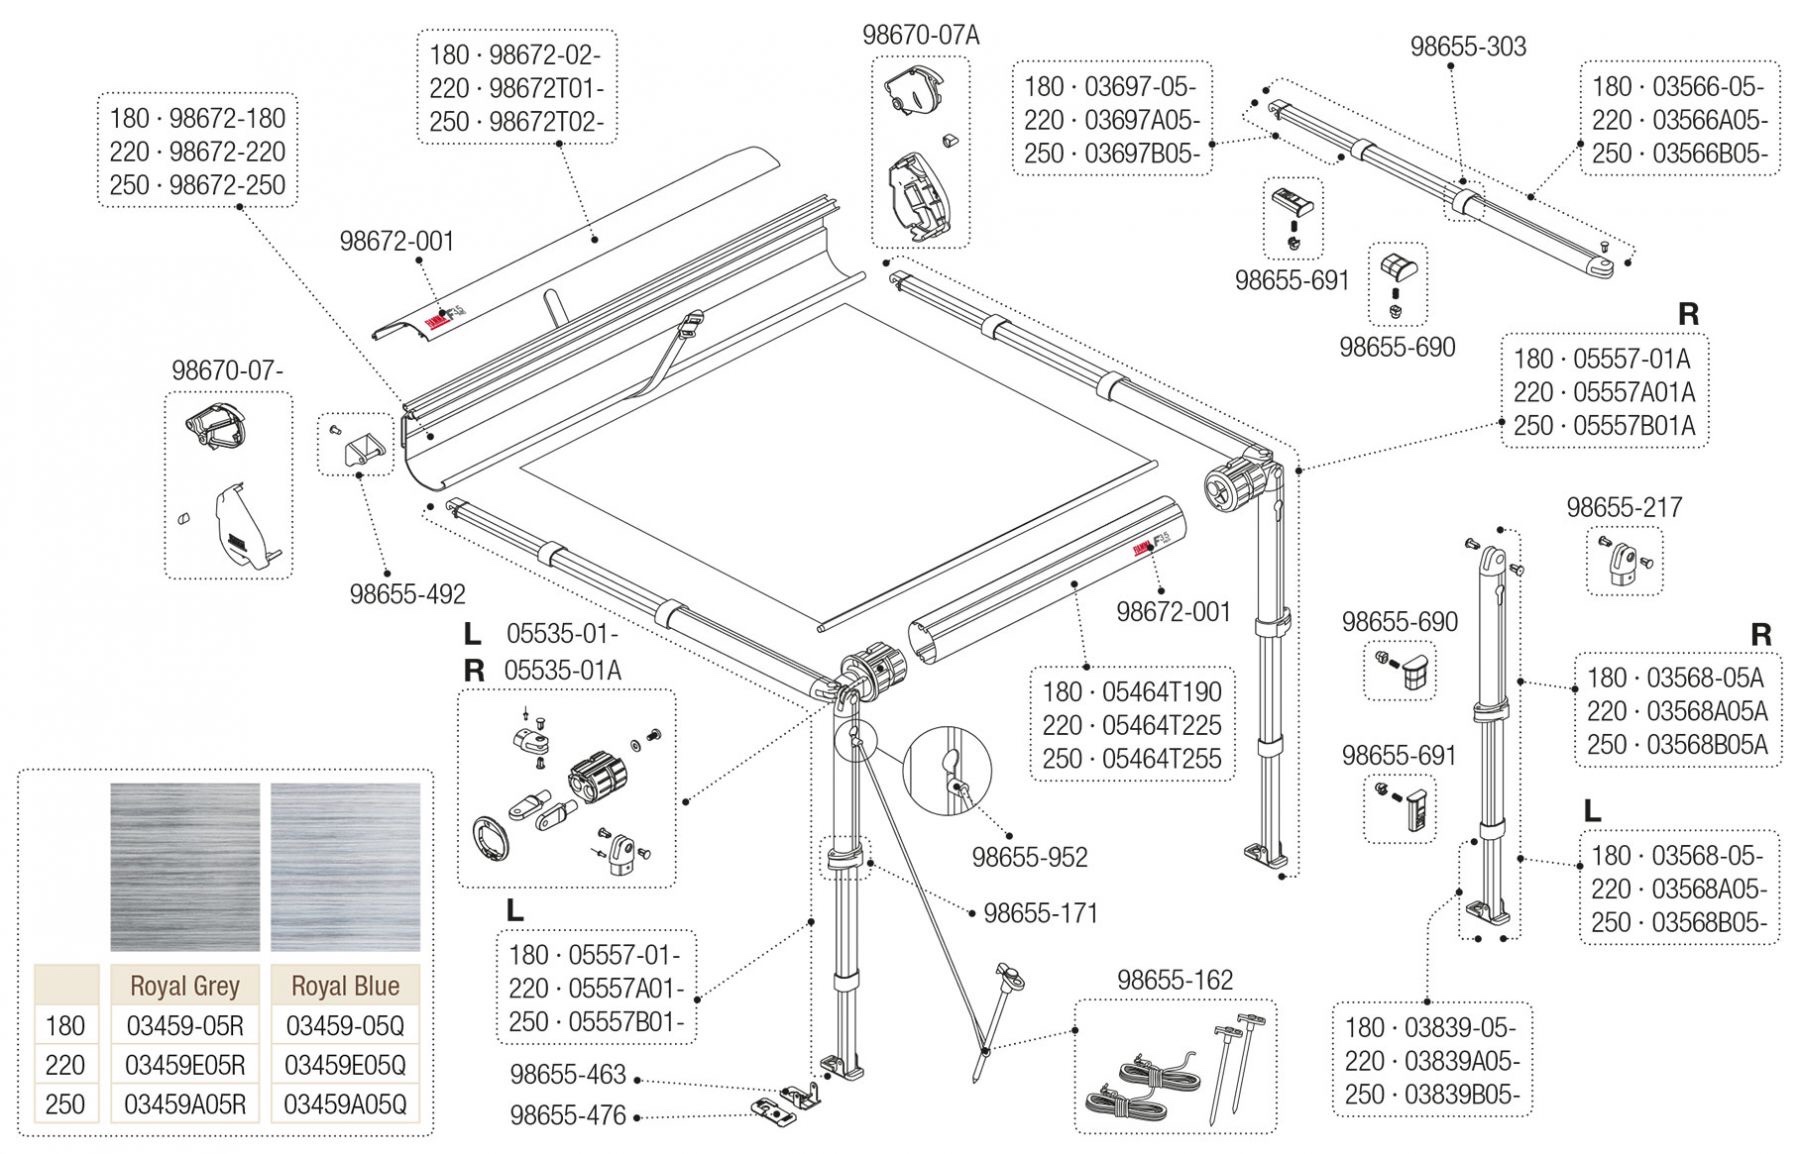
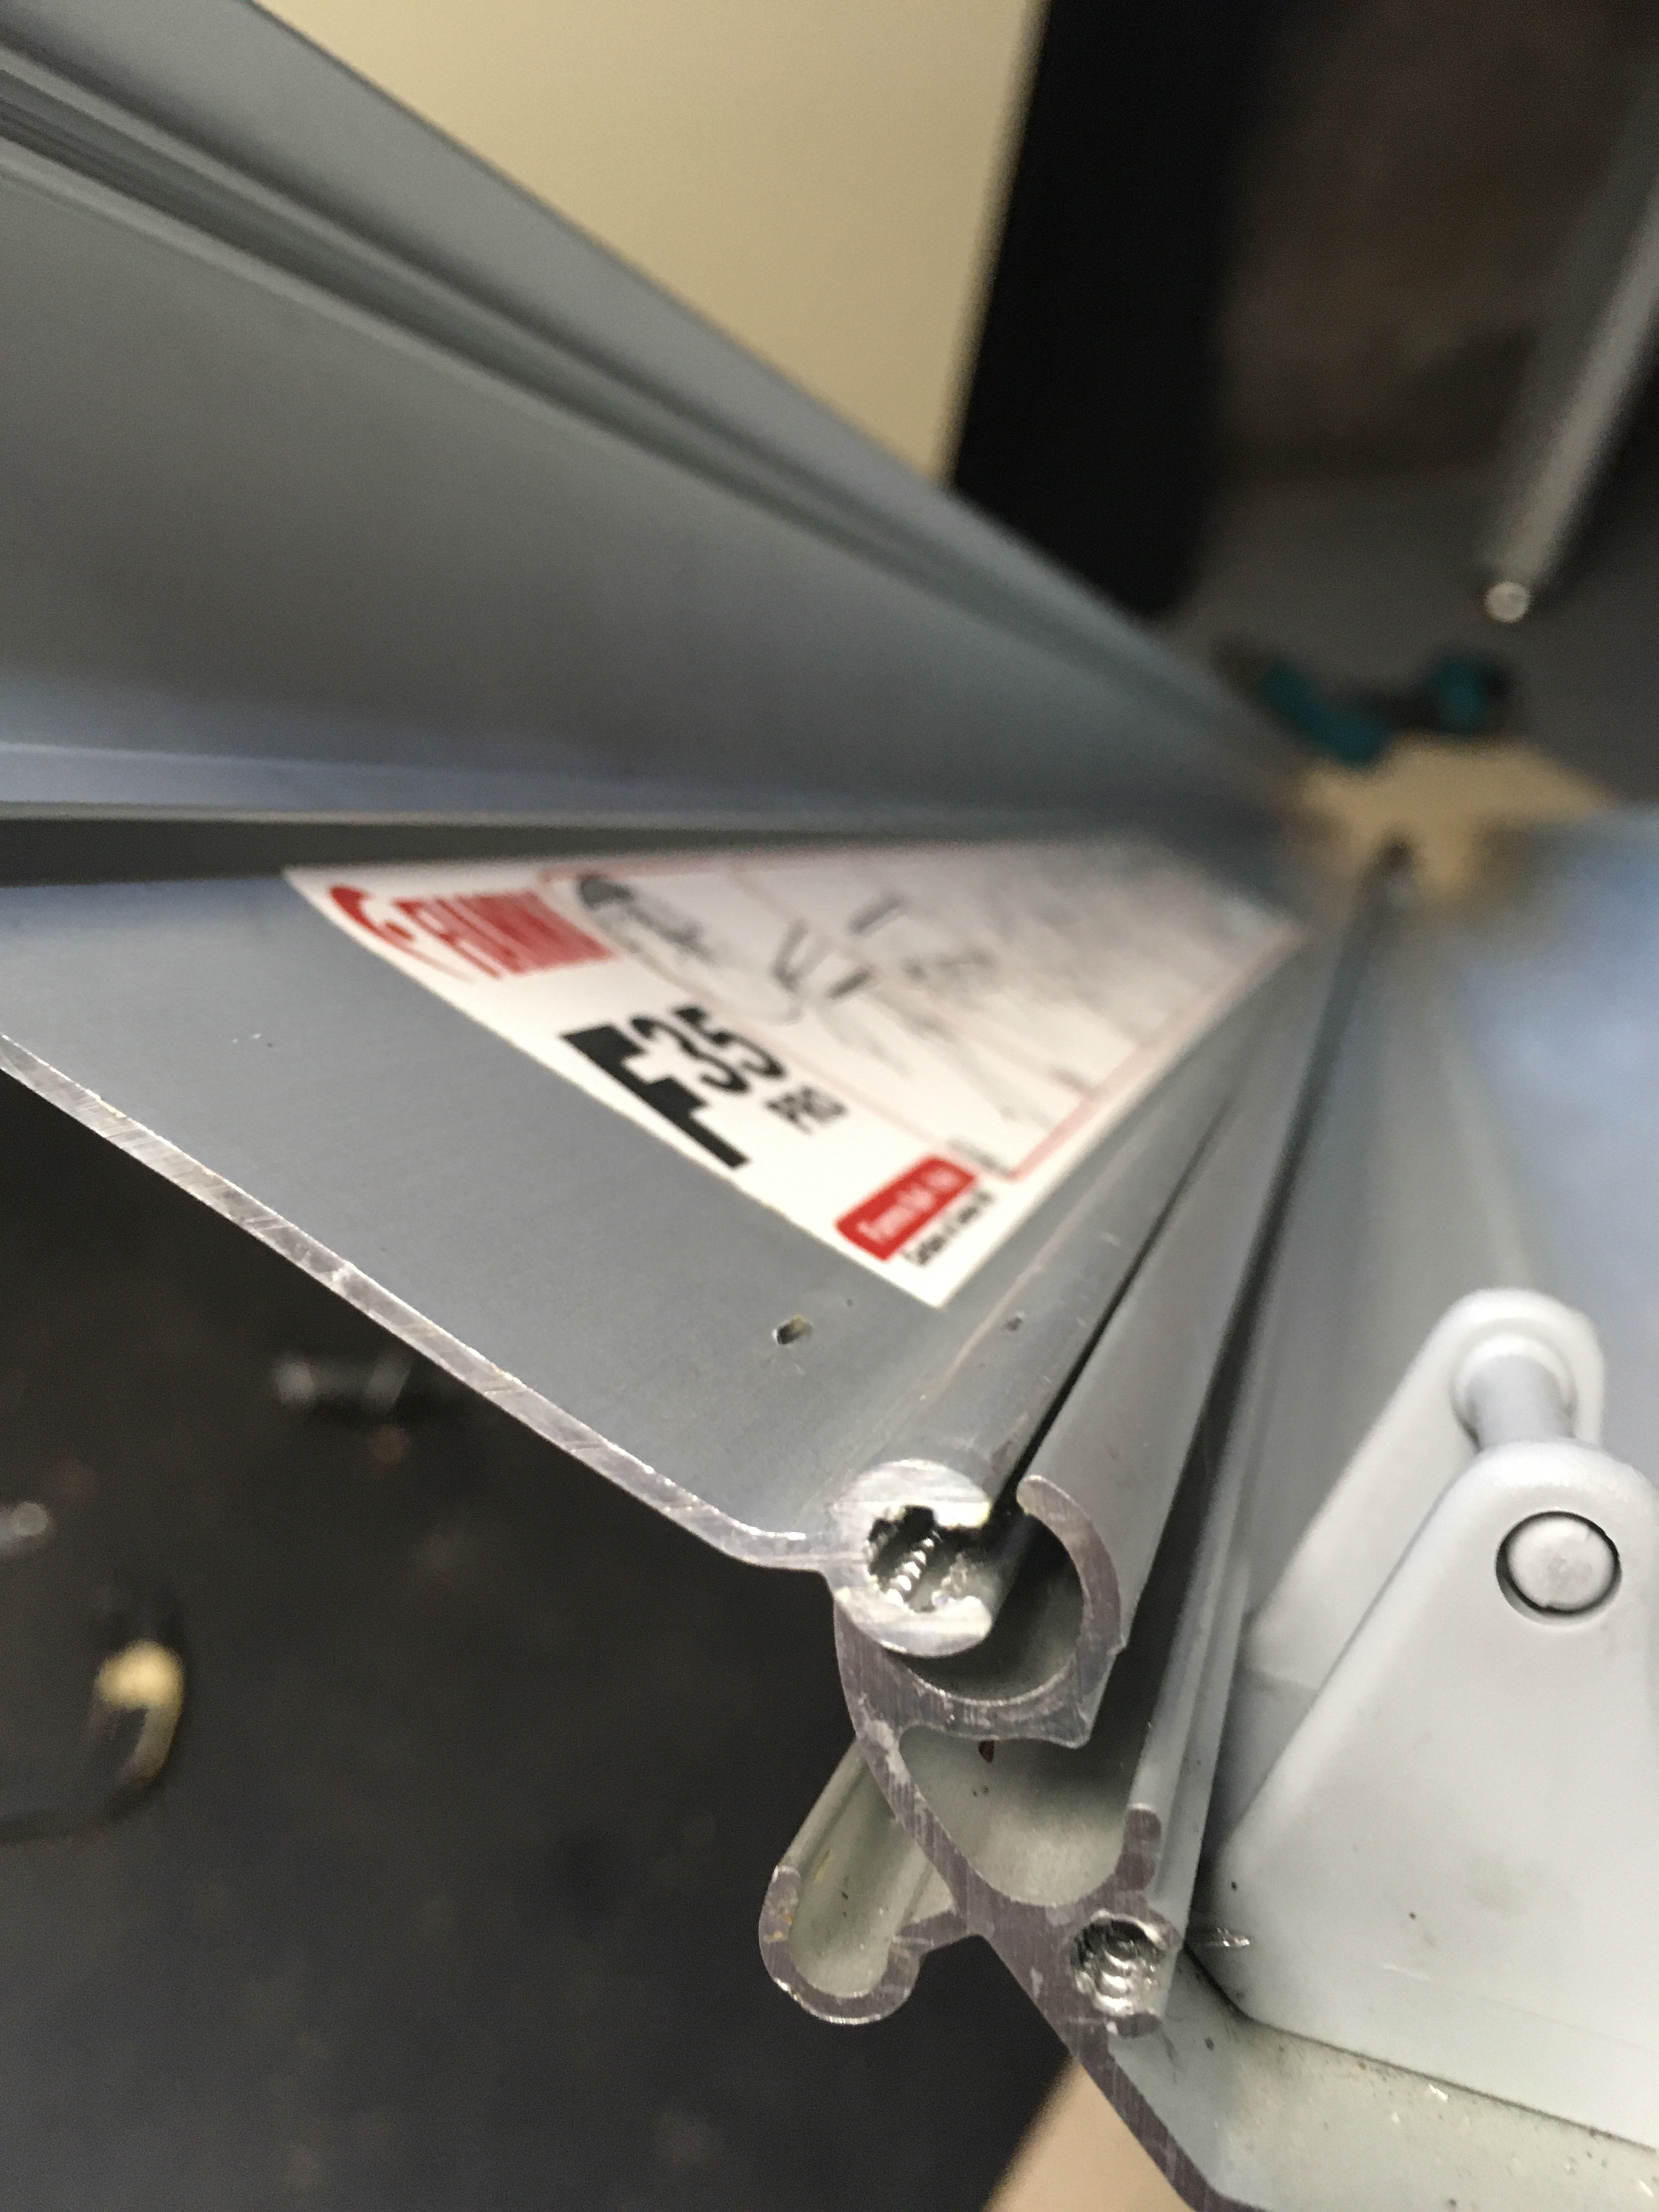
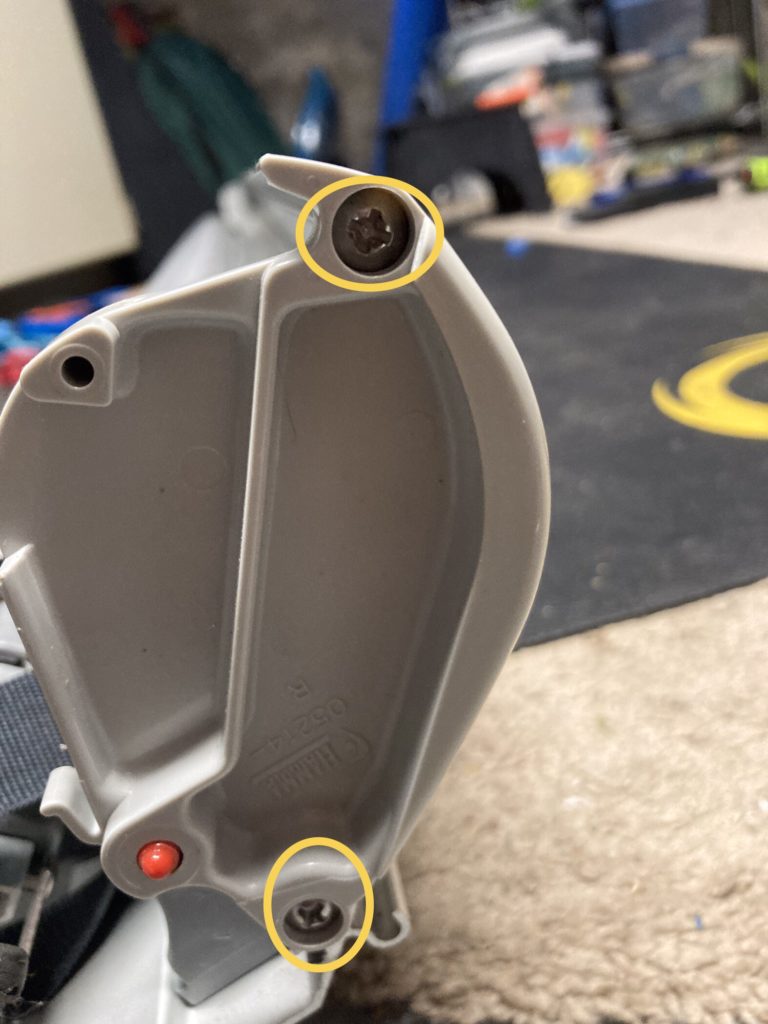
#1. Bottom End Cap
There is one 3mm Rivet and 1 screw
To remove the rivet use a drill to bore out the rivet and pliers to pull it out.
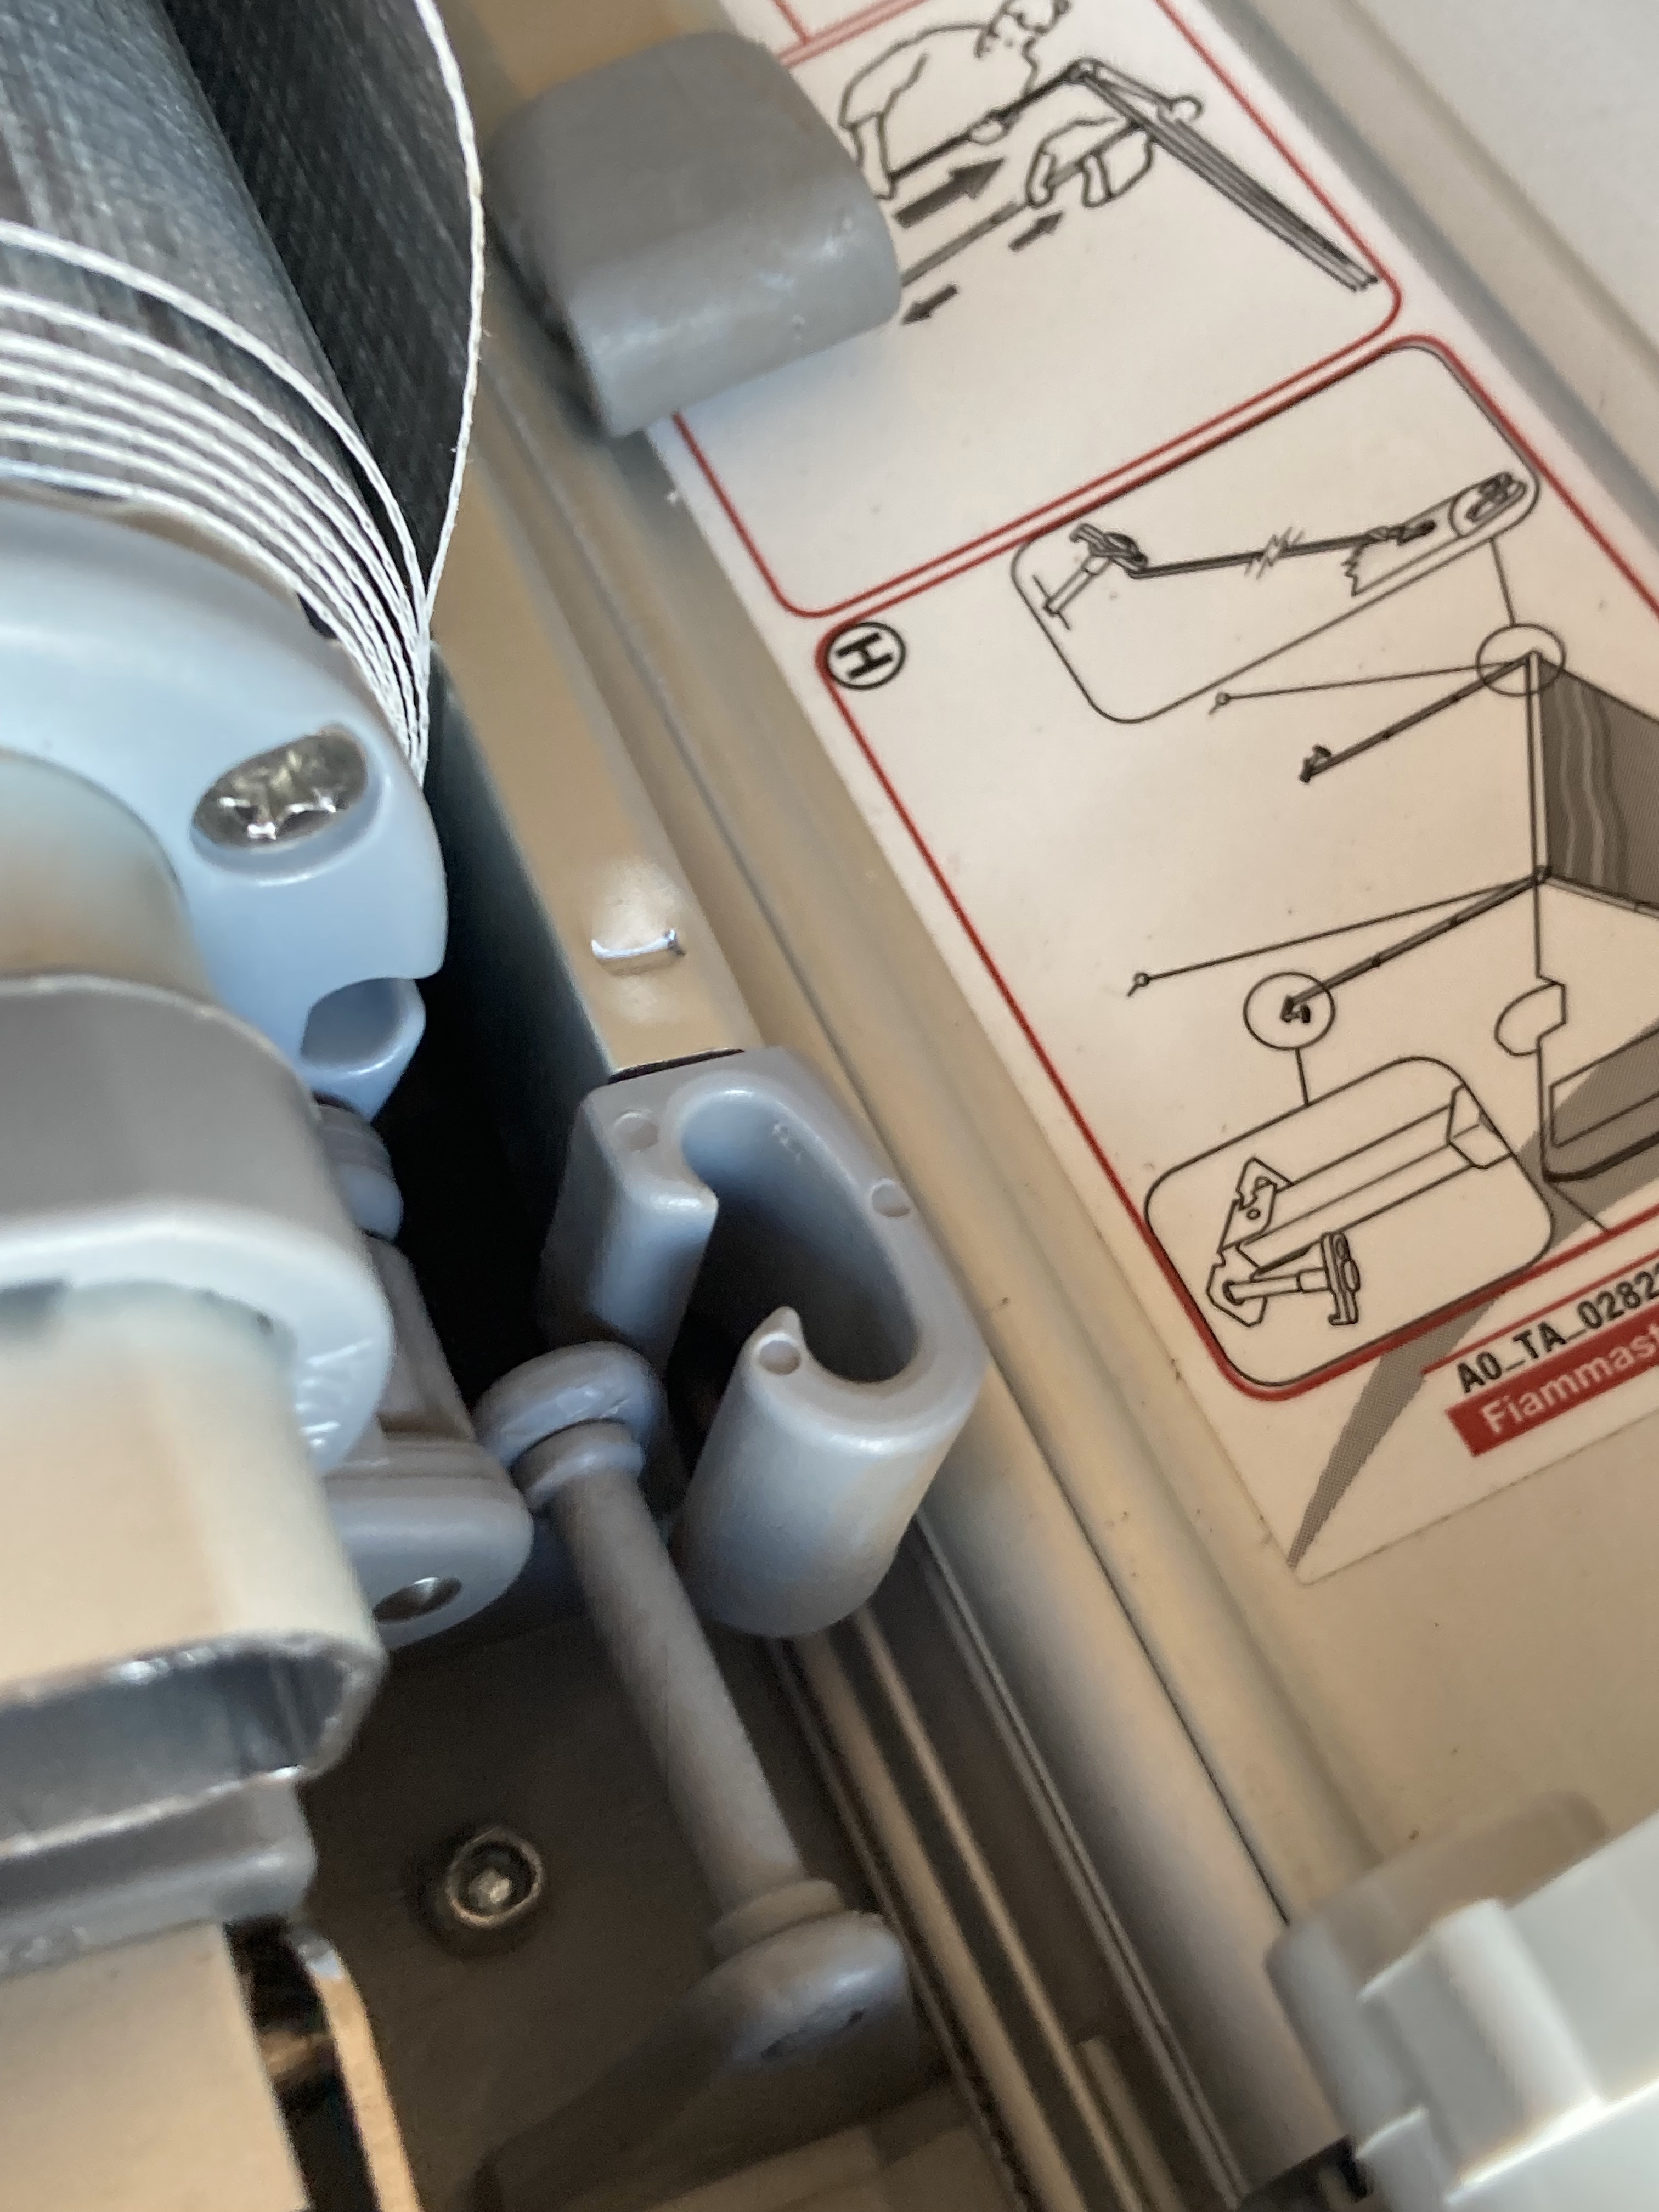
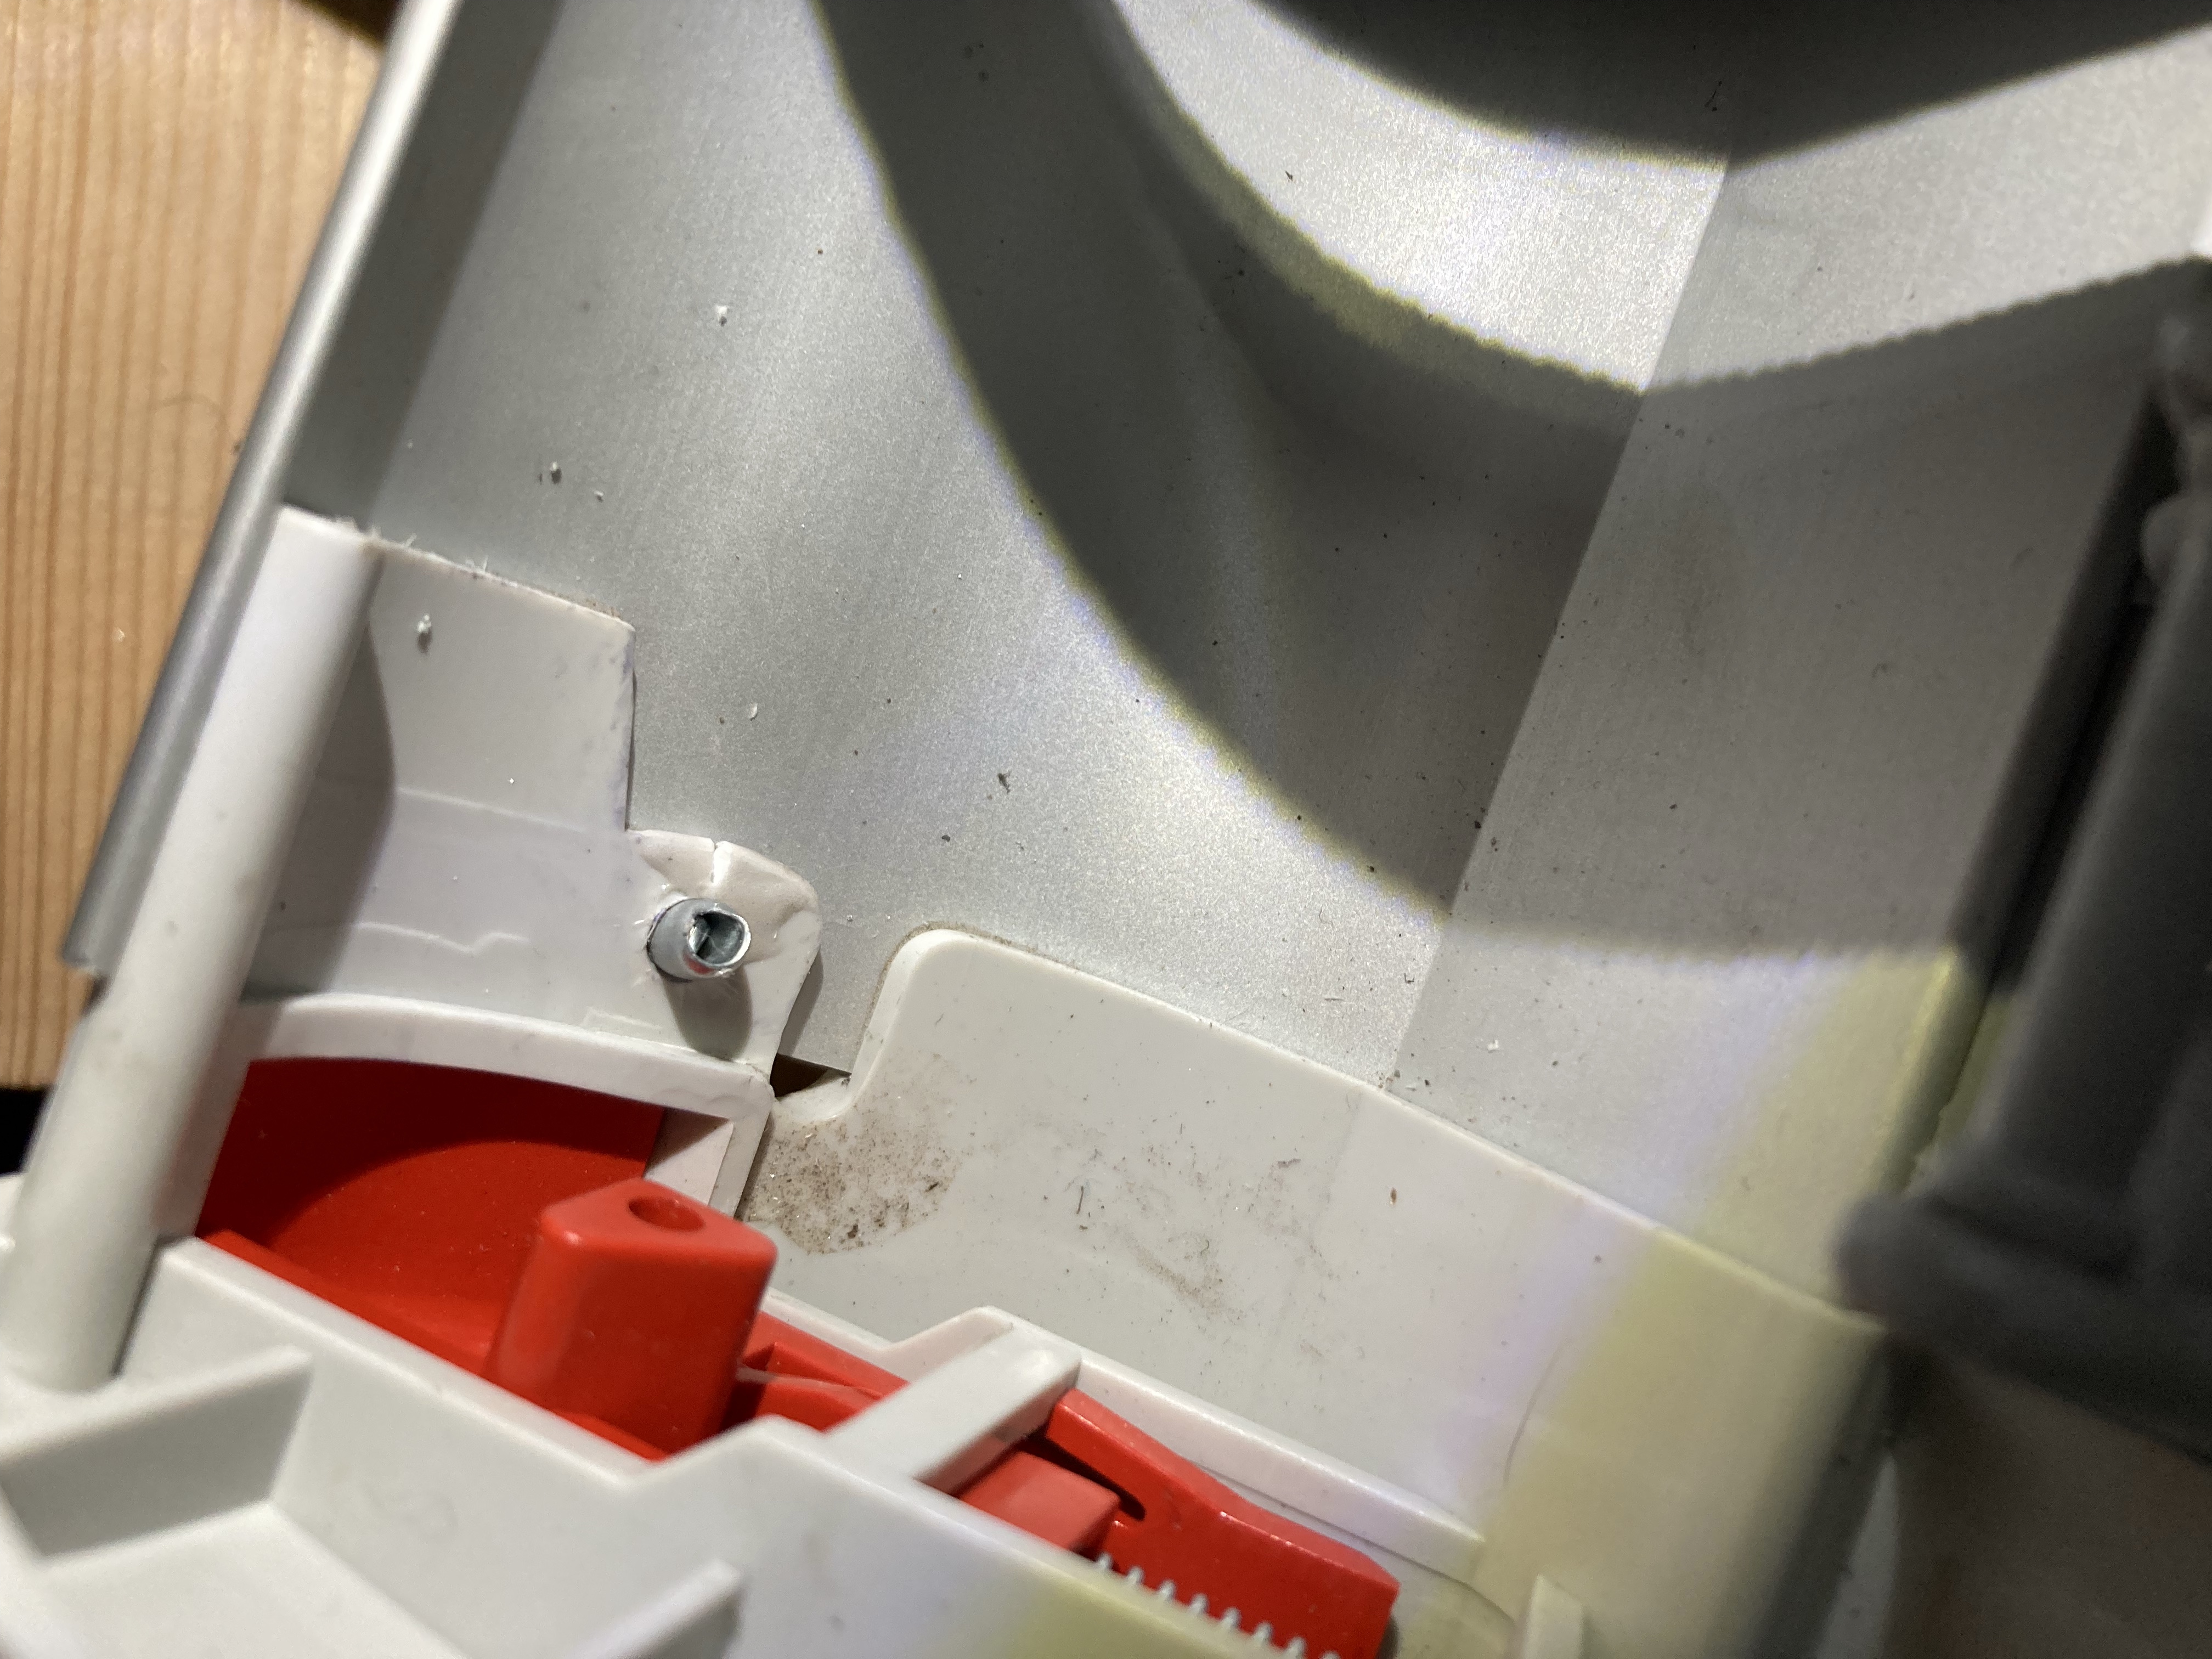
#2. Top Lid End Cap
There are 2 screws
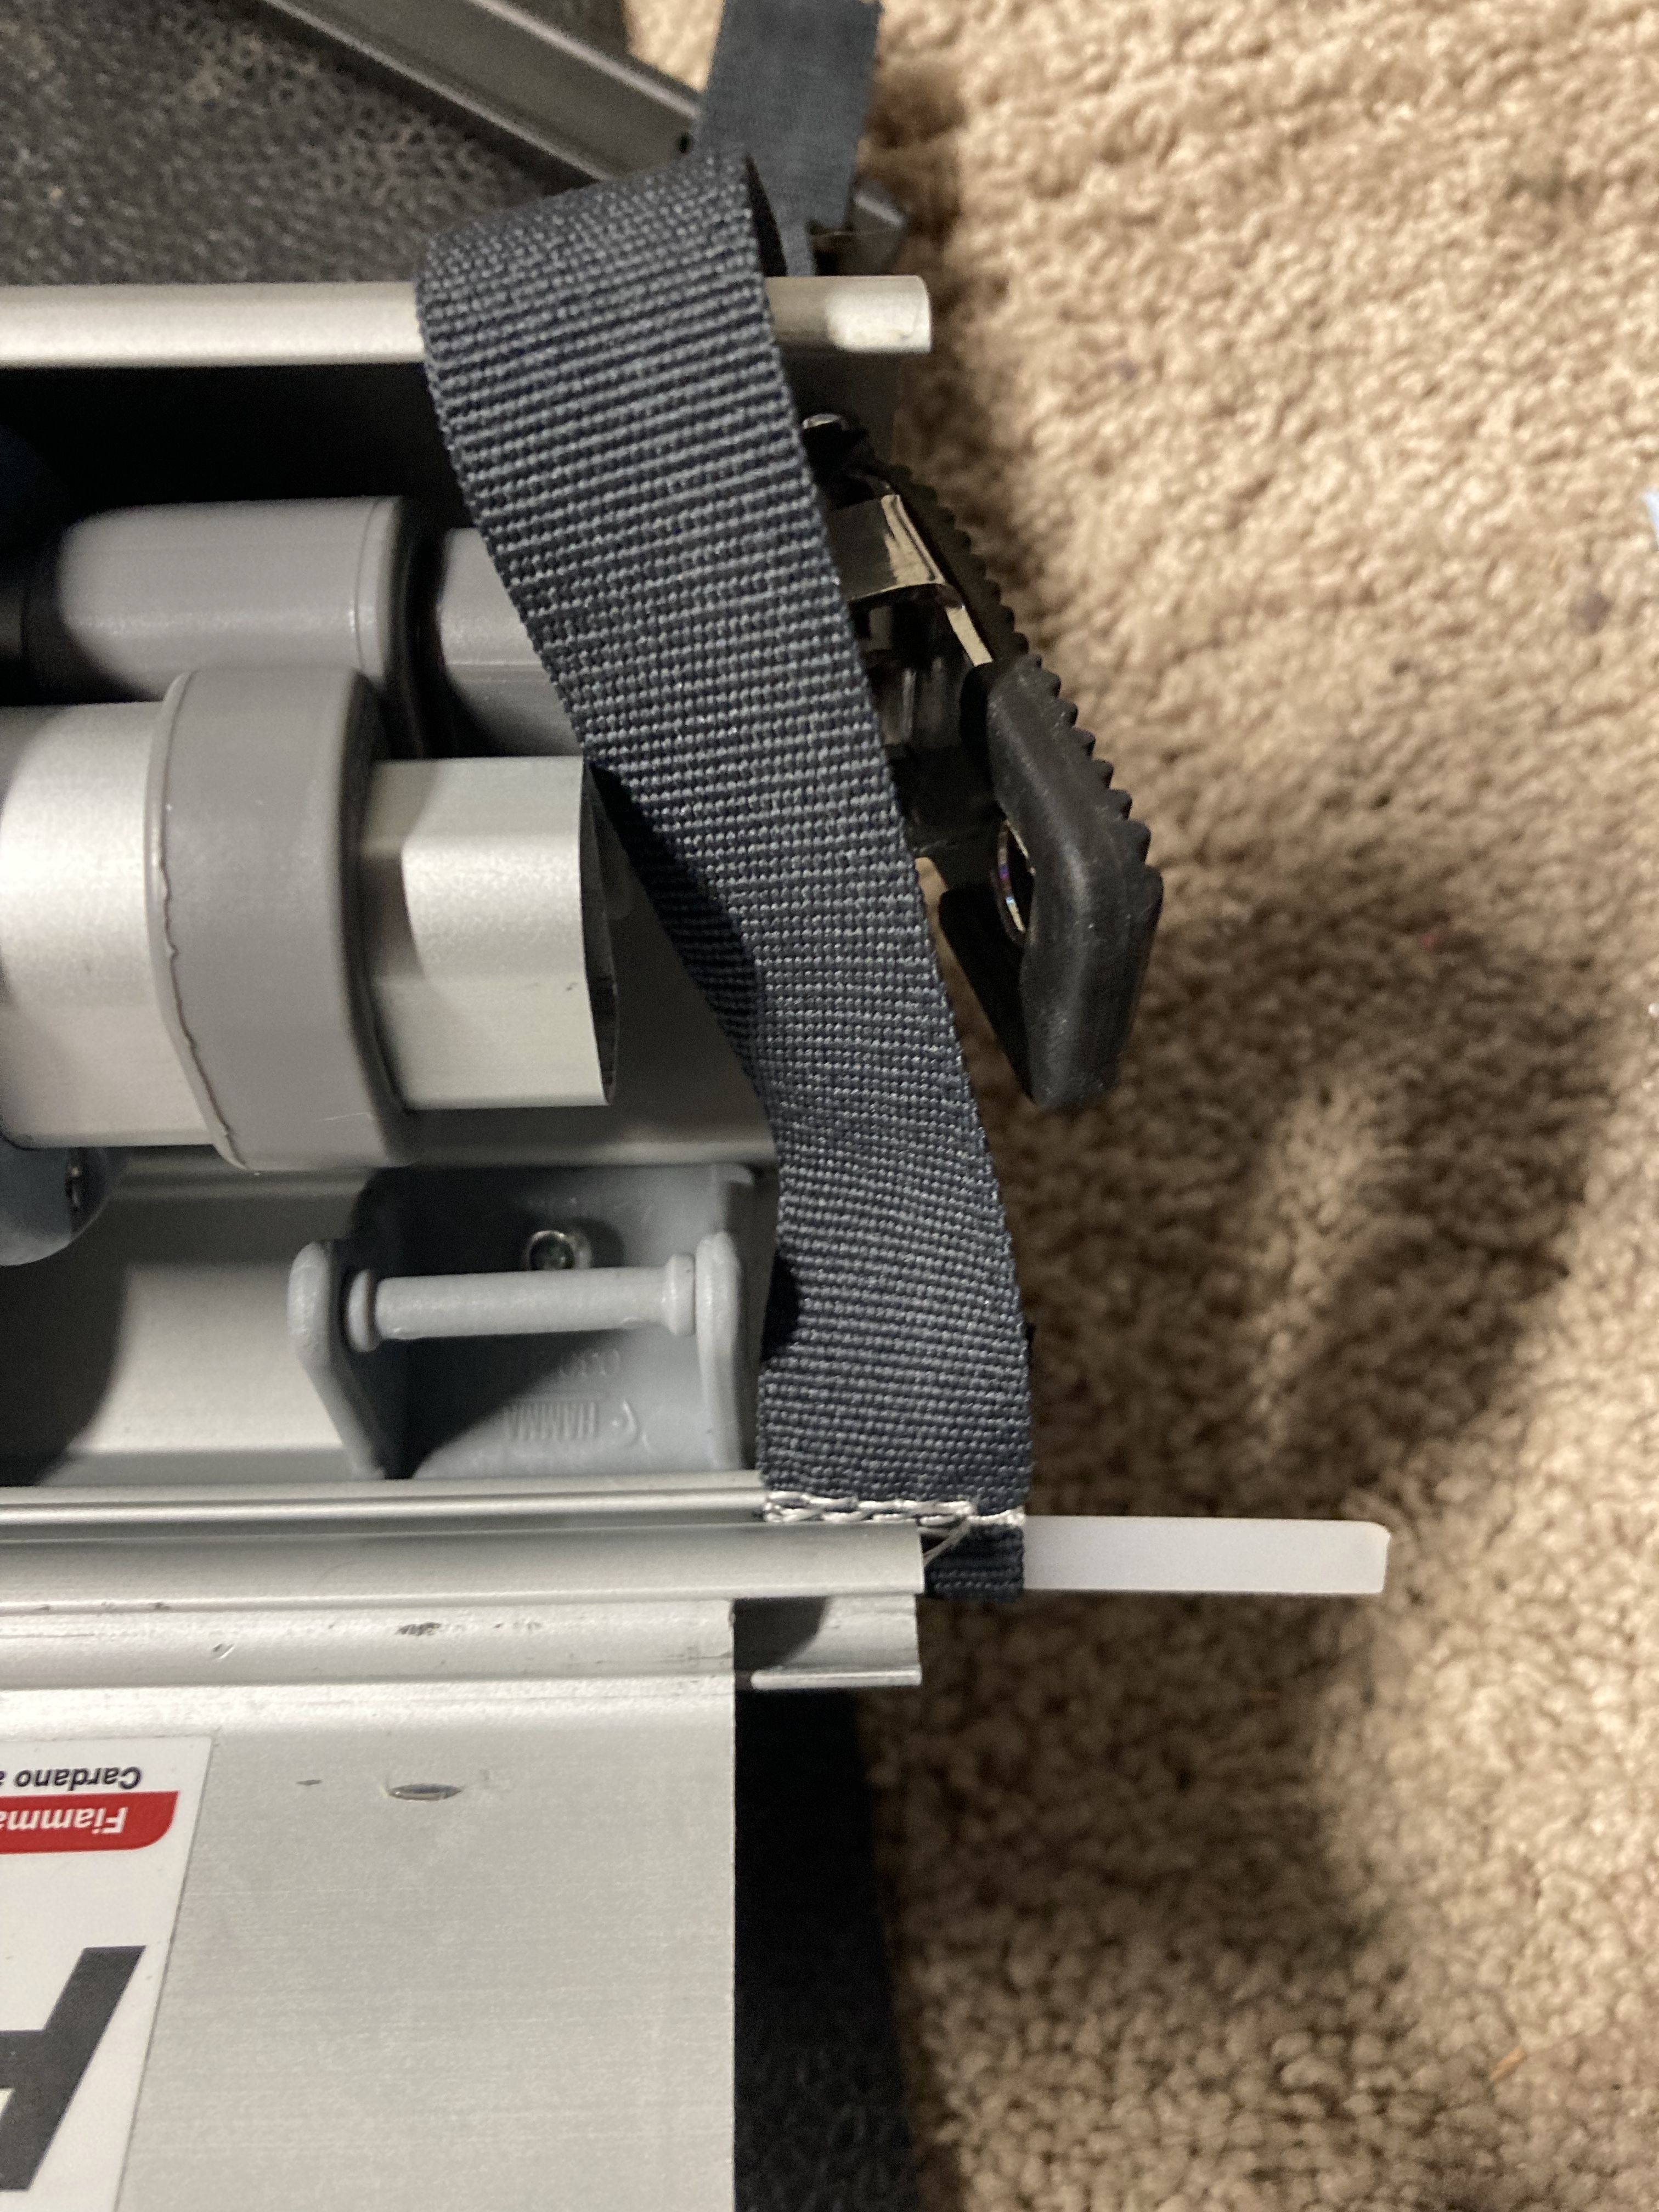
#3. Awning Fabric
Once the end caps are fully removed the awning is attached via a C channel and there are plastic pieces holding the awning straps inside, these must be removed to slide out the awning. The awning fabric can easily be slid out either left or right.
#4. The awning roll of fabric easily slides out..