Autohome Maggiolina Adventure Roof Top Tent
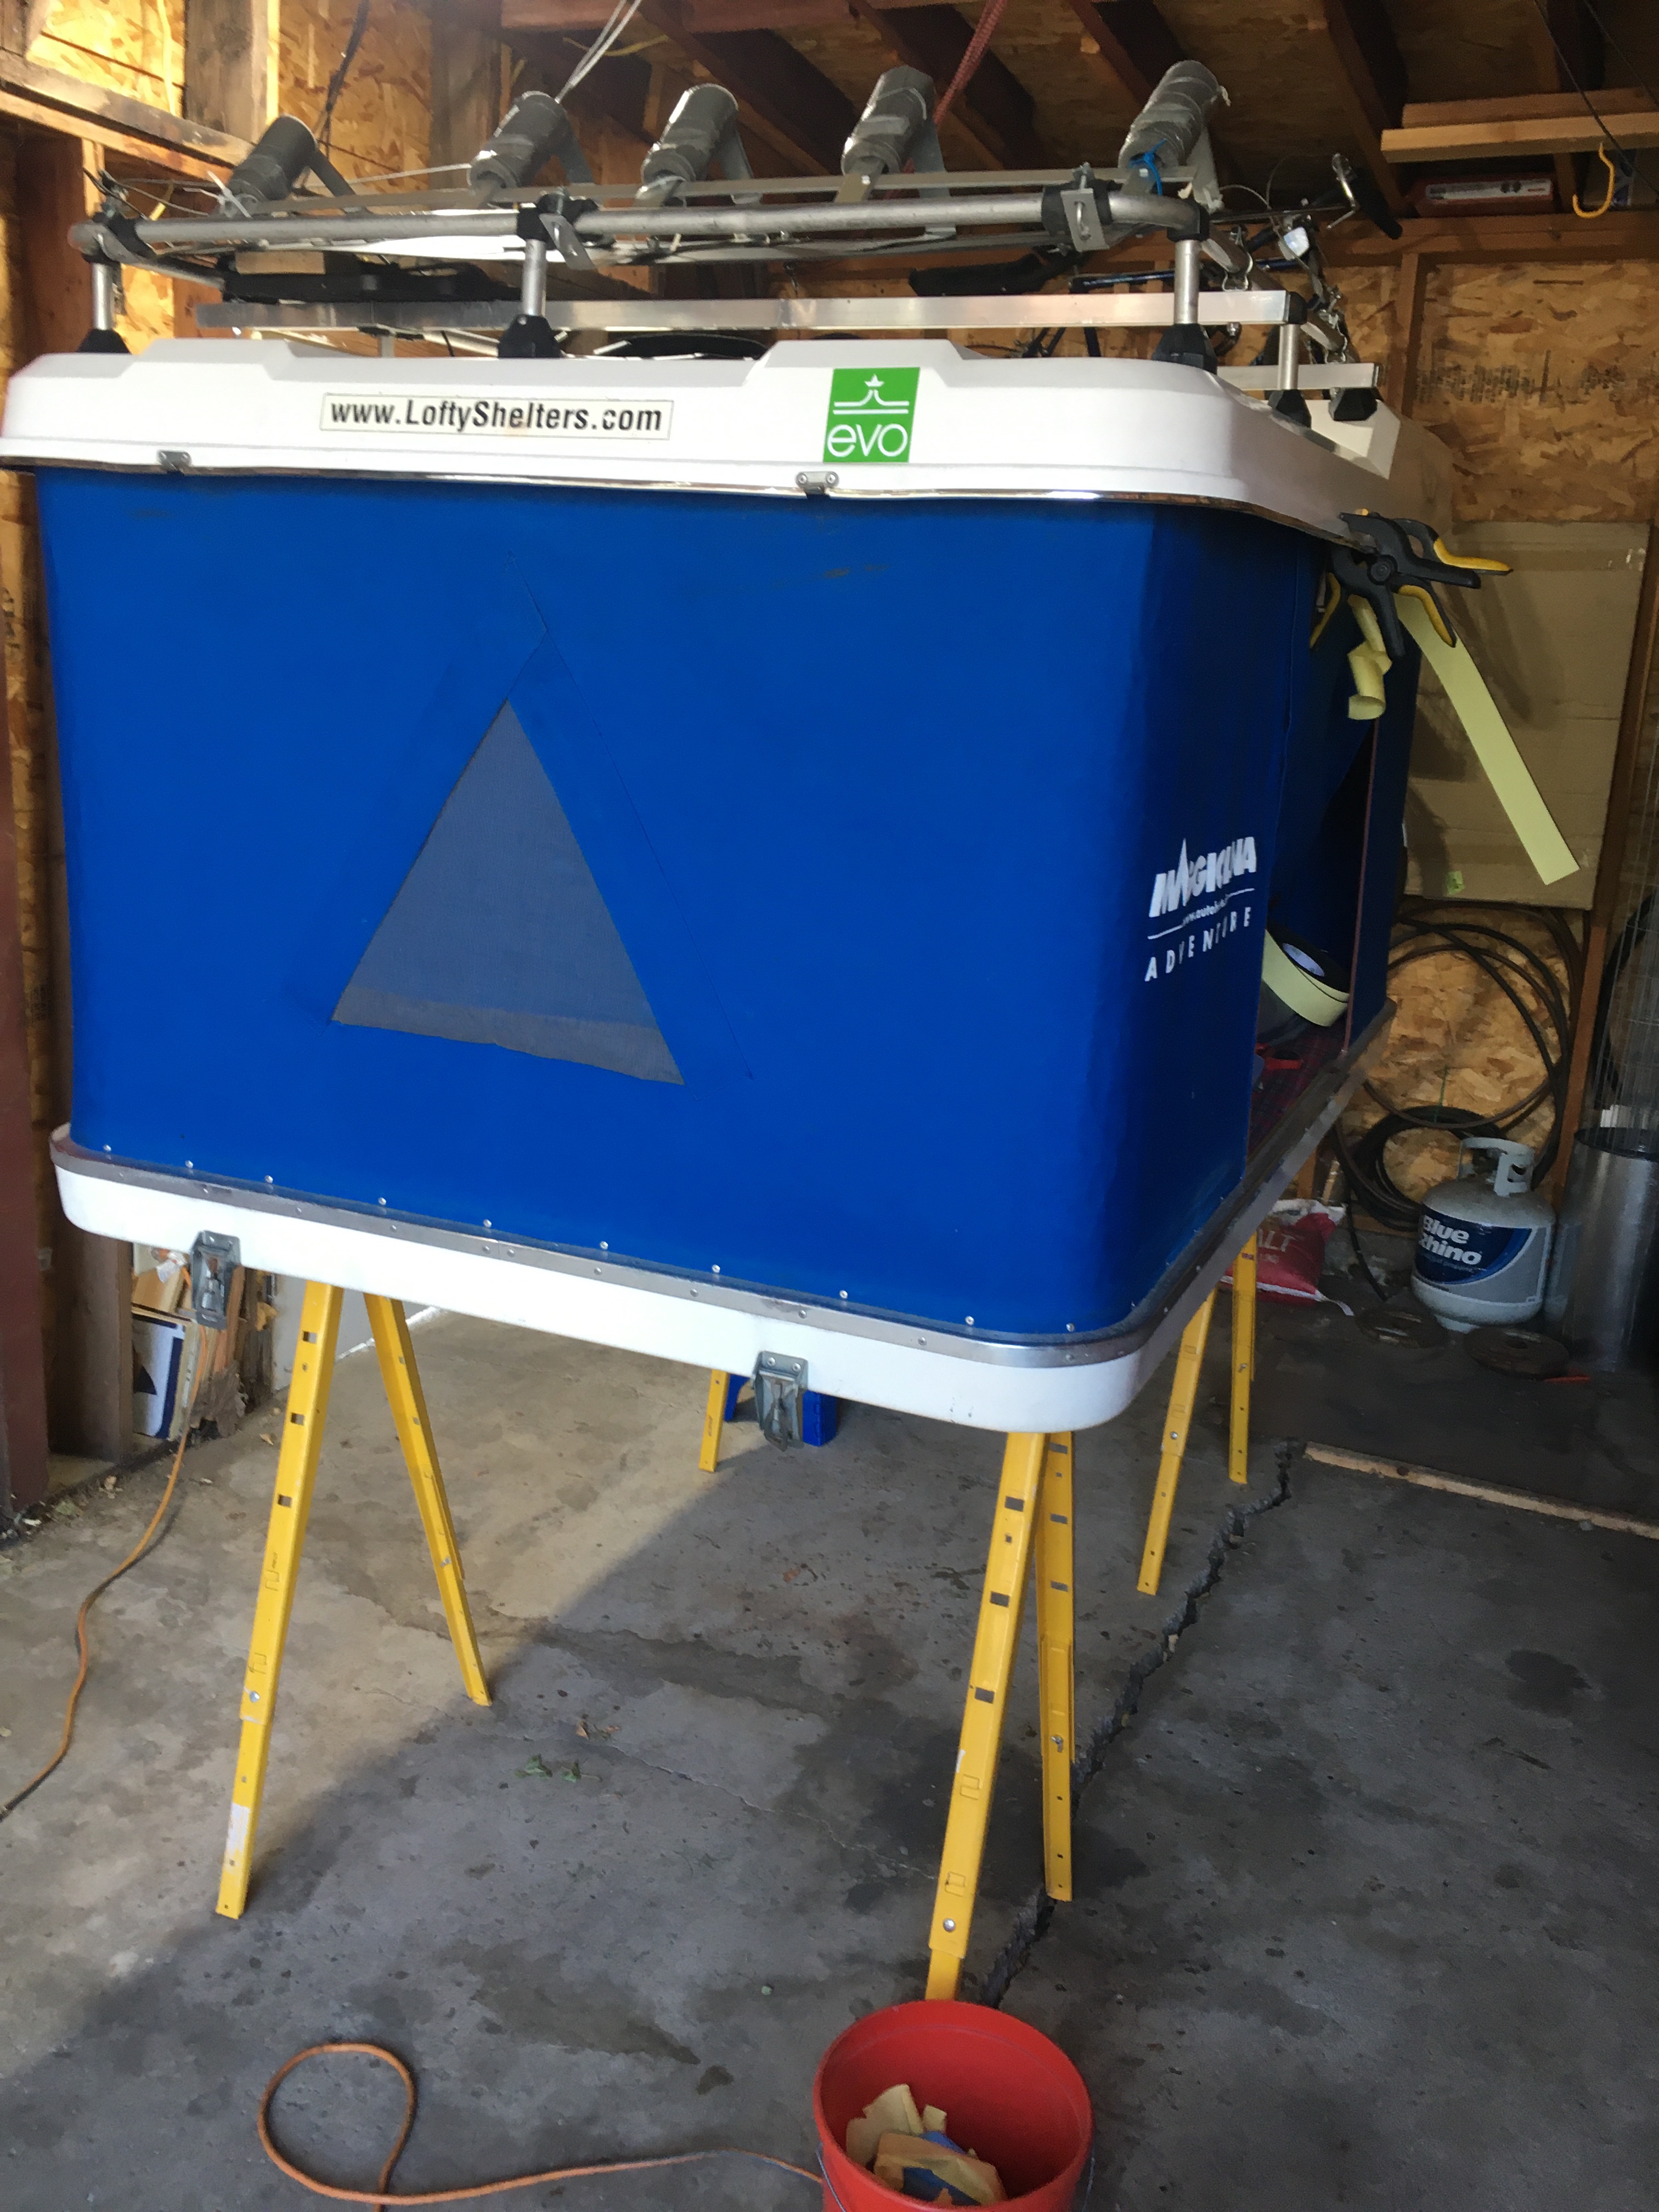
Our rooftop tent is around 15 years old and needed some TLC. This includes new foam weather stripping and trim edging to the roof of the tent.
Supplies
- Heat gun
- Straight razor
- Gloves
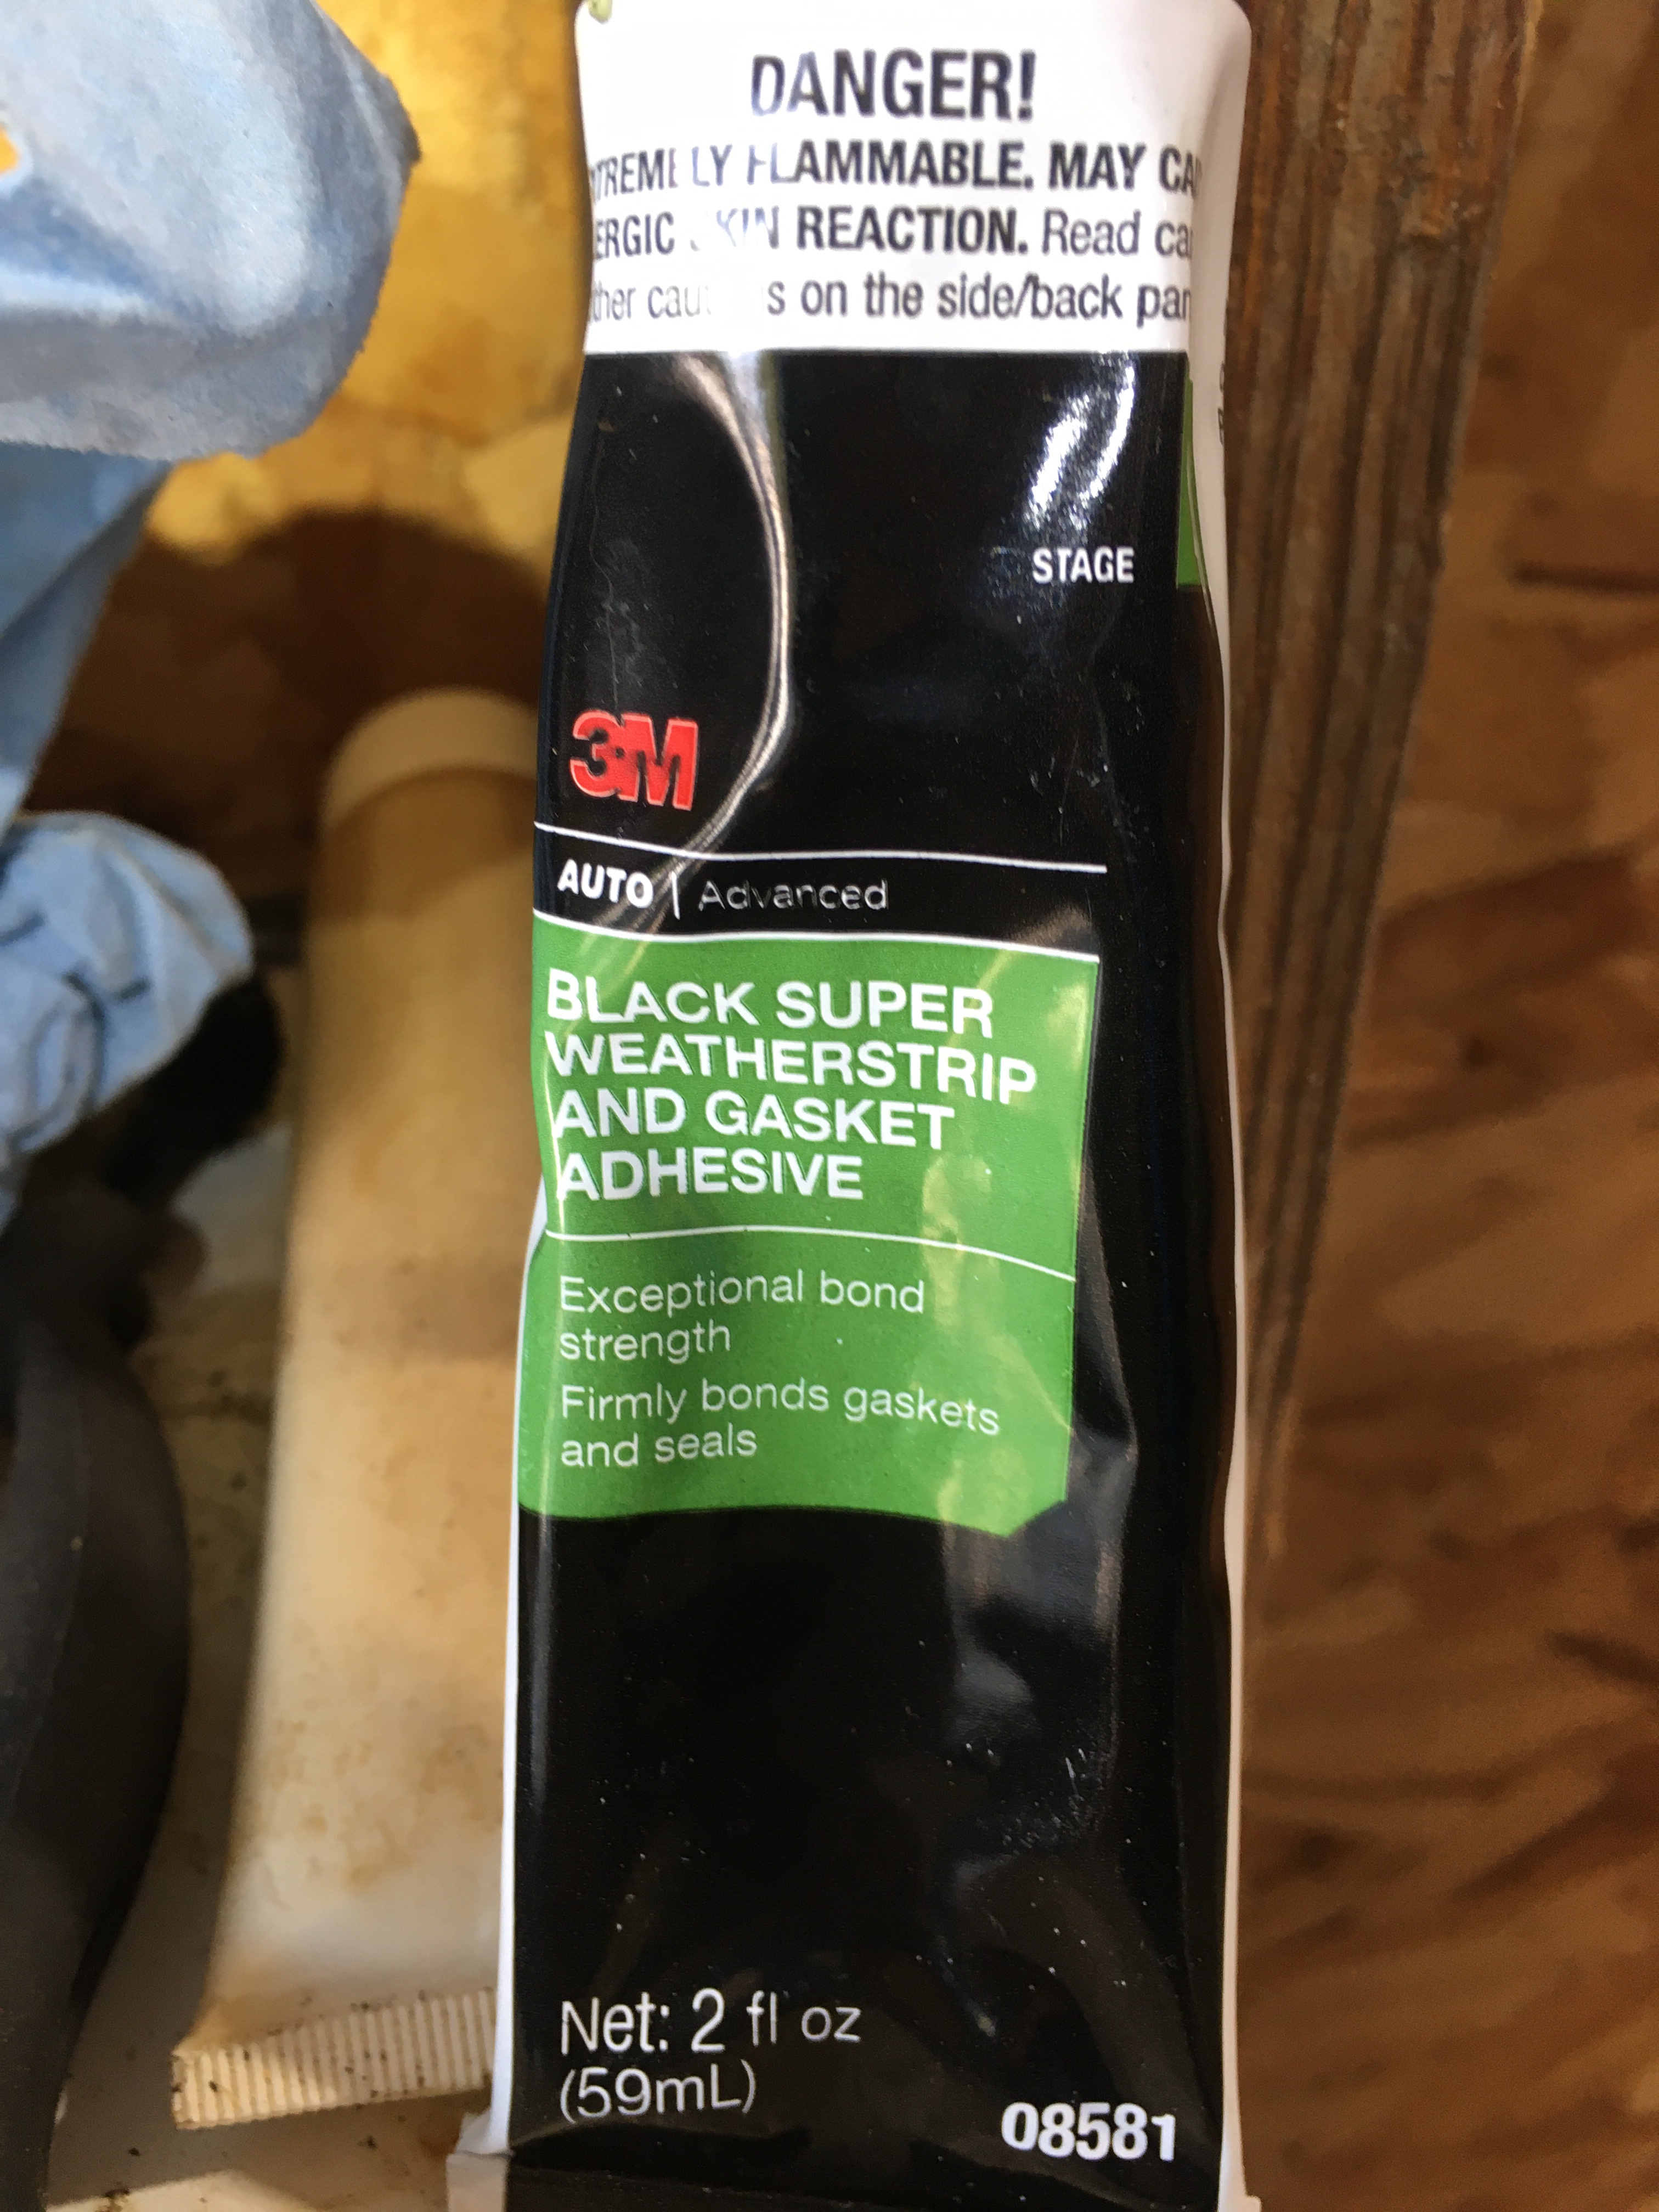
- 3M Automotive black weather strip super adhesive 4oz (This product is sold in 2oz and 5oz tubes of yellow or black)
- Foam Insulation Tape Adhesive Seal, Weatherstrip, Waterproof
- C-Clamps
Note: The existing foam strip is 1.25”. I was sent the wrong size and I did install the 2” wide strip without any issue.
Weather strip
CAUTION: This job was time consuming and tedious. In its entirety this part took me the better part of 2 days.
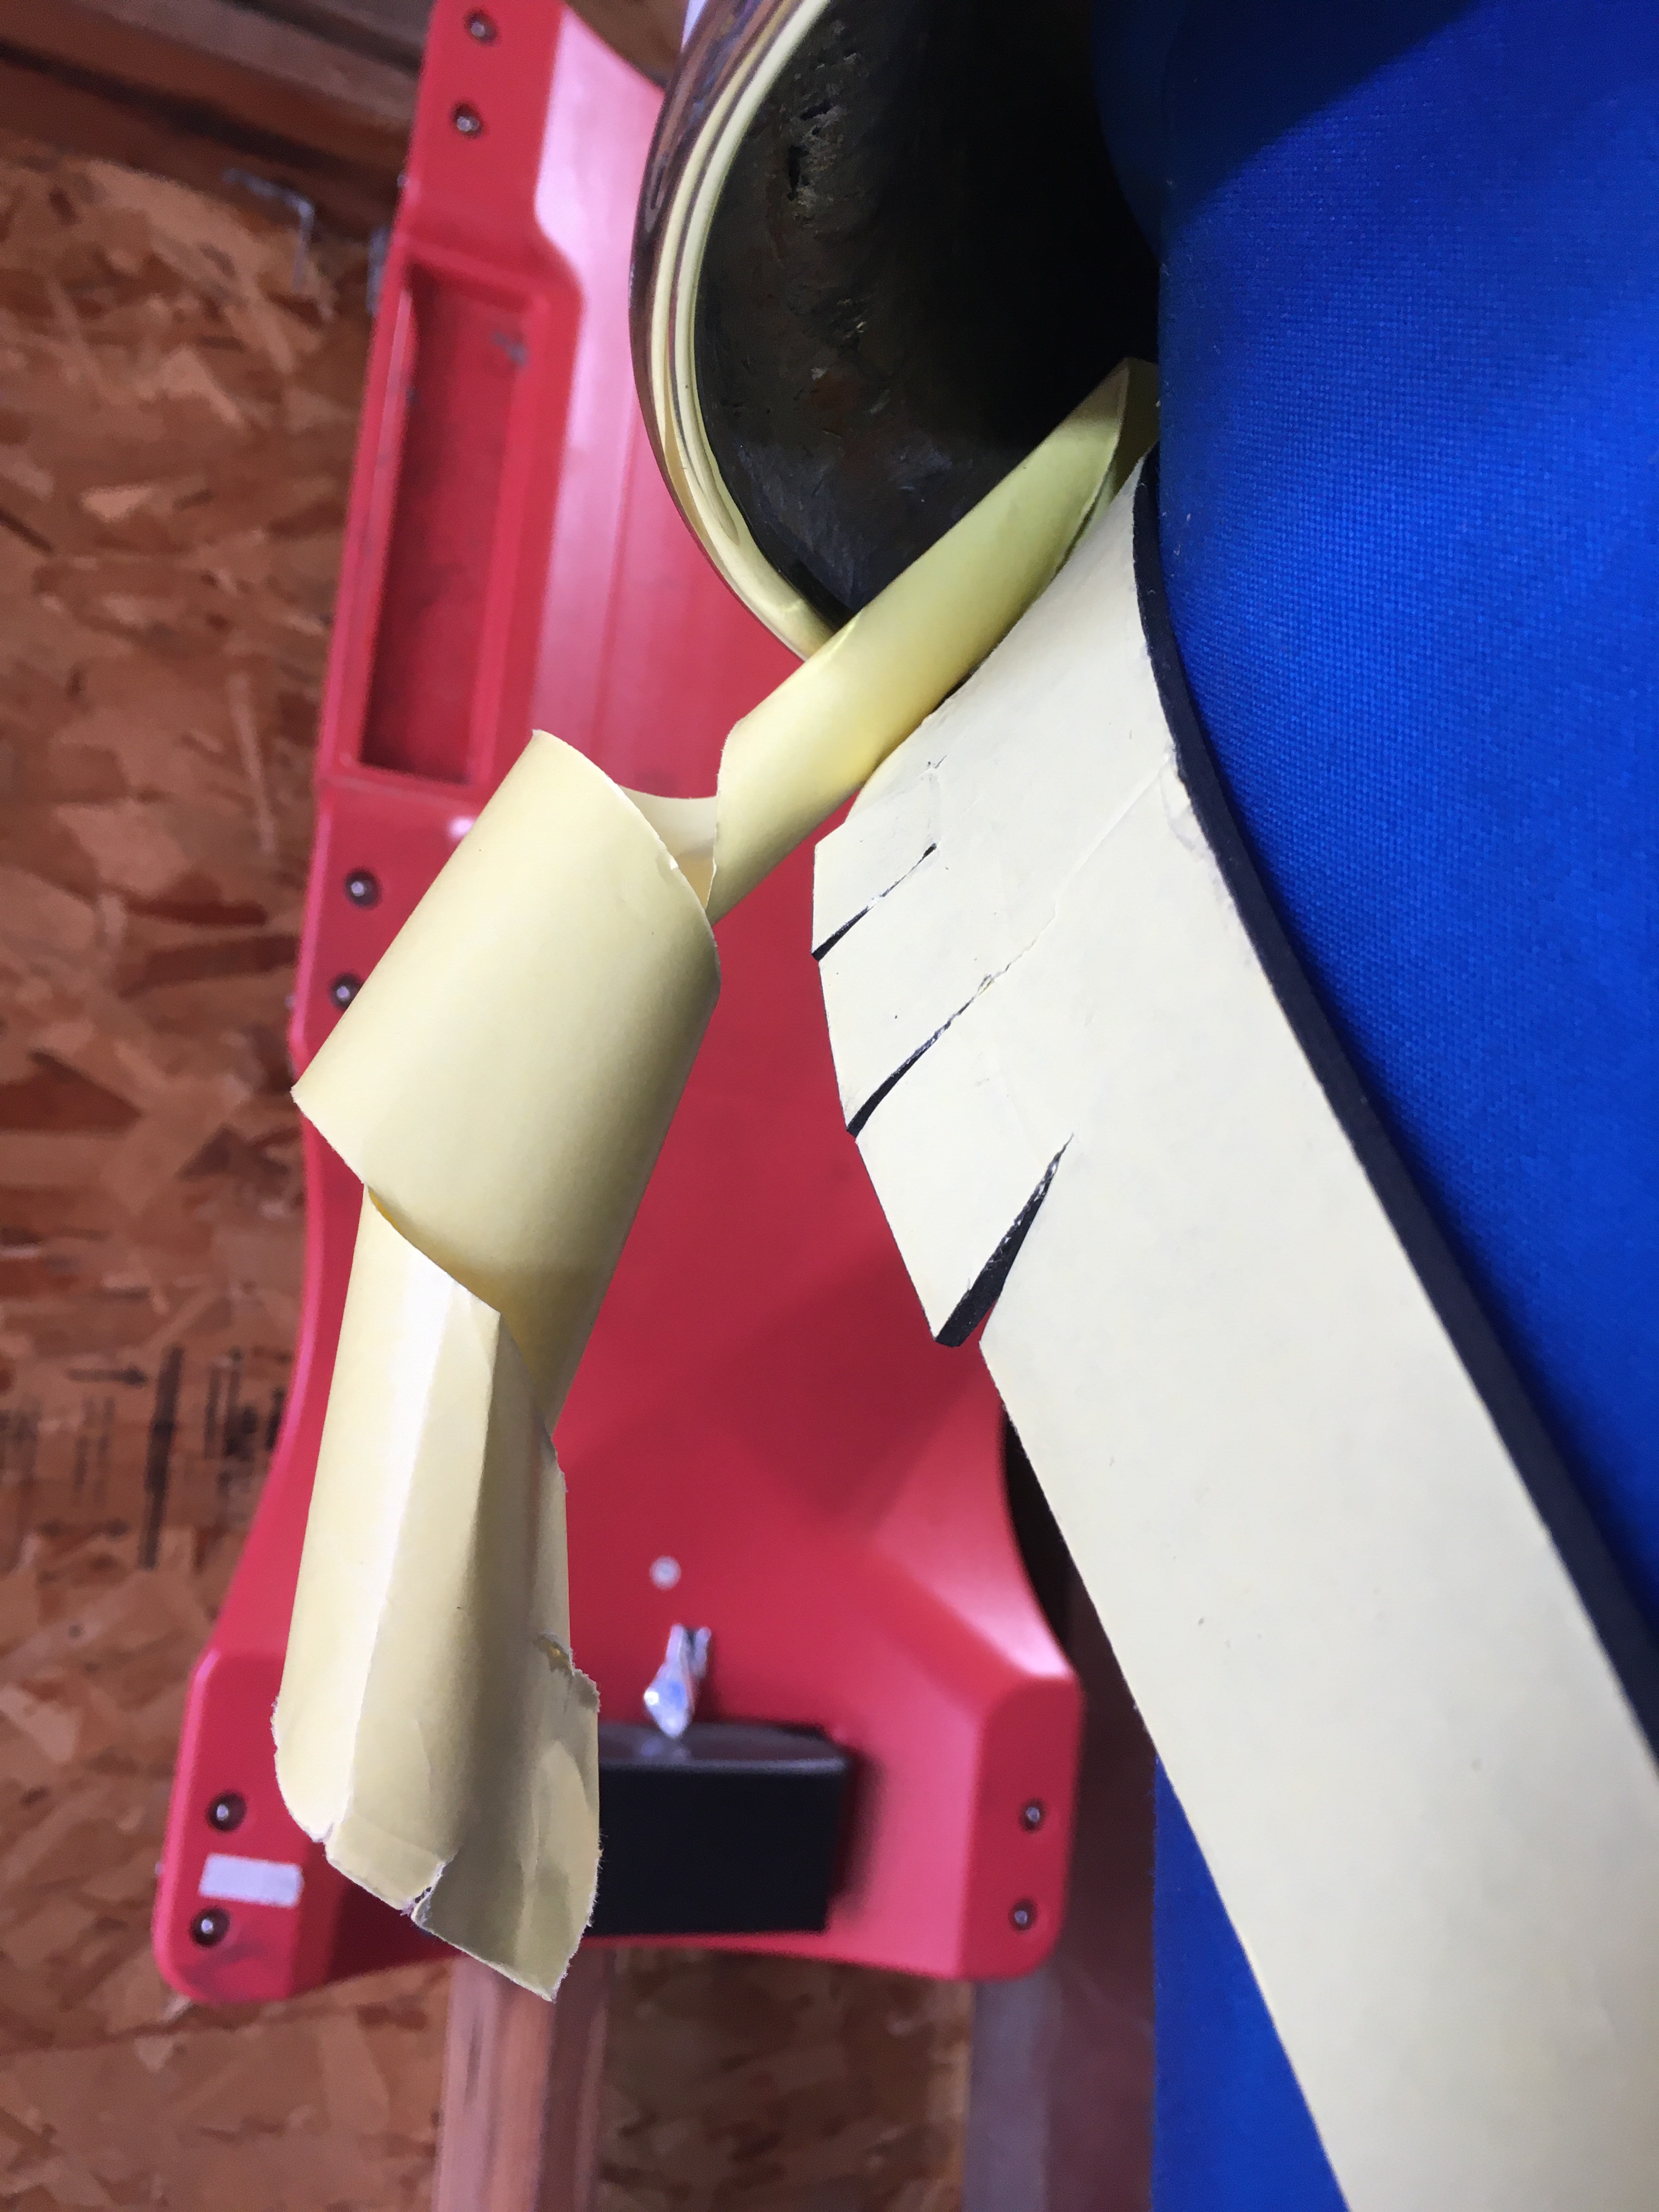
Using the heat gun remove existing foam weather strip. Use the straight razor for any chunks of foam that need extra help coming off.
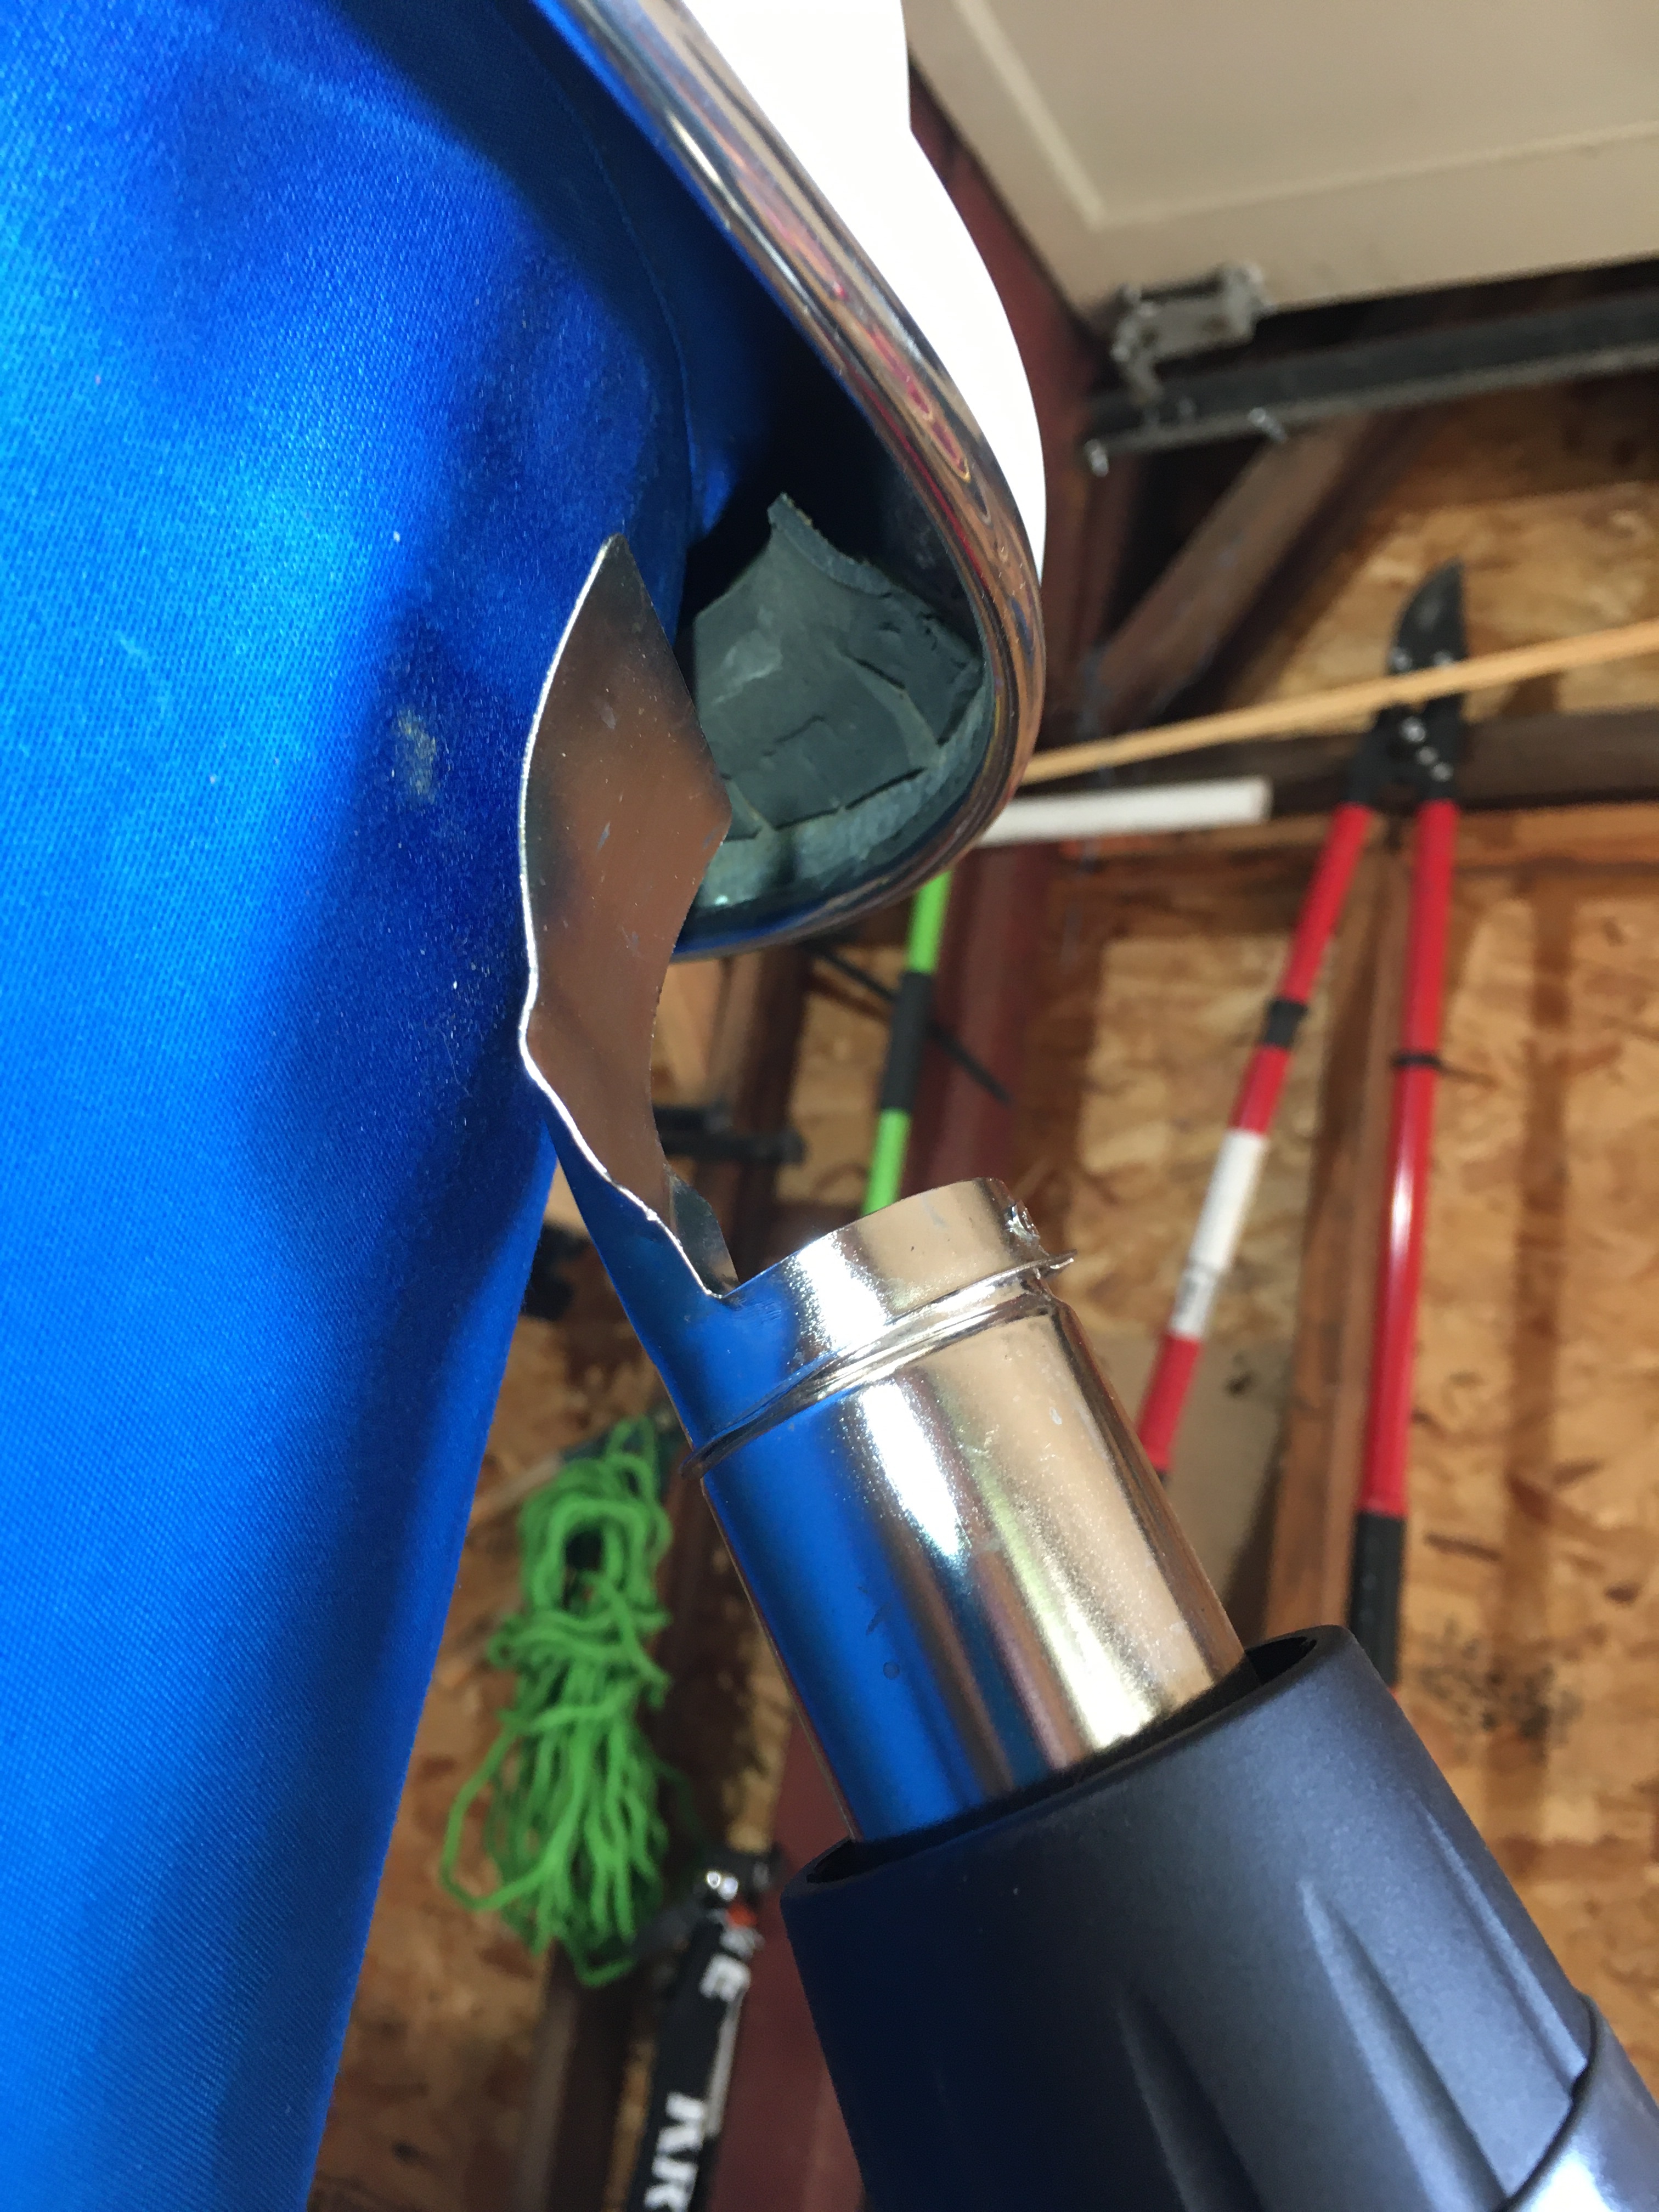
Note: Most of the older foam installation was intact on the sides of the tent but was disintegrated in the front and back. The existing weather strip was installed in 2 pieces with 2 seams.
#2. Next I worked on the roof top tent in quarter sections. So I started installation by cutting the foam into quarter sections. Then I worked on installing small 8-12” foam sections of the larger quarter strip at a time, so there are 4 seams.
TIP: The foam weather strip does come with adhesive but I wanted peace of mind so I used the 3M adhesive to glue it in place.
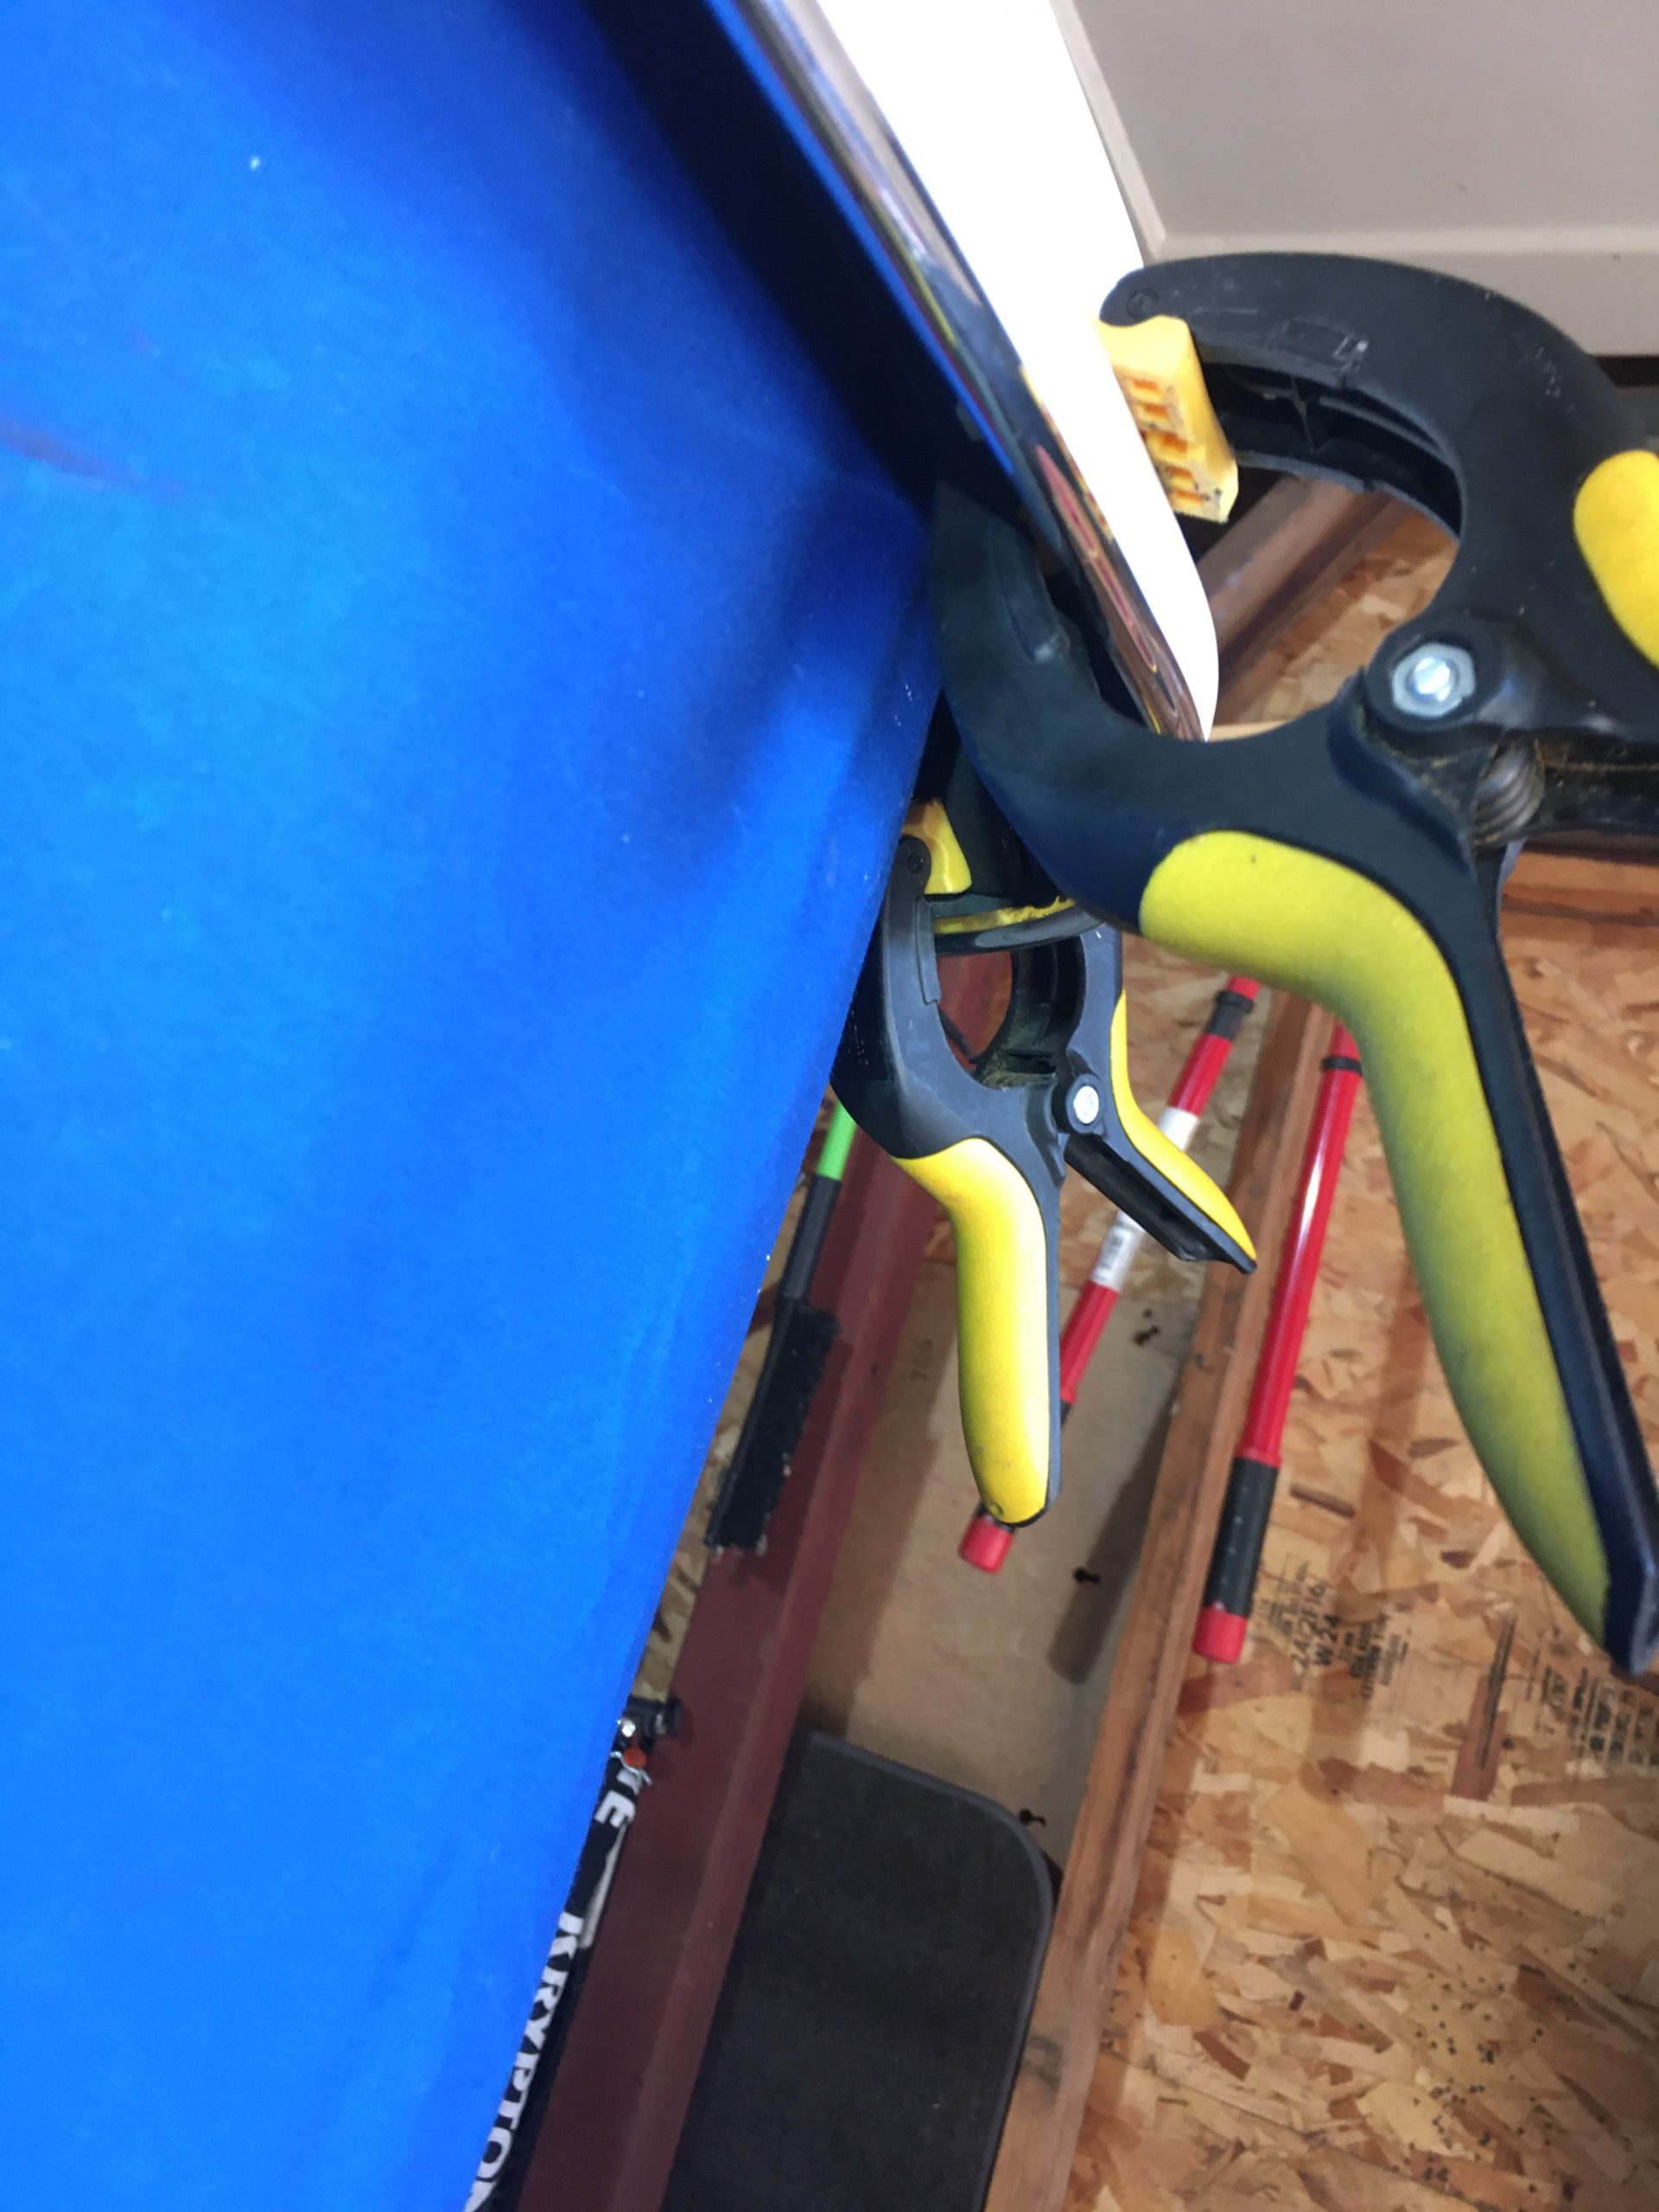
Next I used C-clamps to stabilize the weather strip while I smoothed it out and pushed it firmly in place.
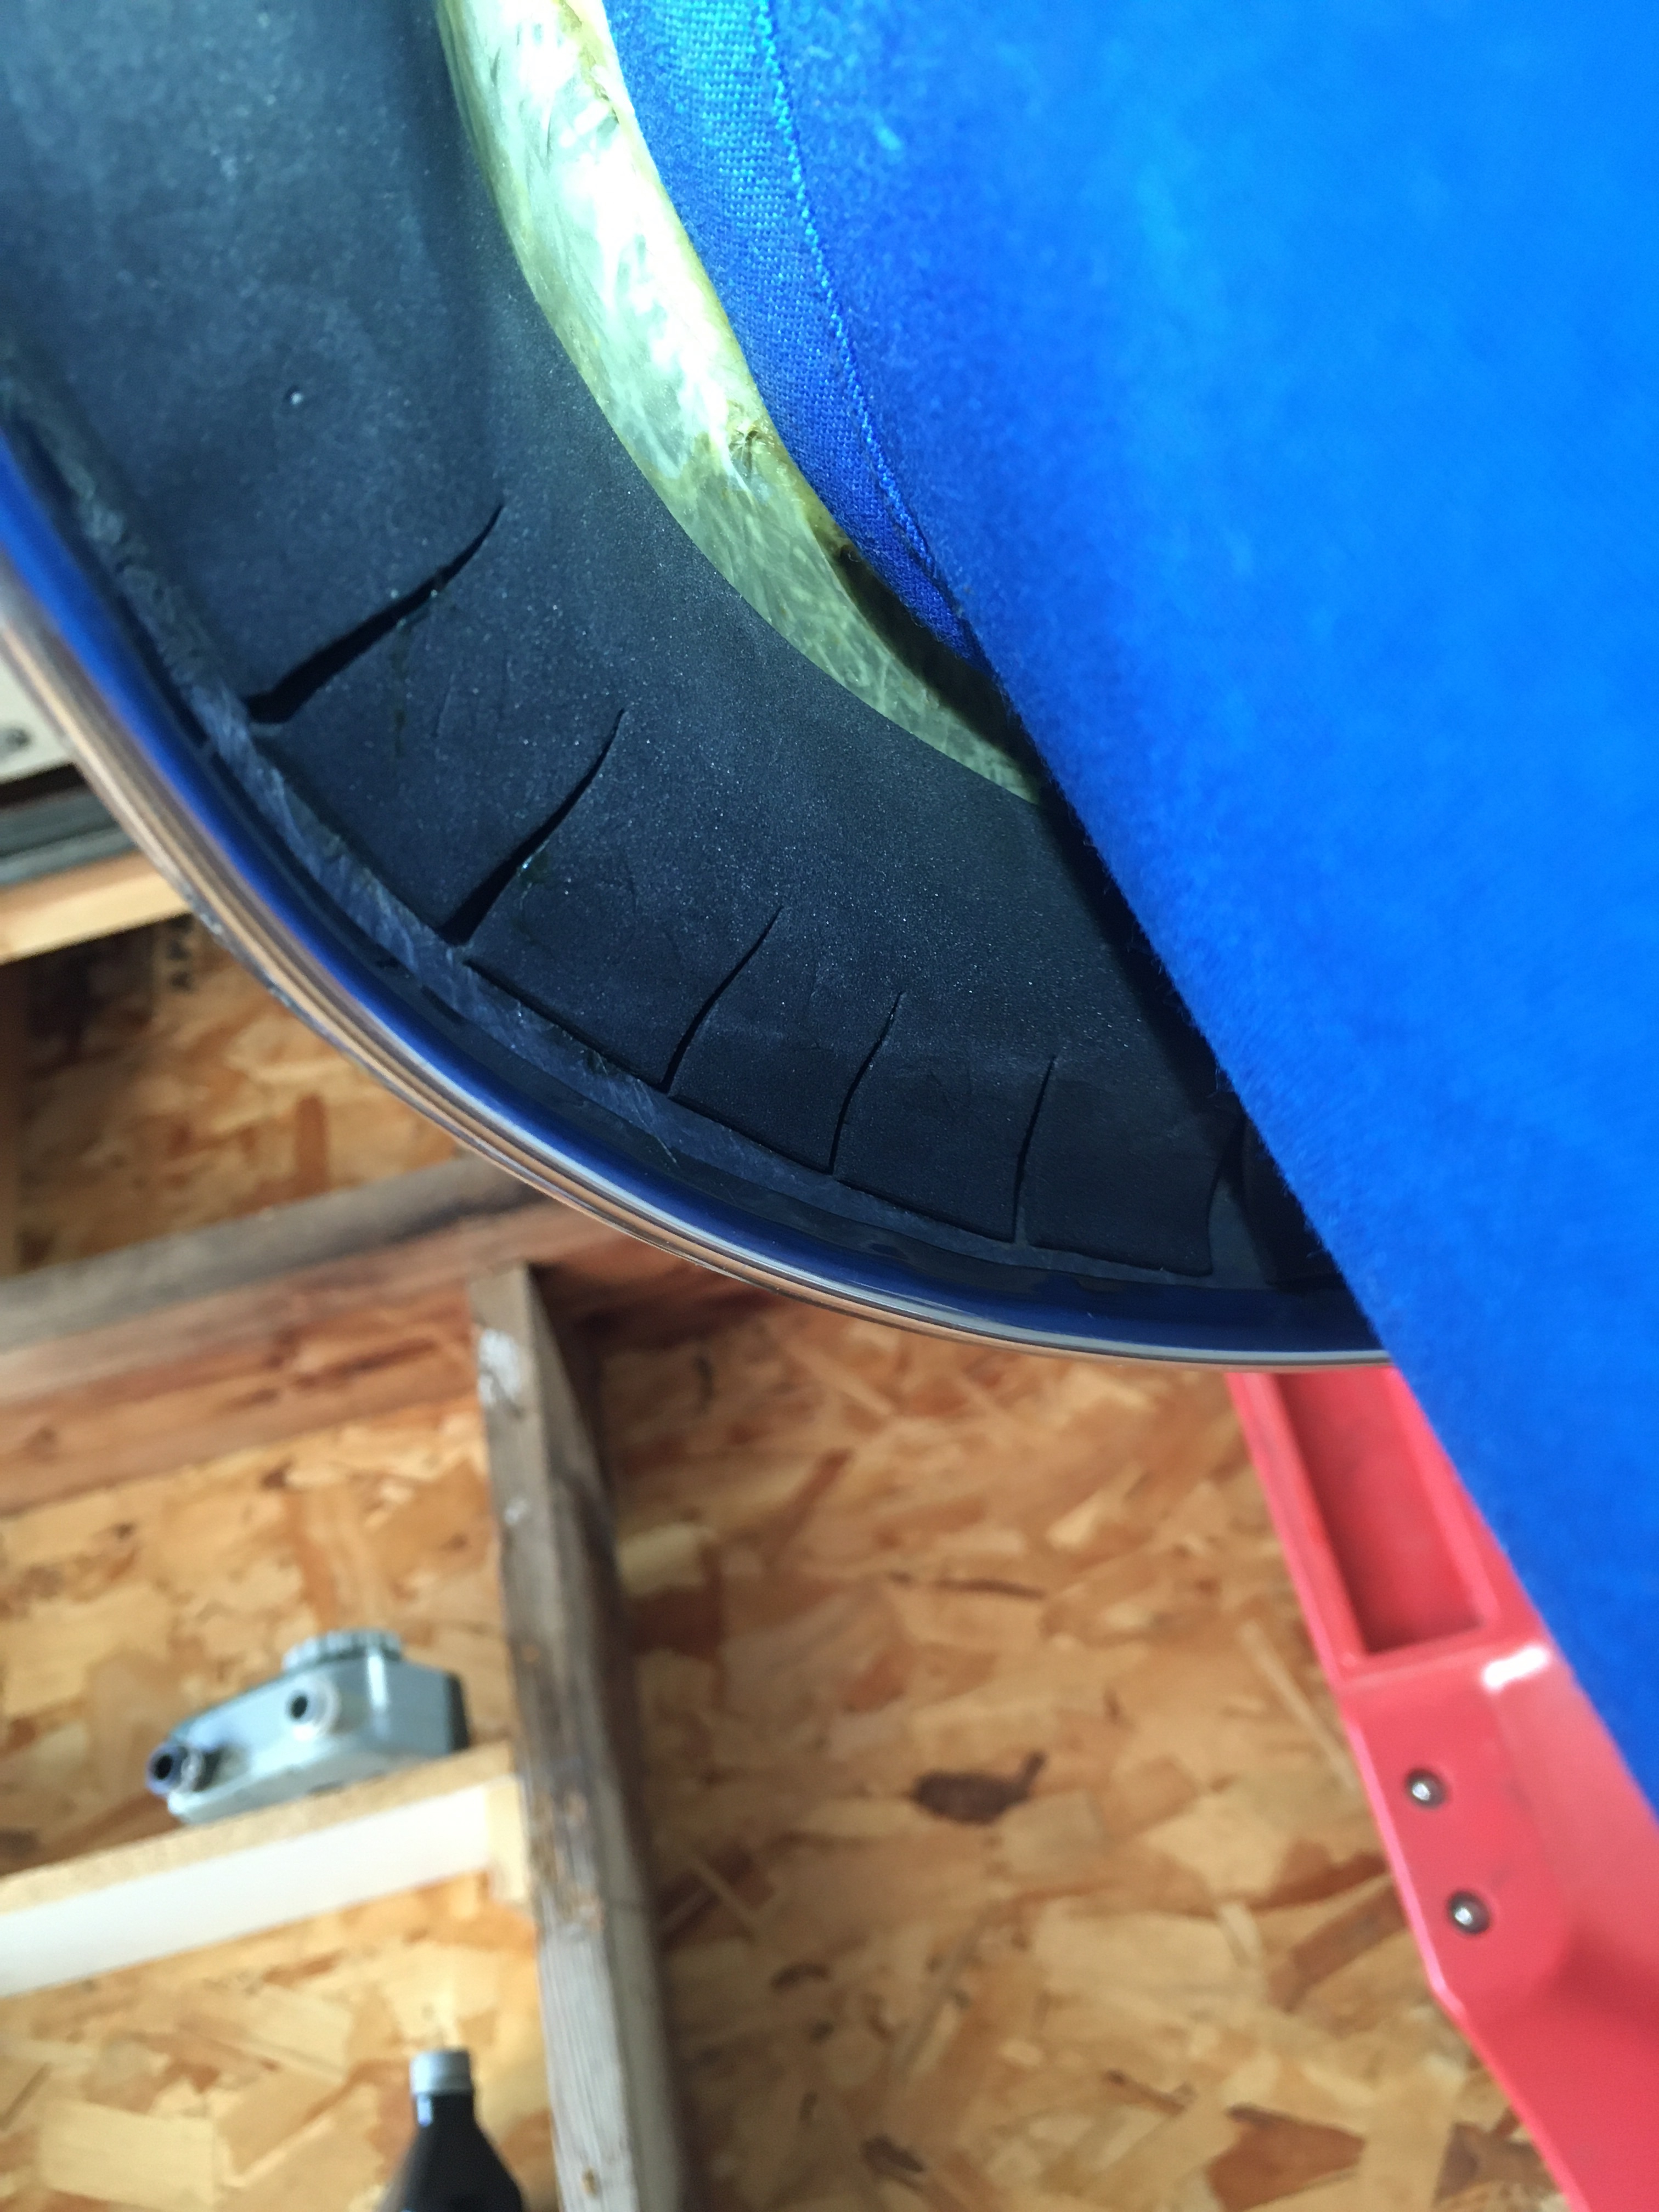
#3. The corners foam need to be cut in order to make the turn. So five to six cuts about 1/2”- 3/4” apart will do the trick.
TIP: The 3m adhesive is not an instant stick in place and does take time to dry. This means going back through and making sure none of the foam pops up before drying.
Edge Guard Trim
22ft of automotive U shape edge guard trim
The door edge trim is pretty self explanatory and it comes with adhesive already inside the U channel. It did take two of us to manipulate it into place. I do not expect the adhesive to last and I do expect to be using an automotive clear adhesive glue to reattach the trim.