96 Land Cruiser Seat Organizers
9/2023- I made another set of these for our new Rav4 Prime

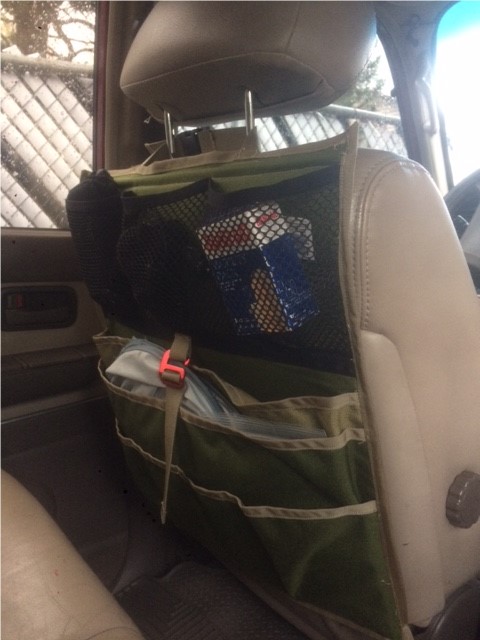
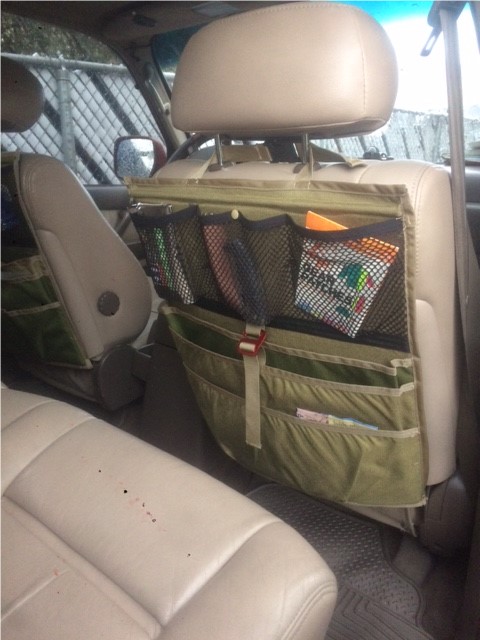
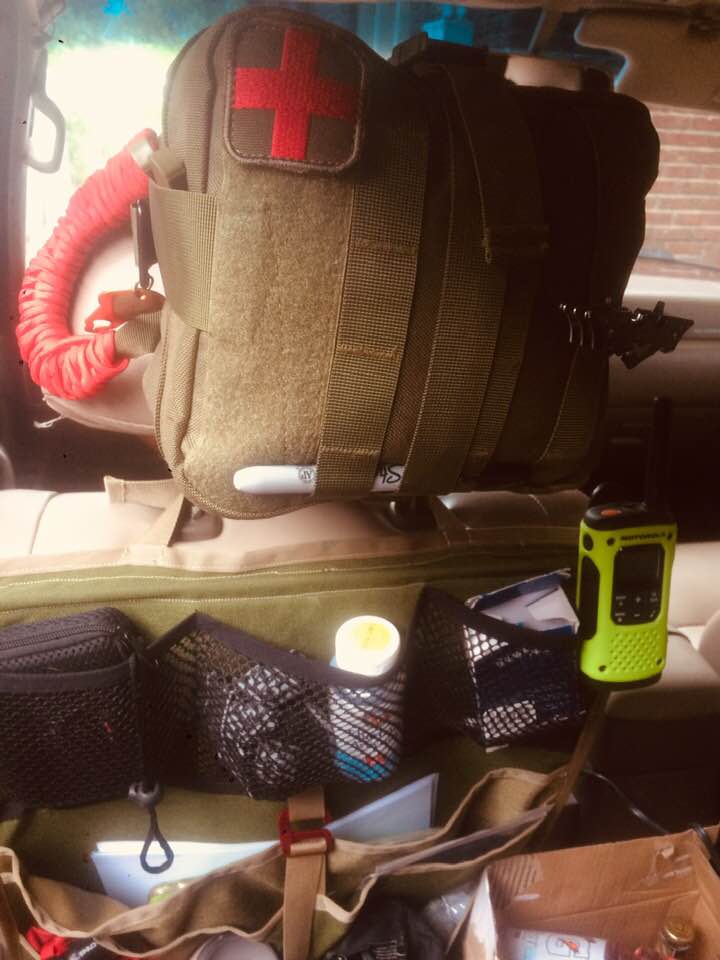
UPDATE 5/27/19: We just got back from the 2019 Overland EXPO 10 year anniversary and testing out the seat organizers and other various upgrades recently made. By far I loved having the organizers and additional attic space. It greatly reduced the amount of clutter strewn about the seats in disaray and it was much easier finding things from my hair brush to the event map.
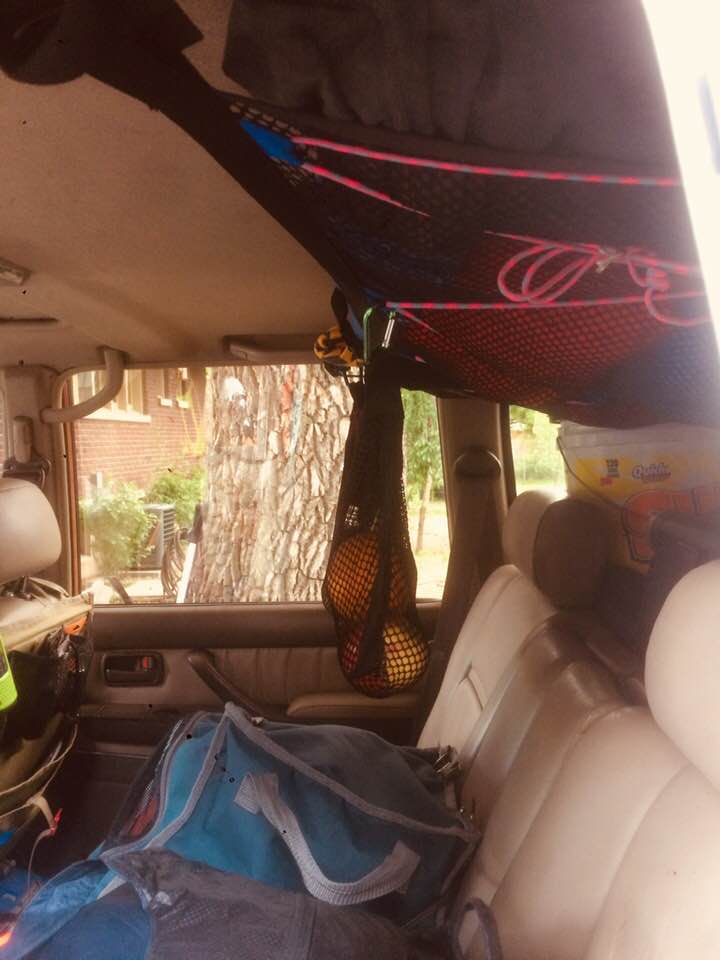
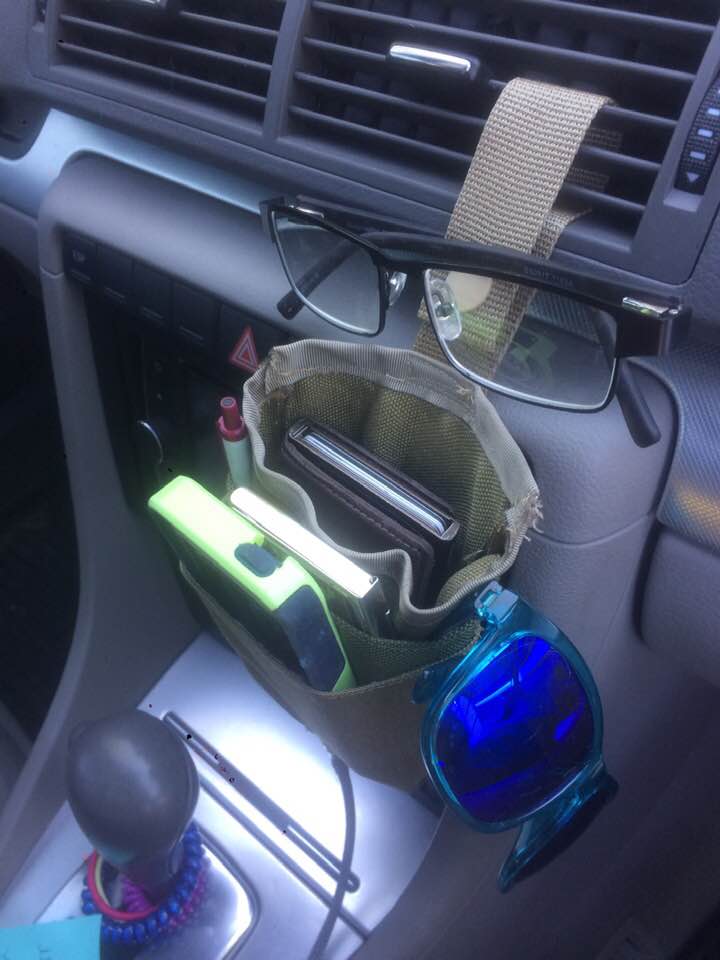
At the last minute I ended up making two air vent hanging pocket organizers for our cell phones, wallets, sun glasses, pens, etc.., a document holder for the driver side of the vehicle, a mesh cargo attic, and a hanging fruit basket with tie down points. I saw a few vendors at the expo selling similar products as the seat organizers & the hanging mesh cargo attic for prices starting at $80.00. For what it is worth this was our first time to the expo!

This tutorial can really be applied to any vehicle. I highly recommend including a half inch sewing allowance along the perimeter of the organizer aka make sure to accommodate for ½ inch of your perimeter sizing to be eaten up by the sewing stitches and edging fabric.
So if your seat is sized at 18 x 22 then the finished product will be 17 x 21.
WARNING!!! I assume that everyone has some basic sewing knowledge and can understand when to backstitch, straight stitch, and use a zigzag stitch and how to set their sewing machines accordingly for tension, stitch width, and length. So none of this information will be included in any of this tutorial.
Seat Organizer Supplies
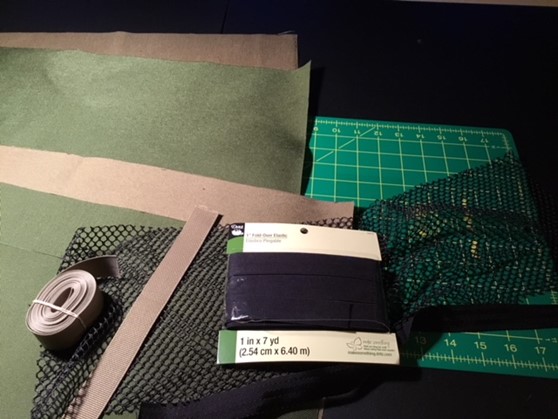
I ordered enough supplies to make two seat organizers from rockywoods.com
Matching durable strong thread (can be purchased from rockywoods.com, I used upholstery thread purchased at Joann’s)
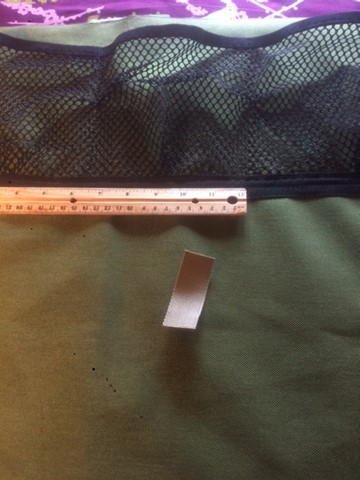
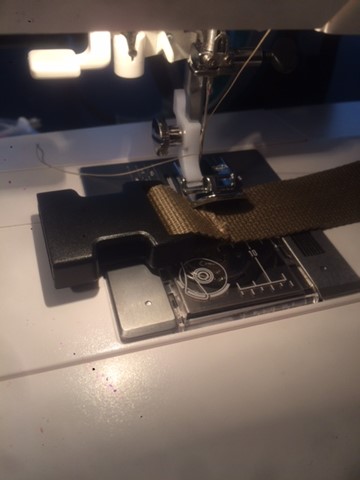
4 yards 1 inch (25mm) Solution Dyed CORDURA® Nylon Webbing
8 yards 1″ Grosgrain Ribbon, Textured, MIL-PRF-5038 Type III
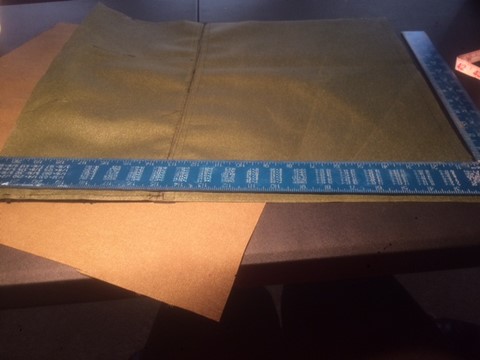
1 yard cordura face fabric (tan)
1 yard cordura backing fabric (olive drab)
1.5 yards 73f double sided fusable Pellon
(2) 1″ G Hooks
½ yard cargo mesh netting (joanns fabric)
1″ fold over elastic (had to buy pre packaged 7 yards Joann’s)
1 yard 1″ Black nylon trim (Joanns fabric)
(2) 1″ buckle set (local army supply store)
(1) fiberglass rod (Home Depot $1.99)
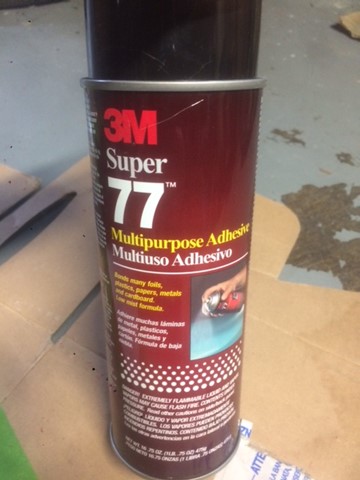
(1) 3M adhesive spray
Sewing Supplies
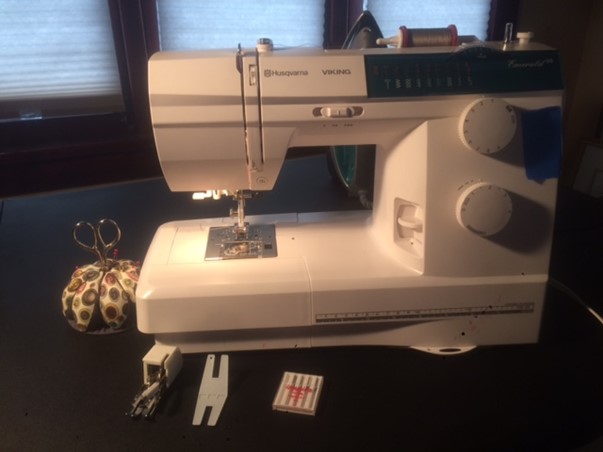
For what it is worth I use a Viking Emerald 118 and I have less than 60 hours of sewing on my machine. I have made my own heavy drapery (Warm Window insulated), window damns, reusable menstrual pads, and essential oil infused eye mask, and repairing my husband’s bike shorts. My emerald had a few hiccups while sewing these but I contribute it mostly to the extreme thickness of the thread. I broke one needle but it was a weaker universal needle not equipped to handle the tension of the upholstery thread. It broke when I manually pulled (yanked) the thread by hand and the needle snapped into pieces. This problem did not occur again once I remembered to switch over to the denim needles.
In addition to a regular universal sewing foot and needles I heavily used..
-
Denim sewing needles
-
And my Zipper foot
I had on hand my walking foot and other various tools that I didn’t actually end up using. Aside from the thread being thicker and creating exhausting issues my emerald just powered through everything I threw at it without skipping a beat, and that is sewing through 5 layers of cordura, 1 layer of thick 73f pellon, and 2 layers of cordura bias edging for a total of 8 layers!!!!
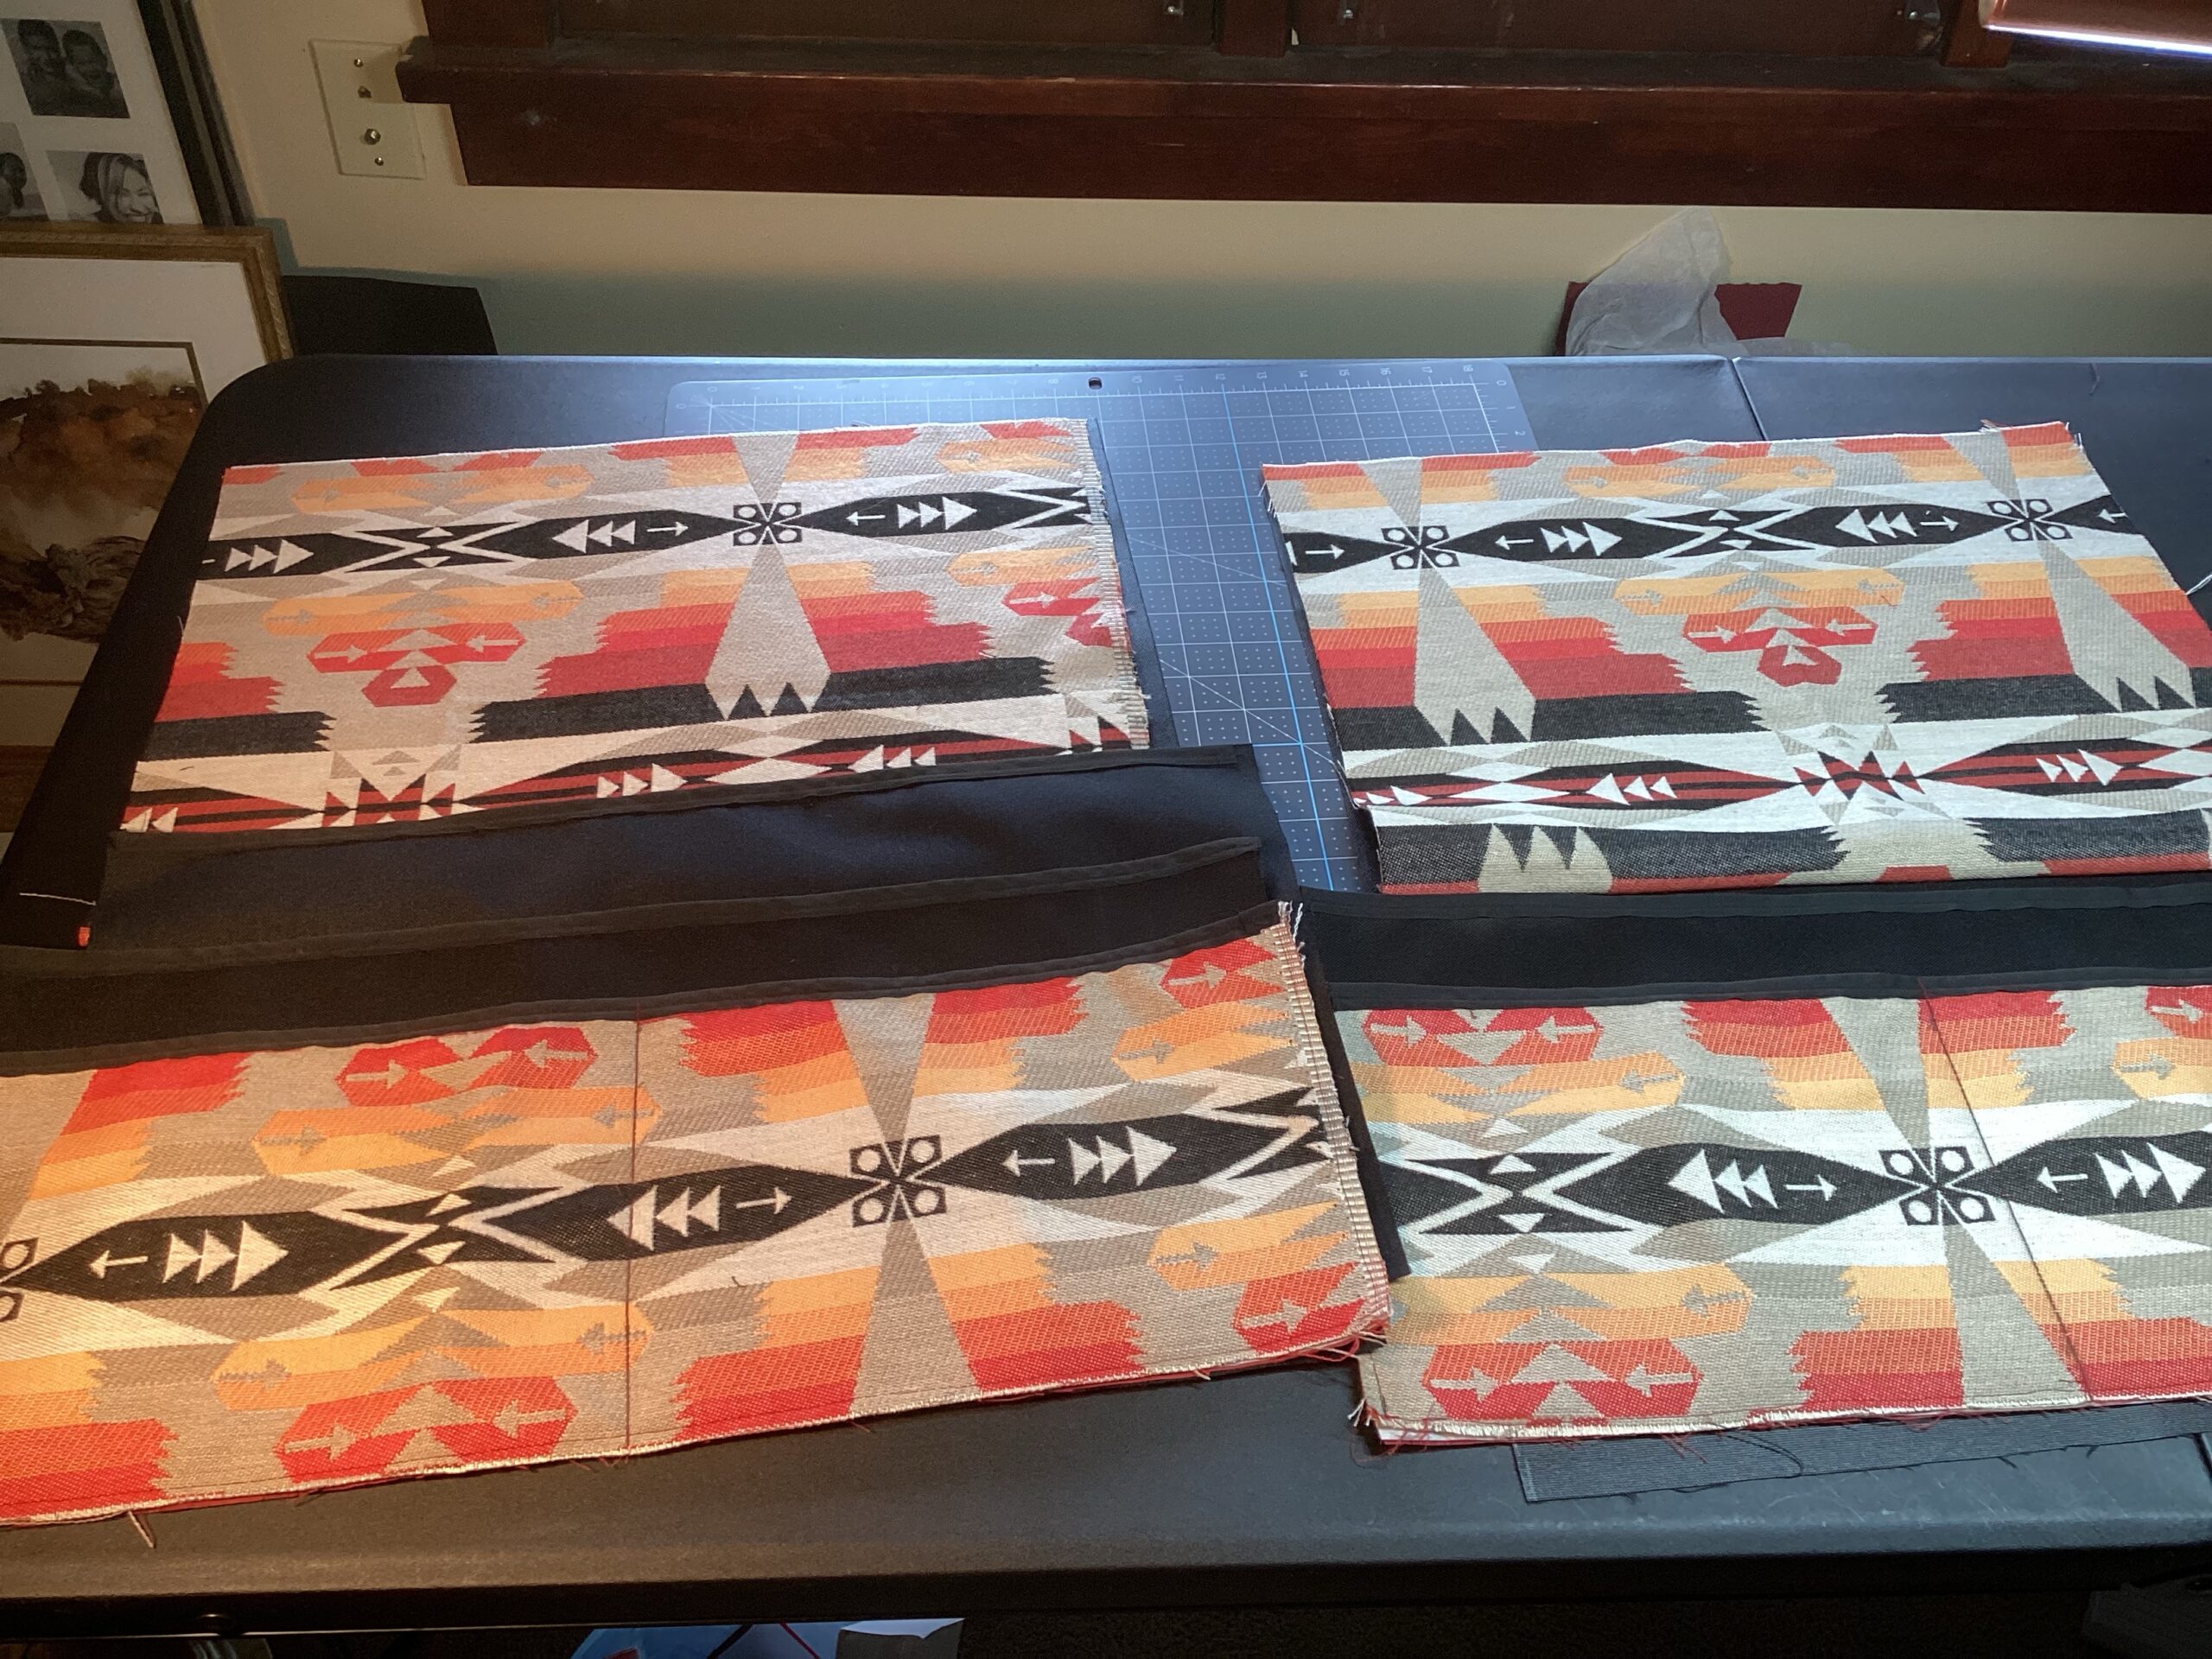
CUTS
(2) 19×21 Face and Backing cordura
(1) 12×21 large pocket
(1) 10×21 middle pocket
(1) 7.5 x 21 double pocket.
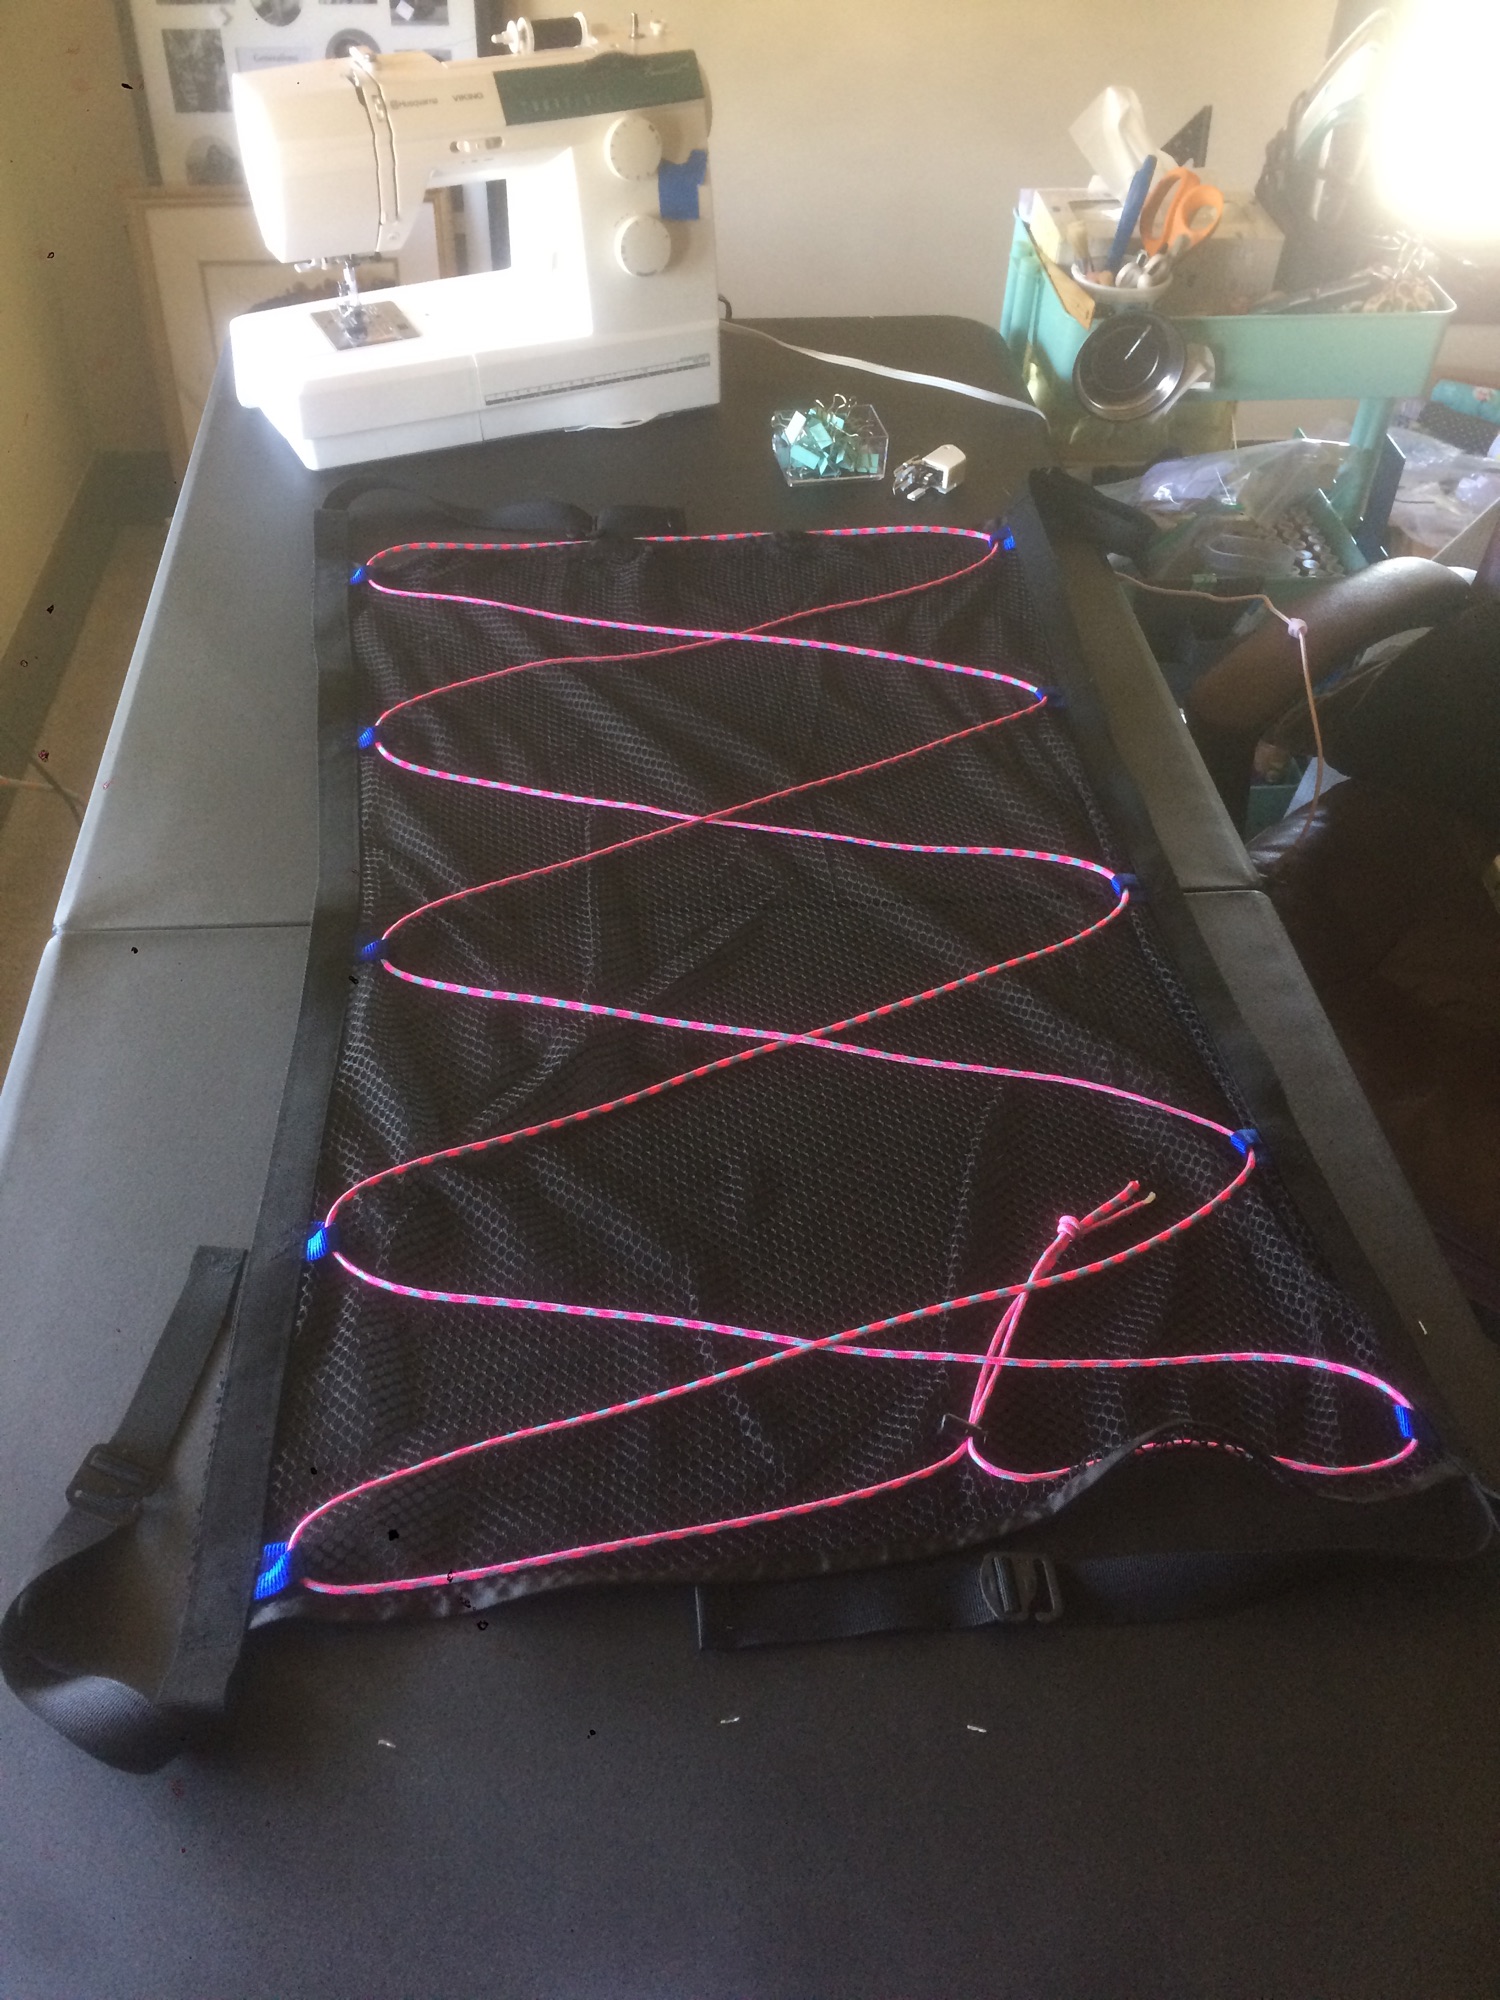
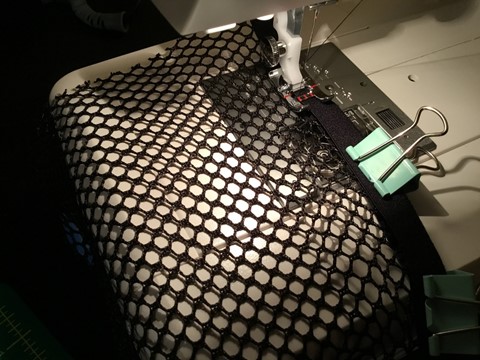
(1) 7×22 mesh cargo pocket
(1) 22″ fold over elastic
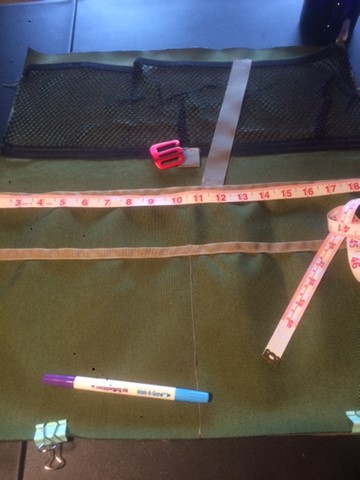
(1) 19″ nylon Trim
(3) 1″ 21″ bias
(1) 1″ nylon webbing 9″
(1) 1″ nylon webbing 3″
TIP: The dull side or non-coated side of cordura is the face side up.
Getting Started…
1. Make a template to fit for the back of the front seats.
2. Cut the 2 body pieces, front and back panels, each pocket, mesh pocket, trim piece, bias tape, fold over elastic, and netting.
I used alternating colors in my organizer of tan and olive drab green.
Putting it all together…
3. Pin all pieces into place to verify spacing and measurements before sewing.

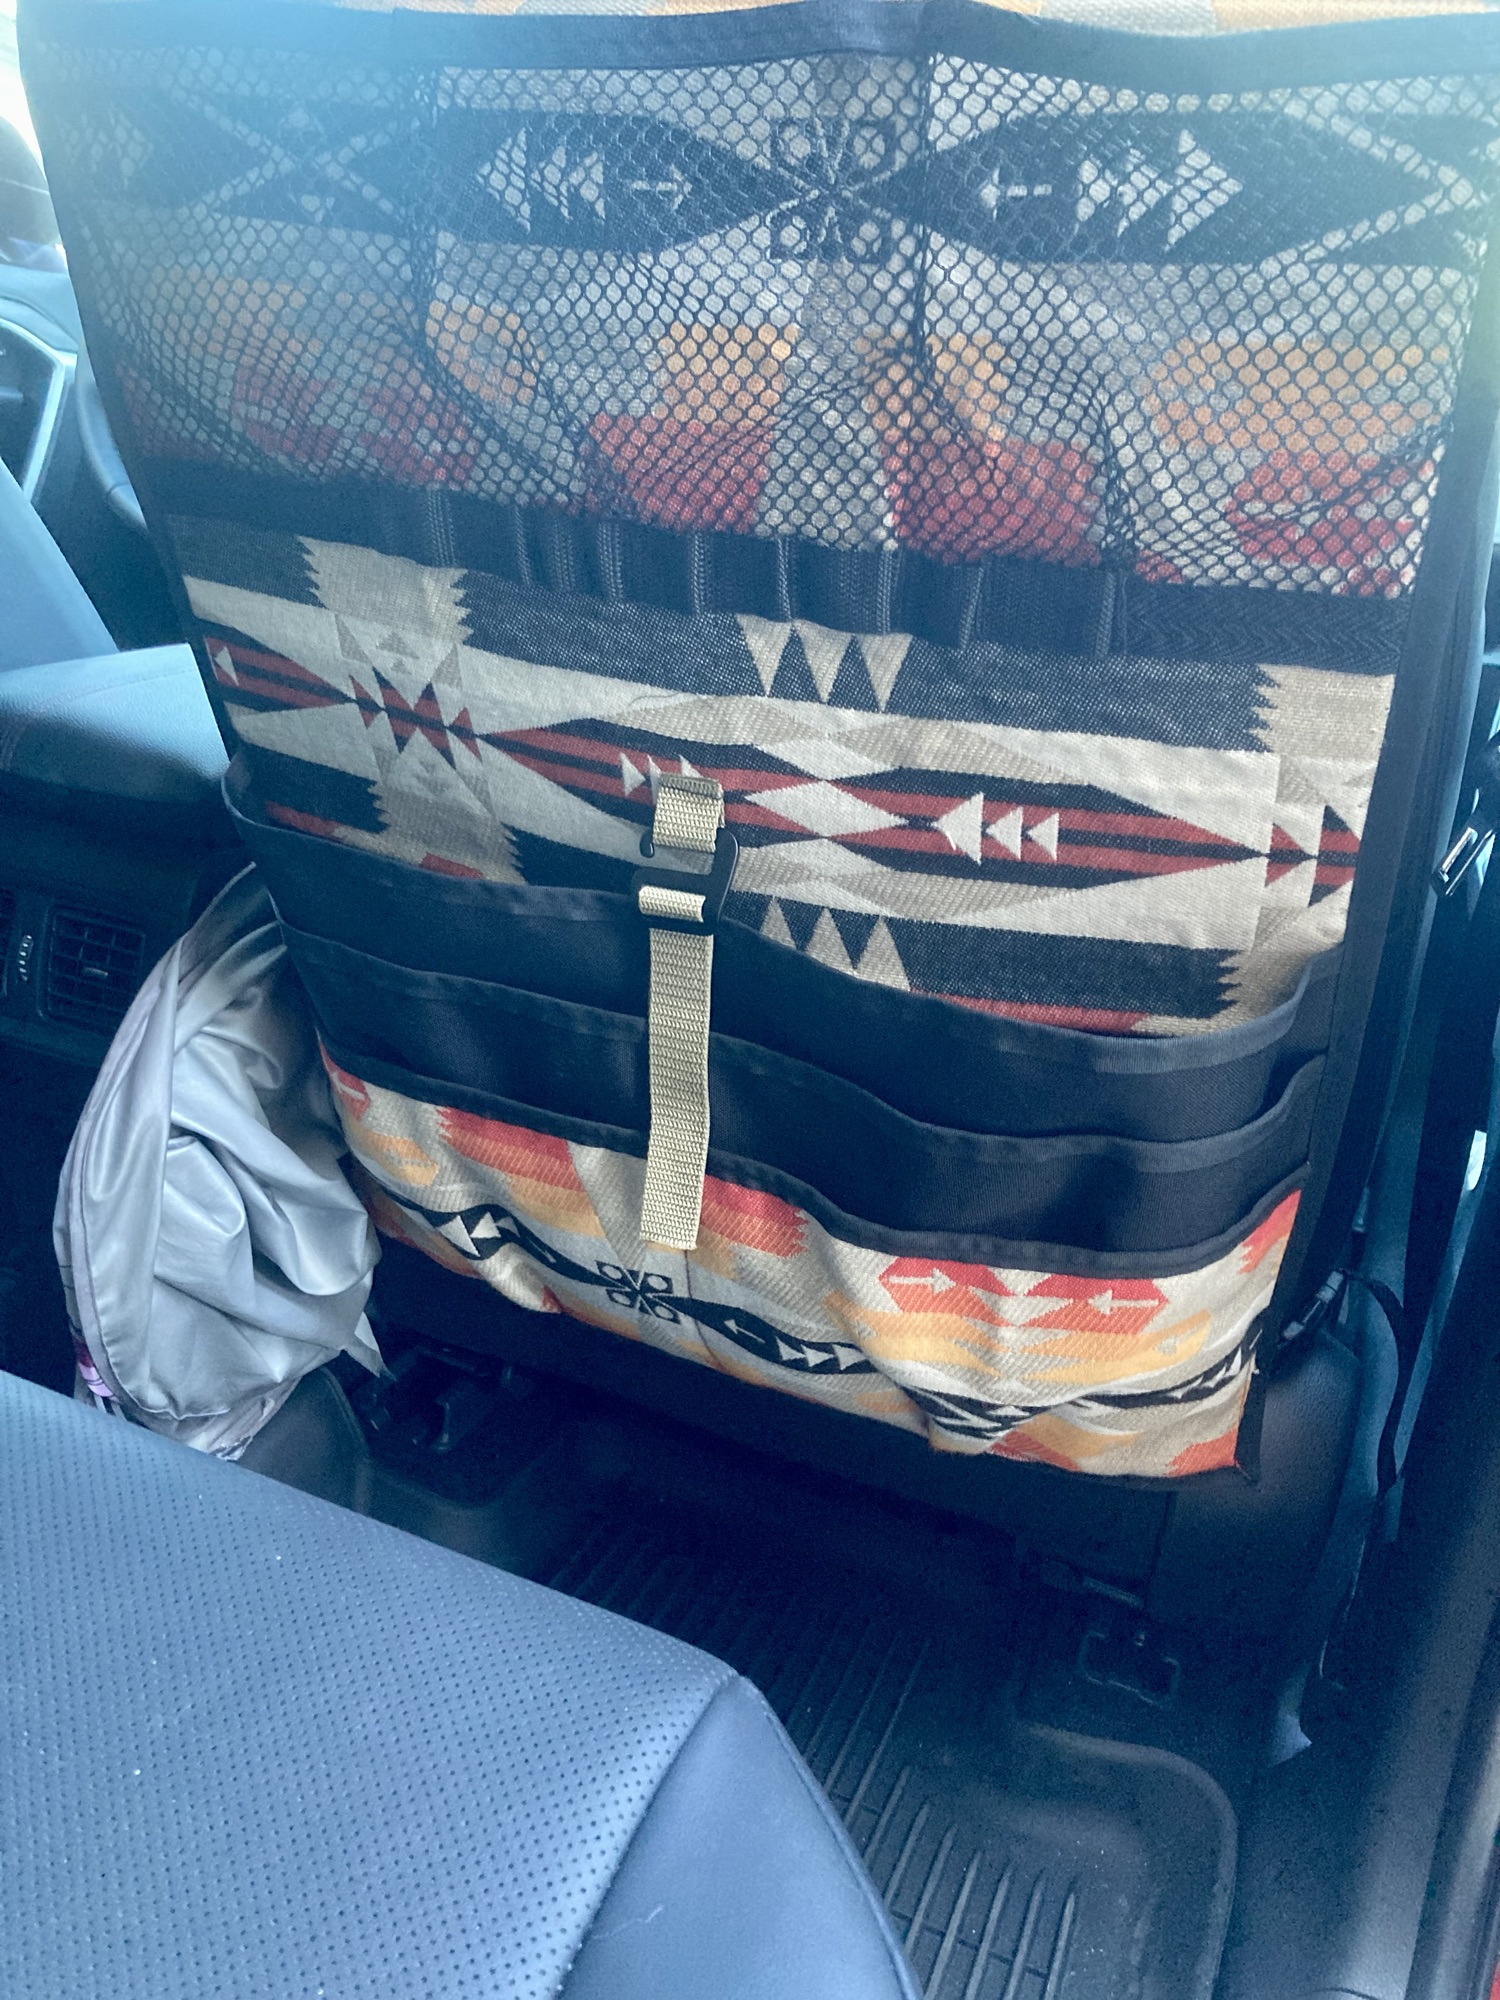
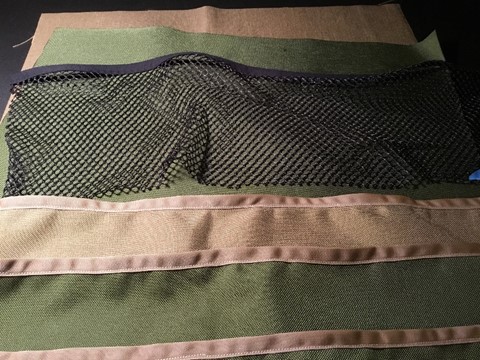
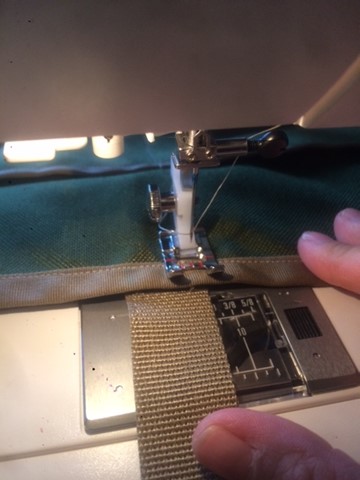
4. Next sew the bias tape to the top of each piece of pocket fabric and the fold over elastic to the mesh cargo netting. I recommend finishing with a straight stitch along the edge to prevent any loose pieces from coming out of the mesh pockets.
5. With the face sheet cordura face up measure 1.5 in from the top and draw a horizontal line, 8 inches from the top draw a parallel line. Now measure out and draw even spaced pocket lines 6.5inches in from both sides.
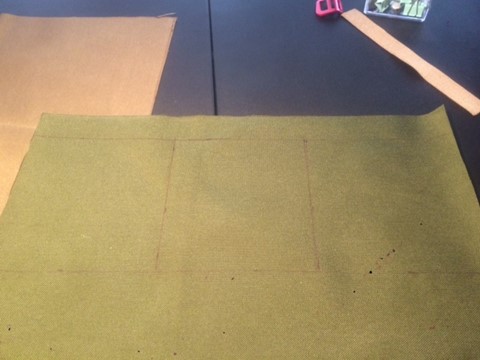
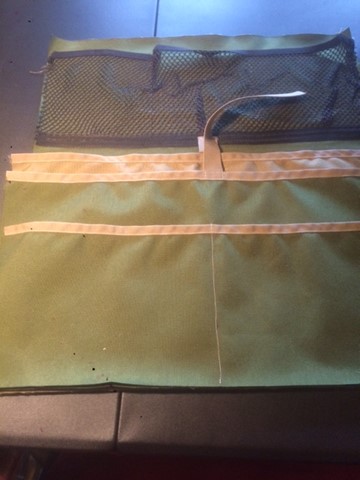
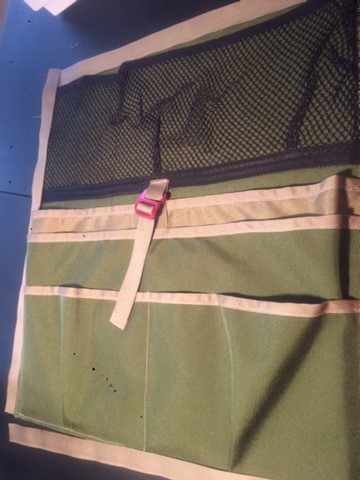
6. Place and pin the mesh cargo pocket to these sewing lines and sew. Here I added a vertical and horizontal 1″ pleat to the center of each sewed perimeter line(the bottom and sides). I then sewed down the drawn lines with a straight stitch.

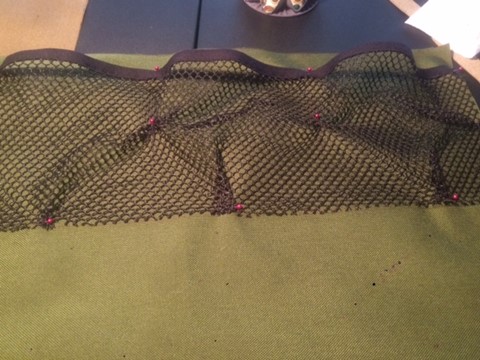
7. Now place the trim piece overlapping the bottom of the mesh pocket and sew into place.
TIP: Optional but not recommended, now would be a time to attempt to iron on the pellon F31 to the back of the face sheet. See my section on “Attaching Pellon” for additional options and information.
8. Now take the two bottom pockets and pin them together to sew the middle sewing point which is the exact center of the two pockets.
DO NOT sew the outer most edges together.
9. Adding the cargo pocket straps
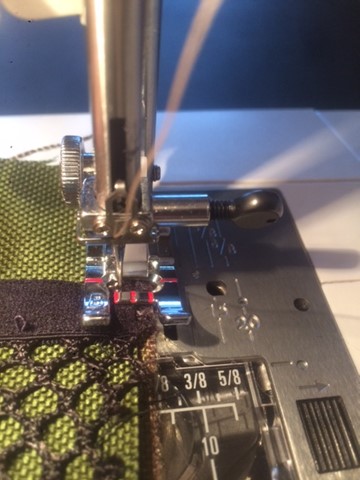
a) Take the 3″ of 1″ webbing and sew it to the middle of the bottom of the mesh pocket directly on top of the trim piece. I turned it into a loop and sewed a straight stitch.
b) Take the 9″ long webbing and sew 1/2″ or so of it to the center (9.5″) of the second/middle cargo pocket. The larger or 1st cargo pocket is not pictured below in the first picture. I sewed the 9″ strap to the underside/inside of the cargo pocket and used a box stitch frame to secure it in place.

(Update 2023) Glue Pellon stabilizer to front and Back panels before sewing bottom pockets into place.
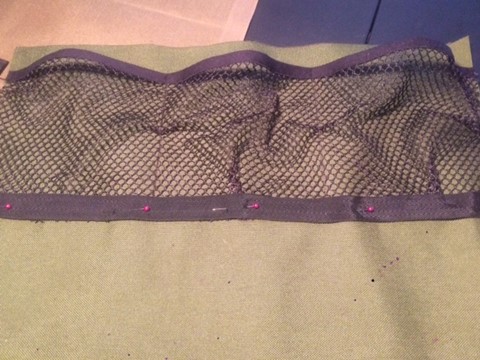
10. Measure 1.5 inches from the bottom of the mesh pocket and begin layering and pinning the three cargo pockets in place
11. Add pleats and it is a good idea to set the pleats with the iron on a low setting. For my two large cargo pockets I added a box pleat and for the two lower pockets I added a center pinch pleat.
It is optional to wait to sew all layers together but it is easier to sew the pockets together at this step.
ATTACHING PELLON F31
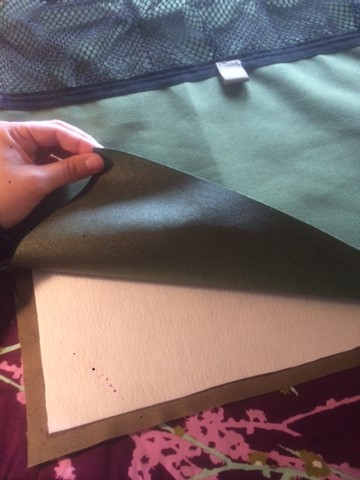
It is important to note that the Pellon F31 is fusible by iron however the Cordura does not seem to want to fuse with it especially after adding all the additional pocket layers of fabric so instead I found a work around using 3M adhesive spray!
I ❤️ Love this spray adhesive it is fast and easy to use. I have used it to make 2 sets of these organizers now and I do not recommend wasting time tacky glue or fabric fusion. I was able to quickly make adjustments before it dried in place and then it dried quicker than tacky glue with a much stronger adhesion and it was ready to continue sewing.
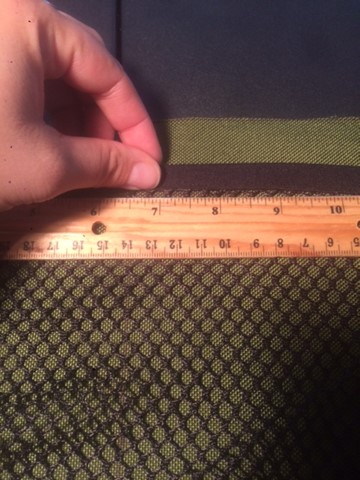
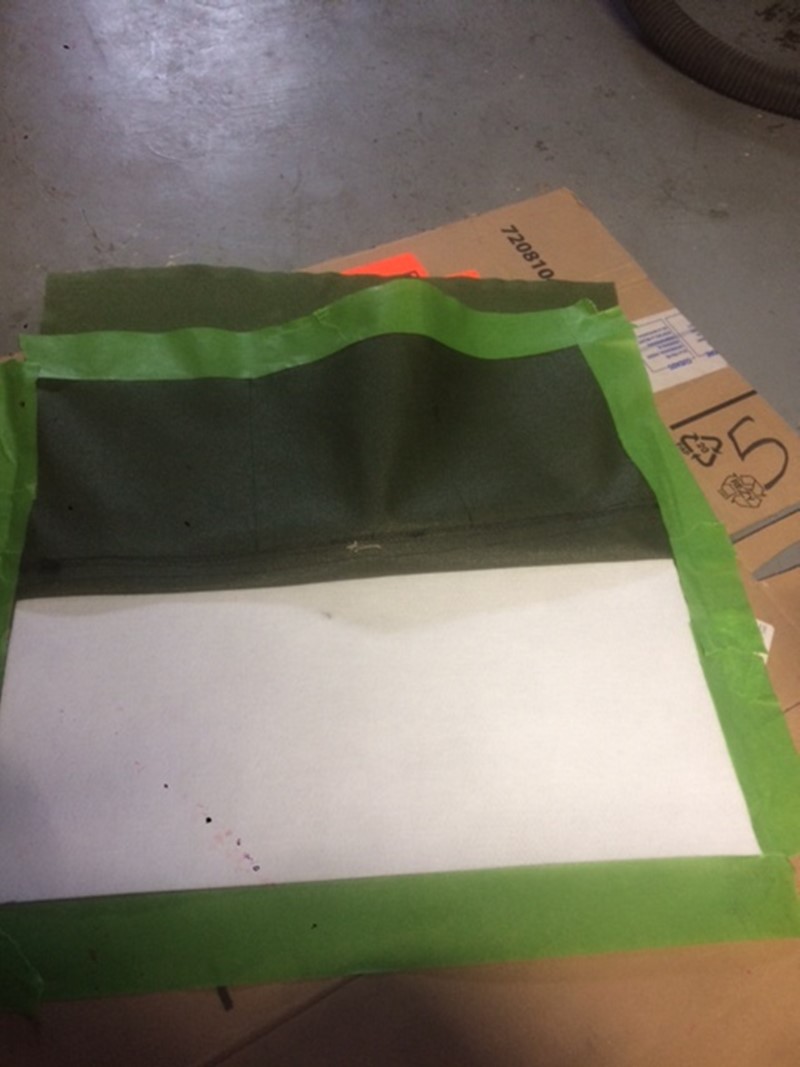
12. Cut the pellon (19×18) to include seam allowance and head room at the top to install the fiberglass rod. Cut 1.5″ off the top of the Pellon and 0.5″ from the remaining 3 sides.
13. Draw on the underside of the face fabrics 1.5 inches from the top and 0.5 inches around the remaining sides to align up the pellon.
14. I attempted to IRON fuse the Pellon which FAILED! So then I used painters tape to cover my sewing allowance edges ½’ before spraying the 3M adhesive spray on both the Pellon and the Cordura. I removed the painters tape and waited for a tacky surface before adhering the two pieces together and then flipped and repeated for the other side.
IRON PELLON (failed) with Cordura. However it could work with other fabrics..
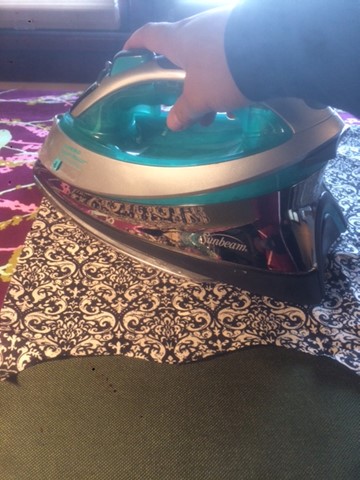
.
17. If you didn’t previously sew the pocket layers together as suggested in step #11 then now Pin all 3 pockets together again and reform all the pleats.
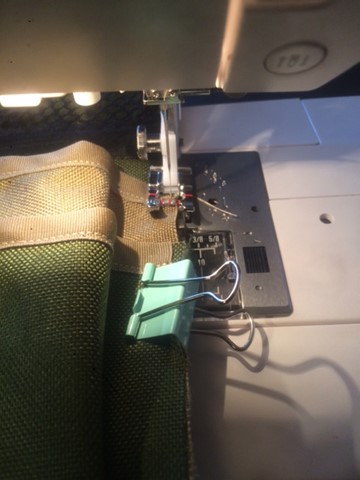
18. Sew the perimeter of the pockets in place. Use a zipper foot at the top to get a s close to the pellon as possible, Leave the top 1.5″ open.

19. Wearing gloves, eye protection and easily removable long sleeve shirt and pants. Cut the fiberglass keeping 0.5 inch sewing clearance on both sides.
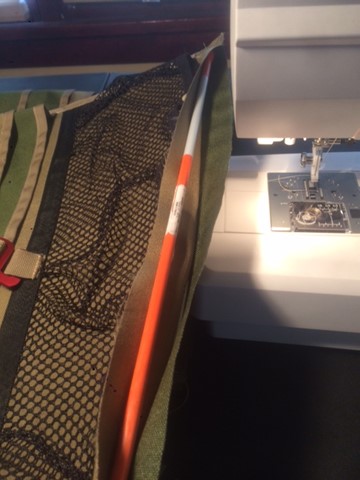
20. Use the zipper foot to get another close stitch to the fiberglass rod.
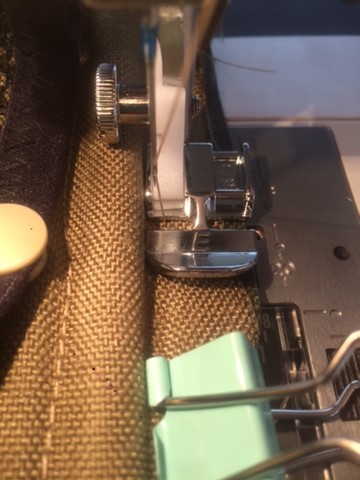
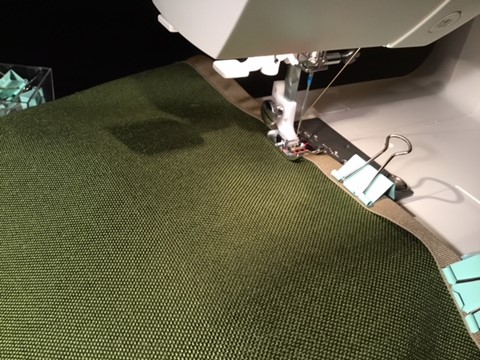
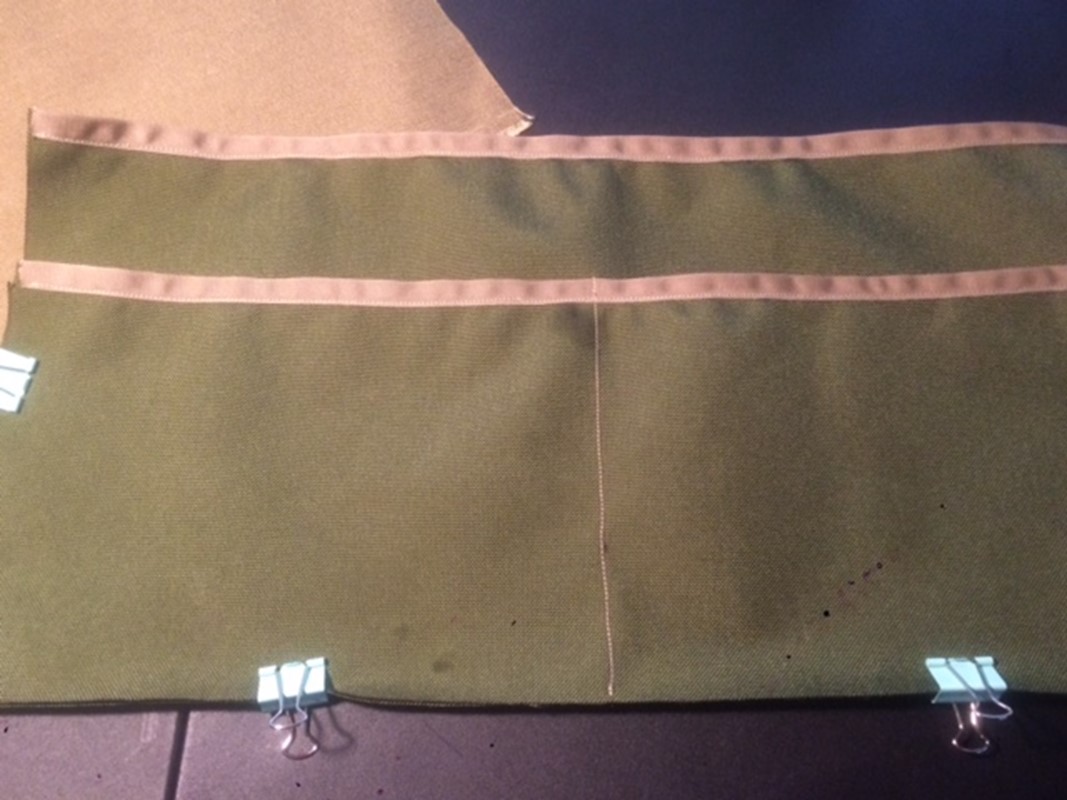
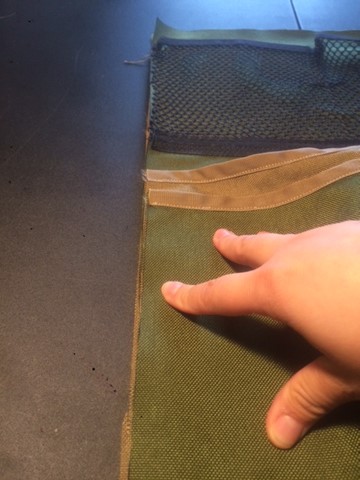
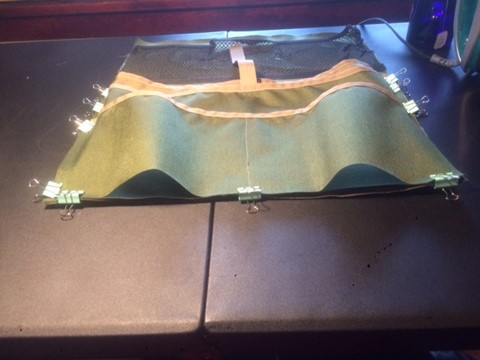
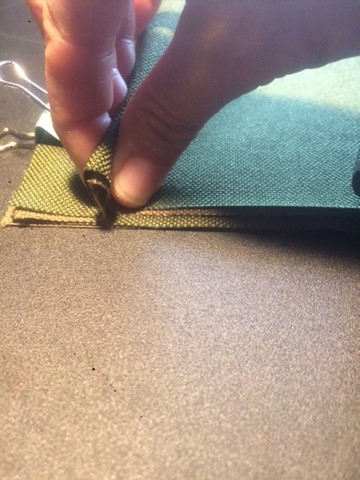
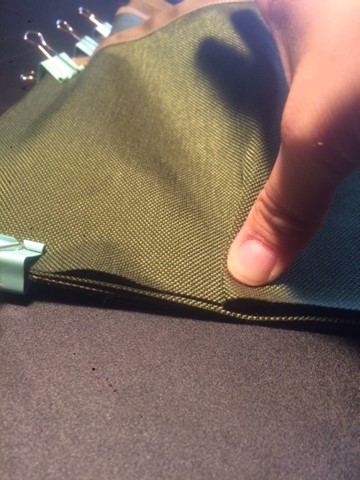
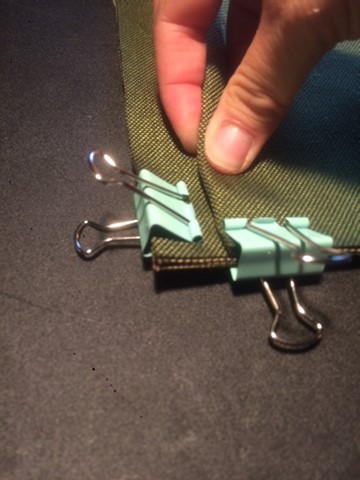
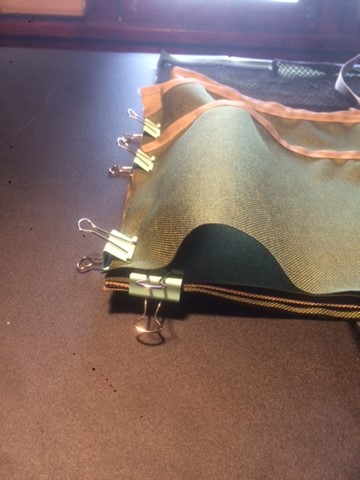
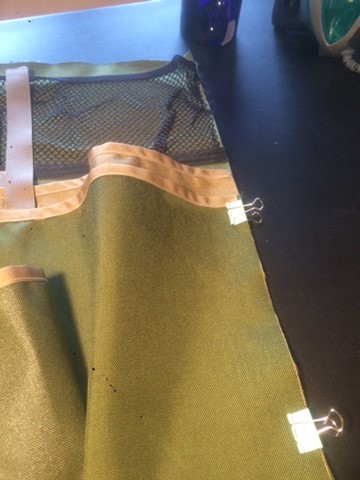
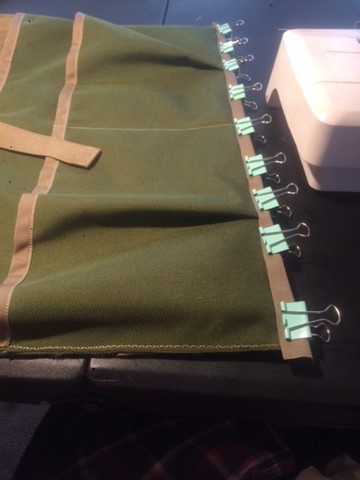
21. Add 1″ inch bias. To the entire perimeter of the organizer.
22. Add the support straps and buckles, this part is pretty self explanatory. Take your organizers out to your vehicle and mark on the organizer where you want the straps to be added. Then sew 1/2″ of the strap onto the back of the frame of the organizer.
THE END!!!!
Now go admire and enjoy the seat organizers!