Single Pane Window Insulation and More

I will explore making my own Window and door Draft Stoppers, thermal insulated curtains, ½ in EMT conduit curtain rods and finials, and no drill options for hanging the curtain rod and hardware.
Our 100 year old historic home has very drafty single pane windows, over 48 windows to be exact. I love the way my windows look but not the way they feel in the dead of winter. We have considered replacing the windows with time appropriate hand made versions except it exceeded our financial expectations for the project due to the exceeding number of windows in our home. Our exterior walls are plaster and lath directly on top of brick without any studs or insulation in the walls. This poses a huge problem because I can’t hang anything from the walls without it falling off, not even curtains. I don’t dare drill into the beautifully preserved Gum Wood window framing that has already been butchered. Additionally our house is very drafty and has cold spots despite having been updated with central heating and air.
My biggest challenges are
- I can’t drill into my walls
- 11ft wide window bays
- And I won’t drill into the woodwork
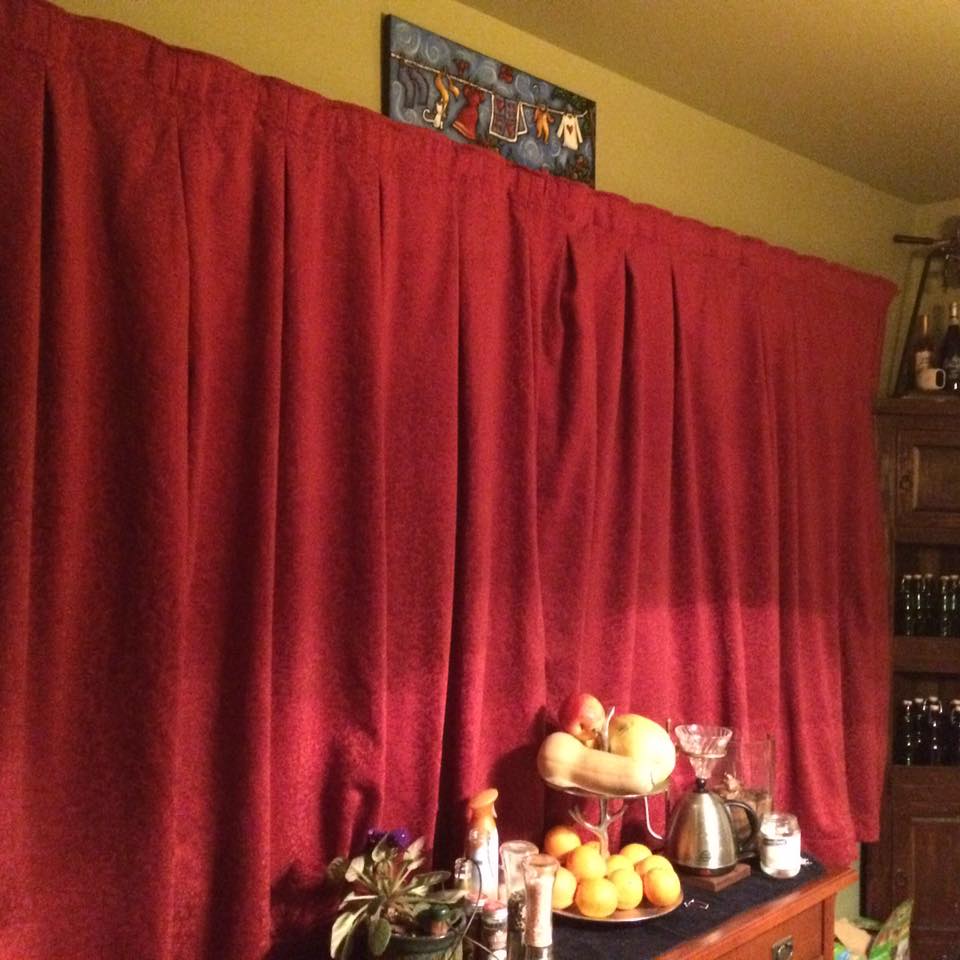
The first solution I implemented was to hang curtains near our entry way.
At first I hung regular curtains on a tension rod with thermal grade sheers behind them to separate our entry way and stair well from our main living area. This seemed to help with some temperature regulation between the areas however I did eventually upgrade to actual Portieres, which are superior to unlined curtains.
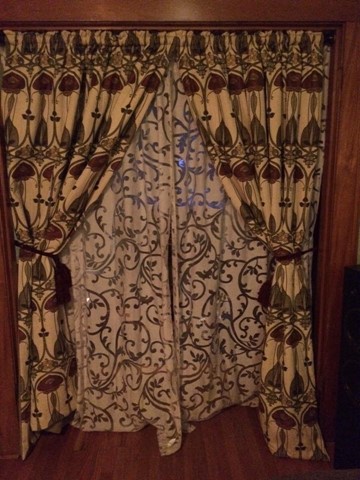
Upgraded to Portieres
Portieres can be made to be thermally insulated with dual faced heavy closely knit fabrics. The close knit heavy weight fabrics are for aiding in regulating temperature from room to room or around drafty doors. I noticed a significant improvement of temperature control once the portieres were in use which then motivated me to move forward with making my own insulated curtains for the windows.
For what it is worth I had the portieres made and imported from England in the style of Rennie Mackintosh Voyage Belle Epoque via The Morris Room on Etsy. It was quit the challenge trying to find this craftsman style fabric as it does not exist in the U.S. and I highly encourage the use of properly made portieres as they have made a huge impact on temperature regulating our living area.
You can buy the fabric by the yard and make your own curtains, pillows, or whatever your heart desires.
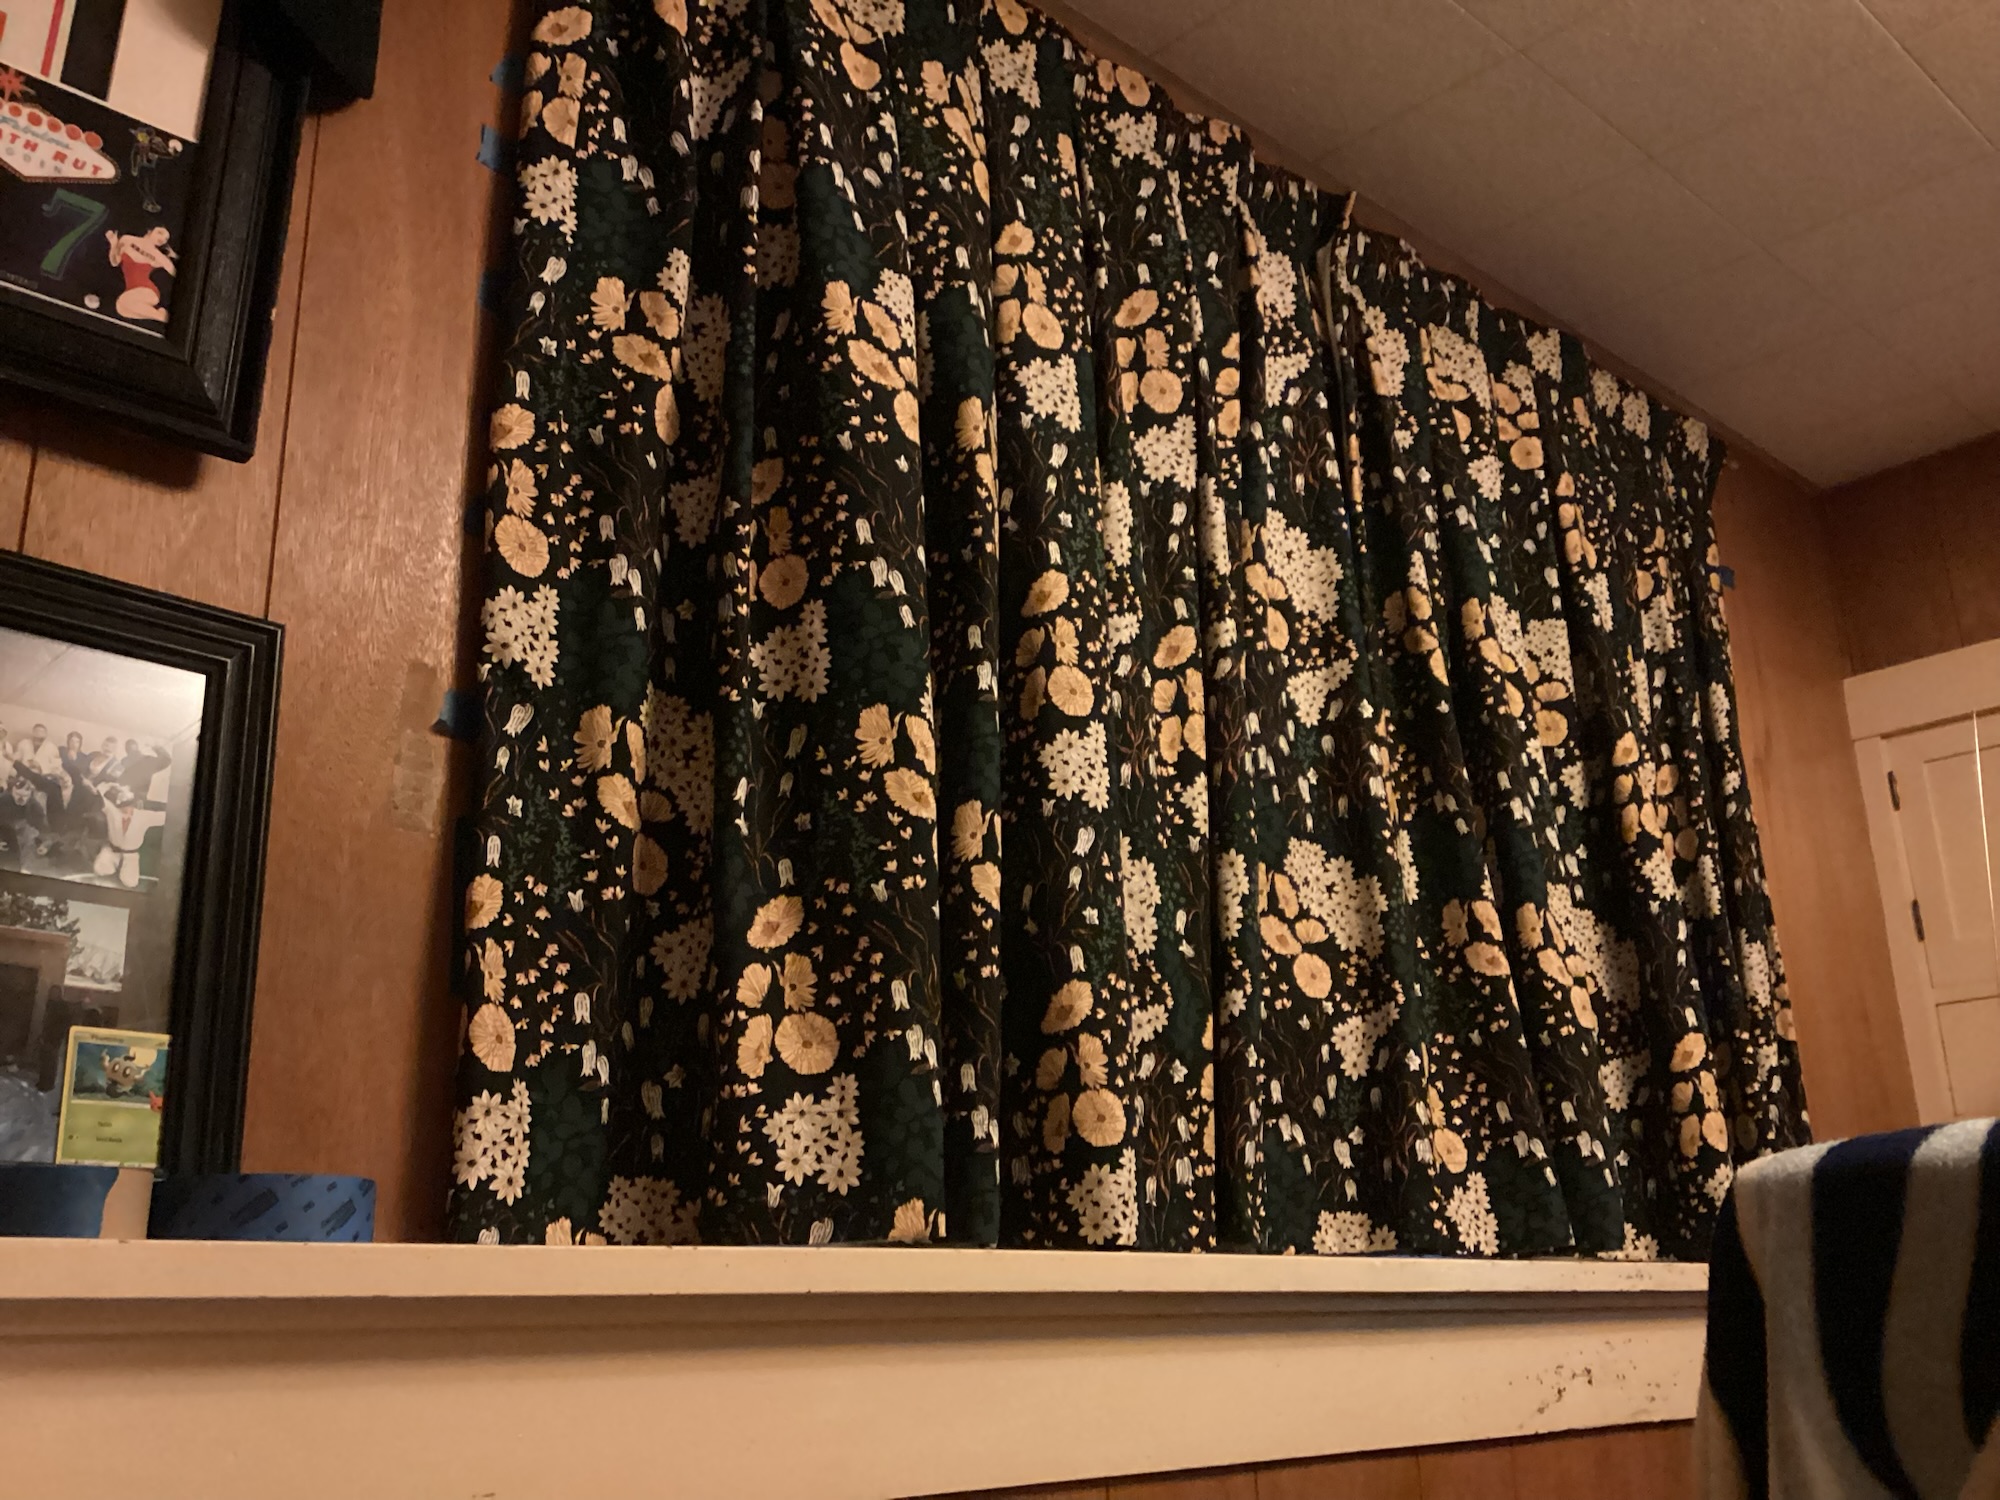
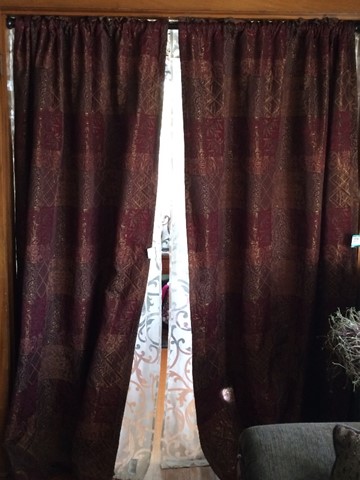
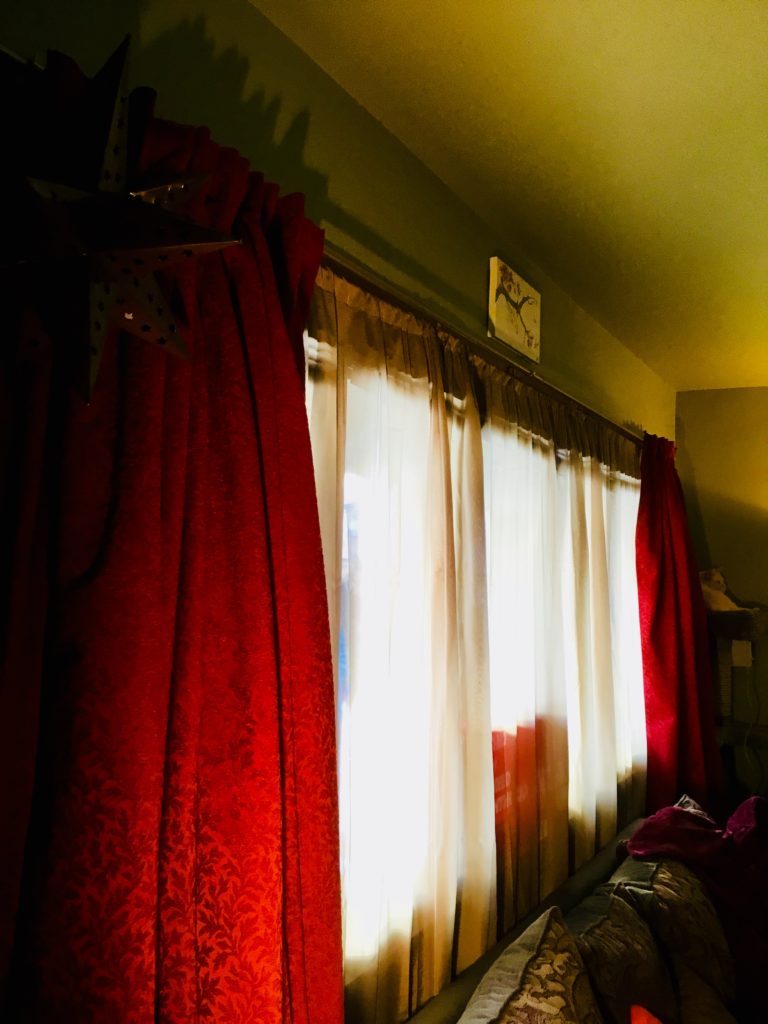
Next I used 3m command hooks and wooden dowels to hang thermal regulated sheer curtains. However this was like trying to stick duct tape over a 2″ hole on a PVC water pipe, the air still just came leaking in with little to stop it. If you want to get a finished look I would suggest spray painting the command hooks and wooden dowels to match one another. I wish I had taken the time to spray paint my command hooks and wooden dowels before I used heavy duty packing tape to connect my wooden
dowels to one another. Additionally I have since added buttons to the sheer curtains to keep them connected when opening and closing the heavy drapery to avoid the gap that shows the wooden dowles.

Perhaps like me you might even want to go a step further and make your own insulated Curtains. However if you are a home owner then maybe you are looking for a long term permanent solution to address the issue. Unfortunately there is no one size fits all pre made fix for these issues but I will share some of the ideas I have come across and links that you can follow to learn more about how to DIY your own thermal curtains, storm windows, and plexi glass indoor storm windows.
#1. Drafty Windows, Doors, & Fireplaces
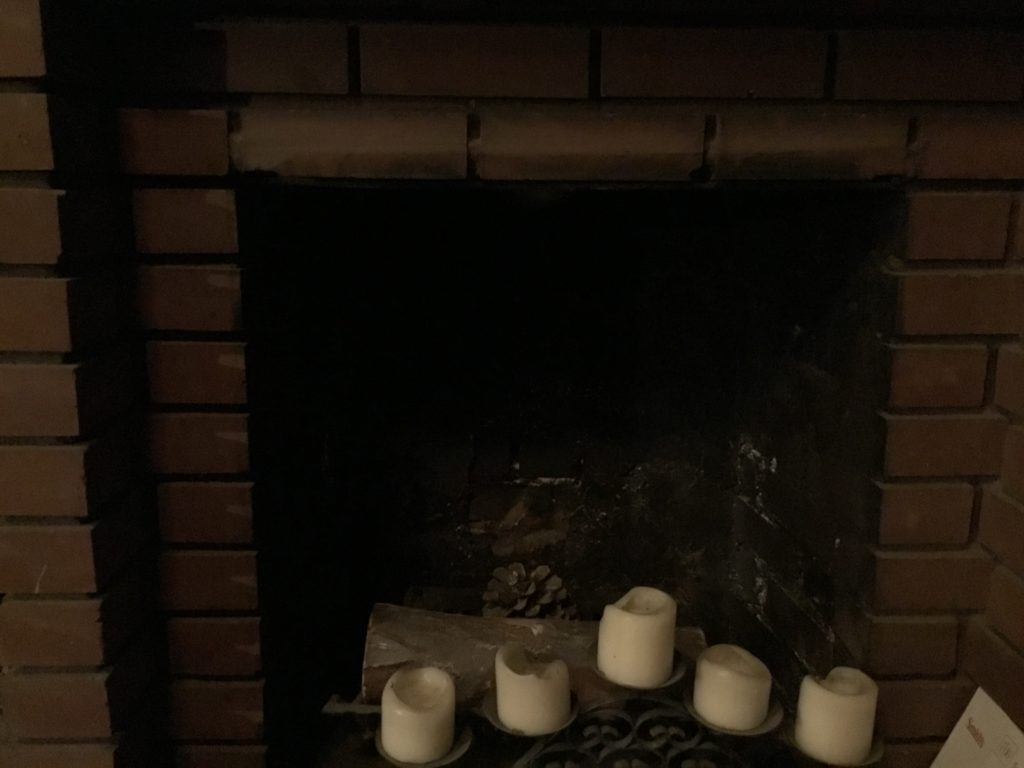
Fireplace
I upgraded the fireplace by adding a gas insert which helps provide heat during prolonged power outages.
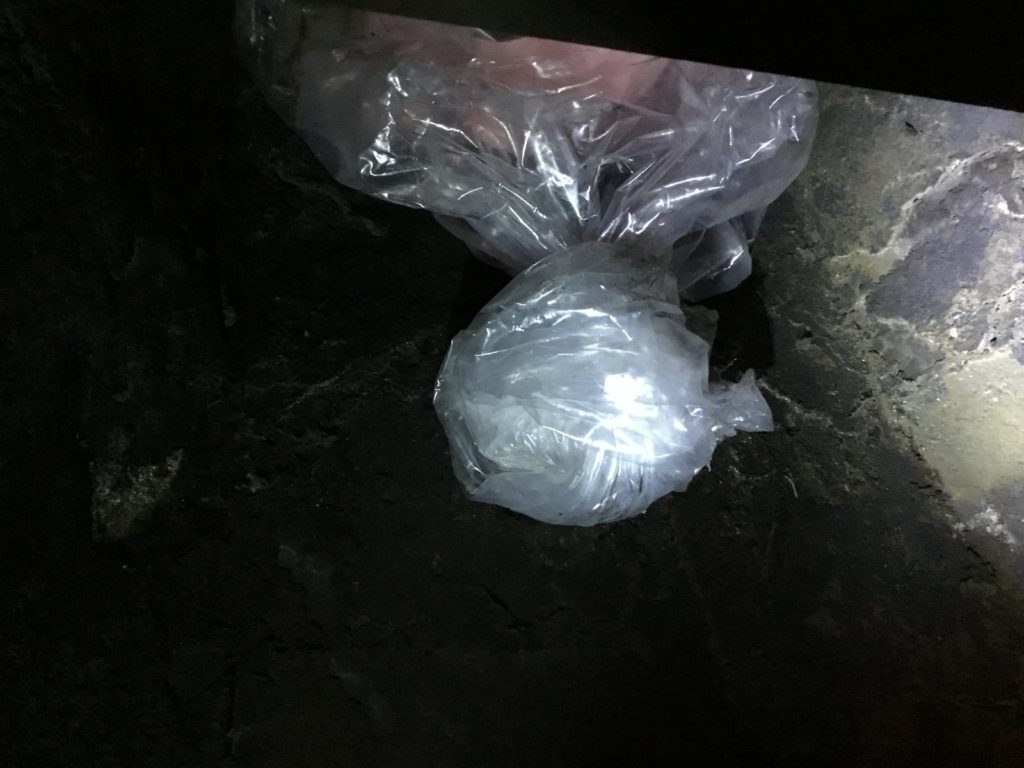
Begin by making an insulated fireplace draft stopper. By taking a kitchen sized garbage bag or other similar plastic bags that can easily be filled with loose fill insulation it is easy to create a fireplace draft damn. Once filled the bag is carefully placed snuggly inside the fire place chute and is out of sight. ***It’s important to not crush or smash the insulation as this reduces the insulating R-value.
Windows & Doors
After finding the air gaps around the windows it is best to first try and fill the gaps. I happen to have extra Synthetic Fiber Weatherstrip with adhesive backing that I was able to fit into a large air gap between the window frame and sill. As eyou can see I have also installed plastic covers over the single pane window.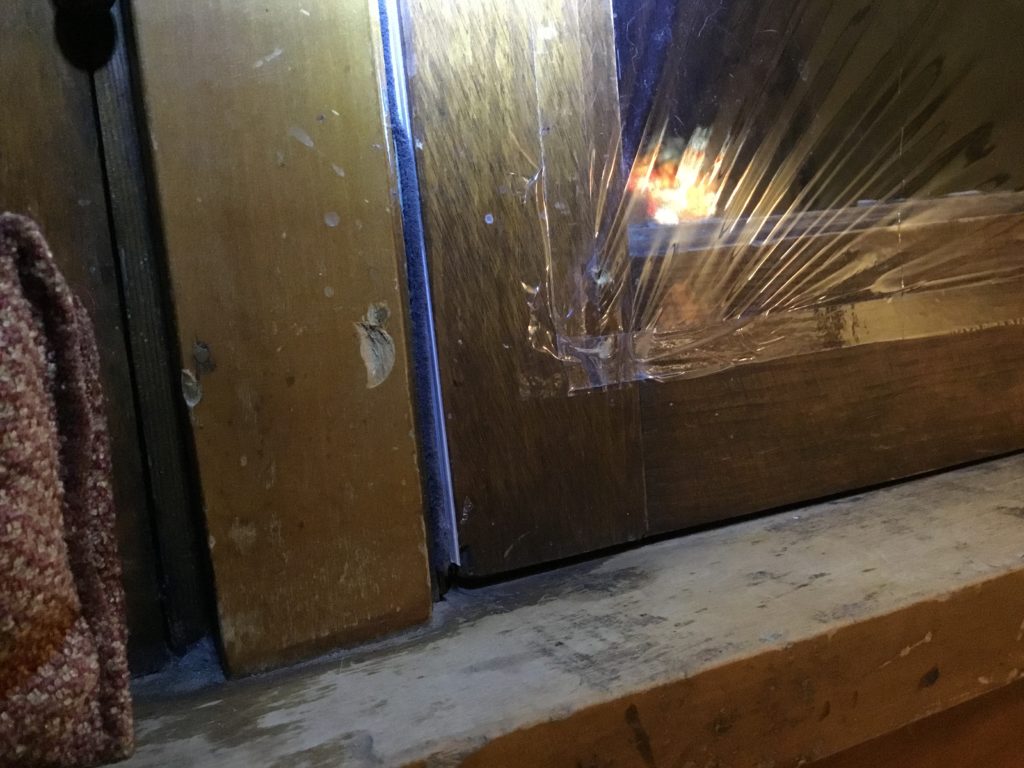
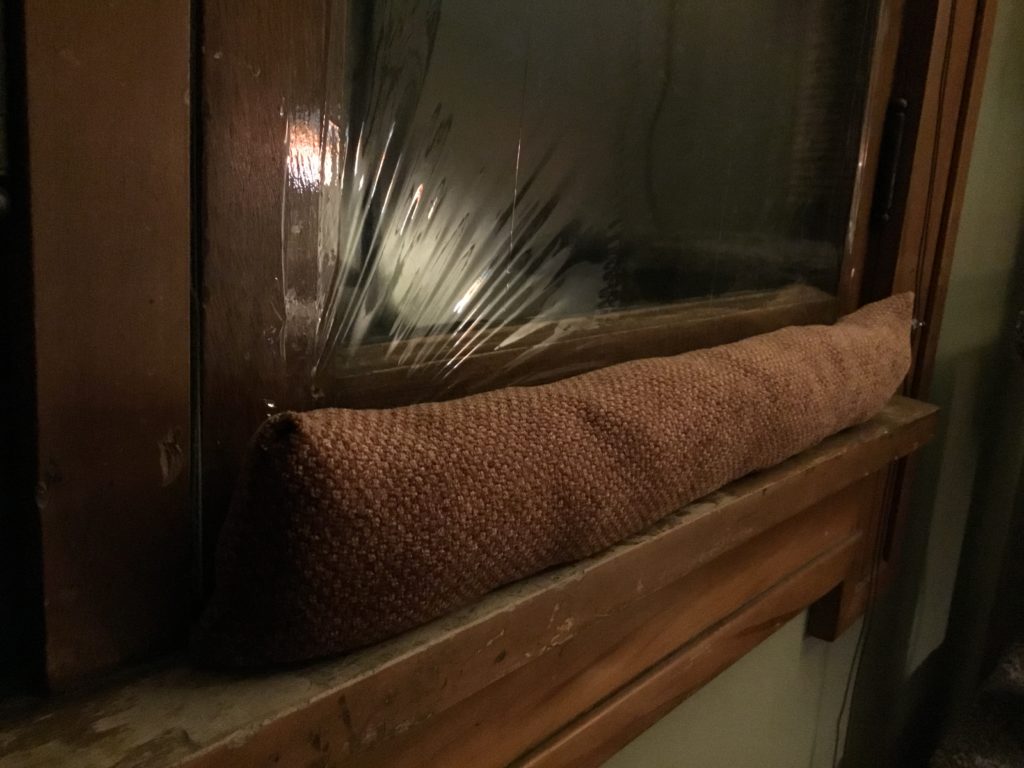
Some newer window air gaps are easily fixed with silicone but what can’t be filled in with window and door insulation or caulking will require the use of a pillow damn.
- Fabric
- Scissors
- Sewing machine or No Sew Stitchwithery
- Yard stick/ long non sharp object
First measure the window base (23in x 2.25in)
An average Draft Damn/Draft Dodger pillow for windows won’t need to exceed more than 8inches in height of fabric (plus the size of the No sew Stitchwitchery ex. ½ in). With the addition of 2 inches in length to your window base measurement.
My cut measurements were 23 in+ 2 in= (25in long x 8 inches high)
Cut Fabric
Fold the fabric in half face sides together.
Either Pin the fabric in place for sewing or apply the Stitchwitchery with an iron to two of the face fabric edges, leaving one opening side.
Pull the fabric right side out and use the yard stick push out and check your corner seams.
Add Fill Material! Rice, Beans, Plastic bags, Plastic bubble wrap, Packing Peanuts, Bean Bag Filler, etc..
Finish! Leave a 1 inch gap so that ½ inch of fabric can be rolled in on its self and sewn/stitchwithery closed.
#2.Insulated Curtains<— This guide talks about key elements necessary for making truly thermal insulating curtains. Things such as the necessary materials to include in making the curtains and most importantly sealing the curtains to the window frame or wall. I encourage everyone to start here and make sure you can source your materials before moving forward. This is my current undertaking at hand in order to offset the upcoming winter chill.
Update: my warm window insulated drapes have made the biggest noticeable improvement for insulating out home. I am now able to keep the heat setting at 66-68 degrees throughout the dead of winter cold nights!
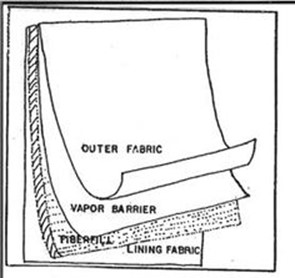
Components necessary for making thermally insulated curtains
-
Moisture resistant liner;
-
High density needled hollow fiber;
-
Reflective polyethylene moisture vapor barrier;
-
Metallized polyethylene film with air trapping polyester;
-
Magnet strips for sealing the curtains to the window/wall.
I learned the hard way that the thermal sheer curtains by themselves can’t sufficiently temperature regulate our home during the extreme cold weather, especially at night time. In order to address this problem I need to first add magnets or weights to the hems of the sheer curtains to obtain a closer seal. Secondly I need to make properly made sets of thermal curtains.
I made side draw thermal insulated drapes but I will not be making a guided tutorial on how to make them. There are several online guides to walk you through the process. Additionally I did buy myself a sewing machine specifically for this large endeavor.
Supplies
-
Warm Window Insulated Fabric 54″ wide that I purchased for $14.40/yard at joanns fabric using coupons and a seasonal sale. I have seen the price drop as low as $8.50 a yard.
-
Cotton/polyester for my face fabric.
- I had to special order the 16 yards needed to make the curtains for my two largest bay windows. I was told that the shipping would take two weeks, it actually took 30 days. In this time I was able to make all of my curtain rods and mounting hardware.
- I had to special order the 16 yards needed to make the curtains for my two largest bay windows. I was told that the shipping would take two weeks, it actually took 30 days. In this time I was able to make all of my curtain rods and mounting hardware.
-
Sewing Machine preferred!
- No sew stitch witch double sided heat activated adhesive can be used. However more fabric will be used/wasted when making seams. I found that using a sewing machine gave me better results (1/4 in seams vs ½ or 5/8 in seam) for minimizing fabric lost when joining fabrics together to create a seam.
- No sew stitch witch double sided heat activated adhesive can be used. However more fabric will be used/wasted when making seams. I found that using a sewing machine gave me better results (1/4 in seams vs ½ or 5/8 in seam) for minimizing fabric lost when joining fabrics together to create a seam.
TIP: I waited to buy my fabric from Joann’s Fabric store until there was a 50% off sale plus an additional 20% off of total purchase coupon and they PRICE MATCHED. All of this shaved off $100+ dollars from each fabric purchase making a savings of over $200. Unfortunately a few weeks later the prices dropped another $100+ but I missed out. The best price drops are going to happen between September- December.
No Drill Curtain Rod Holder Options
-
3M Command Heavy Duty Hook Hanger
-
The 3M command hooks can be used by anyone in most types of homes and it is an affordable option if you already have existing curtain mounting hardware such as the hook hangers and rod. Otherwise it costs $3.99 per jumbo hook 7.5lbs and $5.99 for the jumbo hook that fits a ½” EMT conduit. There is also the option of using the 16lb Velcro strips for $4.28 for the 16lb 4 pairs.
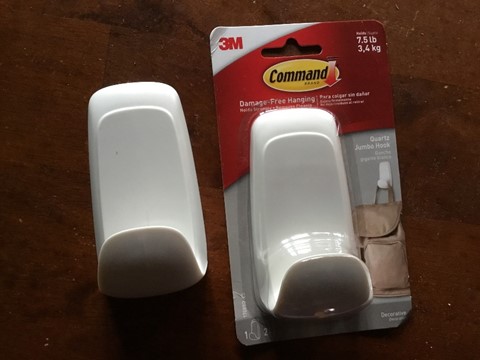
- The 3M Command Hook Holders can hold up to 7.5lbs
or you can use the 16lb Velcro picture holders to attach your own brackets to the wall. Be sure to add a dab of tacky glue to the Velcro before attaching the two face pieces together for the last time.
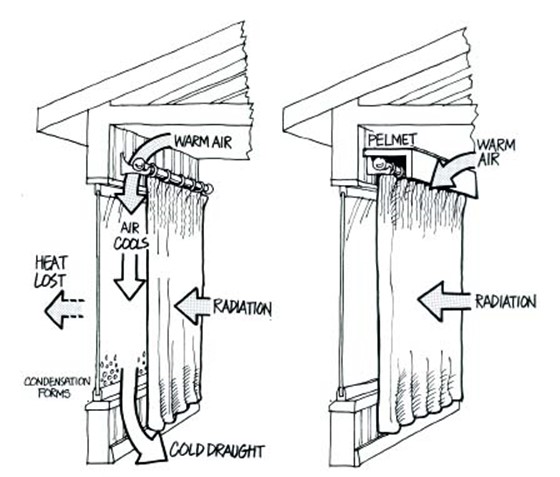
- The 3m hook hangers are the best option because they hang the curtain rod as close to the window/wall as possible thus eliminating any potential for drafts or the need for a cornice/pelmet to stop the warm air from exchanging with the cold air of the windows.
-

- Kwik Hang curtain rod holders. The quick hang hardware web site says the hardware has a 20lb weight limit. This seems like a suitable option and it is very user specific and relies on the home to have finished woodwork around the windows. This is one of the best options available for those of us living in homes with plaster and lath walls and for those who don’t want to damage the woodwork by drilling into it. However this option is not the most affordable option when considering the vast amount of windows I am working with. To begin to outfit both of my 11ft wide window bays it will cost $60 in hardware not including the S&H + tax.


-
Stay tuned for DIY Pelmet options using the Kwik Hang hardware.
- I have used all three of the above mentioned methods for hanging curtains.
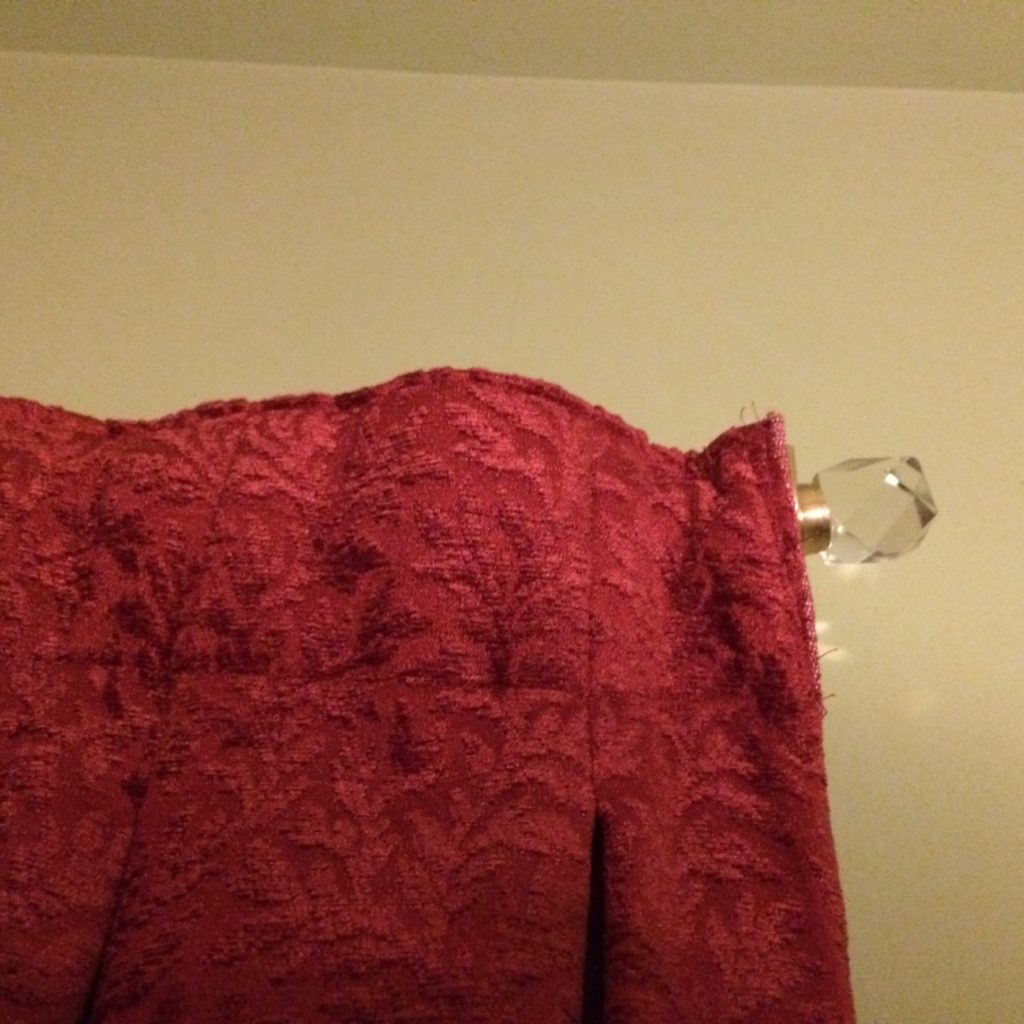
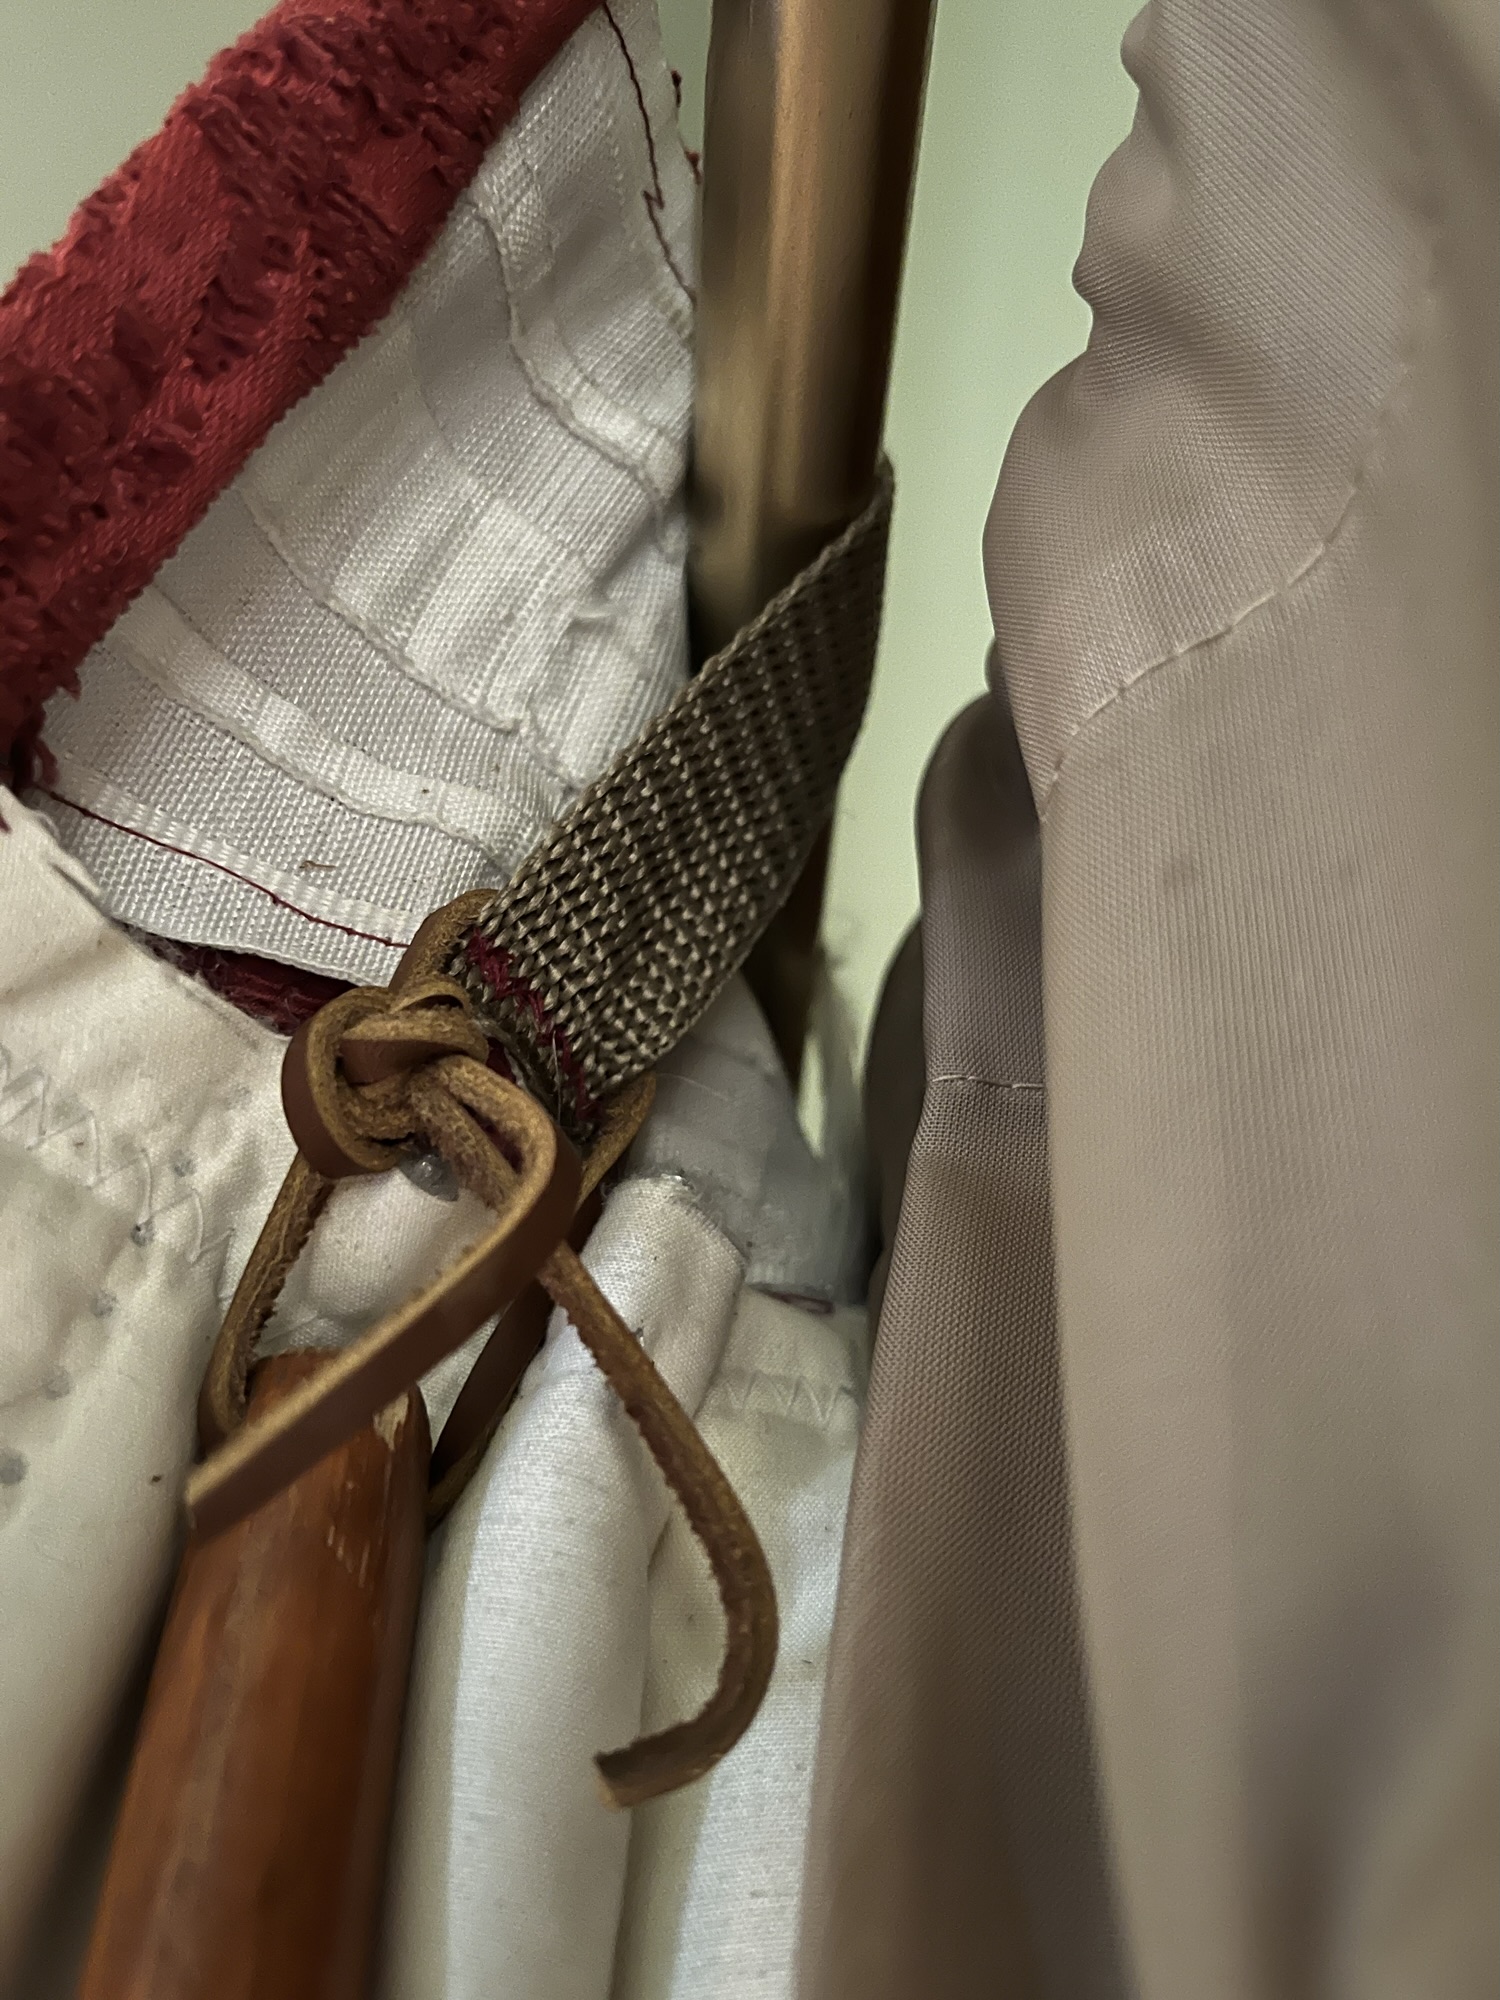
I have discovered that adding extra strength reinforced nylon webbing straps to the drapery heading tape for the pull button to attach to provides the beadiest and least destructive method for opening and closing my heavy weight drapes.
I previously used metal drapery rings, d rings, etc.. and those metal pieces obliterated the original header tape which was reinforced with strings of what looks like fishing line. It also wore away the finish on my DIY EMT curtain rods.
- For smaller windows that don’t require as much fabric covering I recommend using
 the command hooks and Velcro backing. For my largest windows, that will require a large amount of fabric, I have used the Kwik Hang hardware.
To see how to make curtain rods and finials using ½ in EMT conduit check out my guide..
I have listed further links to ideas for making your own interior and exterior storm windows.
#3. Make Your Own Wood and Glass Storm Windowsß– Click here
OR HERE—-> https://www.doityourself.com/stry/diy-wood-storm-windows
To learn how to make your own storm winodws.
#4. Make Your Own Storm Windows Using Plexi Glassß– Click Here