Hampton Bay Zigbee Smart Ceiling Fan and Light Control Installation 1st generation and 2nd Generation
4/2024- these were nothing but a GIANT FAIL!! Worked for a short time and never again!
I installed a Bond controller and it works pretty flawlessly!
11/10/20 After several mess ups by King of fans customer service I have finally received the remote control. This is important With the second generation receiver because as I discovered the fan and light will not power up in the absence of the remote. The remote from Gen 1 is incompatible with Gen 2 receiver. So nearly a month later and multiple phone calls to customer service, the remote shows up.
The Problem is that the remote buttons do not work correctly. The light buttons control the fan and the fan buttons control the light so back to calling customer service yet again!
10/21/20 I received a warranty replacment today model #MR196W
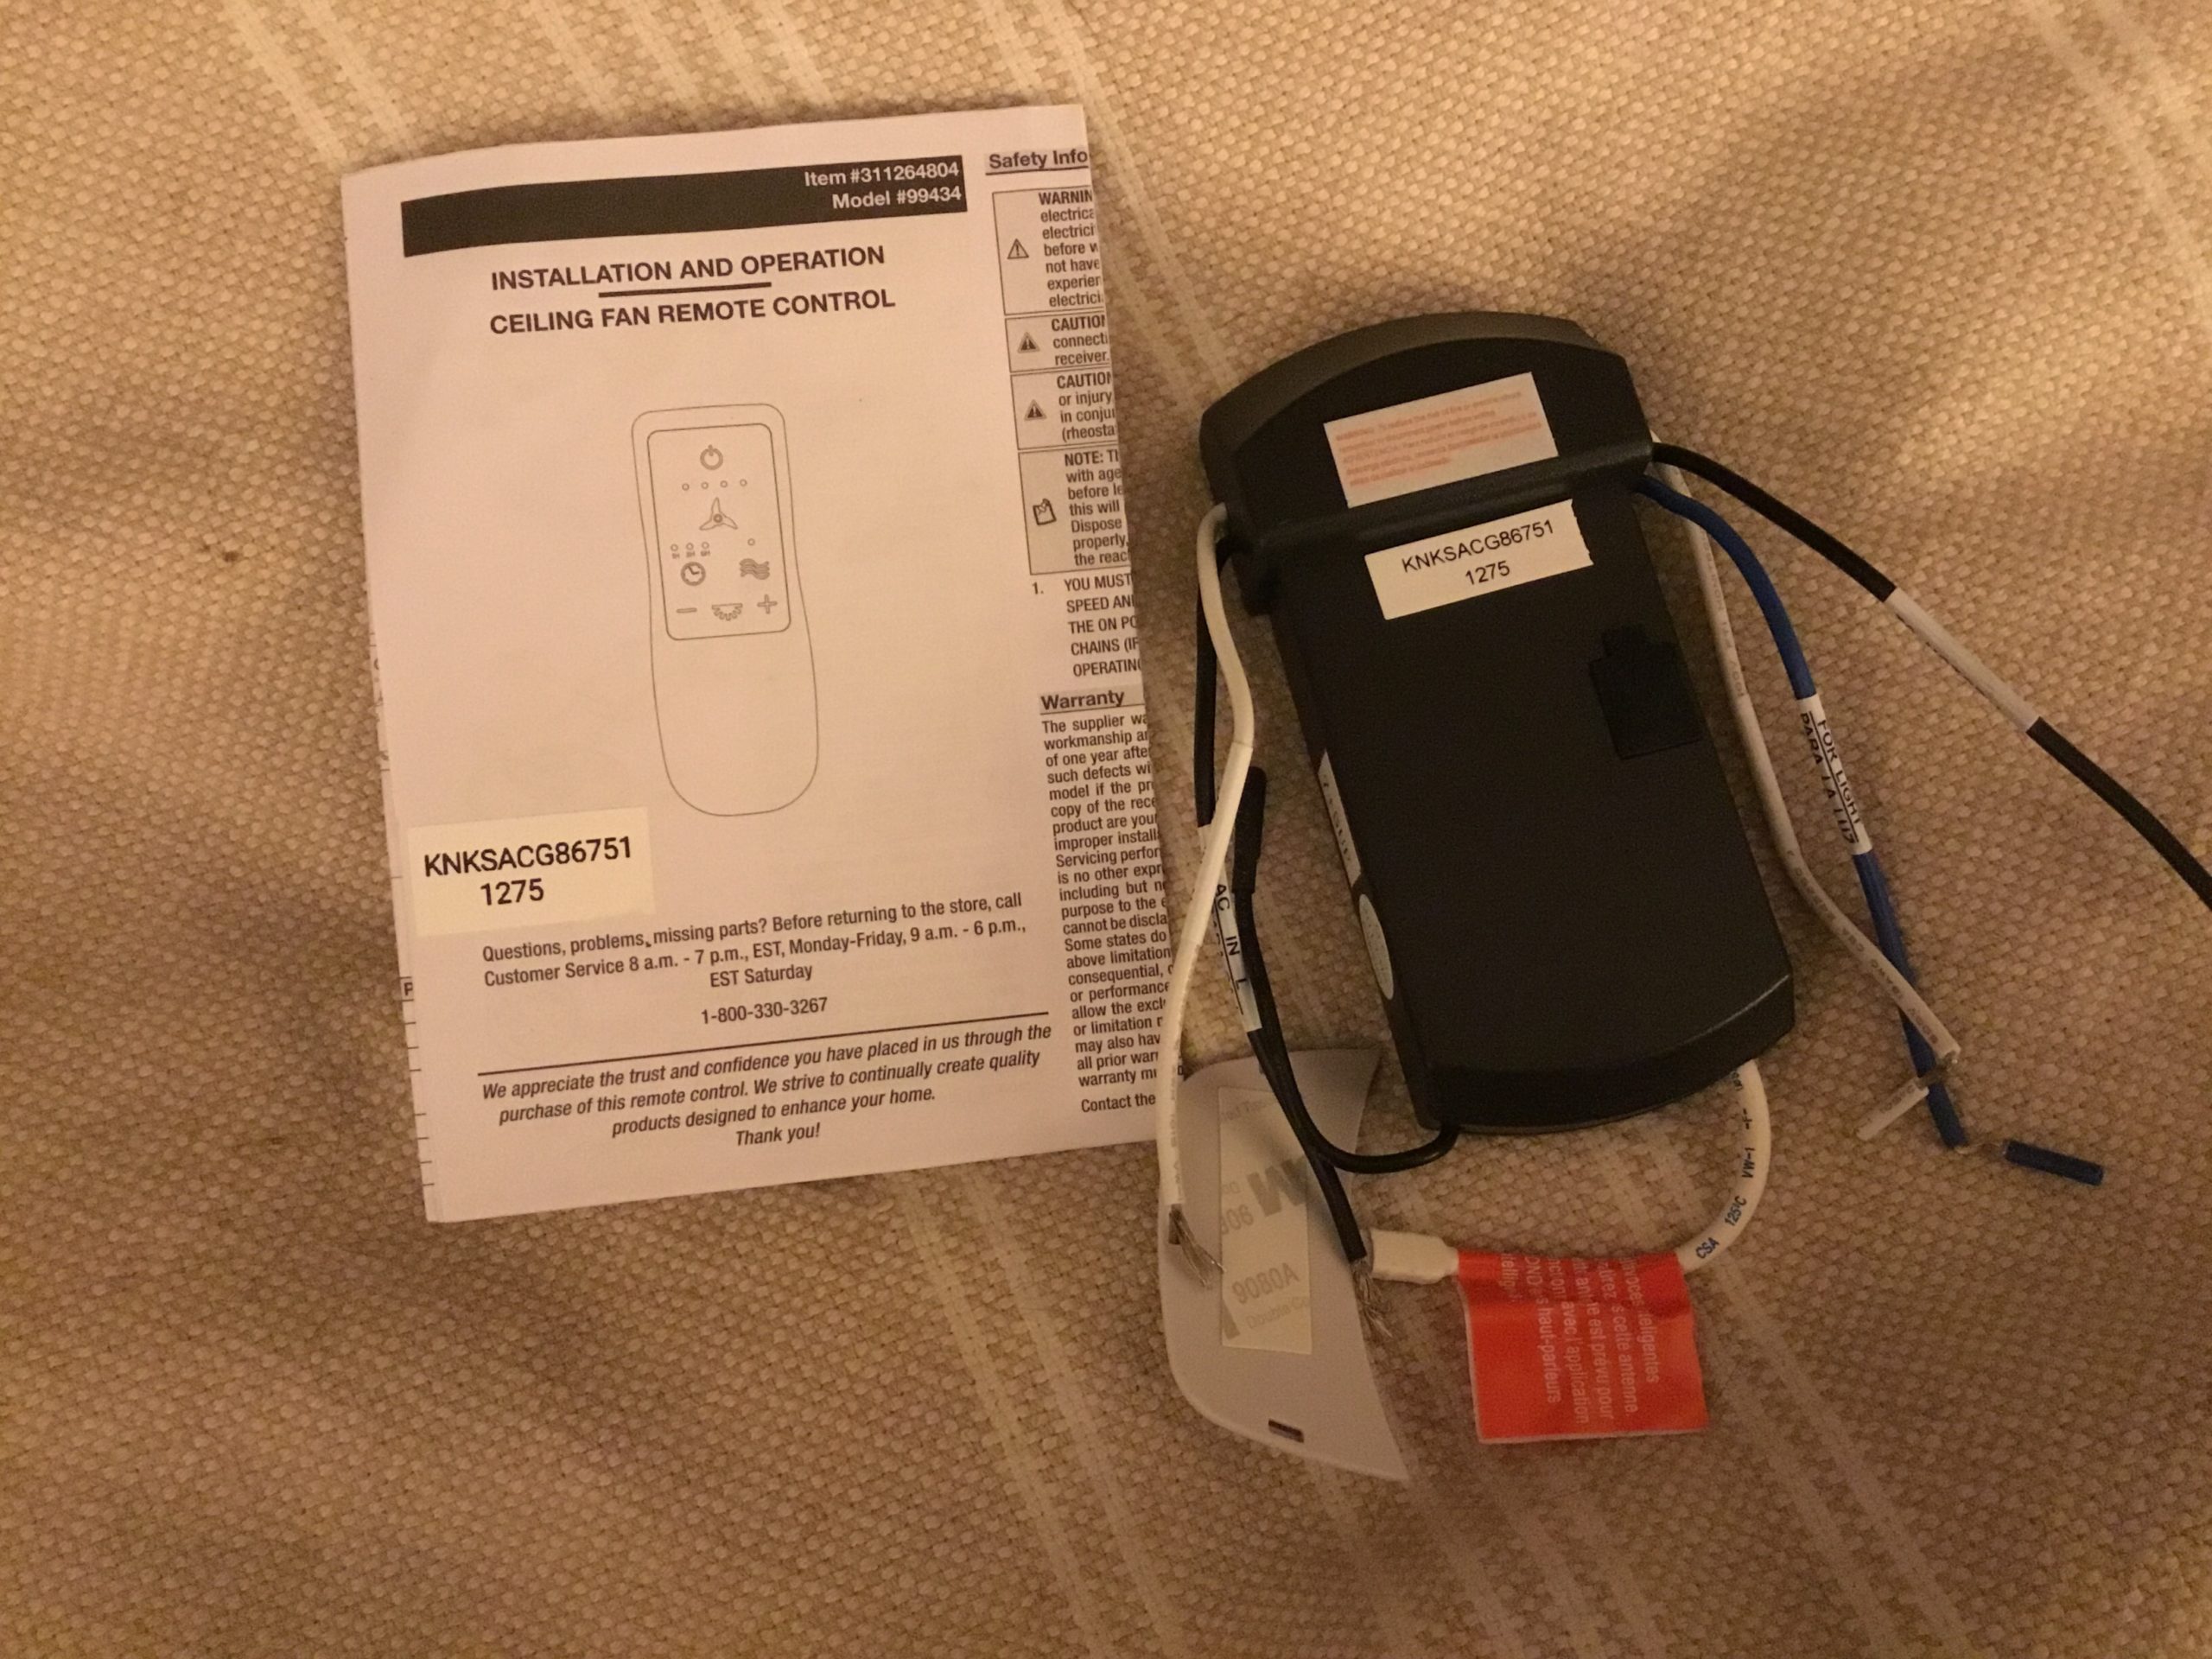
The replacement is the newer version (2nd generation) and sadly there is a difference.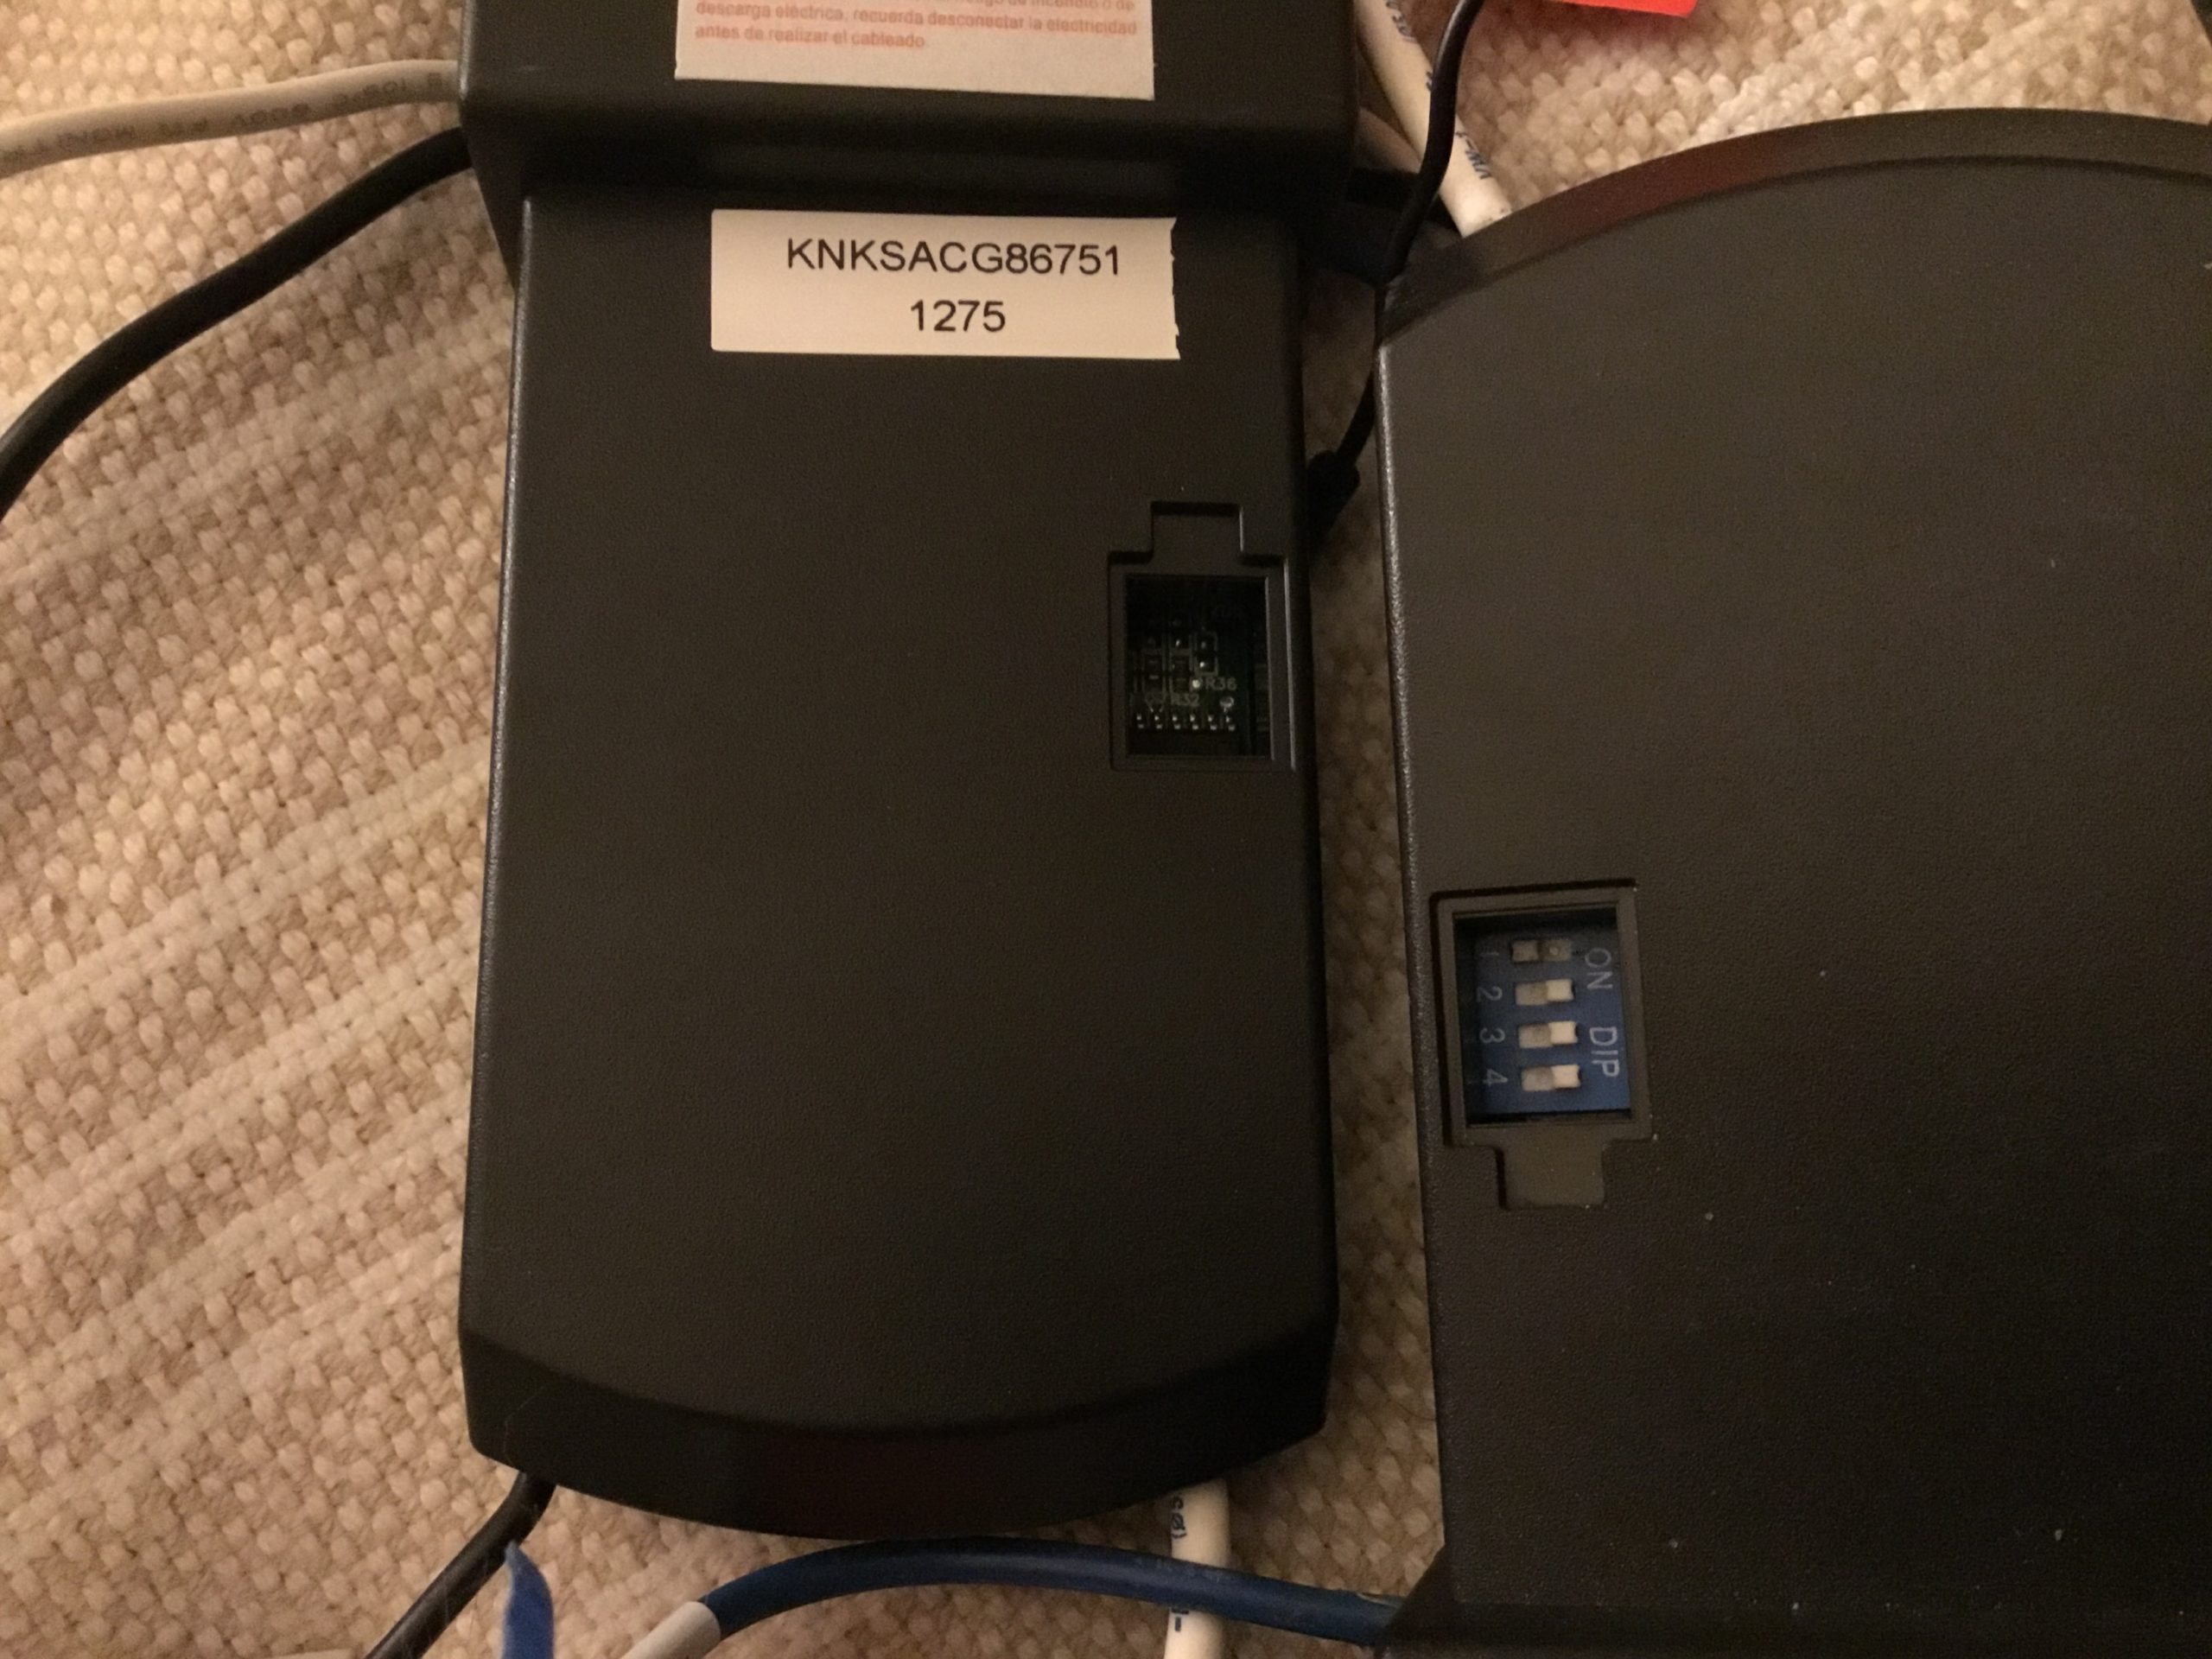

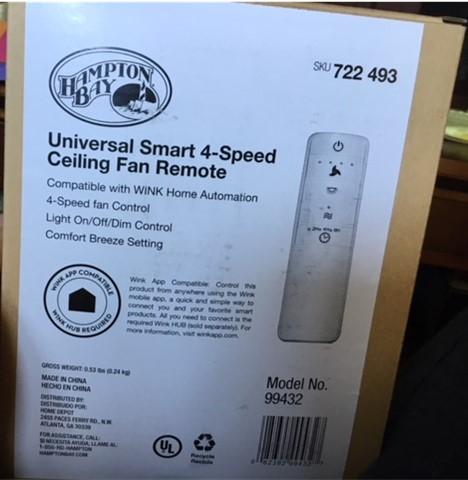
10/4/20 Home Depot/Hampton Bay has discontinued this wink enabled device and replaced it with a newer version.
Universal Smart Wi-Fi 4-Speed Ceiling Fan Remote Works with Google Assistant, SmartThings, and Alexa.
My master bedroom Control receiver burnt out for no known reason. After trouble shooting and removing the receiver the fan and light worked again.
There are a few options.
#1. See if Hampton bay will warranty and replace the defunked receiver.
#2. Take the broken receiver to a local electrical repair guy and pay $35.00 diagnostics fee to determine if the issue is repairable.
#3. Buy the newer version.
Installation
I am going to share a few tips and tricks following the installation process for a Hampton Bay Universal smart remote control for a ceiling light and fan to be used via Smart things Hub and Alexa.
I am not an expert and this is simply meant as a guide to help those DIY folks who like to take a swing at installing their own smart devices. This has been a long time wish list project of mine and I am happy to finally be able to share it!!!
6/7/20 Update: It just so happens to be exactly 1 year after installation that I am updating this post. For starters Smartthings corporation has decided to completely do away with the classic app. The classic app just so happen to be the only way to operate the Hampton Bay Wink Zigbee controllers and without the classic app these devices become unusable with Alexa and so forth. For anyone who has already tried to convert over to using the new app without updating the device handlers then you quickly learned that it’s incompatible.
Thankfully the Smartthings user community members came up with a solution so that the device is recognized in the new app.
- Delete the old fan in the classic app.
- Delete 3 old dth on api website.
- Add 2 new dth on api website.
- Perform a manual switch reset by toggling power wall switch 5 times off and on. for 5 seconds each time.
- Add device in the new app by performing a generic search for a new device.
- Random”thing” found rename to fan.
- Go to api website, select main dth, click simulator, select hub, select the new thing and rename, click install at the bottom.
- In new app fan instantly updates to using new DTH.
Additional user tip: “In the new app, at least on my Android phone, there are three dots at the top right after clicking the fan. Those three dots open a menu. From there, click settings, then enter a 1 to use as dimmer.”
A 1 year review
I have had more than a few bumps of power outages causing the smart things app to drop connectivity even with having additional repeaters in use.
I love using Alexa to turn the fan on and off but often found myself reaching for the remote to switch between fan settings.
The limited Smartthings app usability can be overcome by creating scenes and trigger phases within the Alexa app. Since I have two fans I have to create different trigger phases such as “Alexa turn on the living room fan” and “Alexa turn on the overhead light” vs “Alexa turn off the bedroom light”.
I love the usability when it works and wouldn’t ever think of not having it!
UPDATE 9/17/19: I recommend having a Zigbee repeater in the same room as each of your fans. I installed the peanut Zigbee outlet plug for the living room and was unwittingly already running a Zigbee smart smoke detector in the bedroom. What I didn’t realize was that when I took the smoke detector down for maintenance for a few days that I instantly lost connectivity to my fan controls via app and voice control.
UPDATE: 6/13/19 The controller seemed to keep dropping off of the smart things hub every 2-3 days and I would have to reset it at the light switch by doing the power cycle. After reading a lot of reviews and complaints it seemed that I would need to buy Zigbee repeater in order to reinforce the weak connection. It didn’t seem to matter that my ST hub was less then 6ft away from the receiver, so I bought a zigbee peanut smart plug to help act as a signal booster. This seems to have resolved the issue.
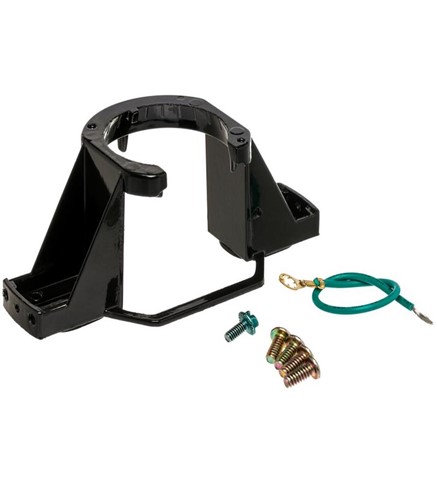
Model# MR101Z
I purchased my units from the Home Depot website and took advantage of free two day shipping. Hampton Bay Universal Zigbee smart ceiling fan/light control
#1. Install ceiling fan light module per wiring instructions.
Here is a video guide from Hampton Bay! I admit to cutting the nearly 4 minute introduction out of the 15min video!
TIP:
During this phase we ran into a few problems! For starters mounting incomparability. Our older ceiling fan had a disc plate flush mount with a ½” side lip. This was the main supporting bracket for the ceiling fan down rod and cowl which was 100% holding the down rod in place by screwing the cowl directly into the ceiling plate mount. The lip prevented us from being able to place the module receiver/transmitter on the outside of the cowl. So off to Lowes we went and purchased a conversion adapter for $5.99.
Additionally I did read that a few people chose to drill or dermal holes through the sides of their flush mounting plates and cowl but I was already on my way to Lowes for something else and didn’t want to mess with either the dremel or drill.
Flush mount for ceiling fan
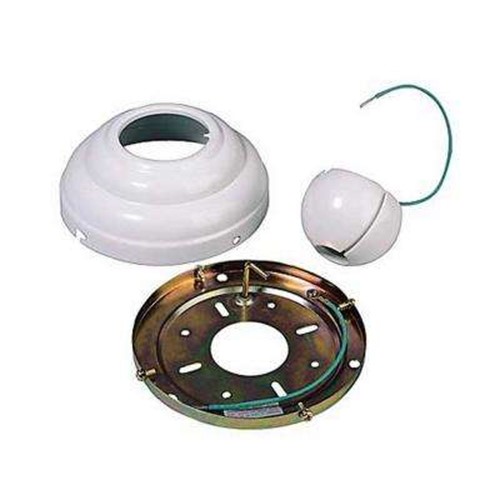
Ceiling fan mount adapter (for harbor breeze)- I have no idea if my fan is even a harbor breeze fan but i bought and used the mount anyway!
The next and very small problem was that there was an extra wire from our ceiling fan/light that wasn’t detailed in the instruction video or pamphlet. So I had to find the online PDF owner’s manual which also didn’t really help identify the wires purpose. So we took that extra wire (black with white stripe) and connected it to the blue wire from the module unit and all worked well! I already knew that the white wire was neutral and the black wire was the motor power wire so that only left the extra wire which had to be for the light.
Lastly the original cowl didn’t match up with the new adapters mounting screw holes. So I plan to take the old mounting plate to a local plastics manufacturer and have a custom mounting plate made. Pictures will be posted!
Turn the power back on and test out the remote and ceiling fan controls.
#2. Keep the Power Breaker “OFF”
After completing the wire installation of the module and fan it is ok to test the fan with the remote but turn the power breaker and light switch to the “OFF” position before proceeding.
While installing my second fan kit I found that keeping the power breaker off and this stage was completely unnecessary.
#3. Install the 3 device handlers into Smartthings IDE.
This step isn’t necessary if you are installing the second or more ceiling fans. Skip straight to step #4
This is one of the most missed steps!!!!!
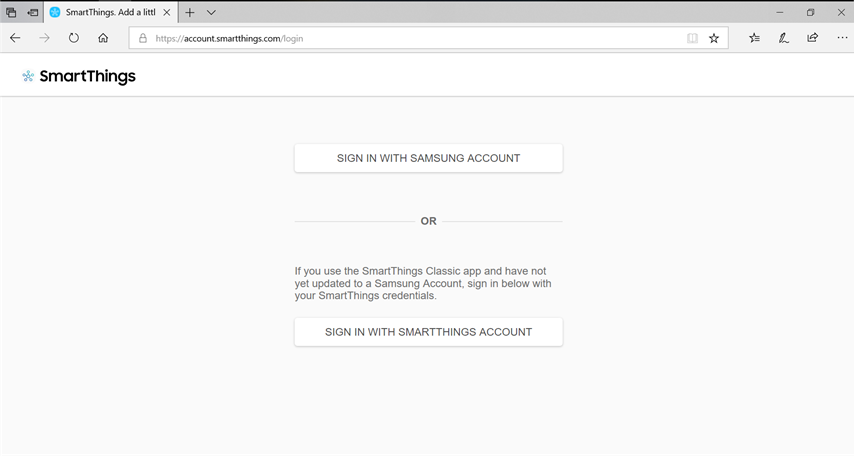
a) Log in here: smart things login
b) Next follow this step by step guide to enable Github integration steps 1- 4 are what I followed
https://docs.smartthings.com/en/latest/tools-and-ide/github-integration.html
c) Go into “My Device Handlers”
d) Click “+ Create New Device Handler” in the upper right corner
e) Click “From Code” in the lower portion of the screen
f) Then Copy and Paste the Device handler one by one…
Copy and paste Device handlers from here:
g) copy and paste the first handler
h) click “Create”
I) Click “Publish” and “Me”
REPEAT for the second and third device handlers
#4. Once the Device Handler is published
In “My Devices”, select the specific device you want to have use that new device handler.
Click on it in the list and then scroll to the bottom and Click “Edit”
Click the drop down menu from “TYPE” and choose “KOF Zigbee Fan Controller”
Then Click “UPDATE” at the bottom!
#3. Turn the power back “ON” at the breaker The power breaker doesn’t have to be off for this process to work.
#4. Turn light switch to “ON” position After updating the sofrware in smartthings hub the app should auto pair. If auto pairing doesn’t occur than perform a light switch power cycle.
The light should blink 3 or so times thus indicating that it is ready to pair with Smartthings hub.
Reset pairing Mode: If something goes wrong and it doesn’t show up to pair with the Smartthings hub than simply turn the light switch off for four seconds and on for five seconds, do this five times and then leave switch “ON” and wait for the light to blink.
#5. Now open the Smartthings APP
Upon opening the app and going to “My Home”
Click “+ Add a Thing”
#6. Open the Alexa app
Click “Skills and Games”
Type in “Smartthings”
Click on the smartthings icon and follow the setup prompts!!!!
Hi there! I could have sworn I’ve been to this web site before
but after browsing through many of the posts I realized it’s new to me.
Regardless, I’m definitely happy I discovered it and I’ll be book-marking it and checking back frequently!
Very nice article, totally what I needed.