Rooftop Tent Ladder Bag
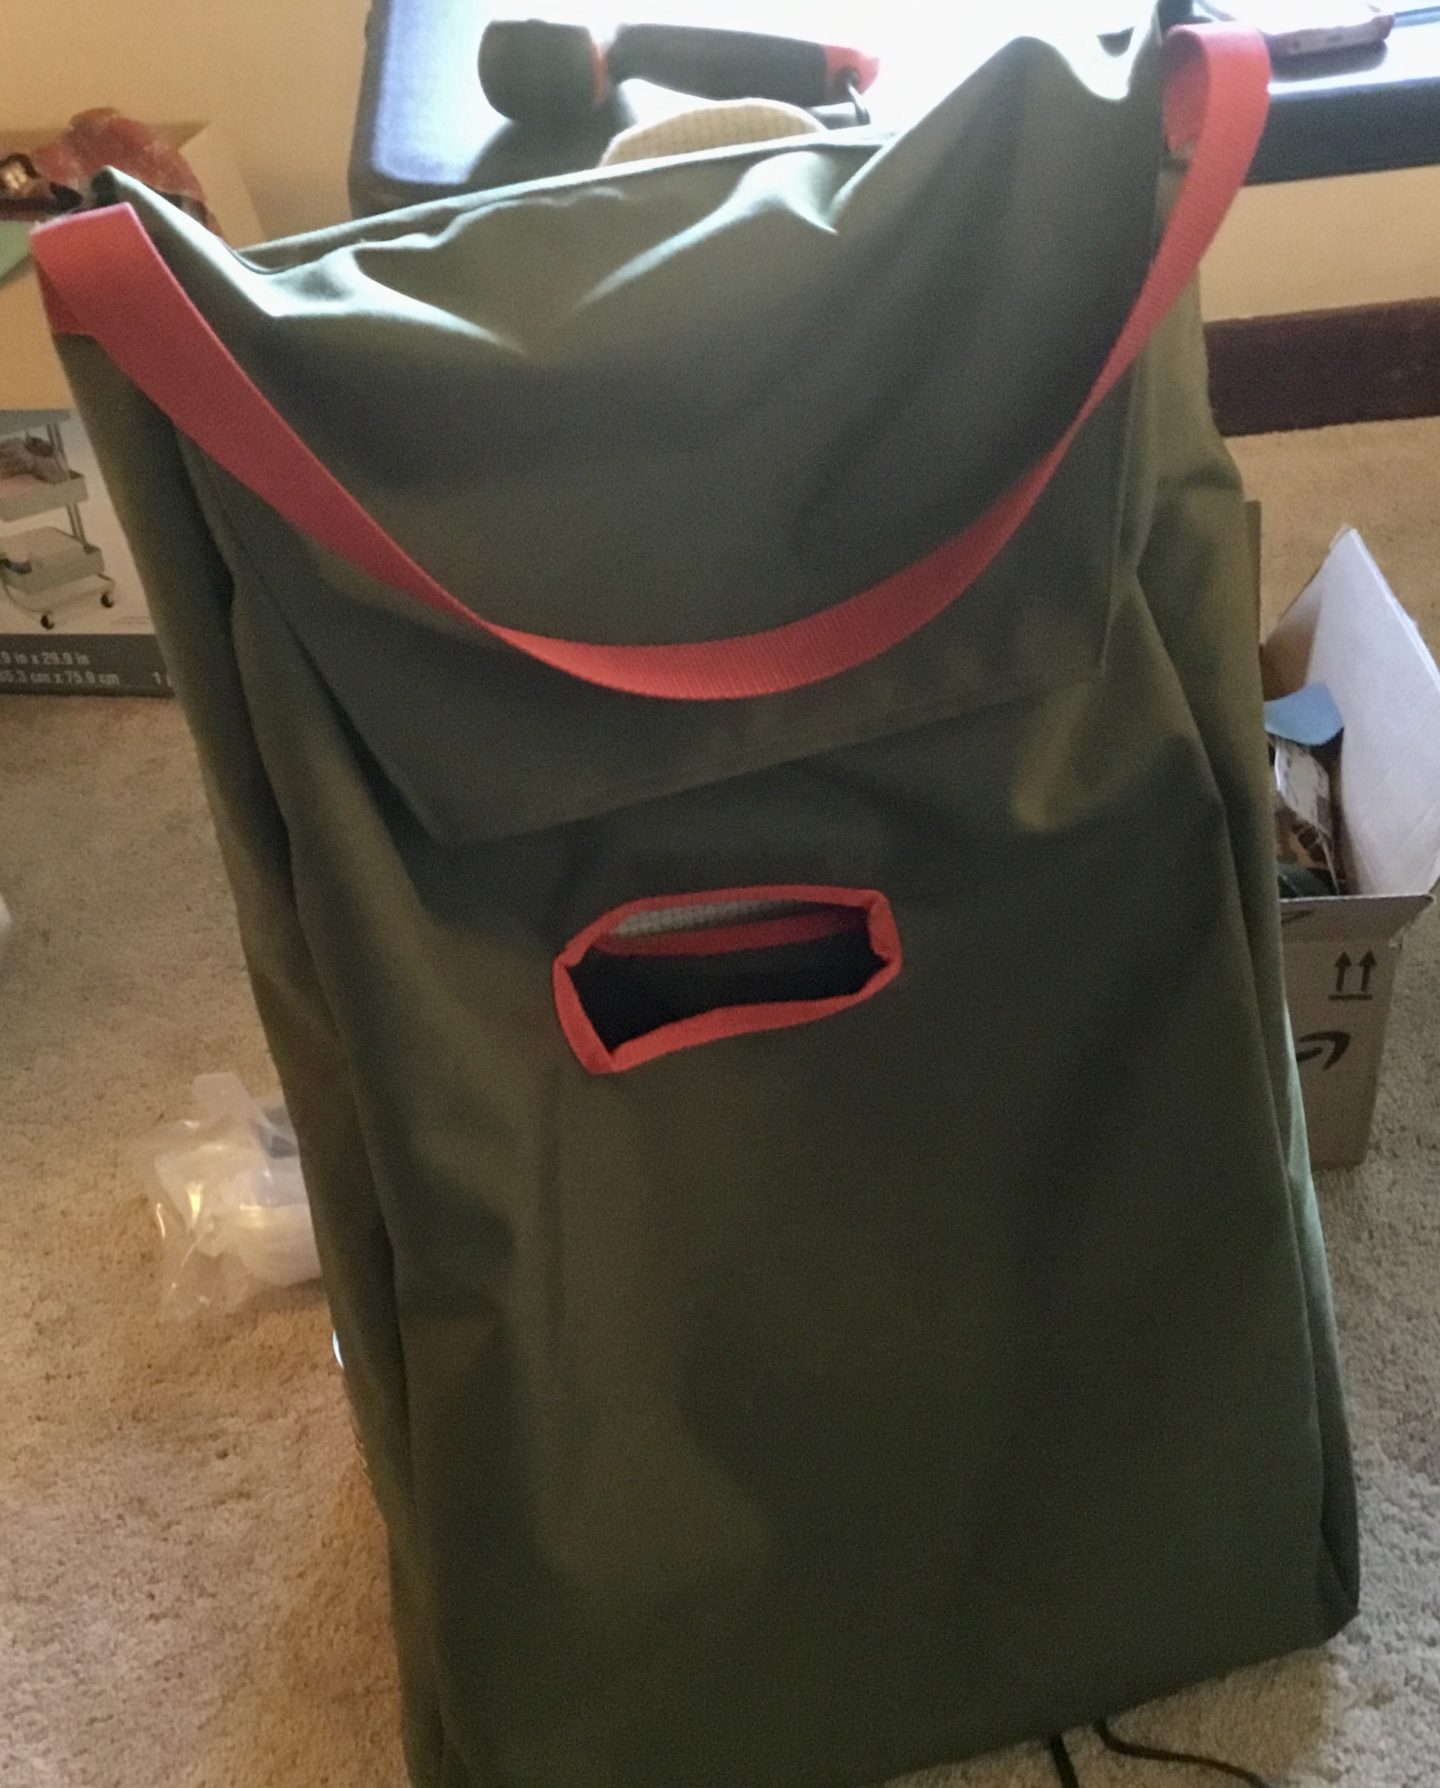
I used the same principals for making a shopping tote bag to make my ladder carrying/storage bag. This was so easy to make that it was made before I could stop to take pictures.
Here is the tutorial that inspired me Tote making guide.
- Start by measuring the L x W x H (31” x 19” x 3”)
- Add 1 inch seam allowance
- Measure and cut the center piece 66” x 20”
- Measure and cut 2 pieces for the sides 4” x 32”
- Mark the inside/backside center of the front/back/bottom piece at 33”
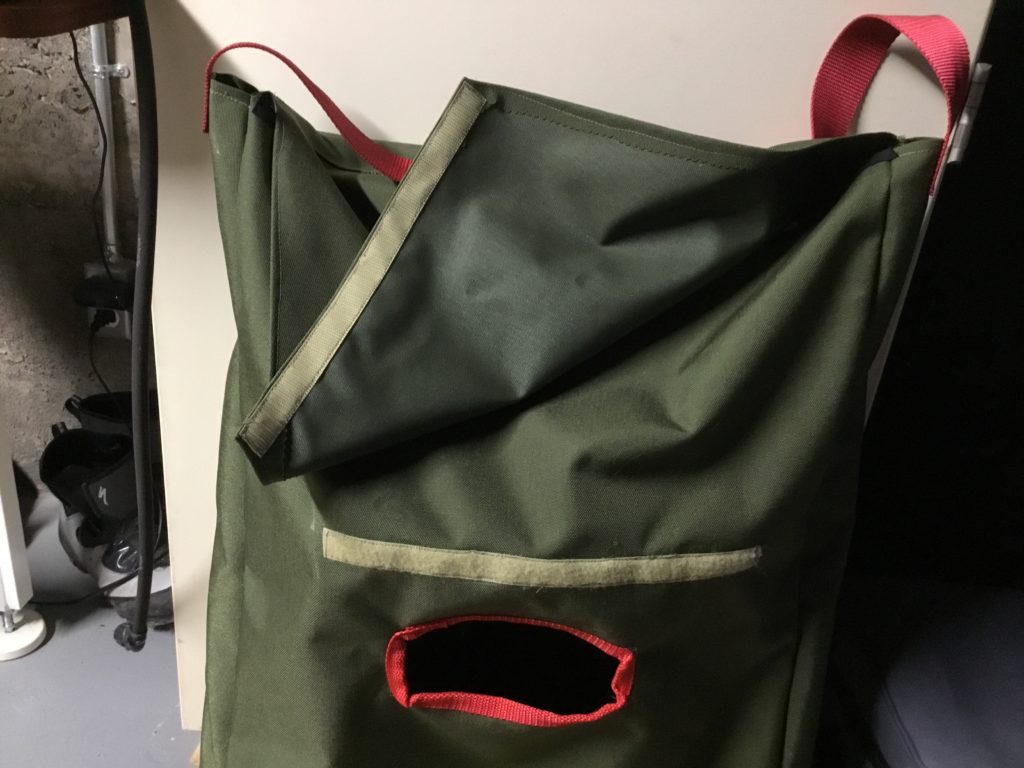
- Cut the piece for a lid 20” x 20”
- Mark the backside/inside center of the side pieces at 2”
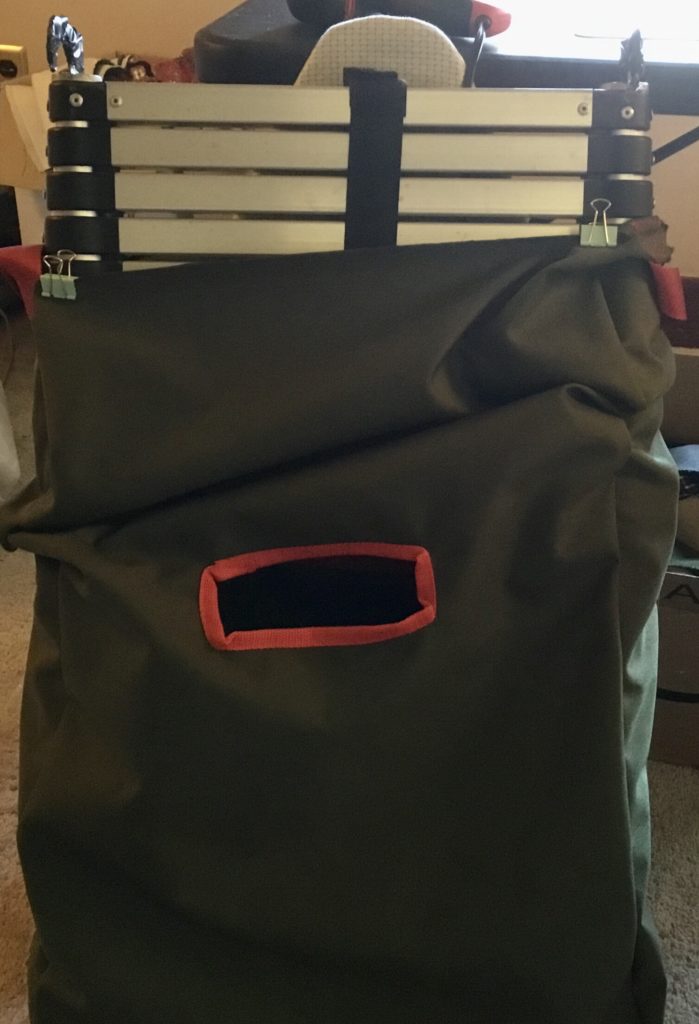
- Dry fit the ladder and mark the handle location.
- Center and draw a square for the handle 6” x 1.5”
- Measure out handle trim and cut with hot knife
- Clip/pin the lid piece, face sides together, to one side of the front/bottom/back piece. This will now be the back of the bag.
- Now flatten the excess seam on the inside of the lid flap and sew a straight stitch through it.
- Pin/clip handle trim in place and sew using straight stitch.
- With the side panels and front/back/bottom fabrics face side together aka inside out, match up up the center lines of the side pieces to the front/bottom/back piece and clip/pin in place
- Sew the perimeter using an overlock stitch or serger
- See Velcro (hook and loop tape) to the lid and front of the bag.
- sew bias tape to front of bag
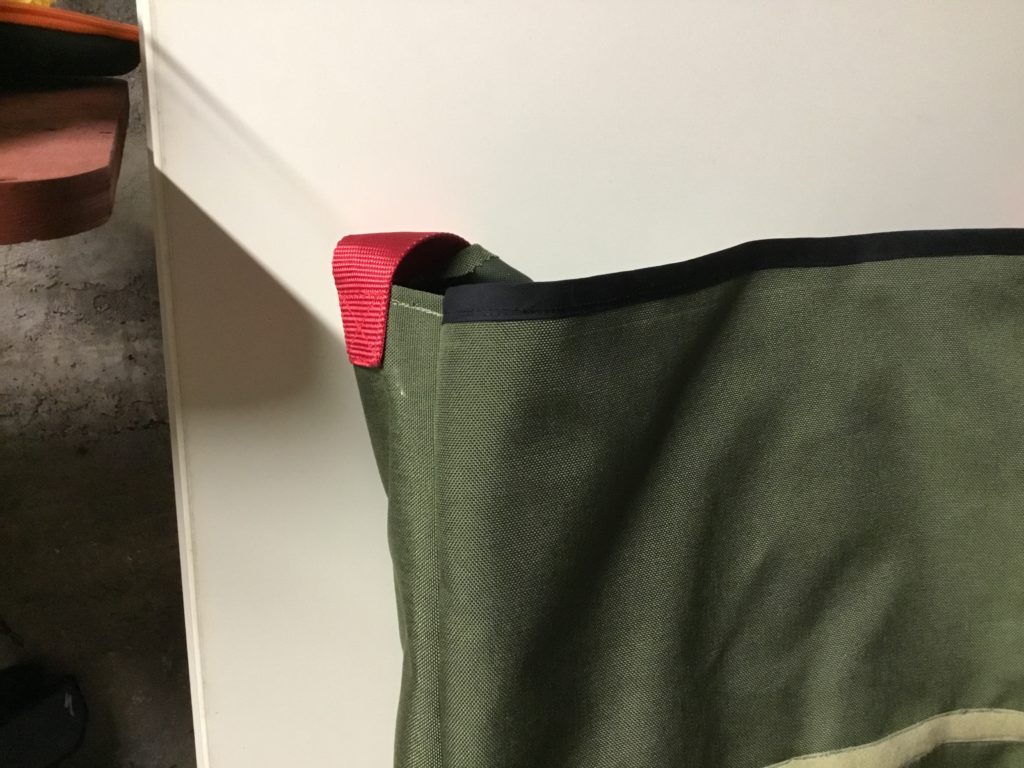
- Fold the side pieces in on themselves and sew a straight stitch
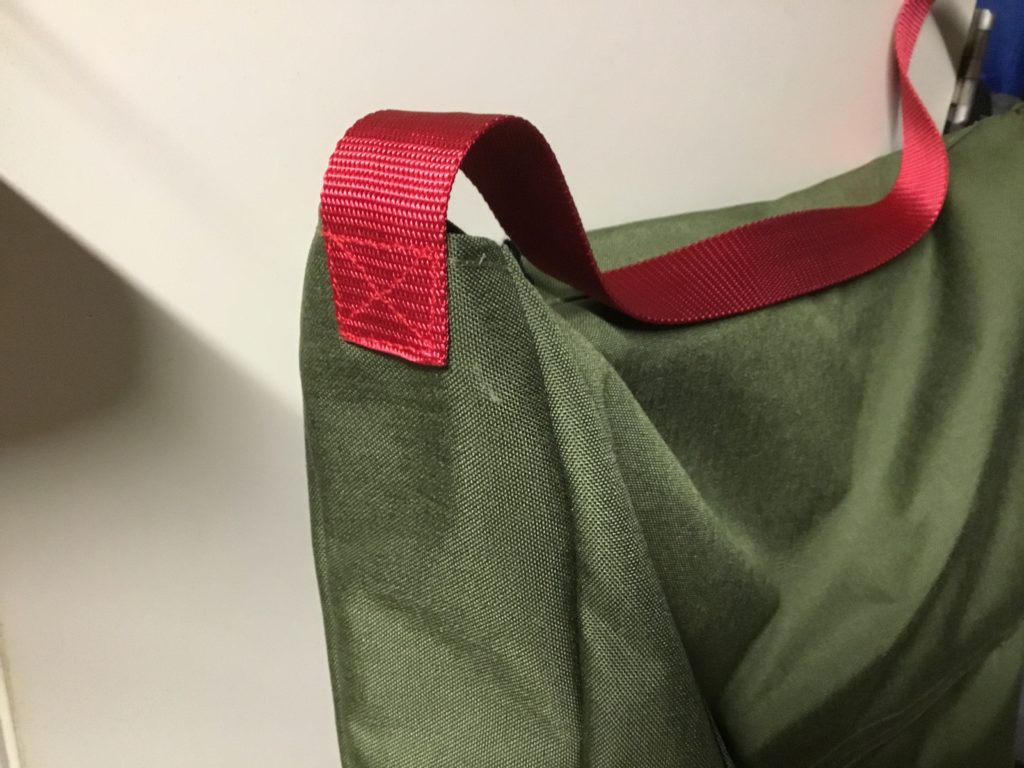
- Add the strap about 1.5”-2” overlapping the top of the side panel and sew in place. Repeat for opposite side.