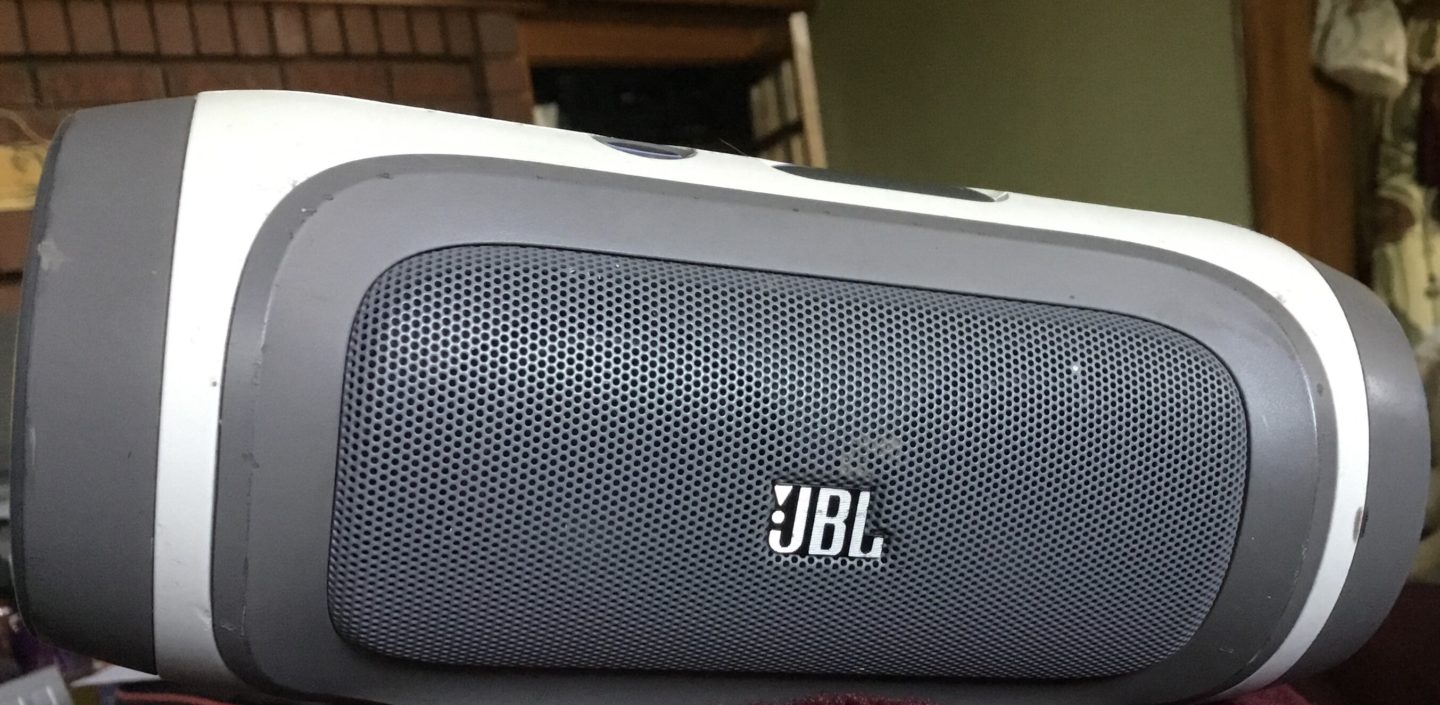
JBL Charge Repairs
- Replacement Battery
- Charge port
Replacement Battery
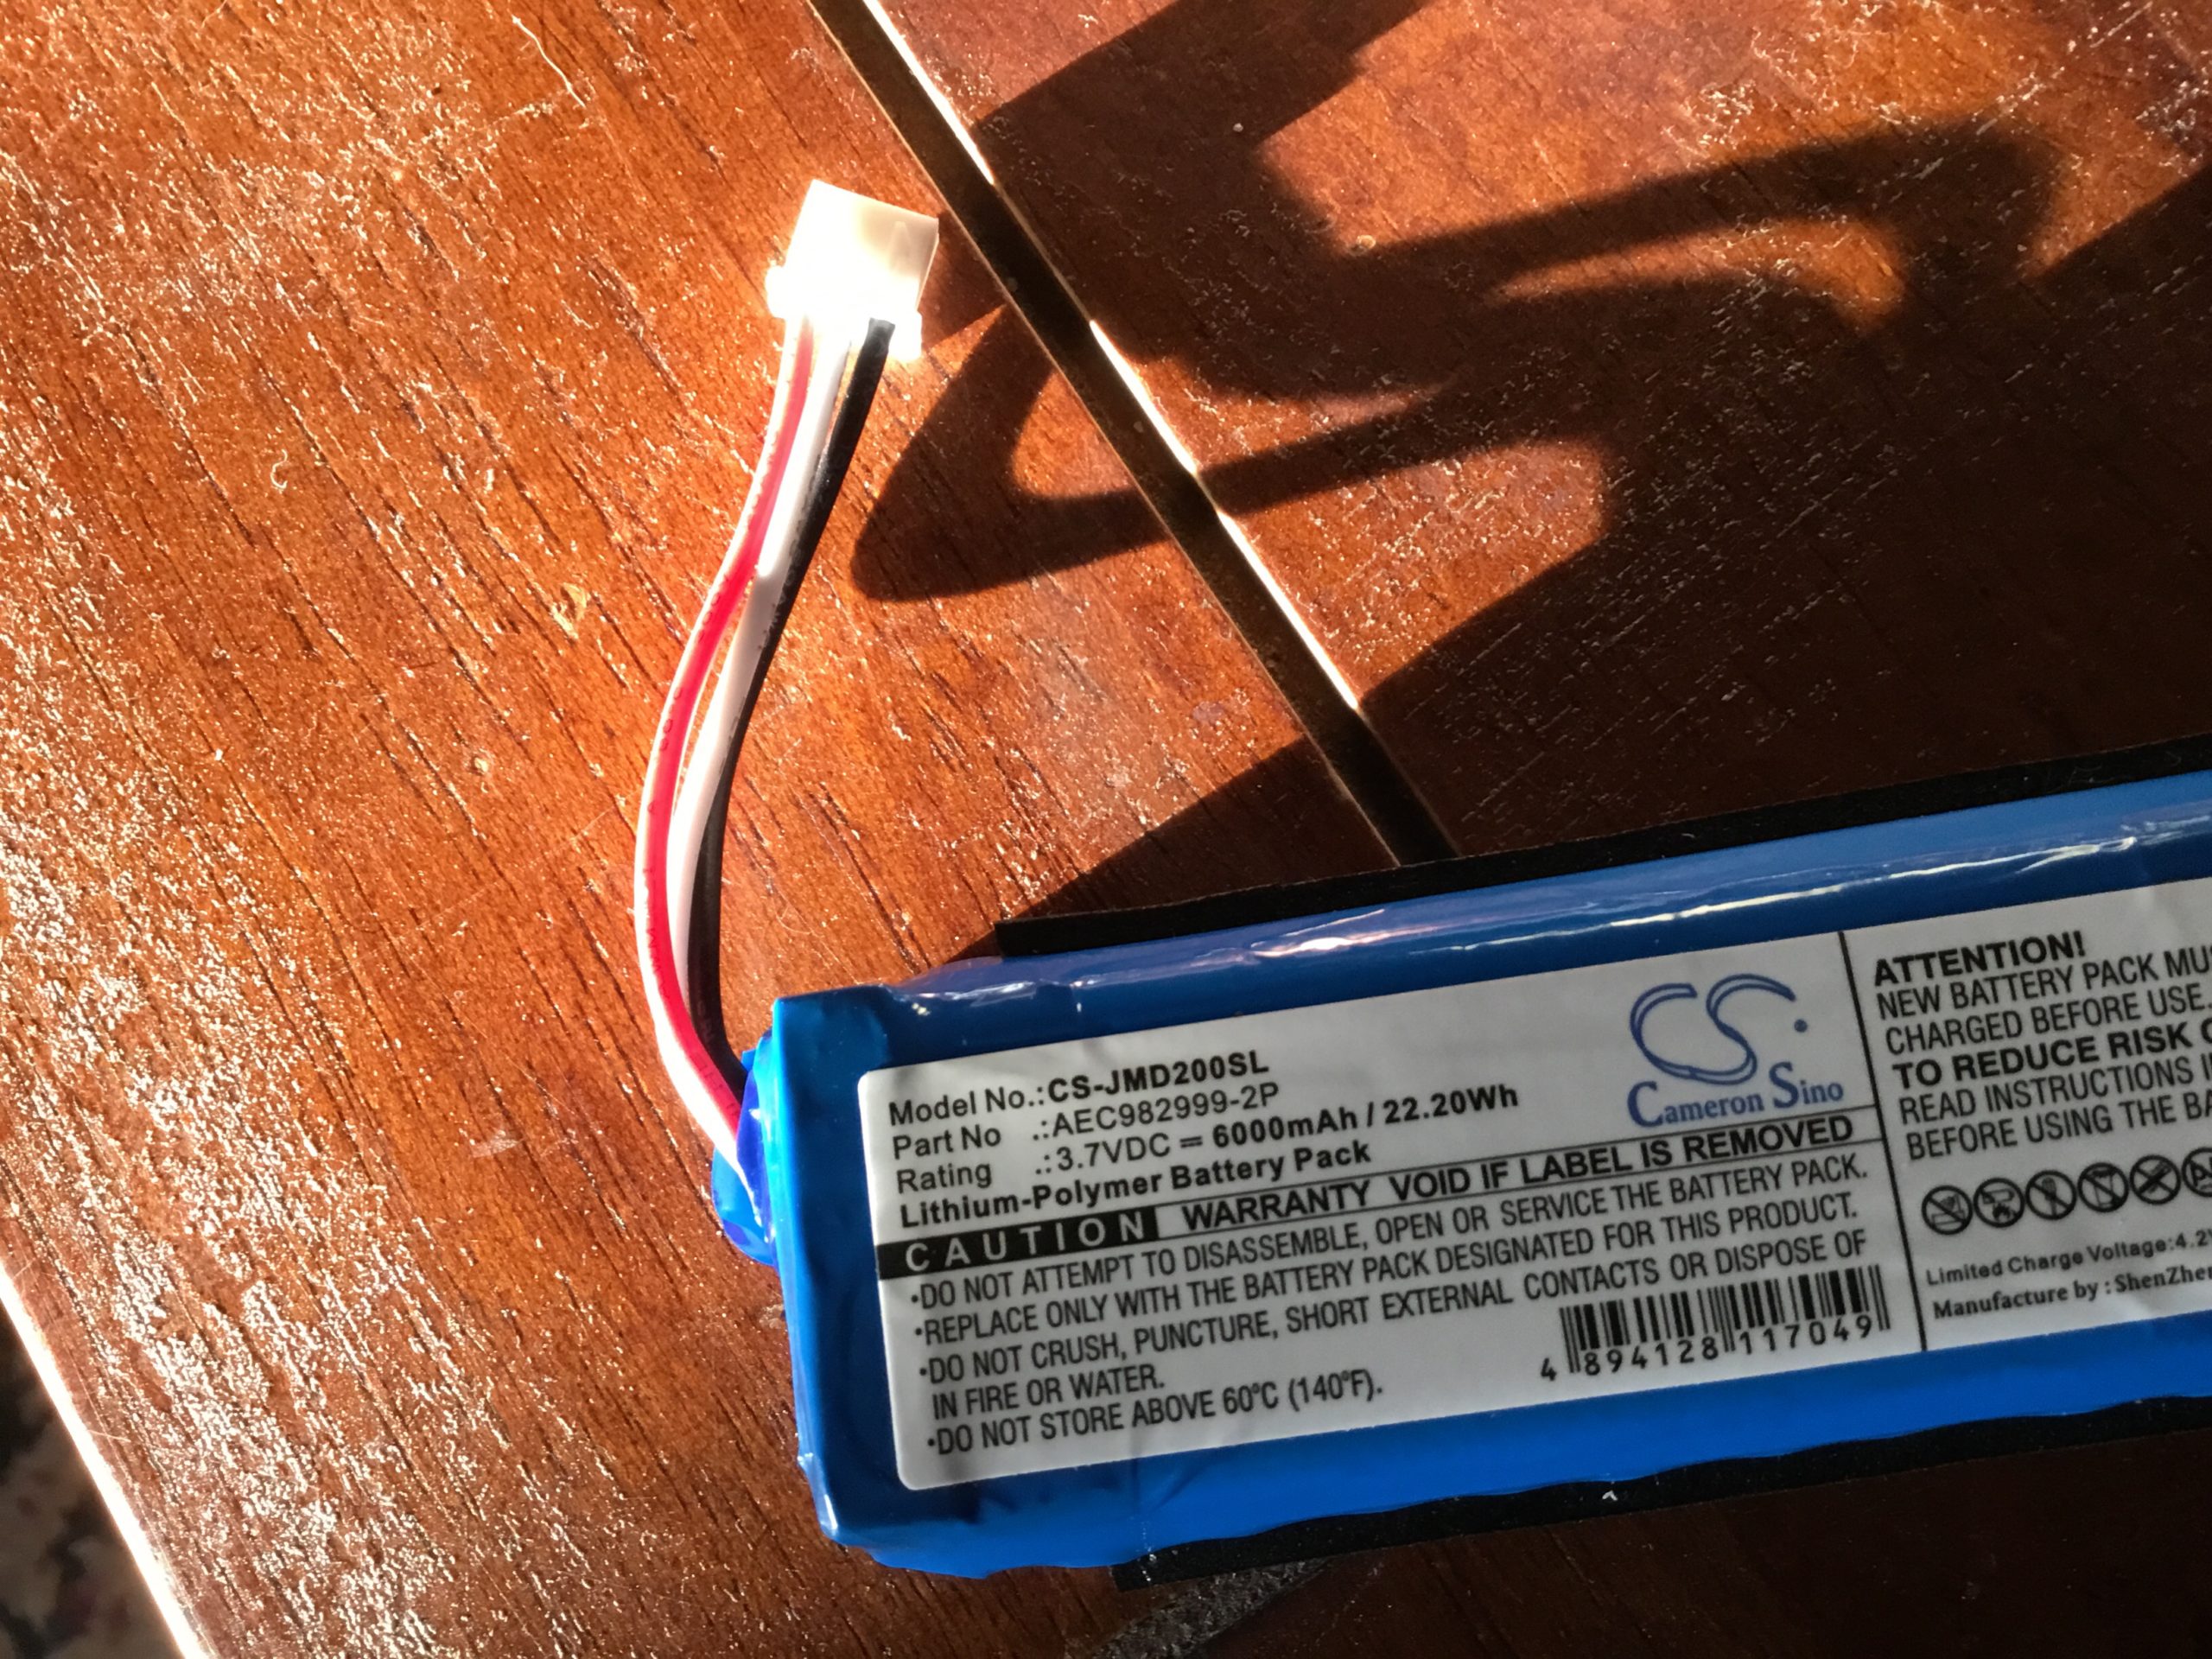
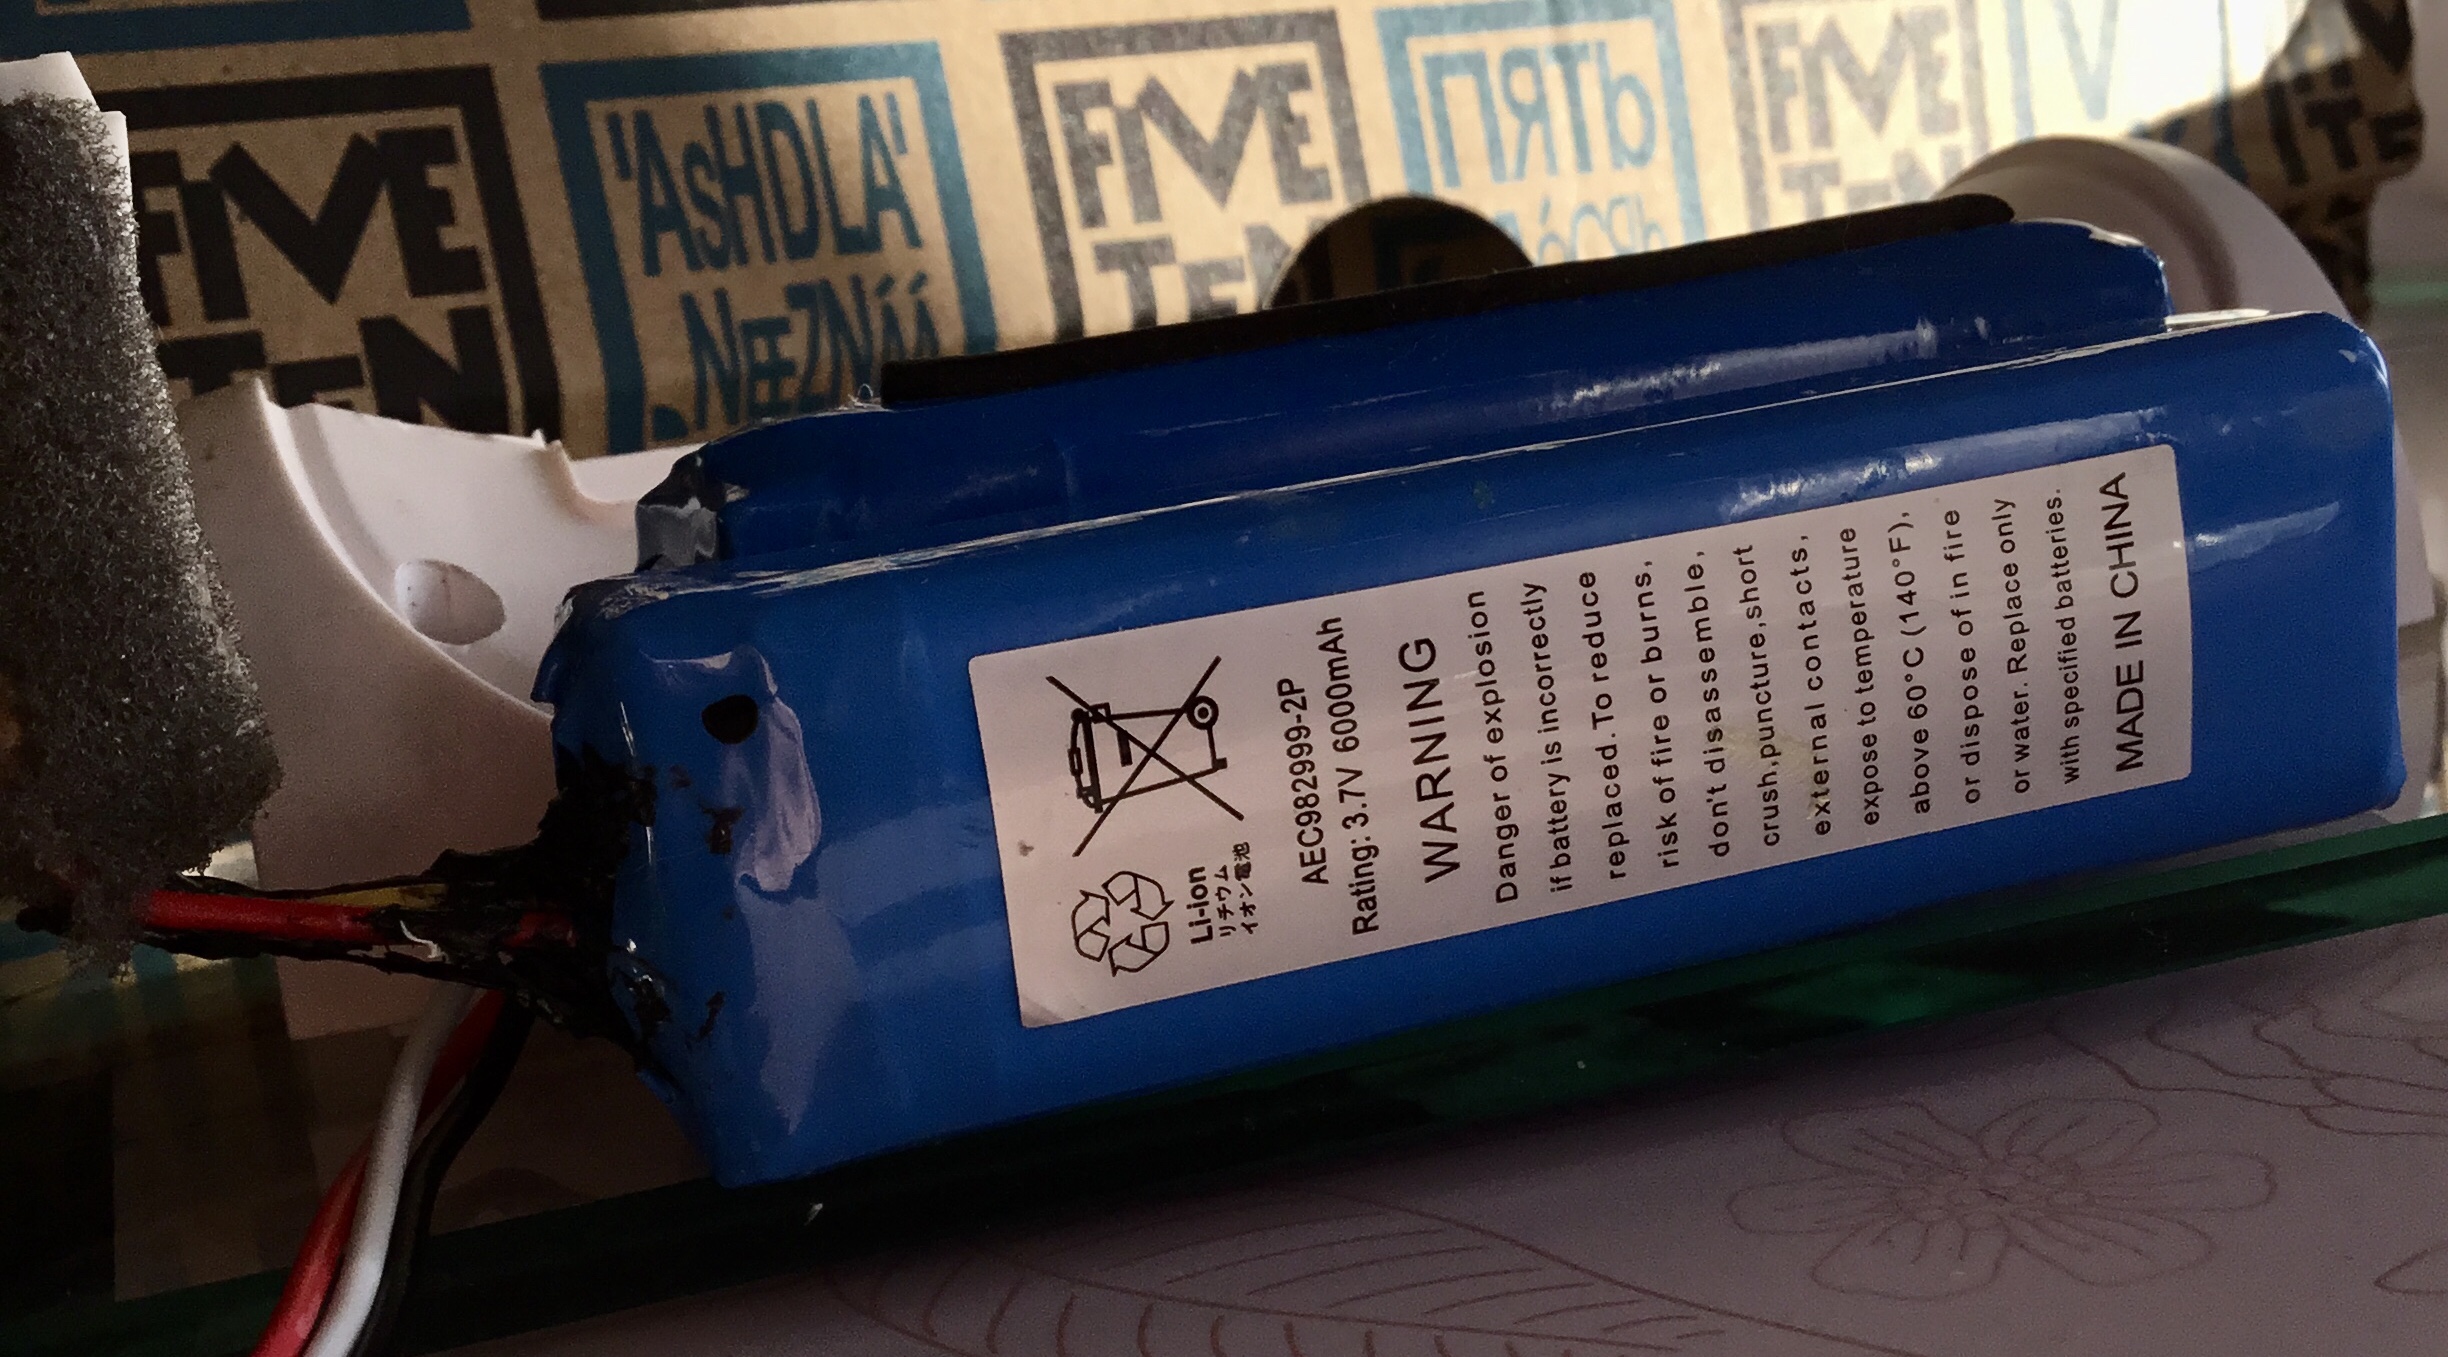
If you find inexpensive batteries on Amazon or Newegg.com with the item size description as…
Product Dimensions : 3.78 x 1.15 x 0.77 inches; 2.82 Ounces
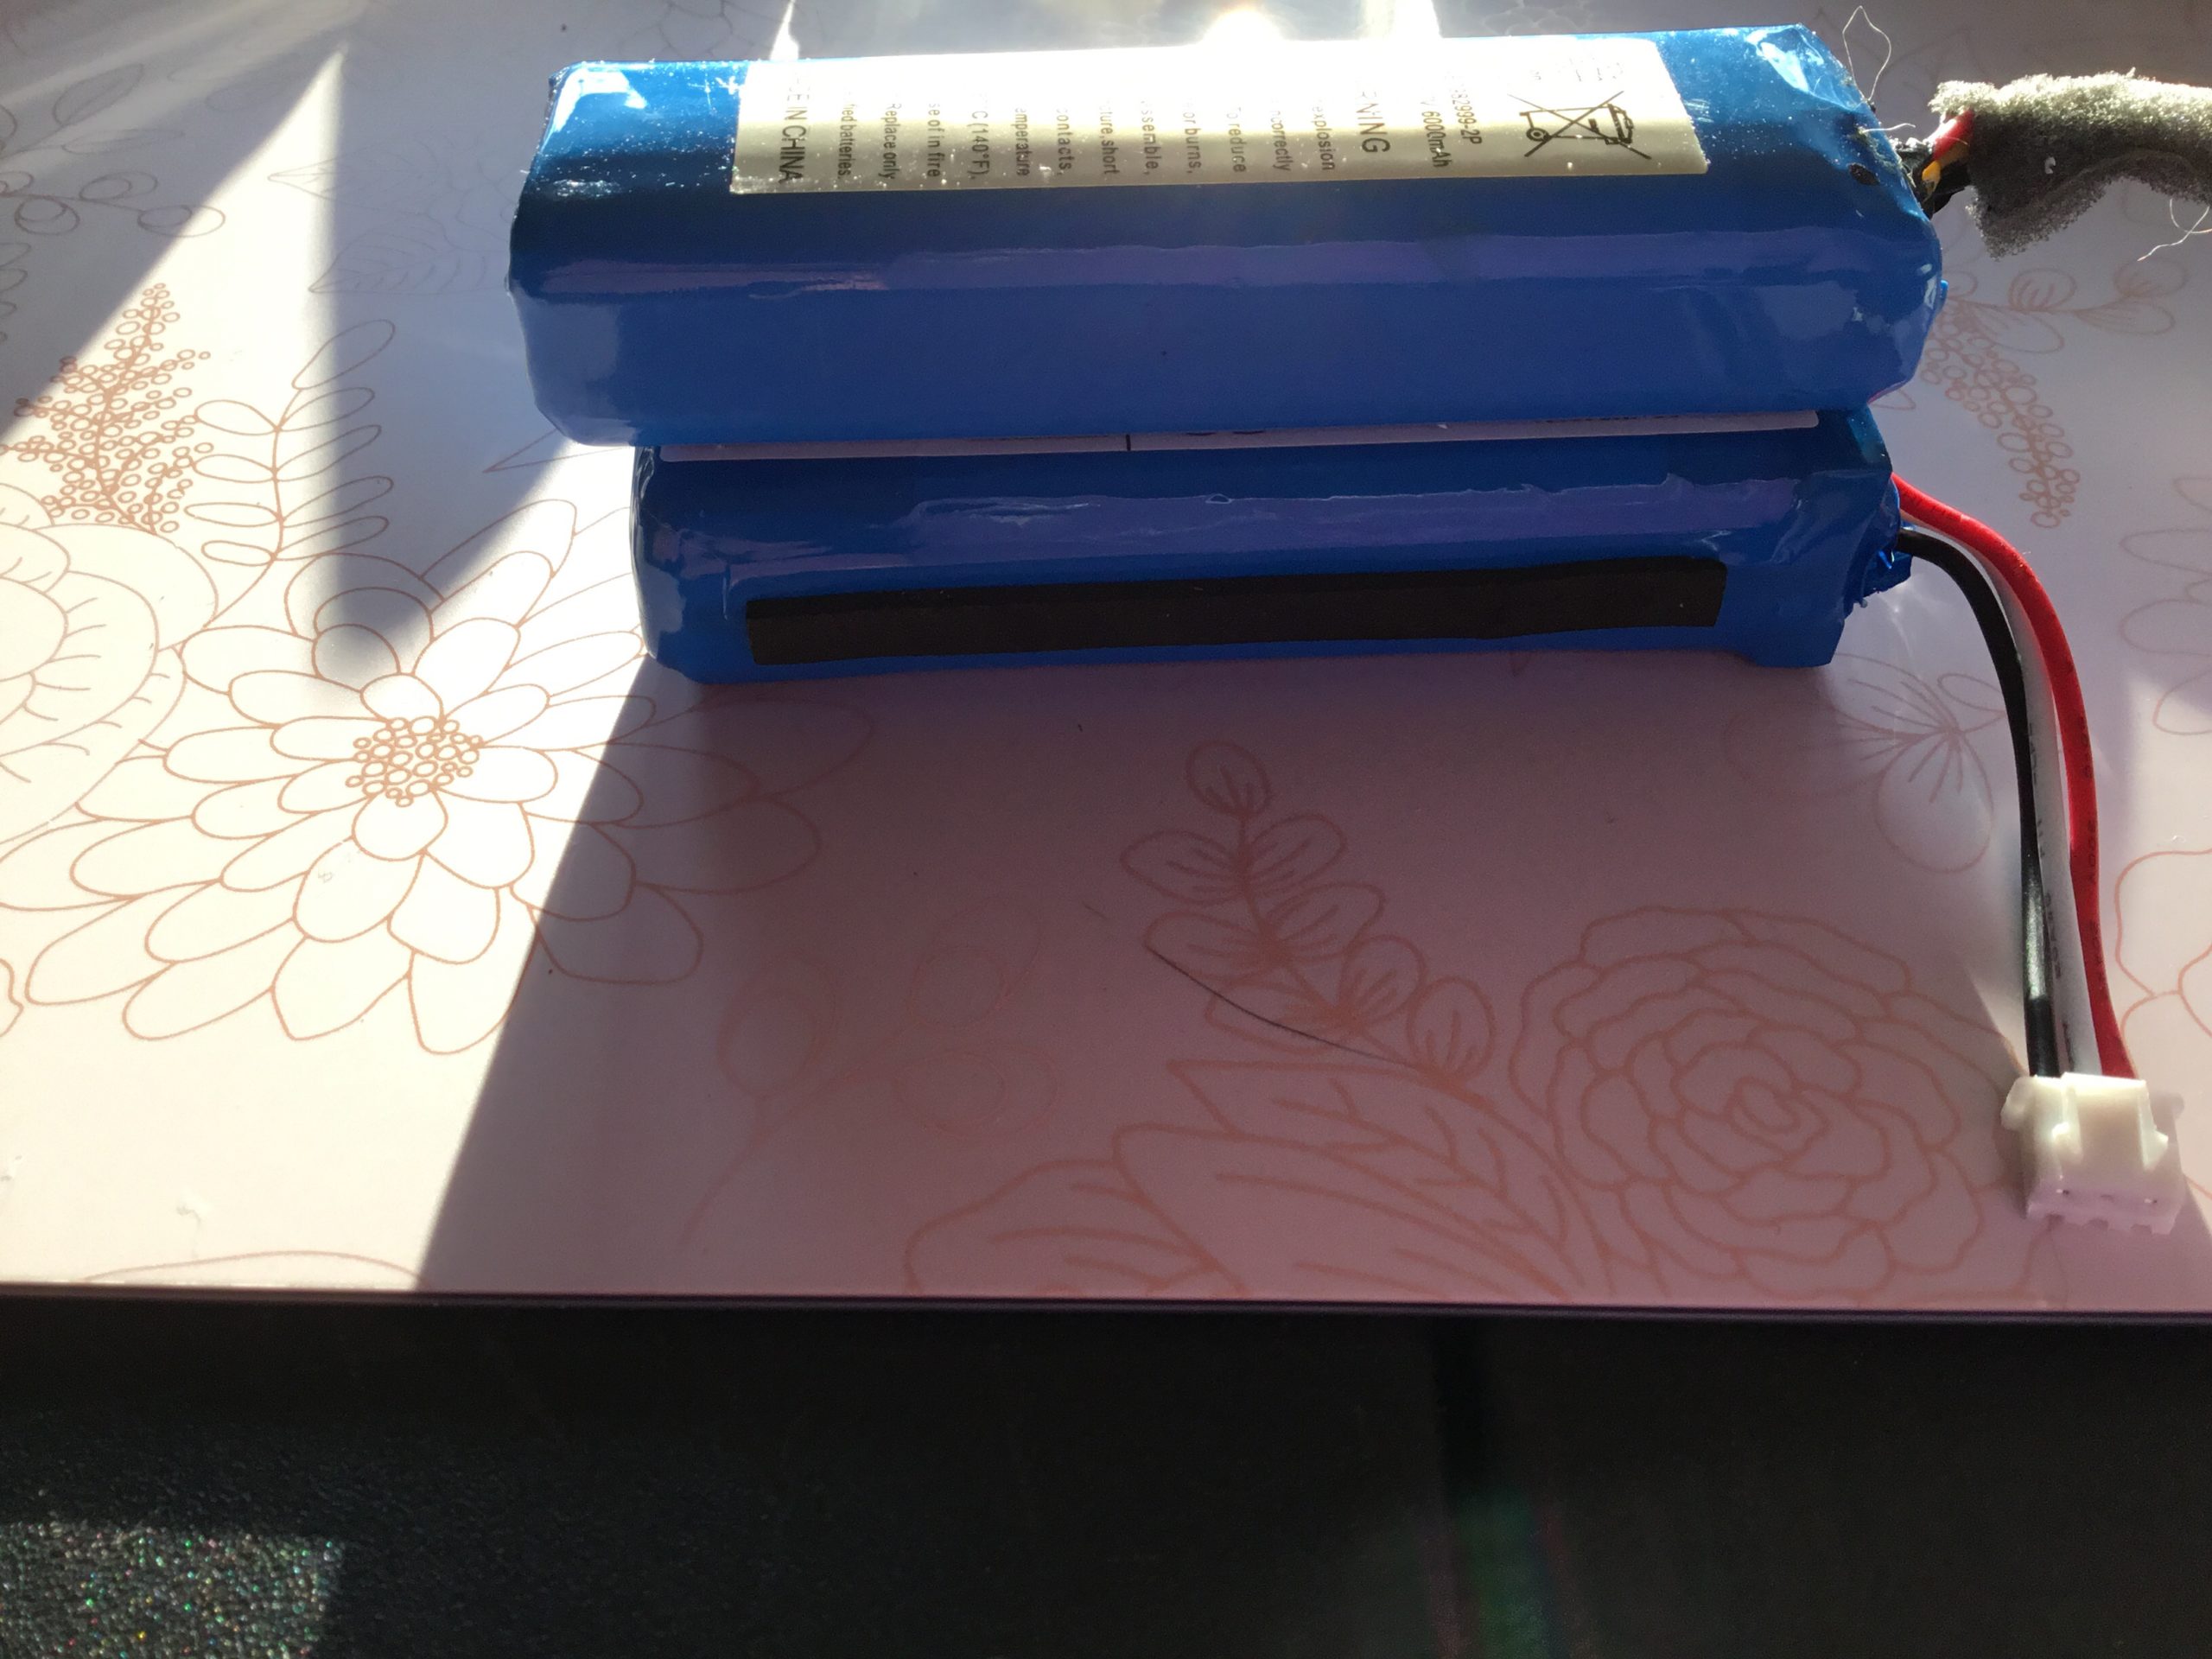
DO NOT BUY!
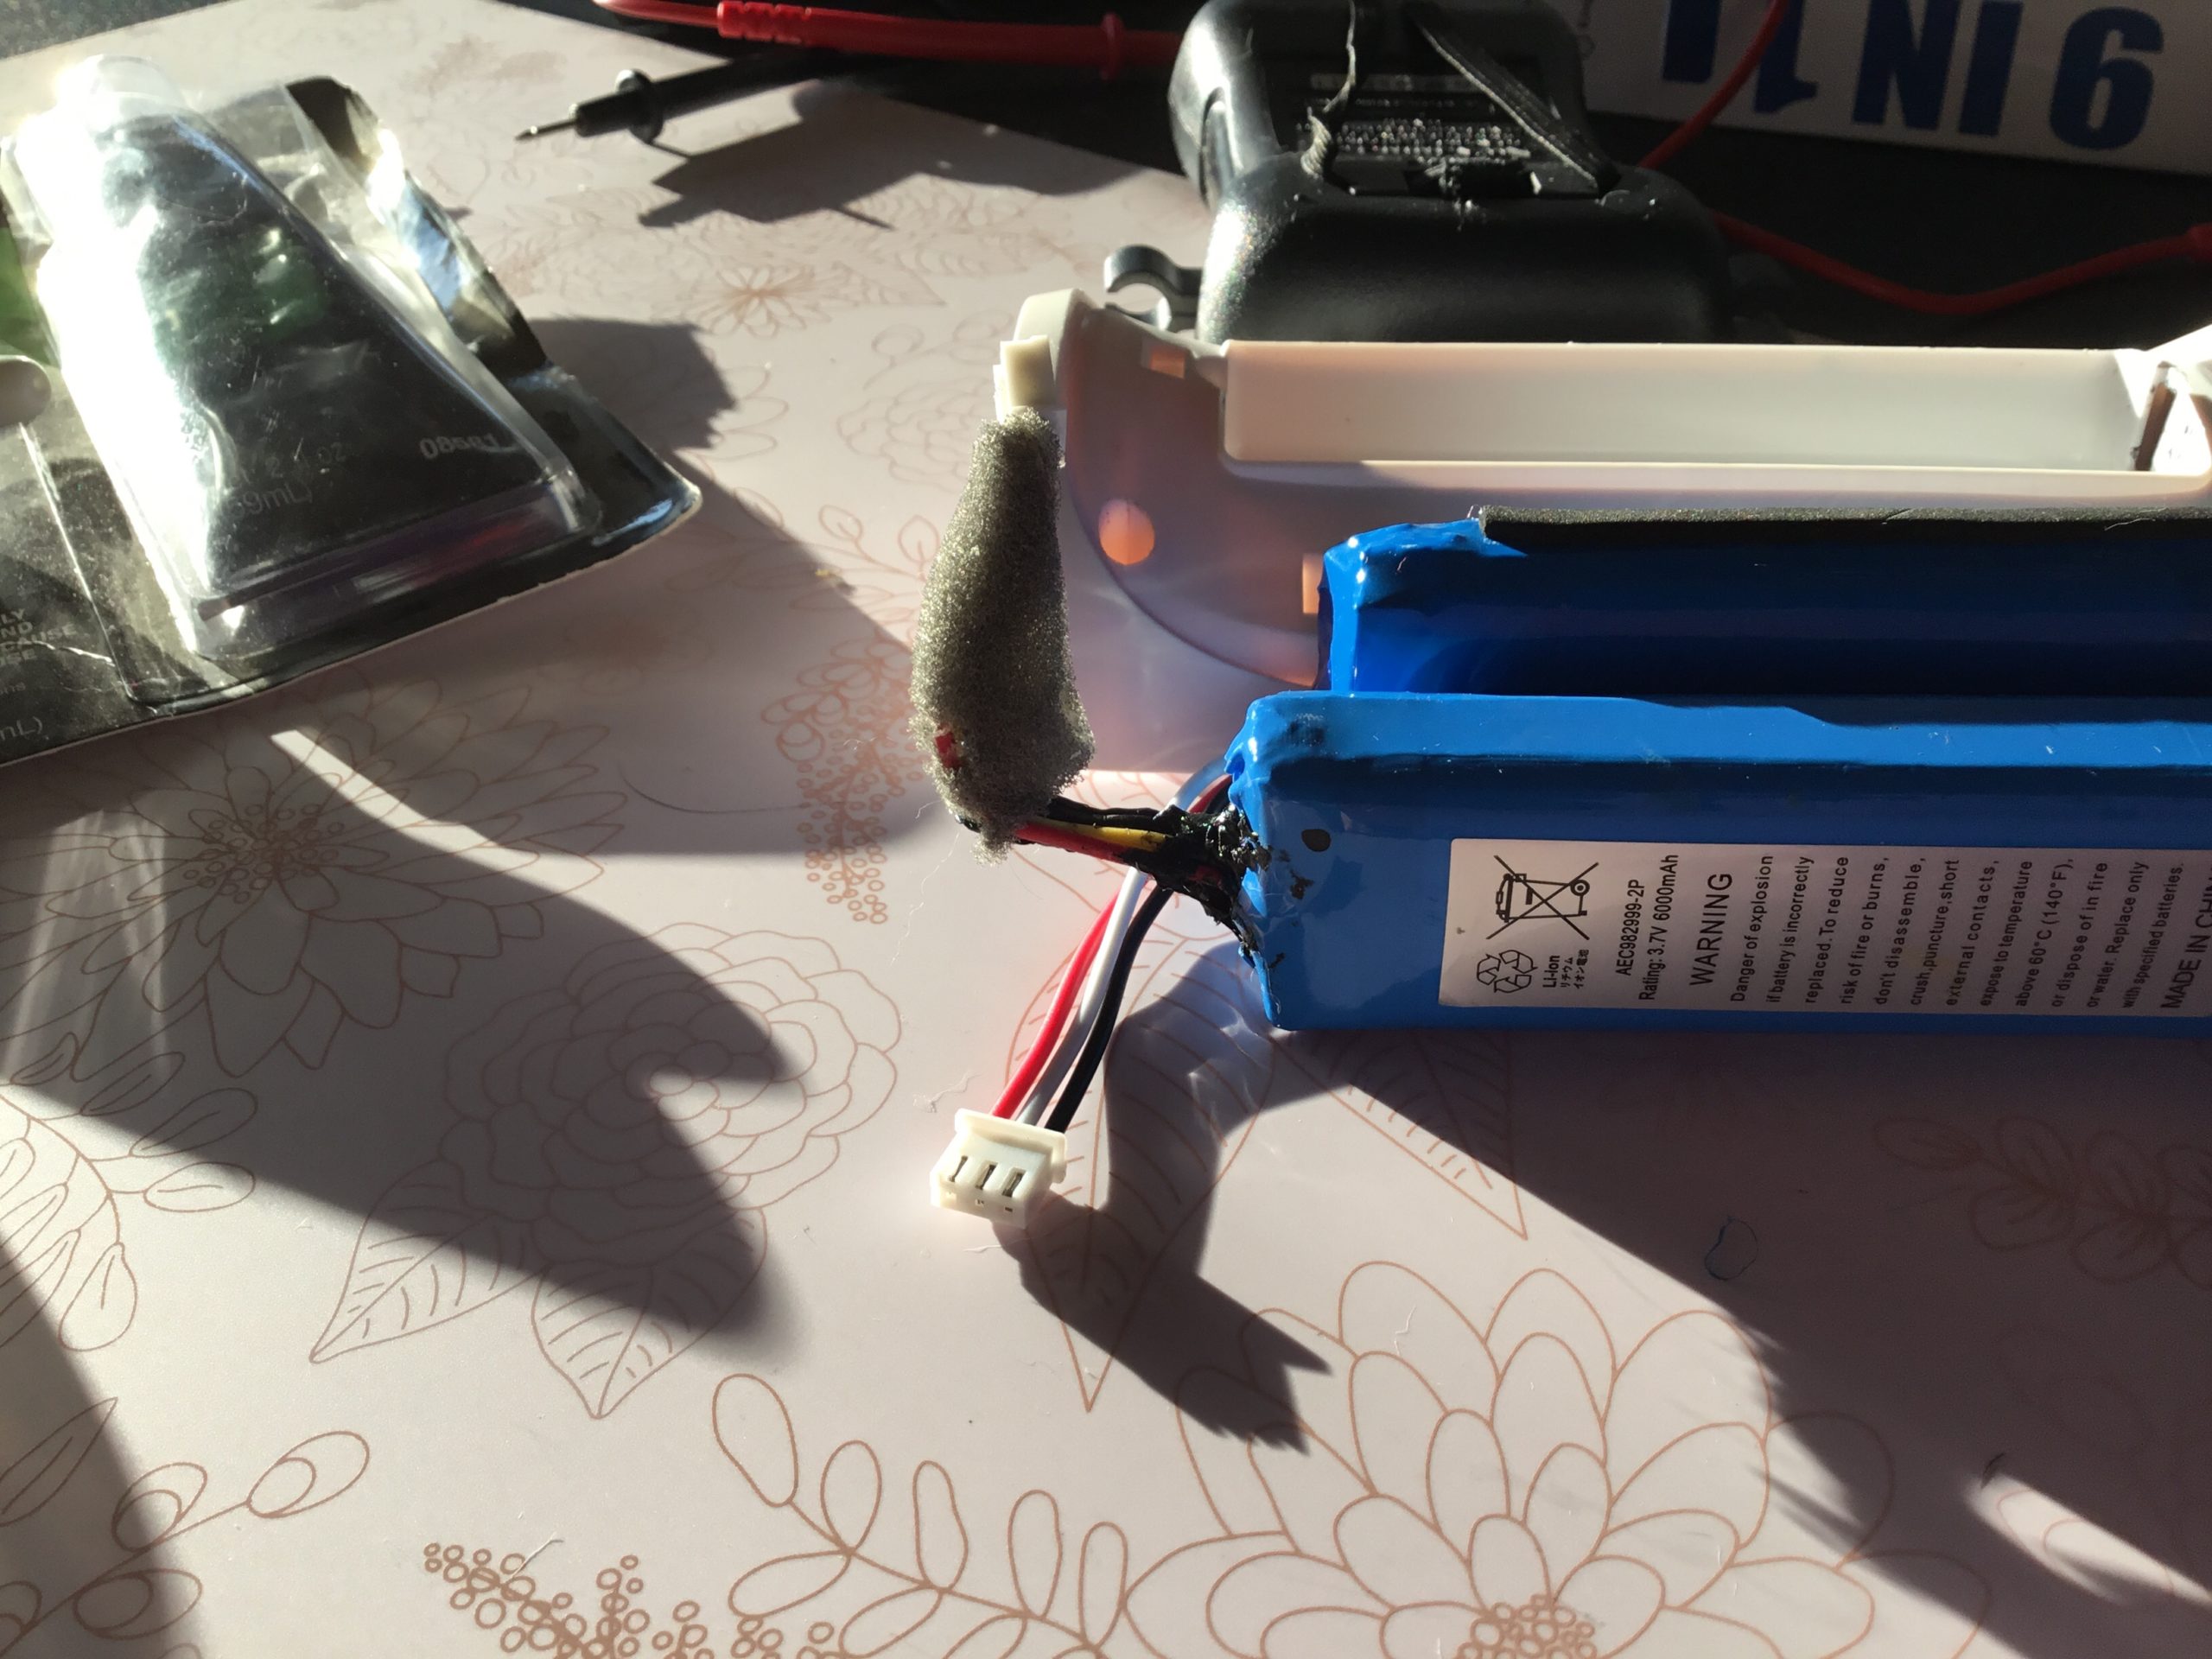
The battery pictured below has the wrong color leads and is just completely the wrong size.
Buy an OEM replacement battery from iFixit.com.
Use 3M black silicone adhesive to hold the battery and electrical cables in place.
E600 glue for the battery hole going through the casing
Finally use White silicone caulking around the perimeter of the housing.
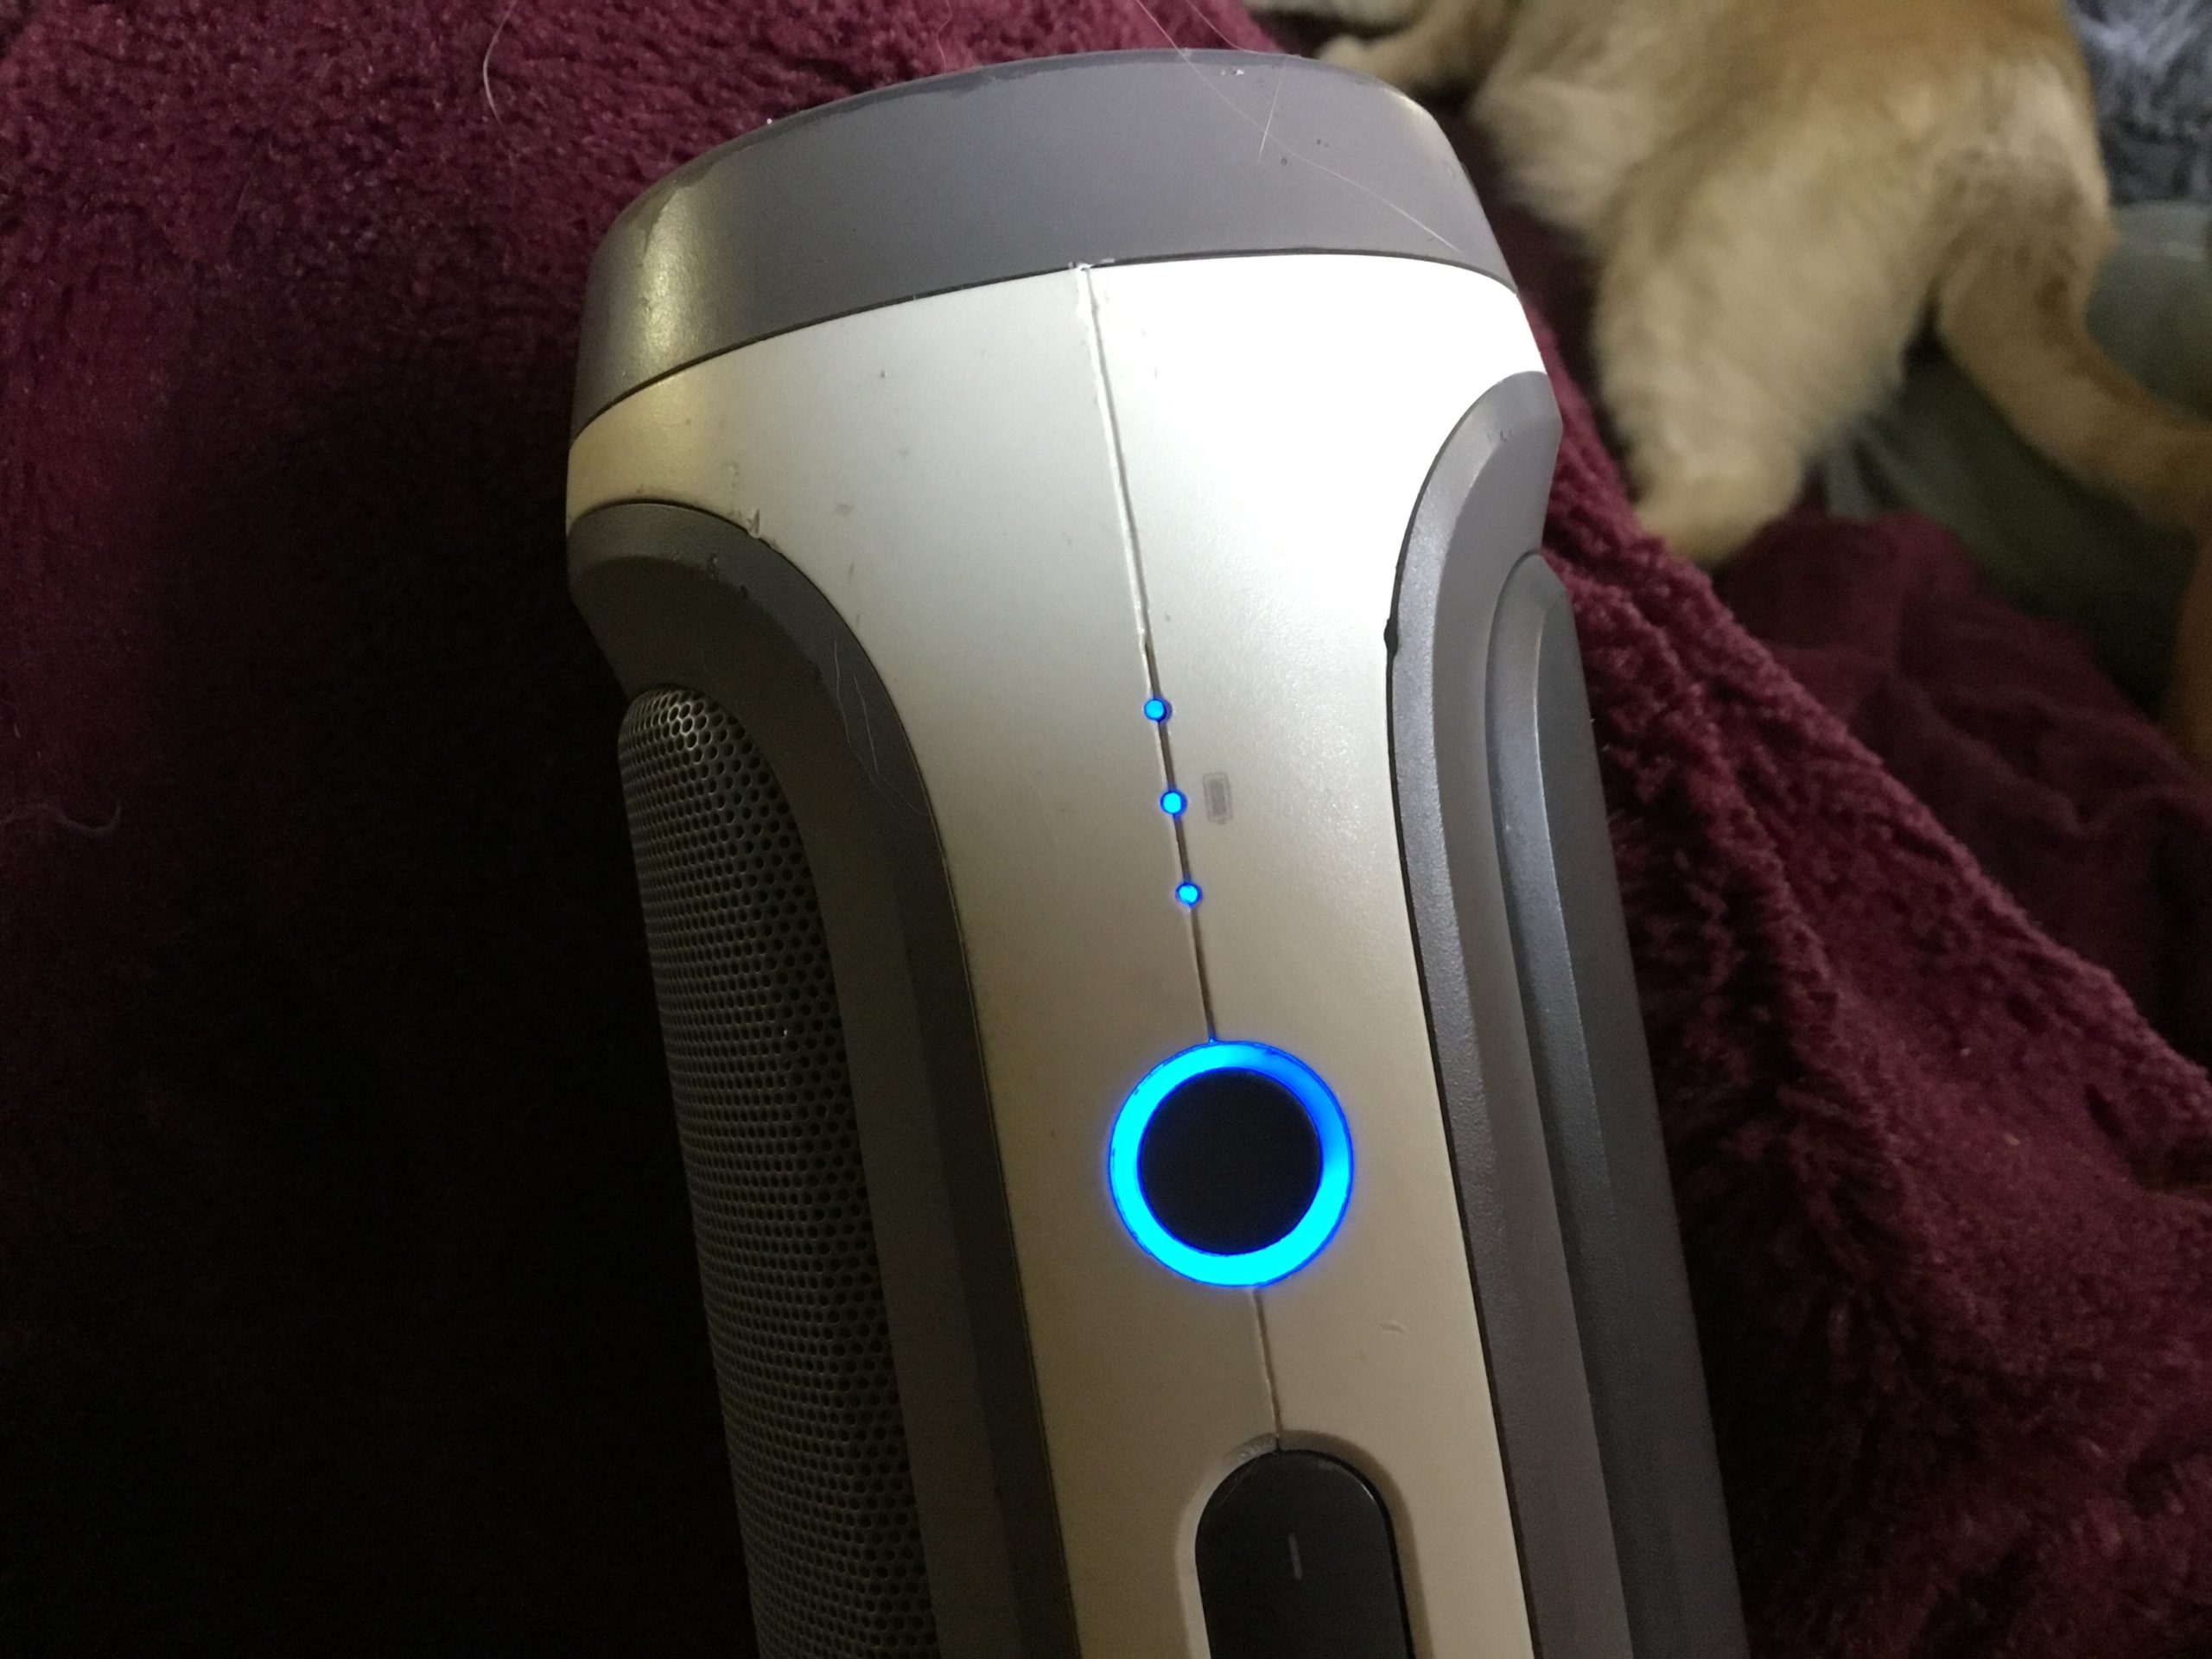
I took my JBL charge apart to replace the battery. After 5-6 years of use I noticed that the 3rd battery indicator light wasn’t lighting up after charging for hours on end. So I replaced the old battery, which still showed a 3.5V charge! Finally all 3 charge lights were fully illuminated.
Charge Port Socket
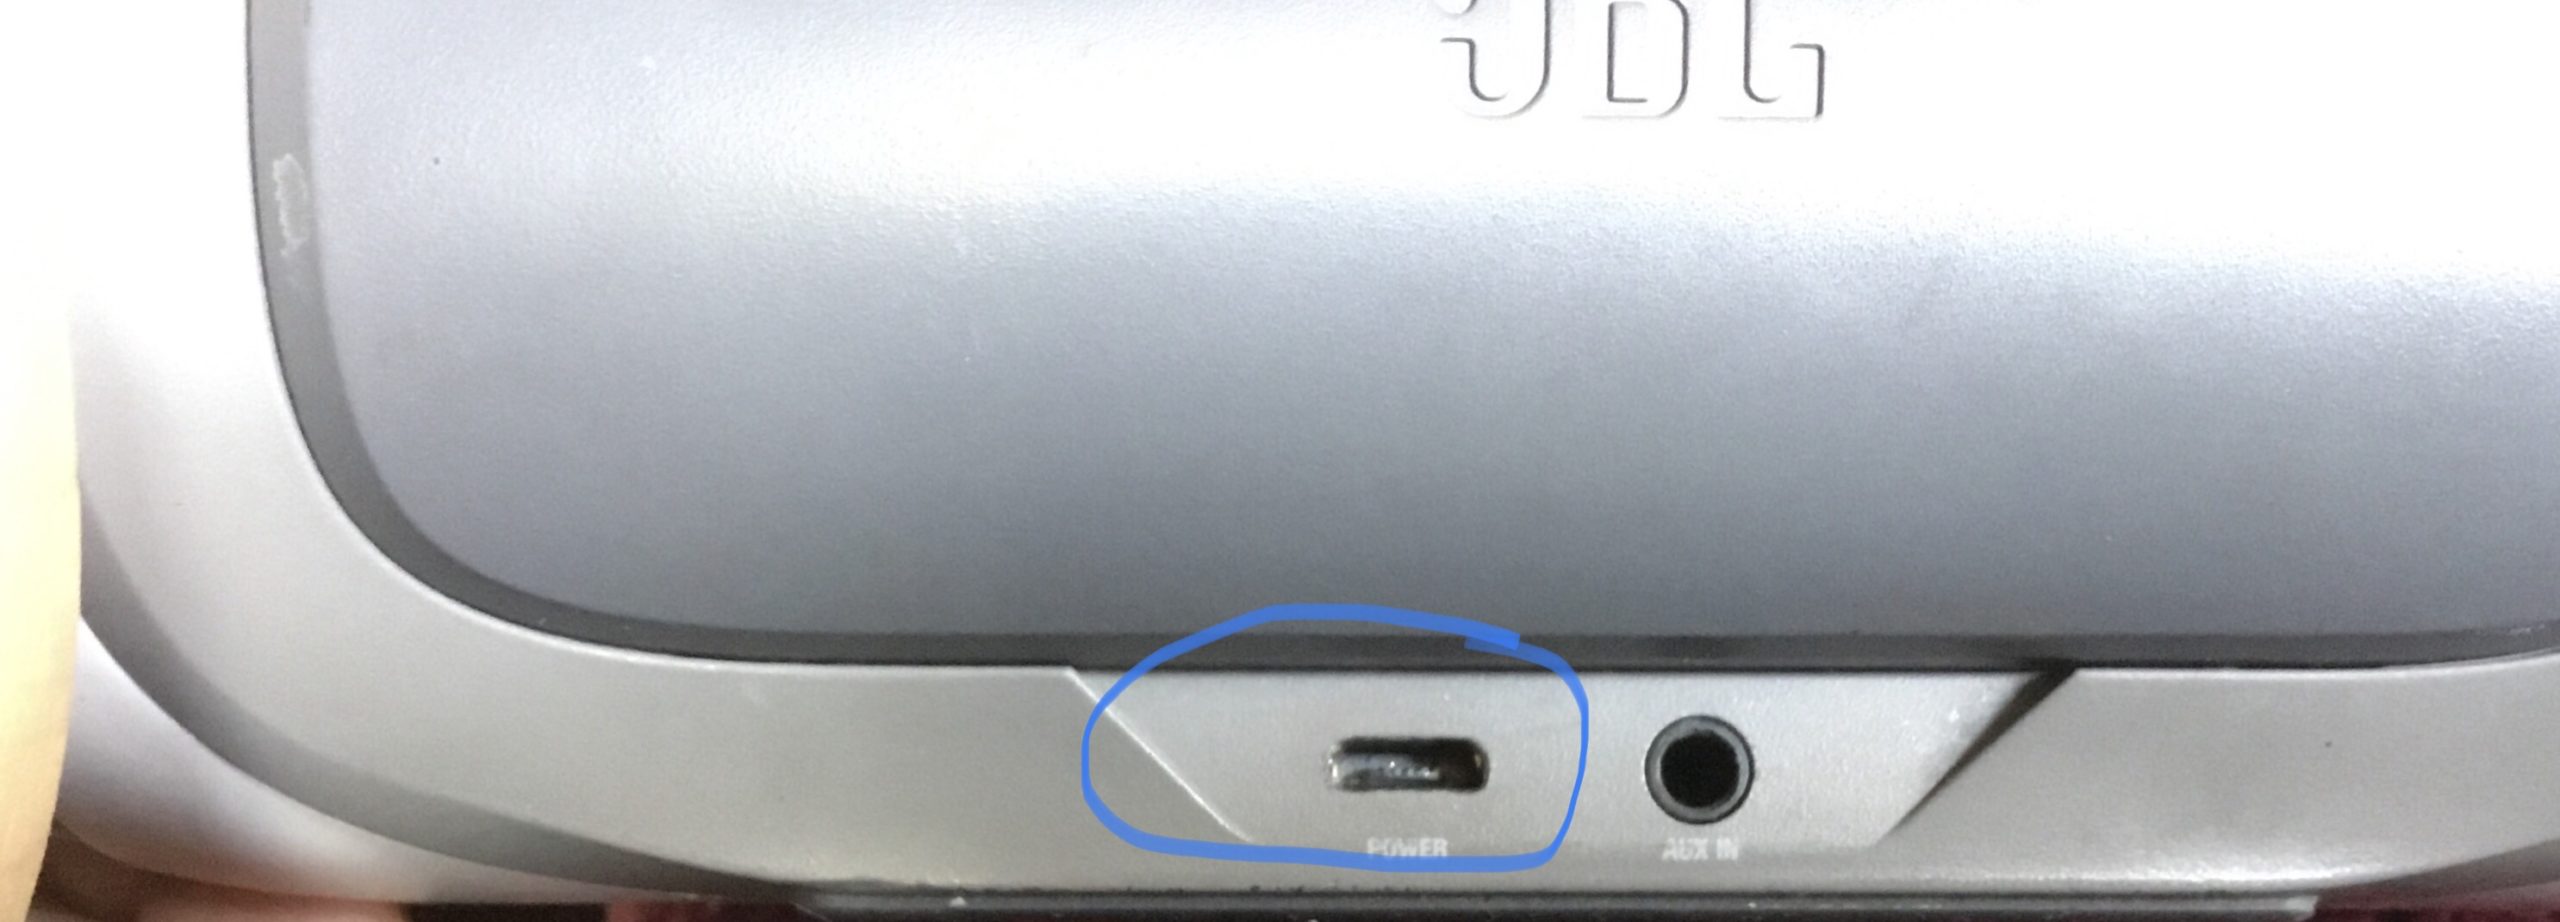
This is not a simple DIY plug and play repair for most people. In fact it requires soldering equipment and skill.
Easy Peasy send off the speaker to have the charging port replaced!
While inside the JBL Charge I looked at what is involved in repairing the charging socket, in case the occasion ever were to ever arise! It is a glued mess and it looked like the charging socket is attached to a single electric board with the AUX port. My soldering skills are still developing but they aren’t ready to tackle this type of repair just yet.
Repairing this socket would require soldering skills and sourcing a new socket. This is not a simple DIY repair but it can be done by someone experienced. I am sorry I am not creating a tutorial on this process as my JBL socket still works. I wanted to give people the option of sending it off for repair.