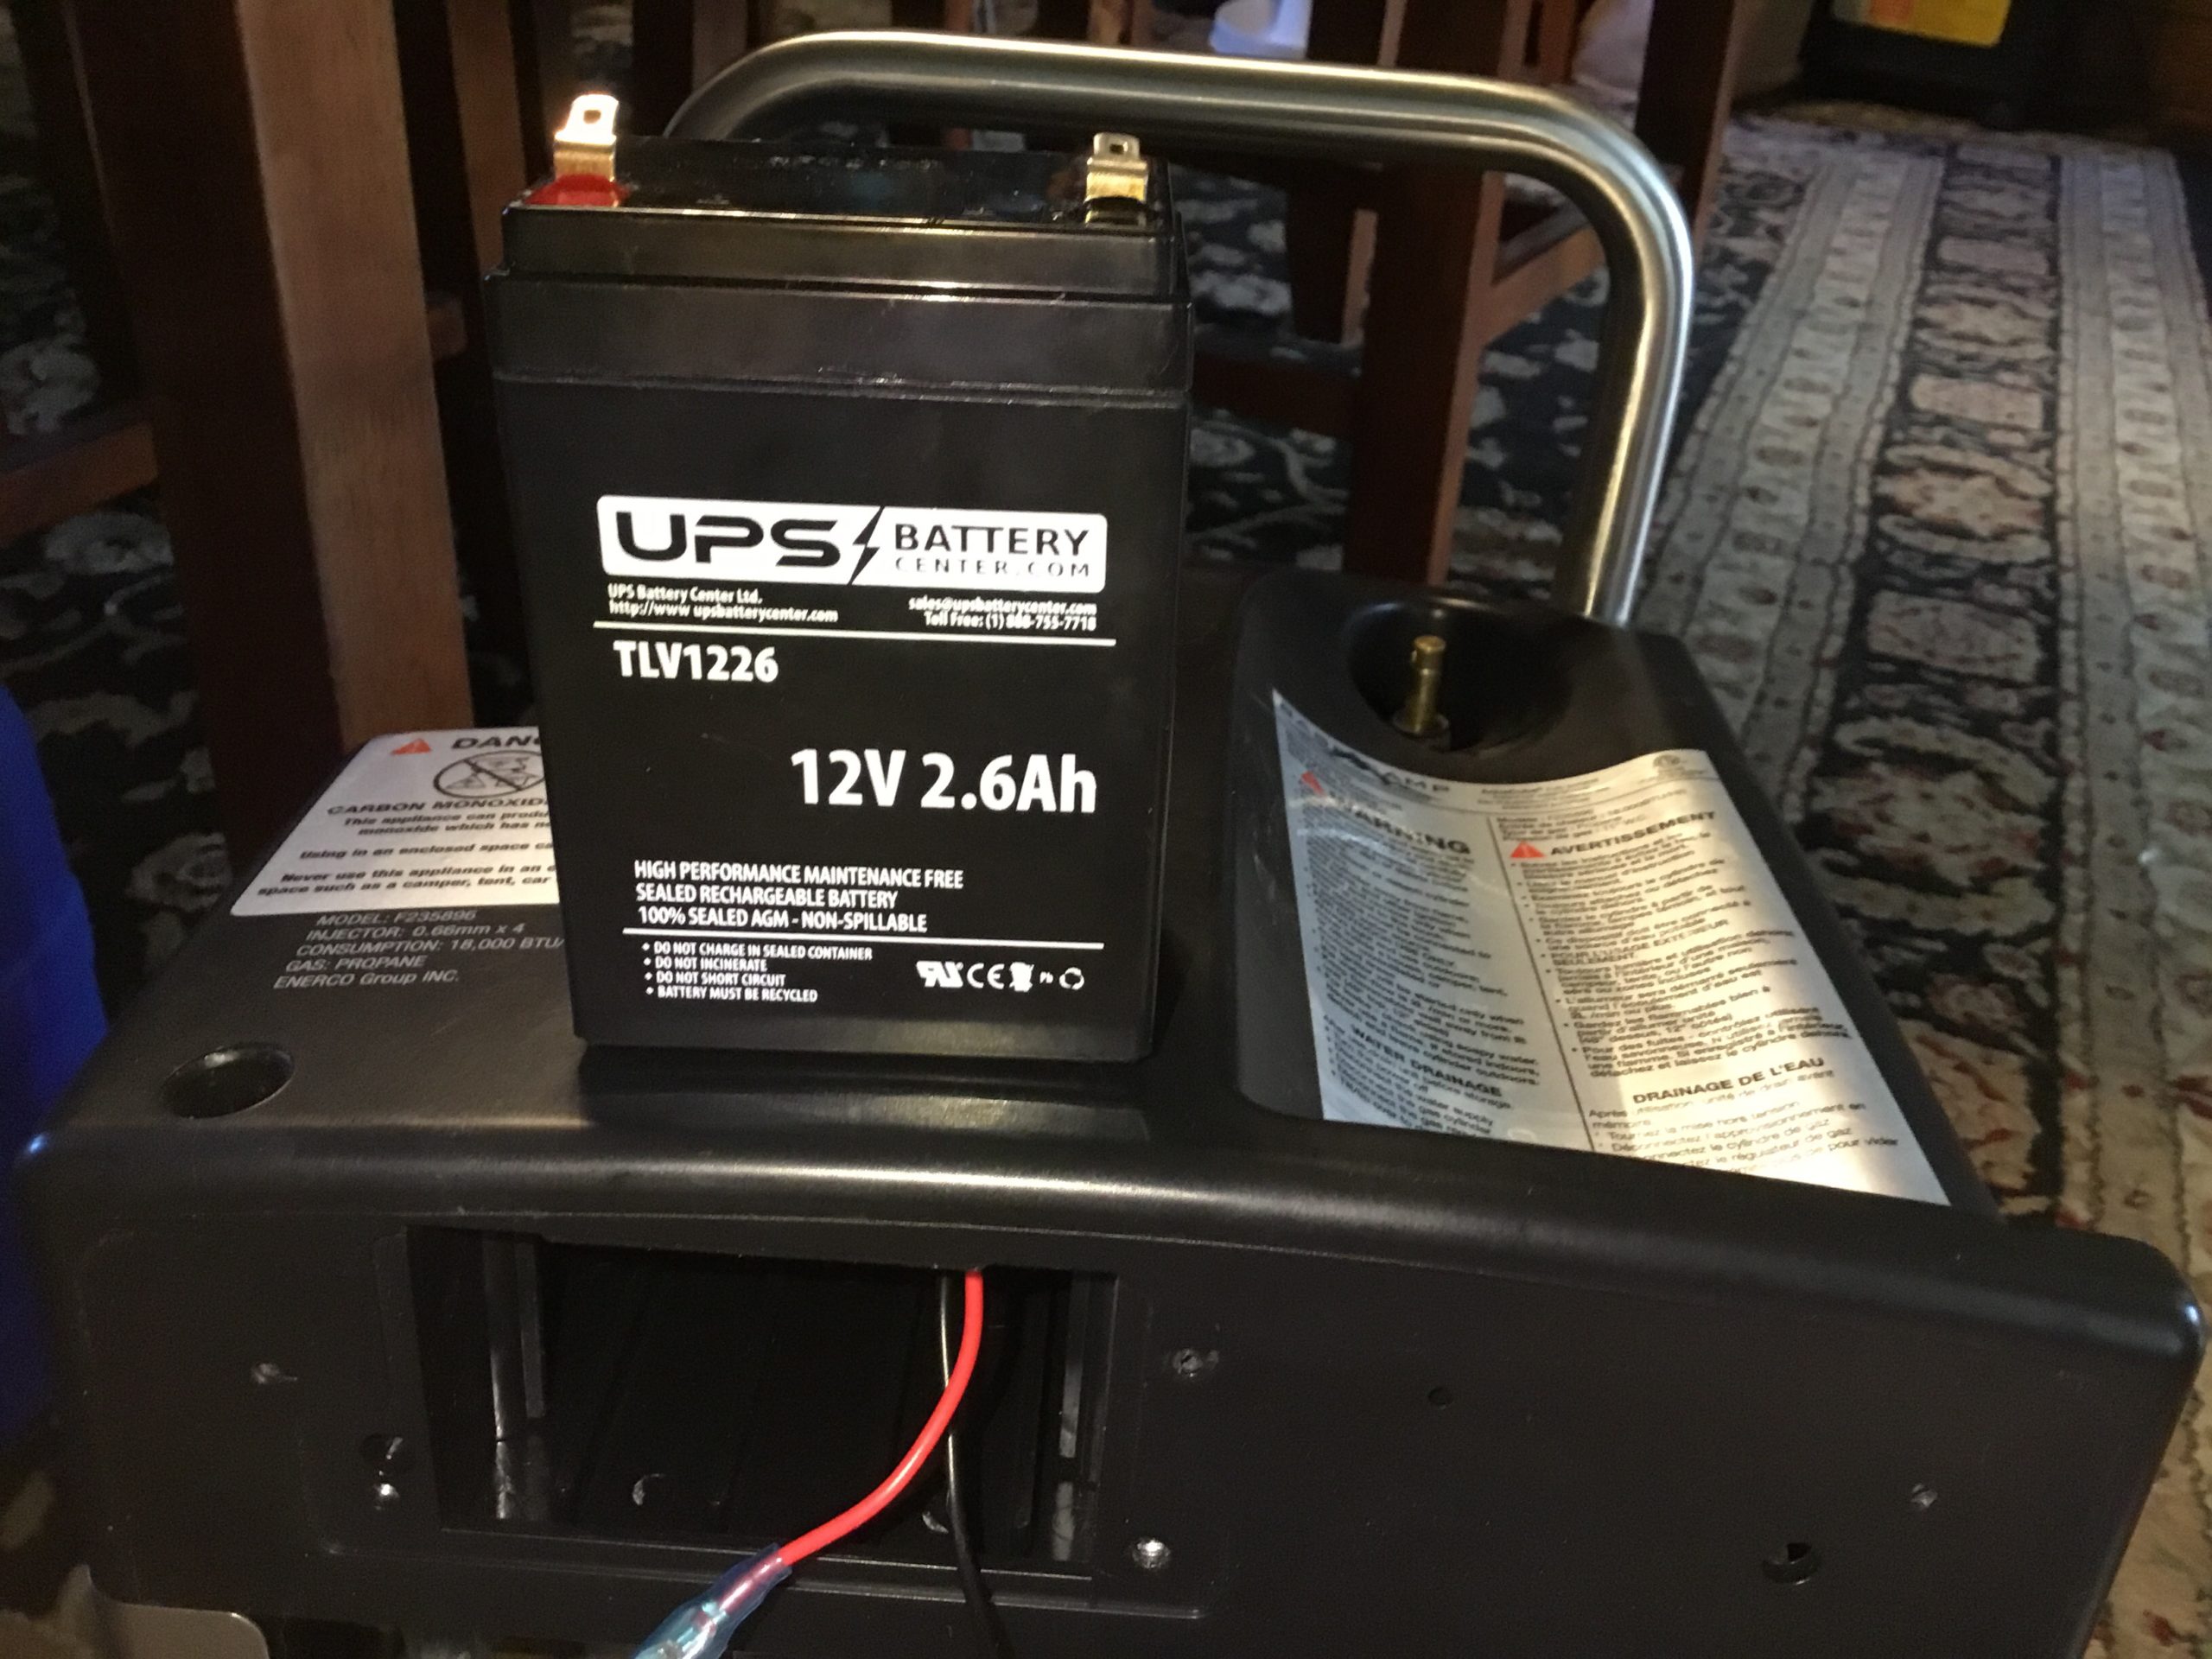
Aqua Cube Base Camp Shower battery replacement
Update: The new battery seems to have fixed the problem. We charged it up and let it sit a month before camping and it fired right up with a full charge. This last camping trip we took 5-6 long showers with two bars still showing.
Problems:
Shower will not hold a charge and only works while plugged into power!
The first unit I owned (2014) stopped working after the first season and sprung a water leak. I was still under warranty so I reached out to Mr. Heater who sent me a replacement unit (2015).
The second unit worked for a season until the battery slowly started dying out quicker and quicker until it would die after 1.5 times of use. By this time (2017) I am long outside of the express warranty and did not know about State protected consumer rights laws such as warranty of merchantability which exceeds or extends manufacturers written express warranties in certain States like Oregon but in States such as Utah manufacturers are allowed to void consumer rights protections so check with your State laws.
Update 2024: my battery is starting to show signs of needing replacement. I can not stress enough the importance of maintenance charging these batteries every three months! This last trip we managed 8 showers between 2 people before the battery started showing it was depleted. This is a clear indication that the battery needs replacing.
I am now looking at upgrading to this AGM battery.
Replace The Battery
Locate your model number for manual referencing on the back of the unit.
Aqua cube #F235896 Owners Manual.
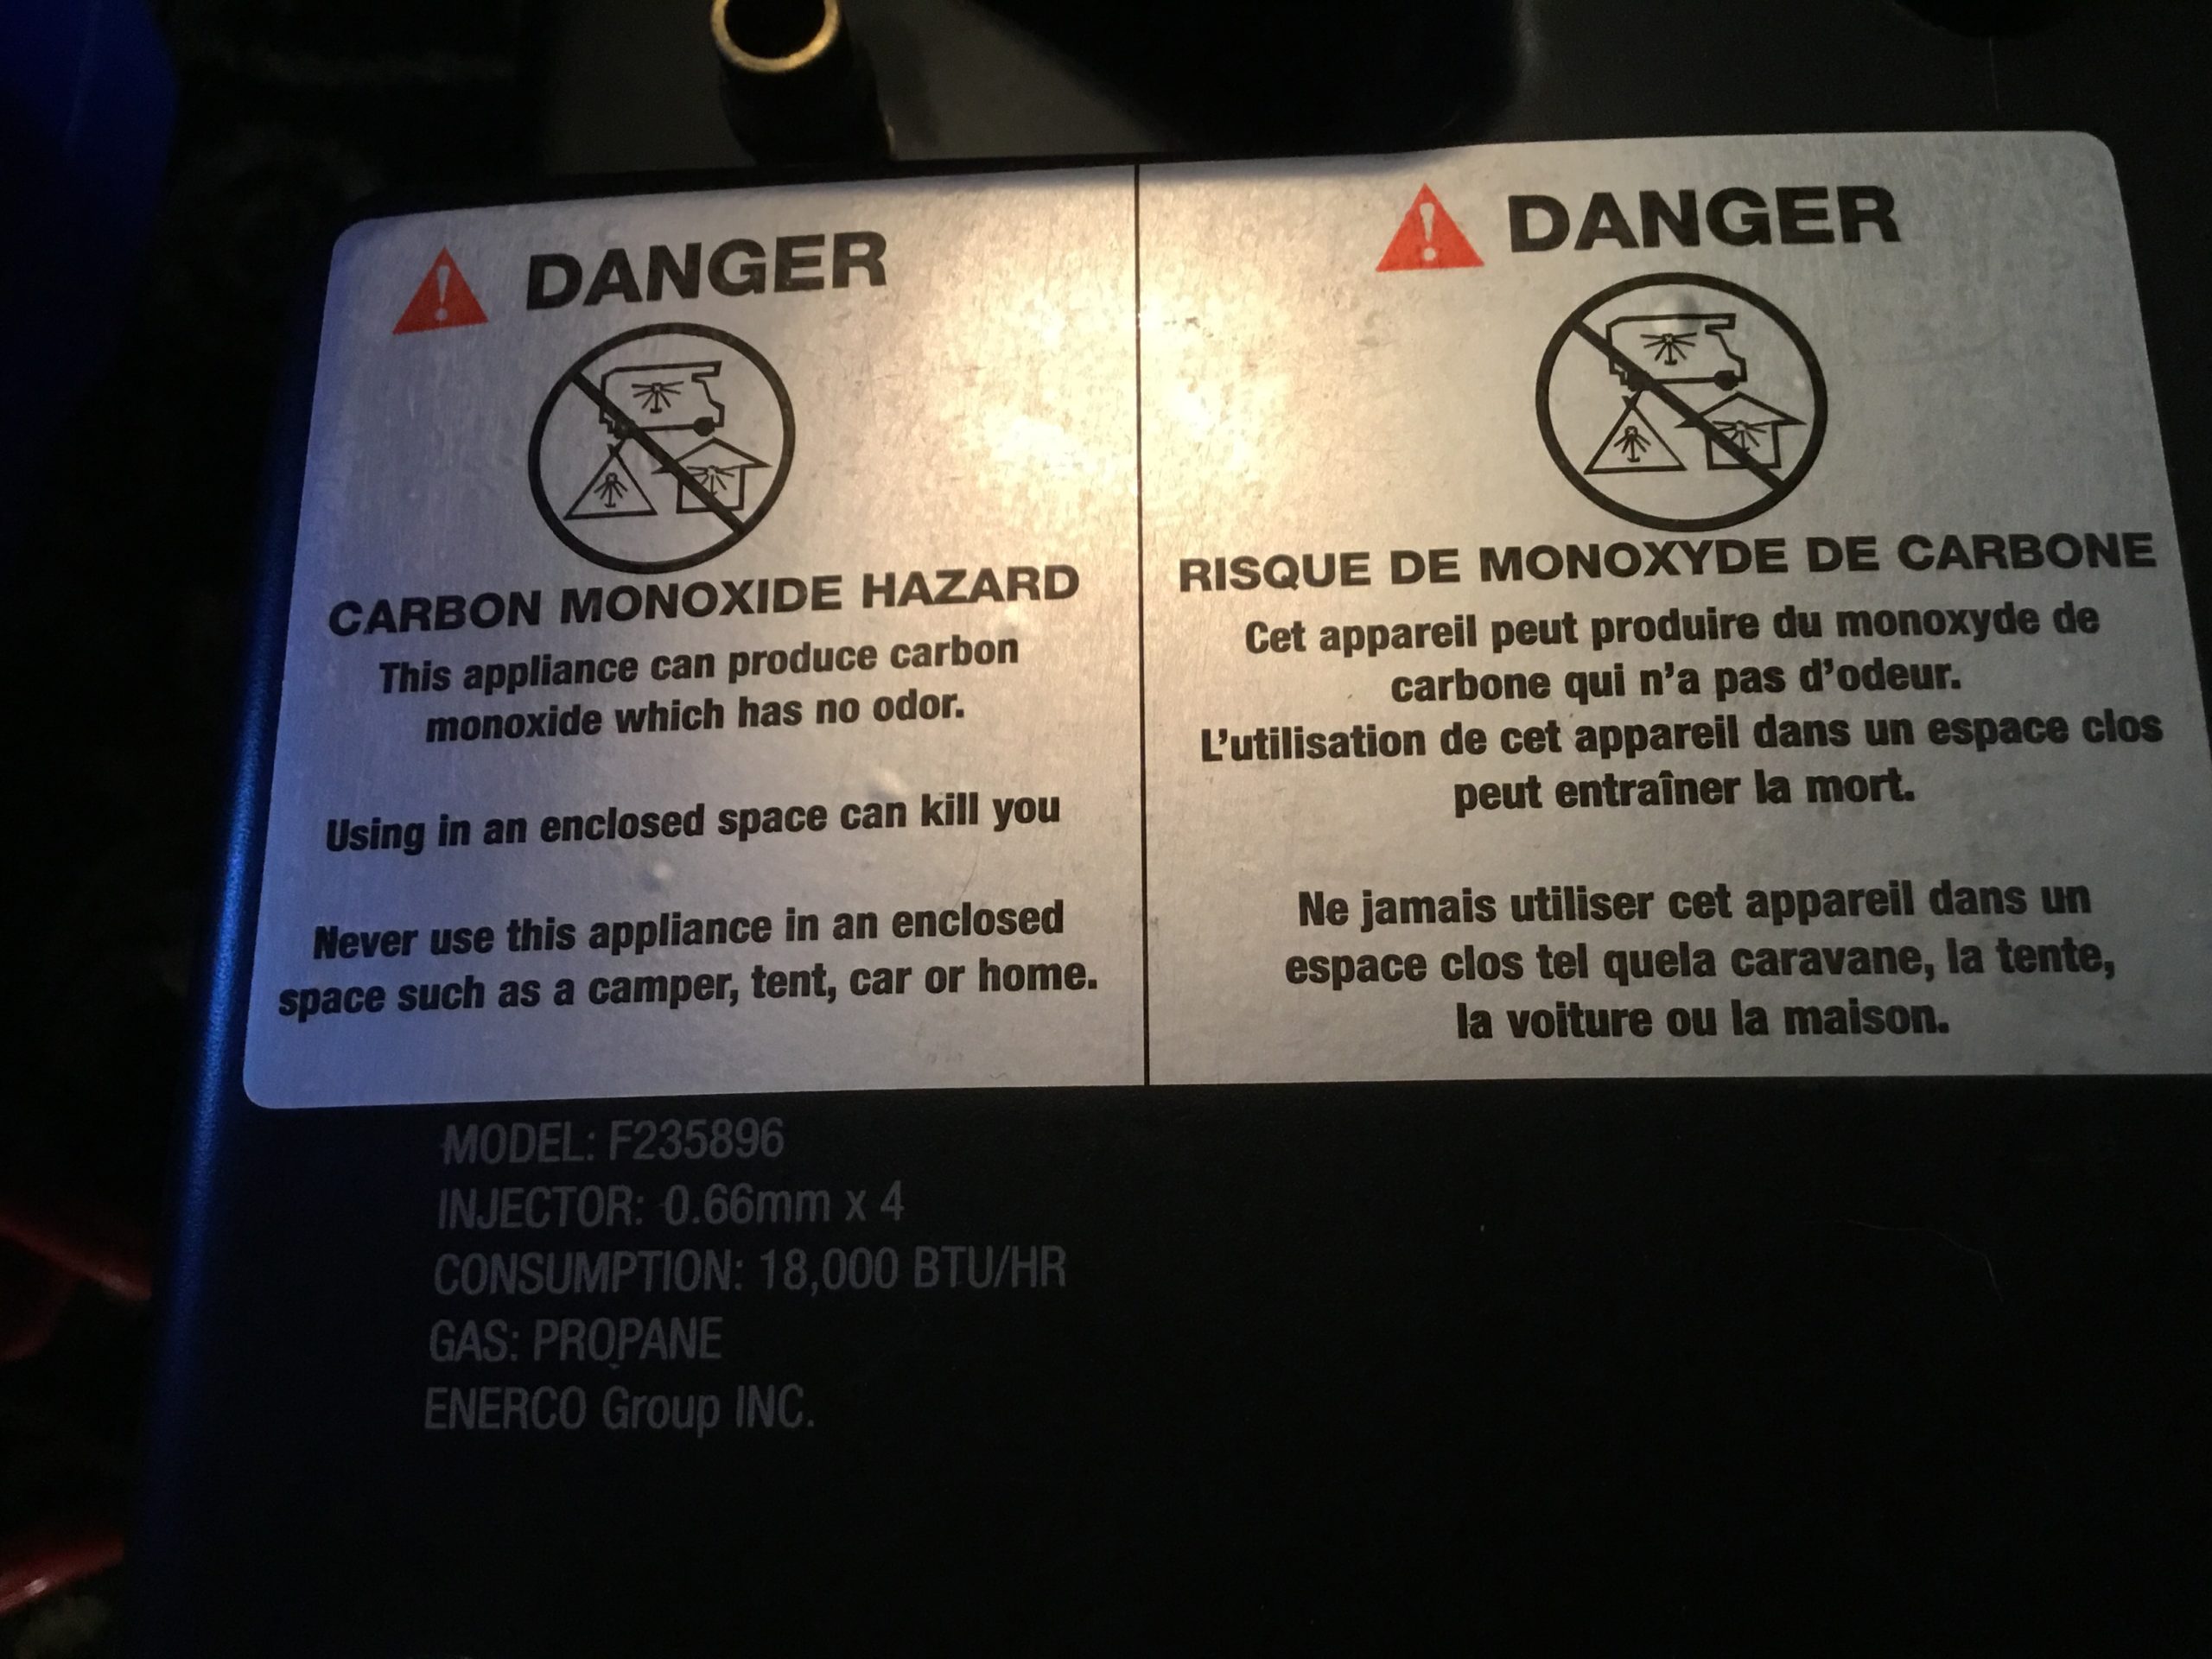
Tools Needed
- A Phillips head screw driver
- piece of paper and pen
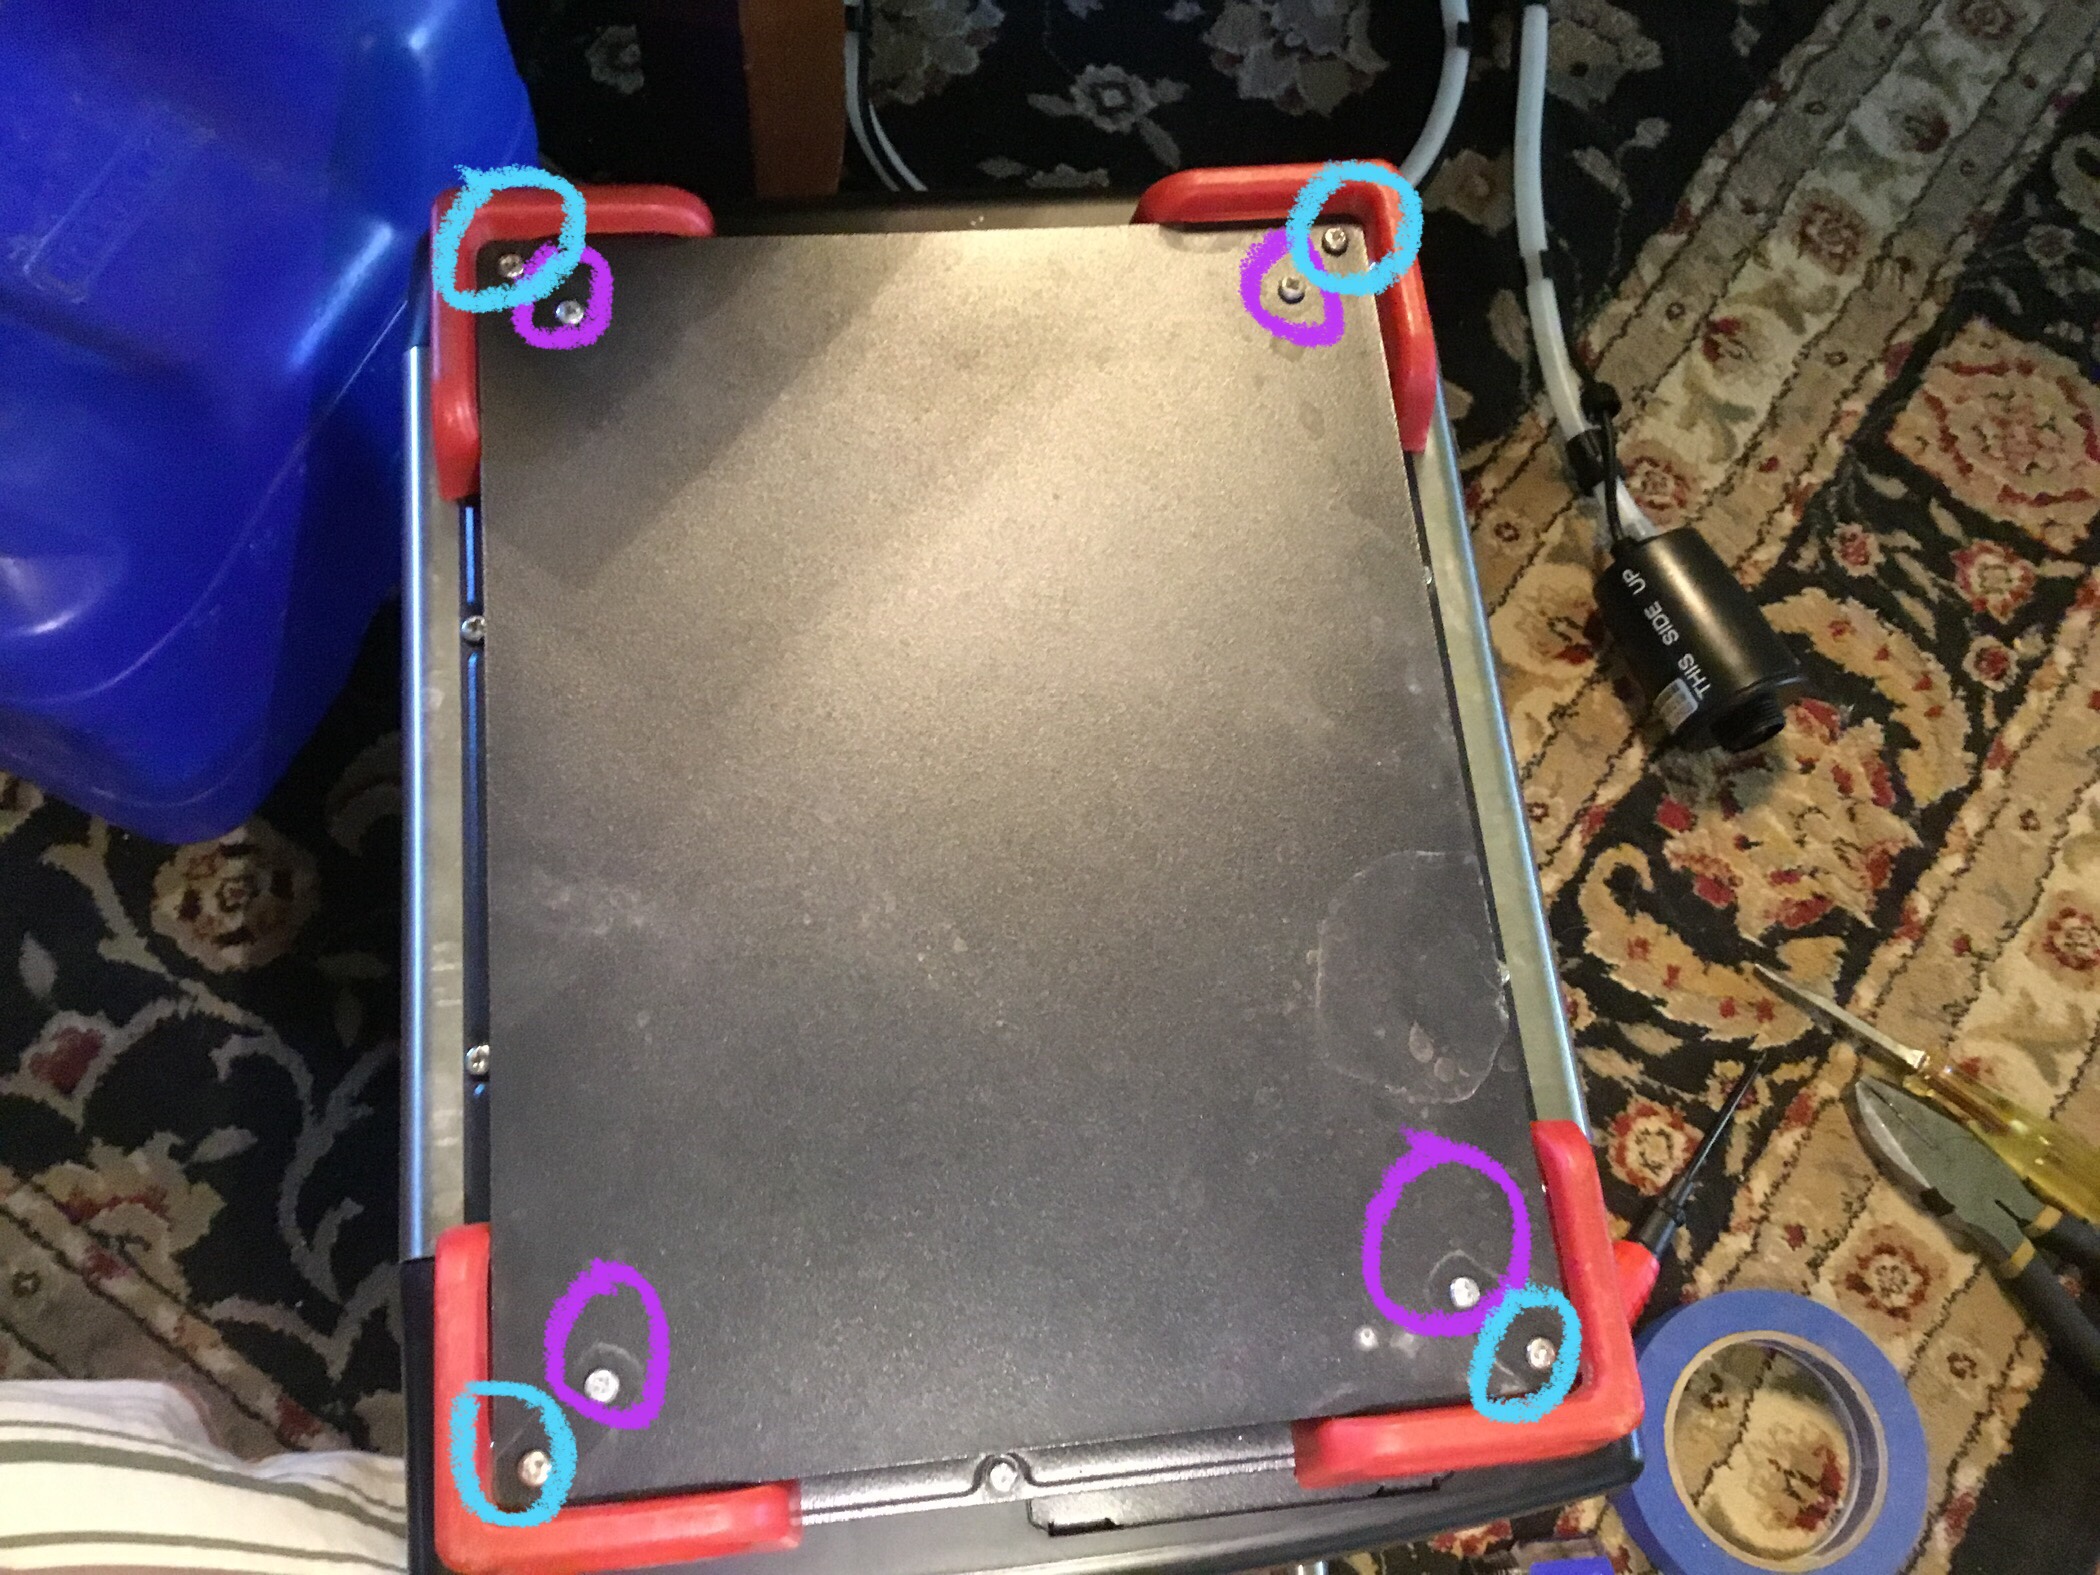
1.) Remove the base plate and feet by removing two screws from each of the footings, the exterior screw resembled that of a wood screw and was brass in color vs the typical machine screw removed from the inner side of the footing.
Remove the bottom screws and keep them organized with like kind screws aka all the blue circled screws are different from the purple circled screws so don’t mix them.
#2. Remove bottom vent plate
Do not remove the Red circled Screws this is the battery cover!
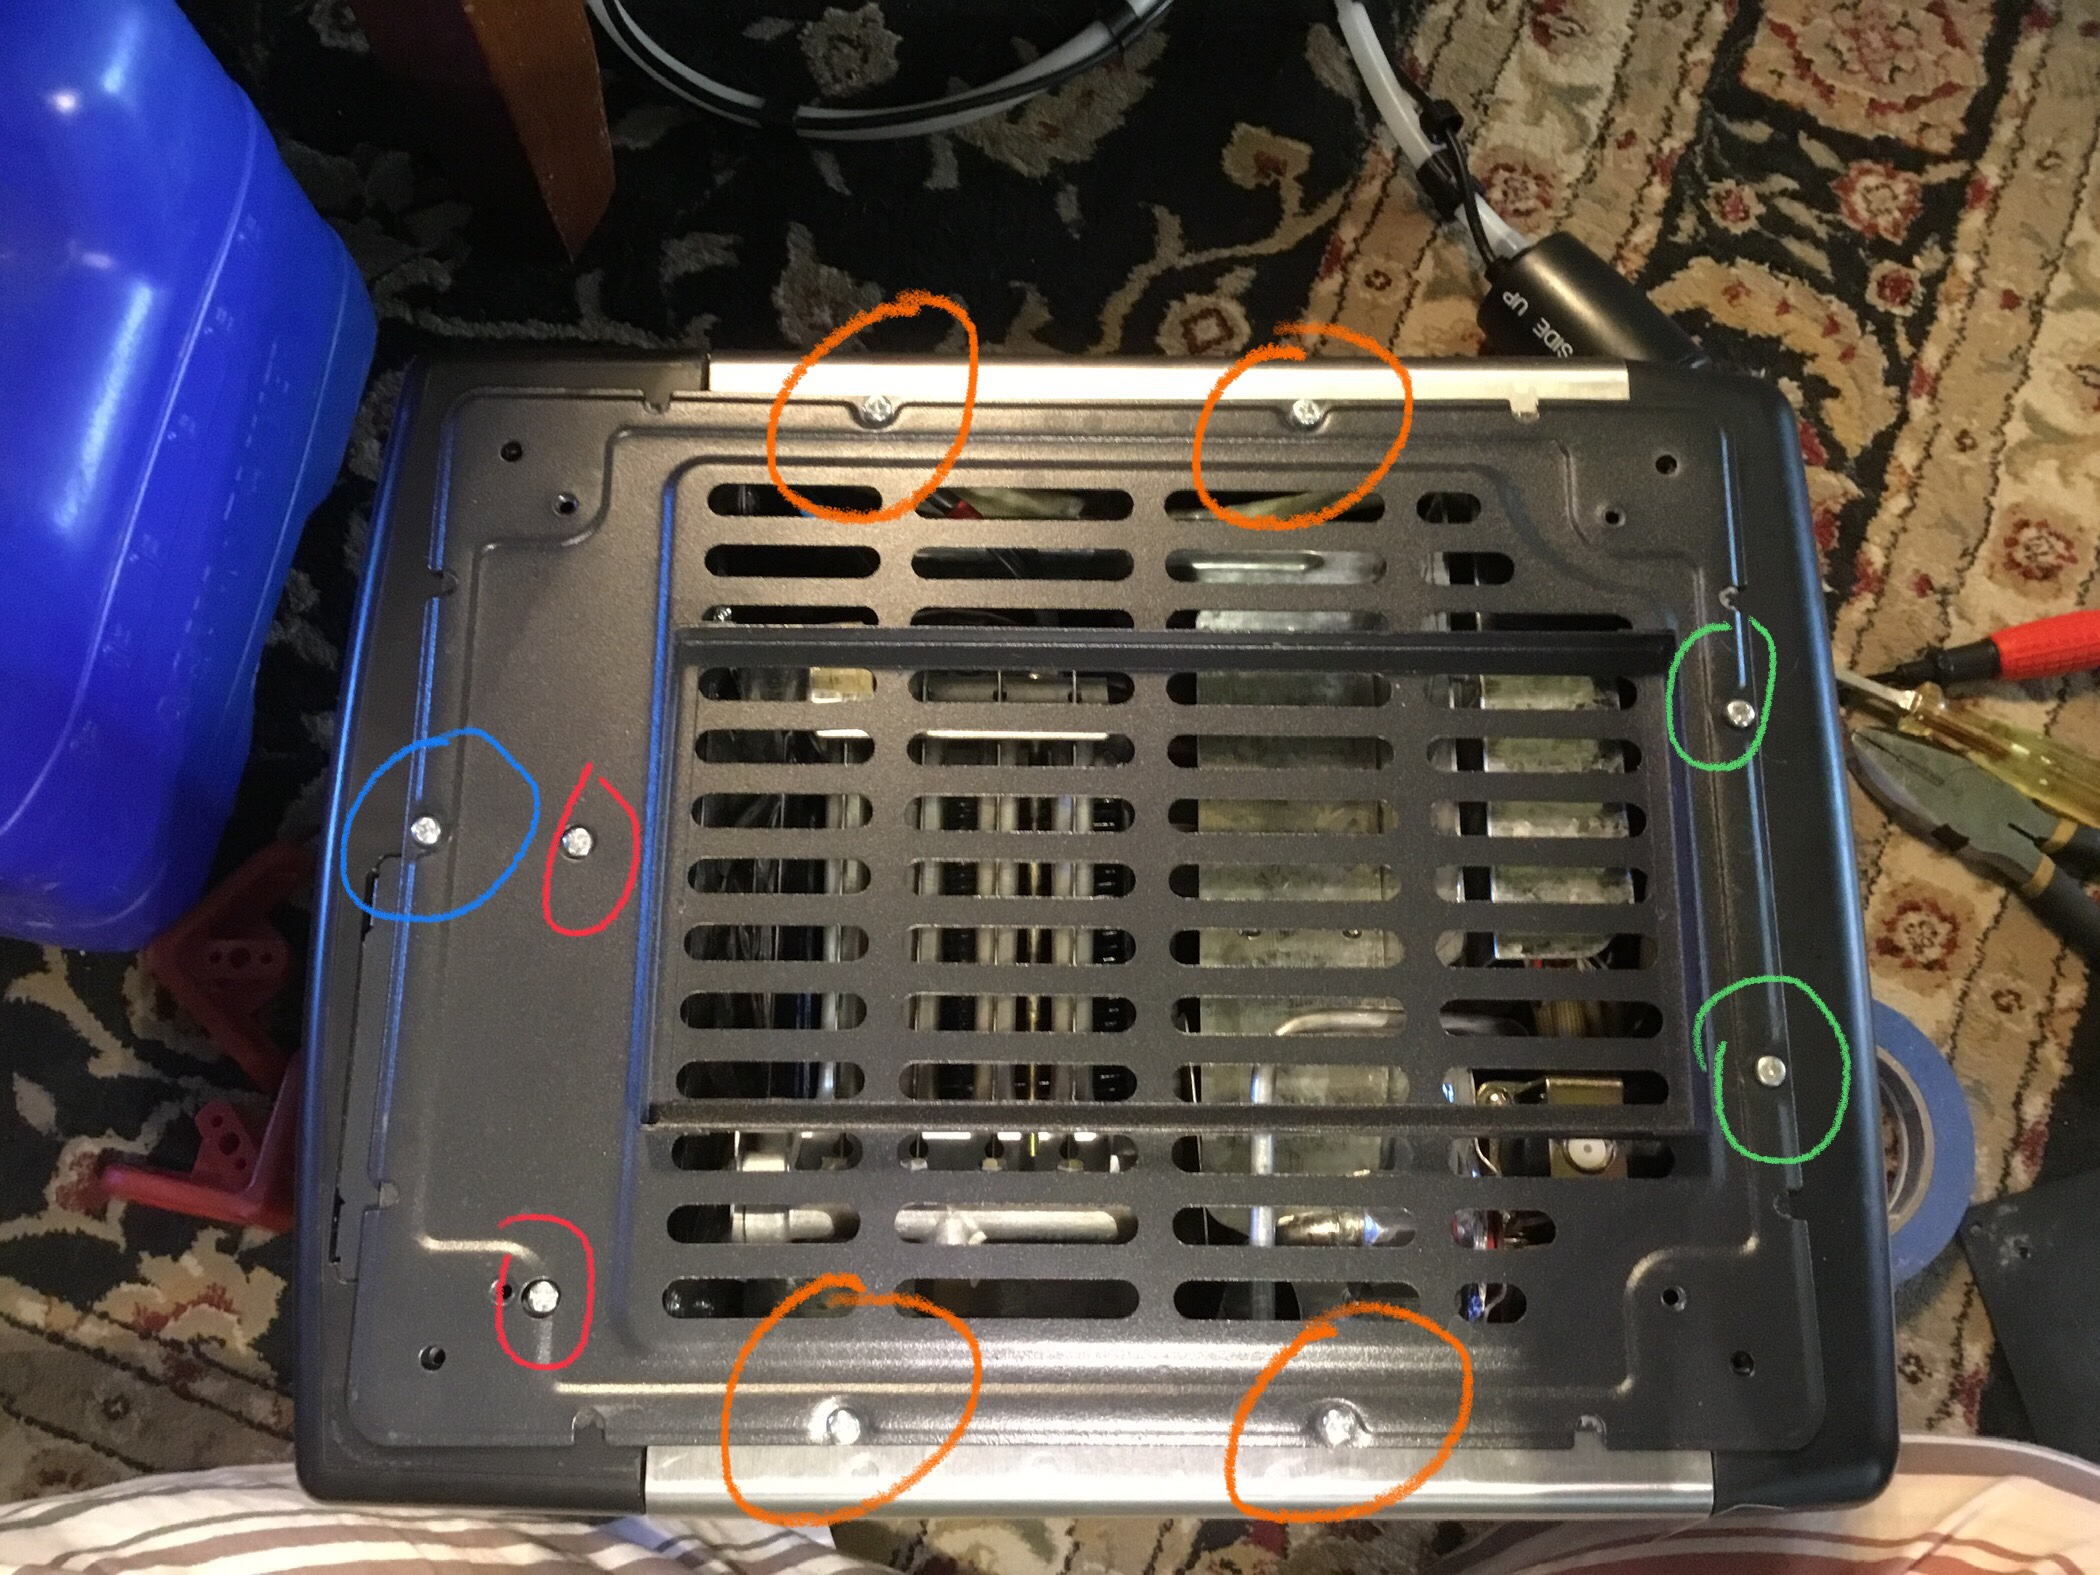
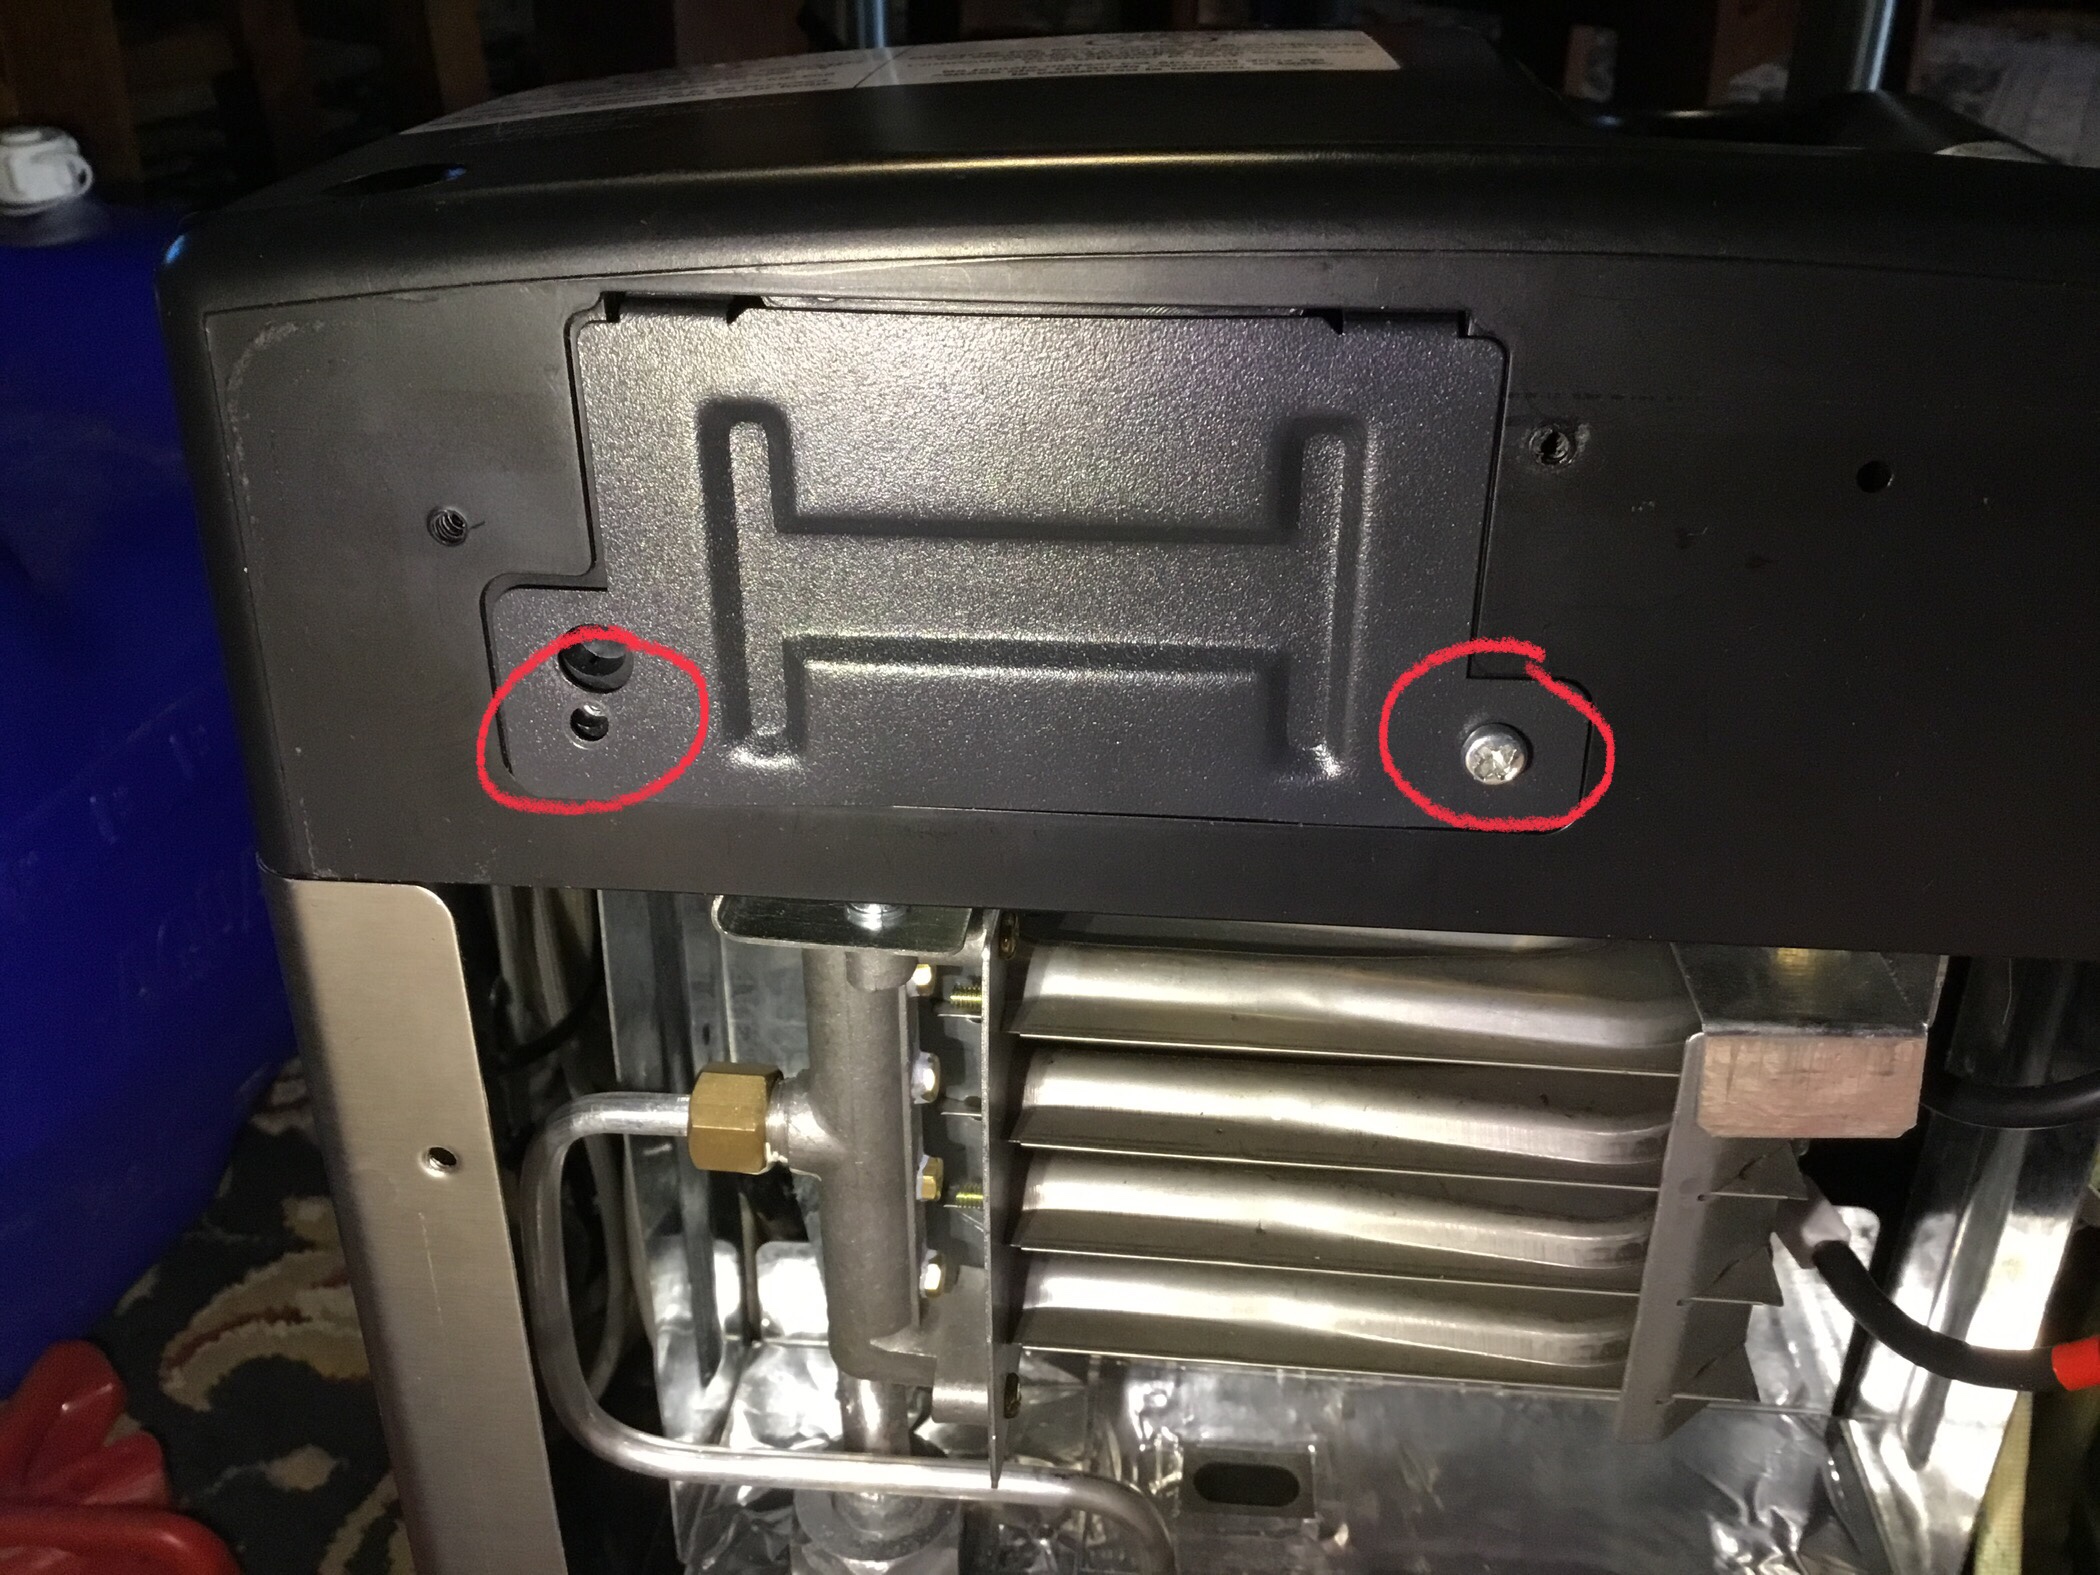
TIP: If you get to this point of removing the battery and there just doesn’t seem to be enough slack on the wiring then remove the 5 screws from from the back panel where the propane connector is and pull that apart. Doing this will free up the electrical harness and give more slack.
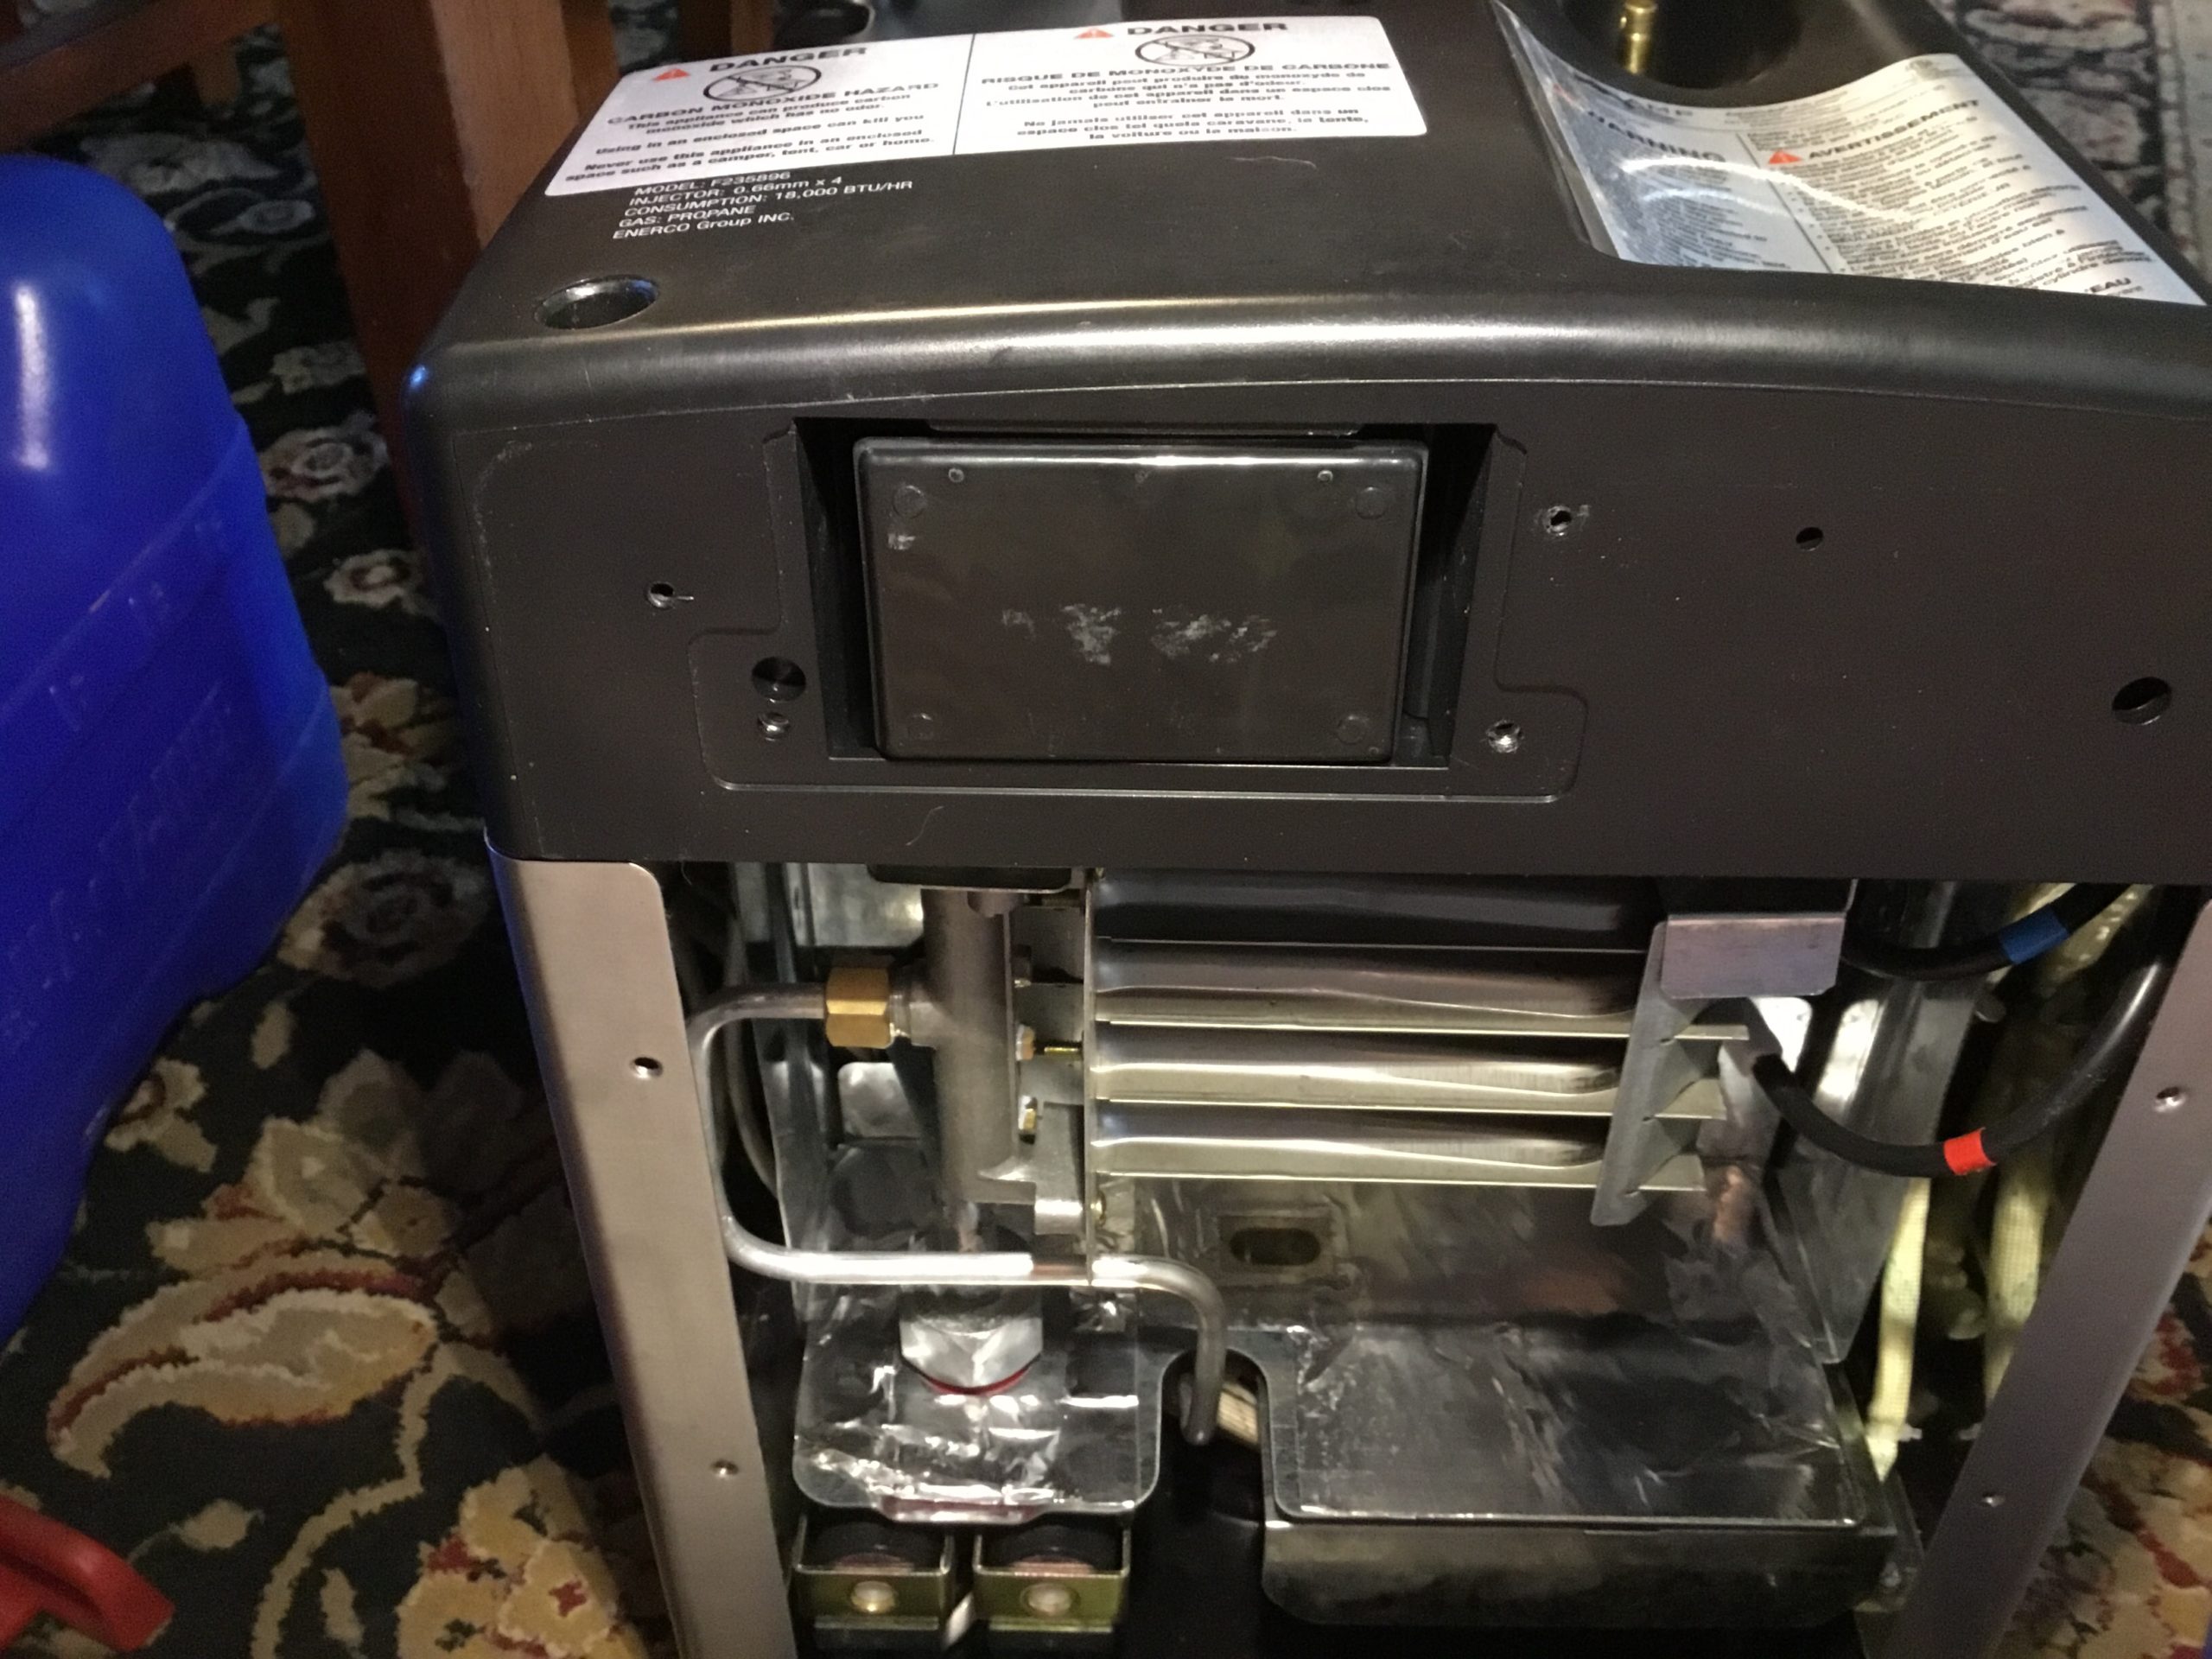
To Remove the battery pull back the blue connector sheathing and compress the clip on the terminal connector and pull it away from the battery terminal!
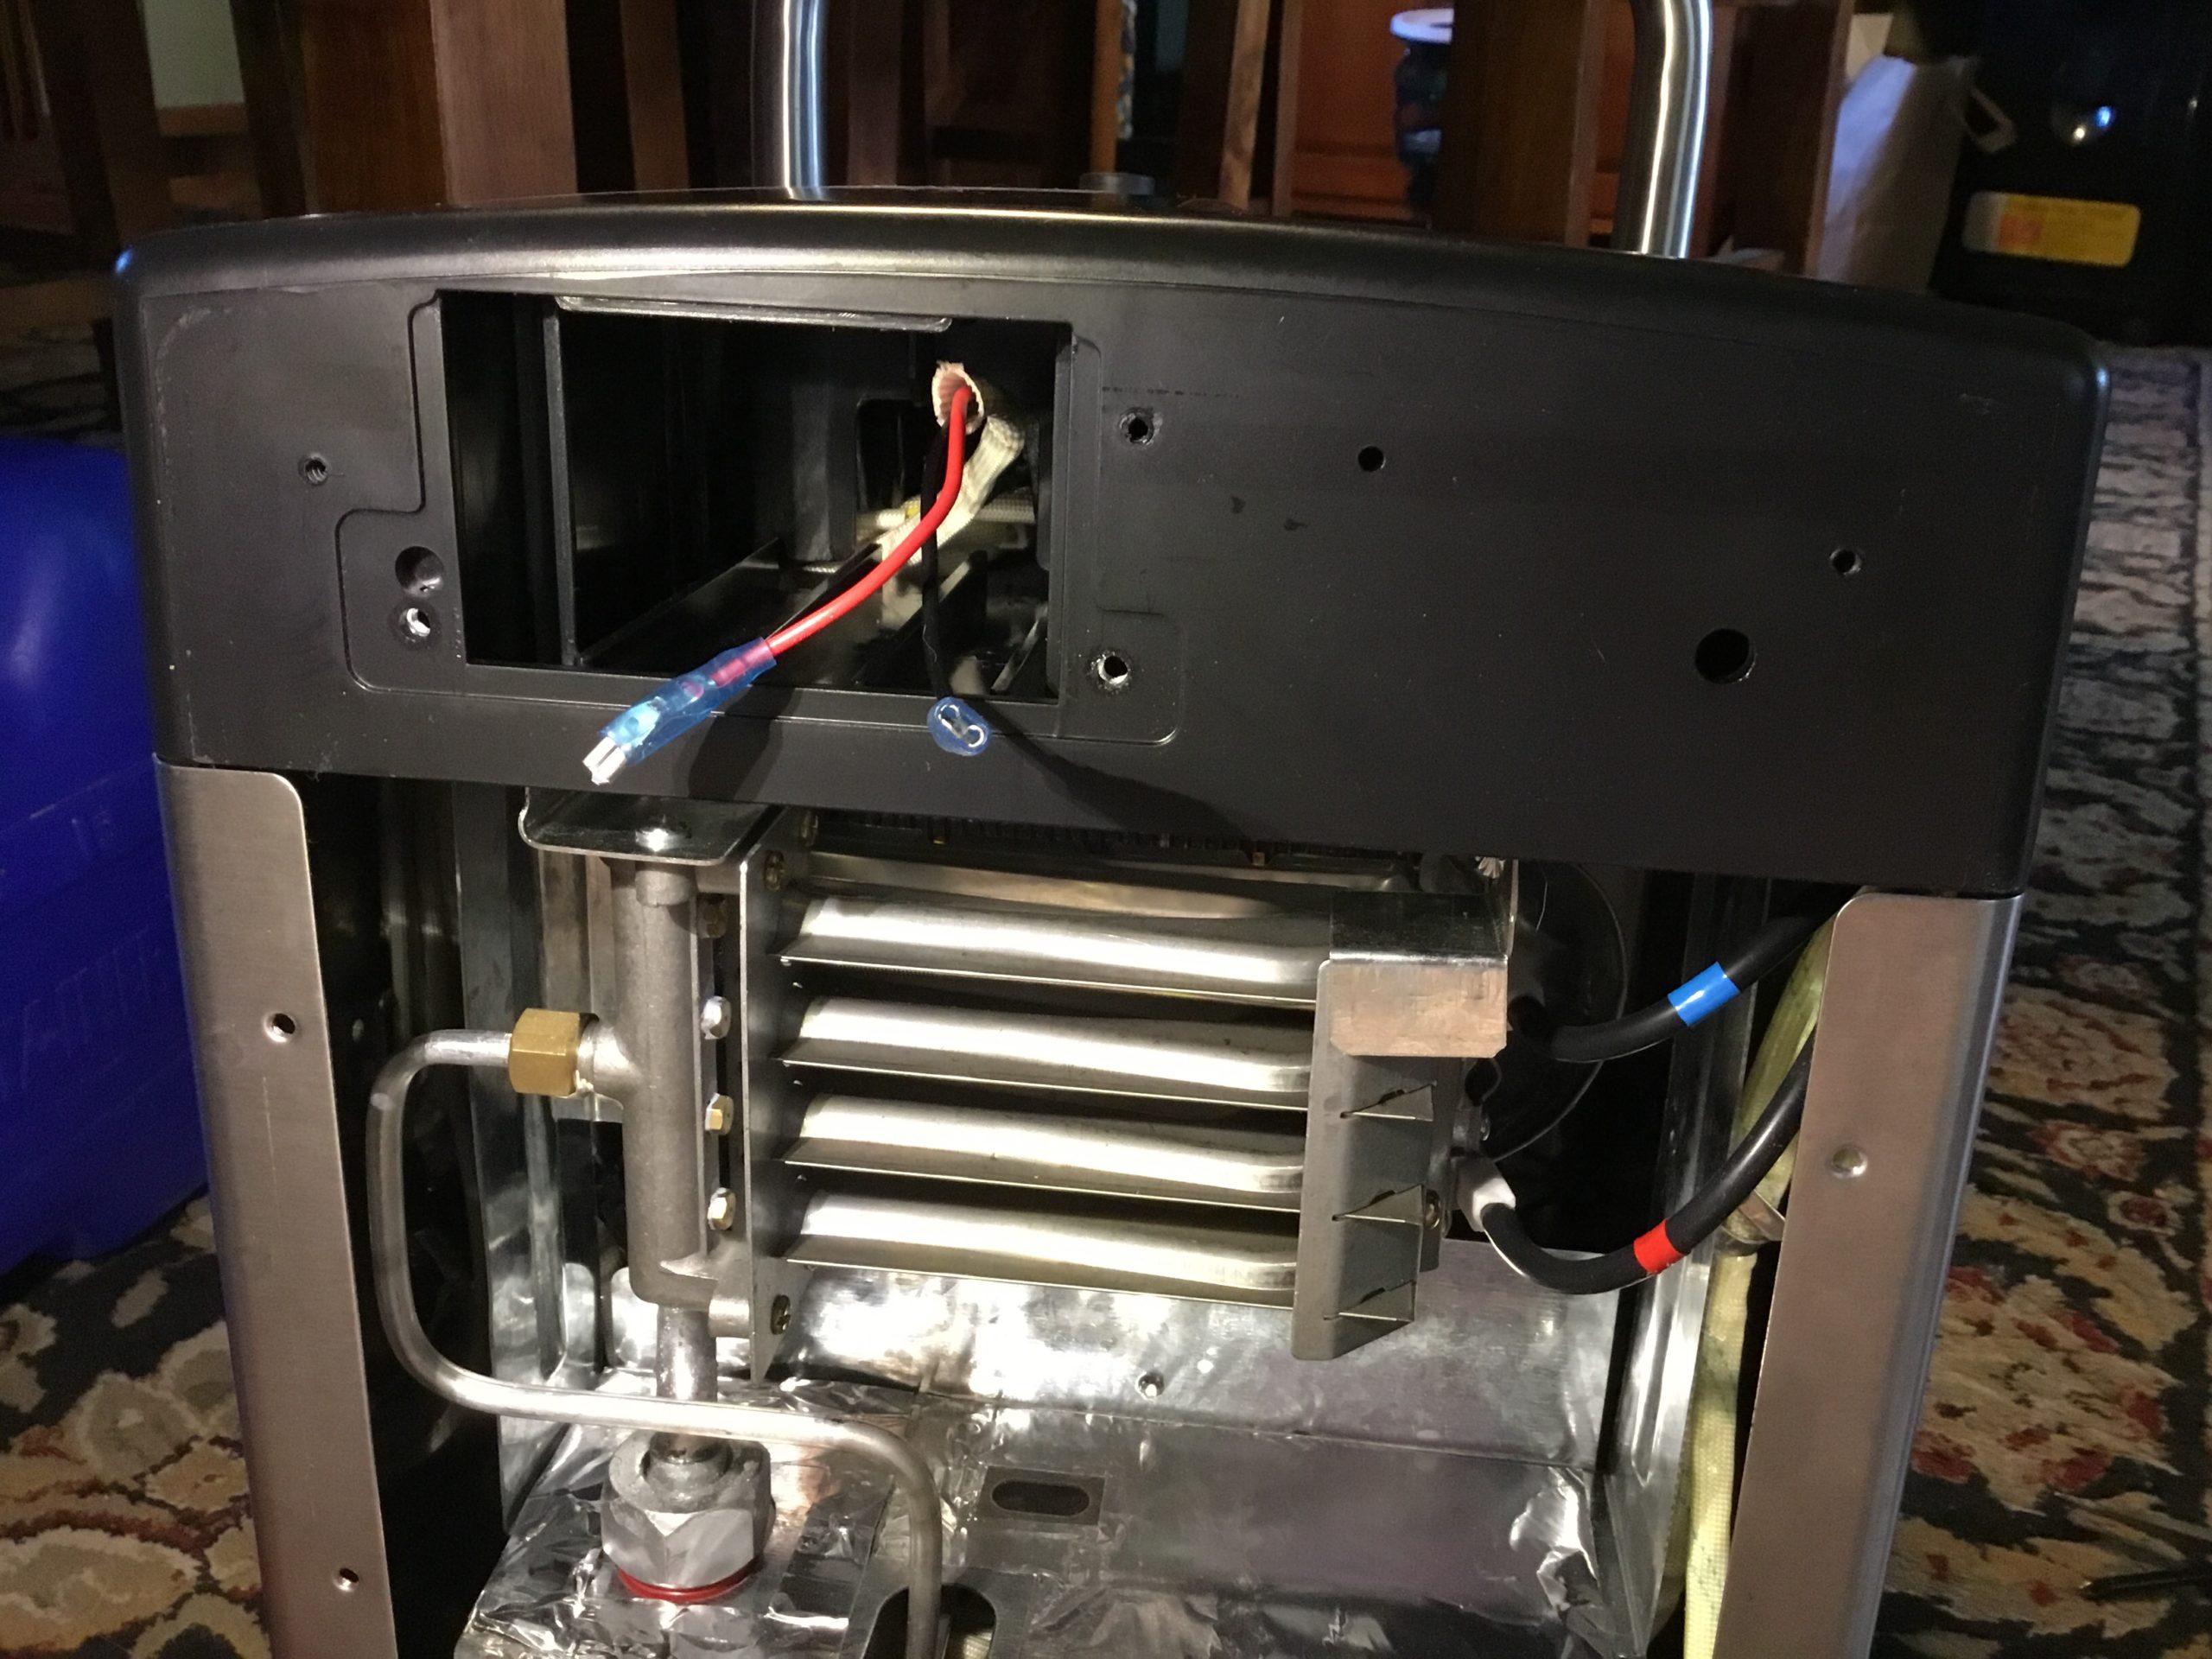
- FirstPower FP1226A 12V 2.6Ah Replacement Battery
