Making a Headboard from an Old Door

Project cost $$
Project time 3+ days
This project was not completed quickly and takes time and precision. The cure time for wood glue is 24 hours. So it took me three days to glue all of the wood pieces in place without jeopardizing the stability and finish. This process could easily take an additional 1-3 days if the door is painted and requires stripping. It took me another 2-3 days of staining not including the many days of procrastination.
Day #1. Cut, clean, & condition the door. I took this time to stain the door ahead of time so that I could better color match the door to the unfinished wood.
Day #2. Attach outer 2×4’s
Day #2. Attach inner 25” 2×4’s
Day #3. Attach fascia and top rails
Day #4 stain/primer and paint
Supplies
- Door
- Wood glue
- (1) 2x4x10 cut in half
- (2) 2×4 pieces 25” for each support leg
- (3) 1x4x6 lumber
- (1) 1x3x6 lumber
- Package of 1.25” wood screws
- Painters tape
- Stain or paint+primer
Tools
- Skill saw
- Clamps
- Saw horses
- Glue gun dispenser
- Drill and bits
- Impact driver
- Finish nailer
- Pencil
- Measuring tape
- Square
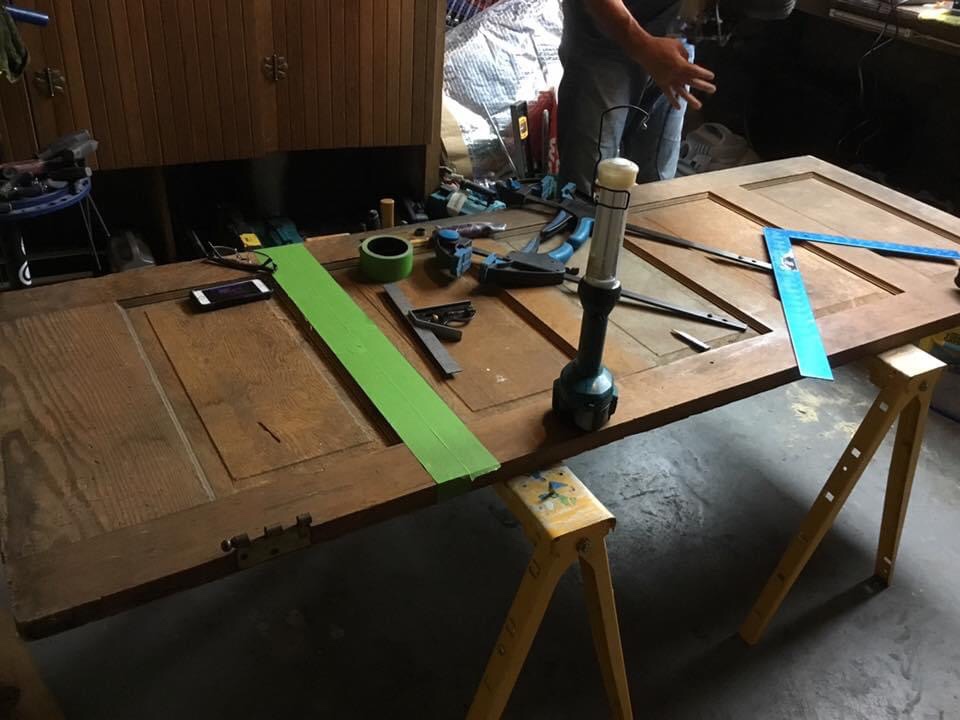
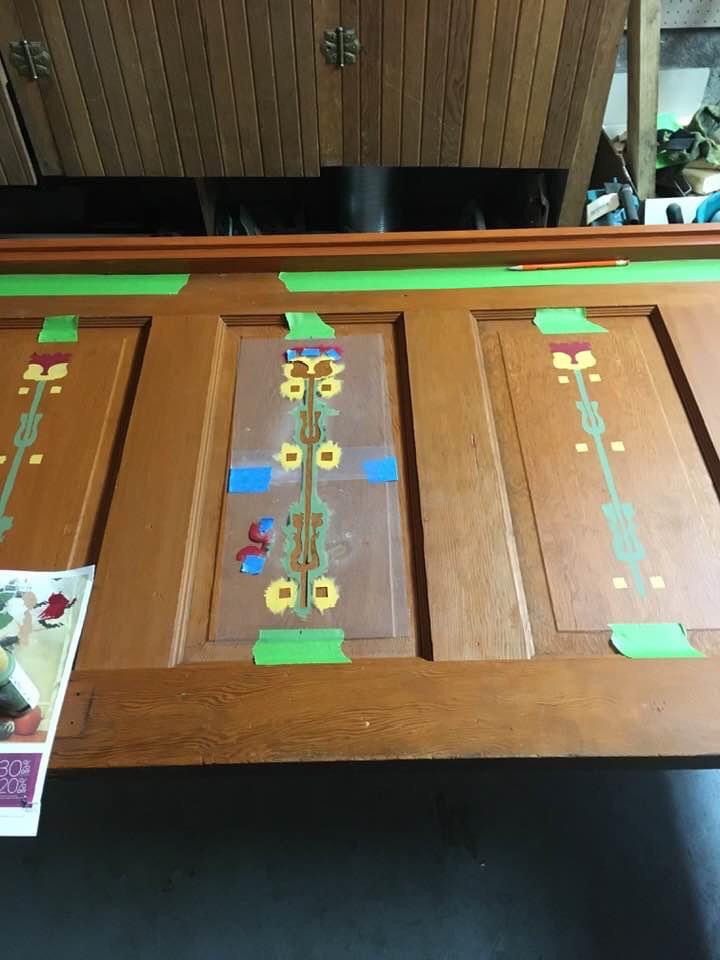
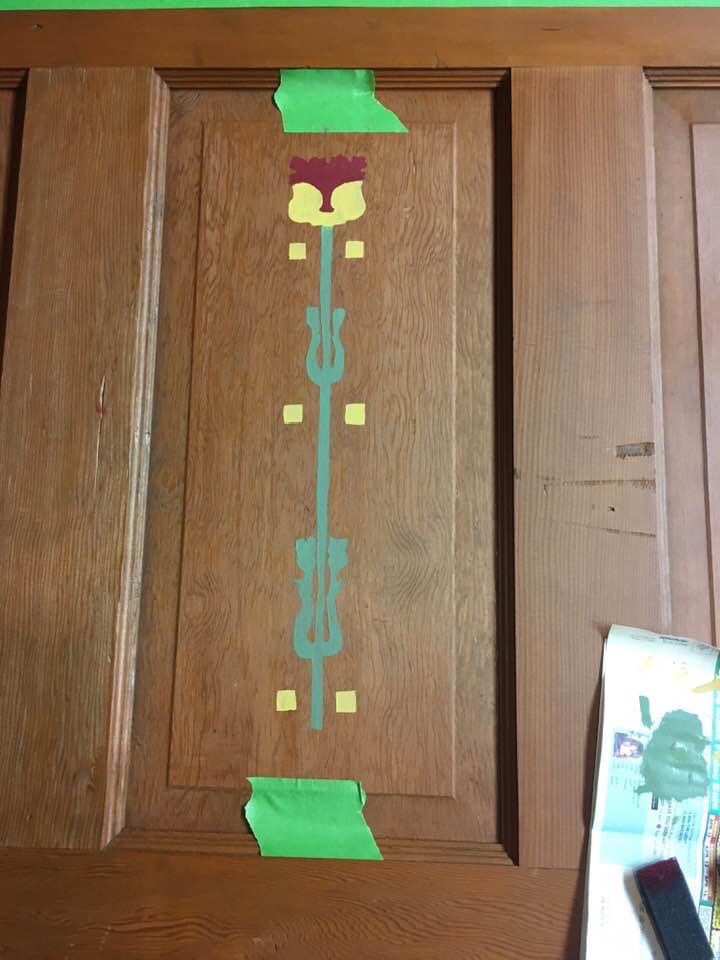
The first step is to measure the door to the desired length, mark, tape, cut.
Using a skill saw cut off the bottom of the door.
After the door was cut down I used TSP to clean and degrease the door that had years of dirt and coal on it. I consider myself fortunate to have an unpainted door to work with. I easily cleaned the door, conditioned it, and stained it.
This step may vary if the door is painted and needs to be stripped of paint. In that case I recommend using Citristrip to remove the paint, use soft bristled brushes to remove paint from fine detailed edges, use an orbital sander, condition the wood and it is ready to be stained or painted.
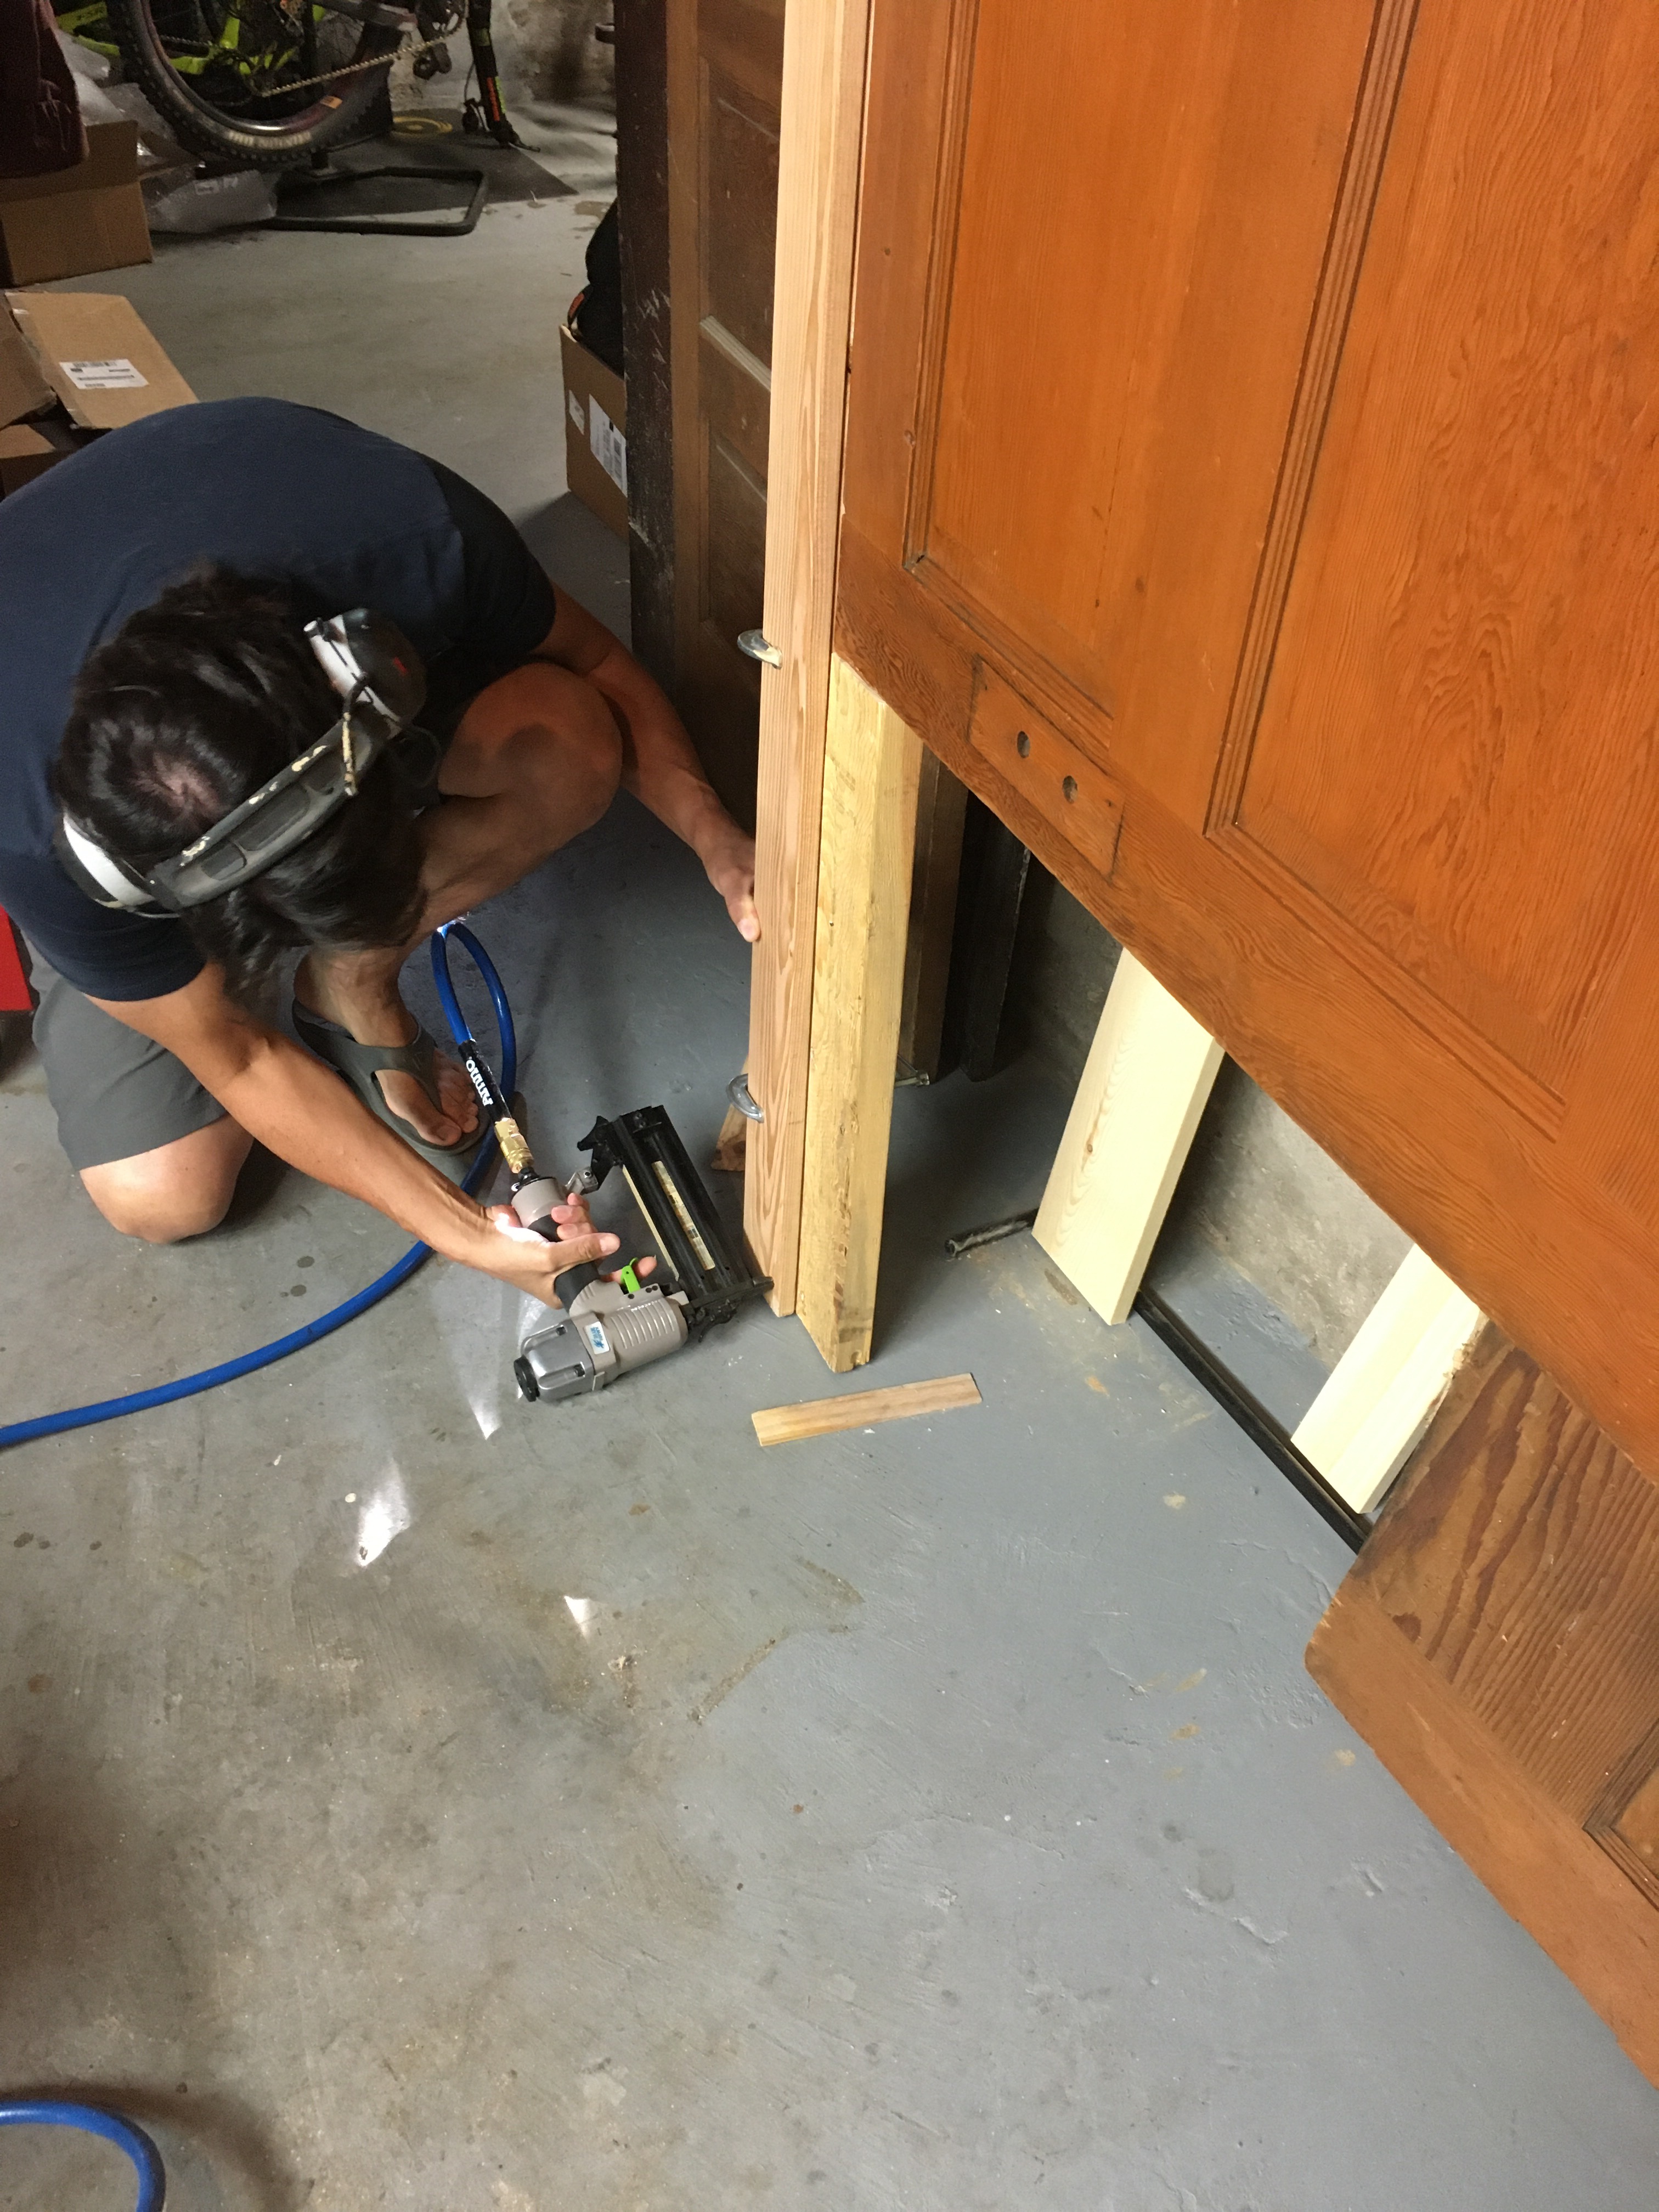
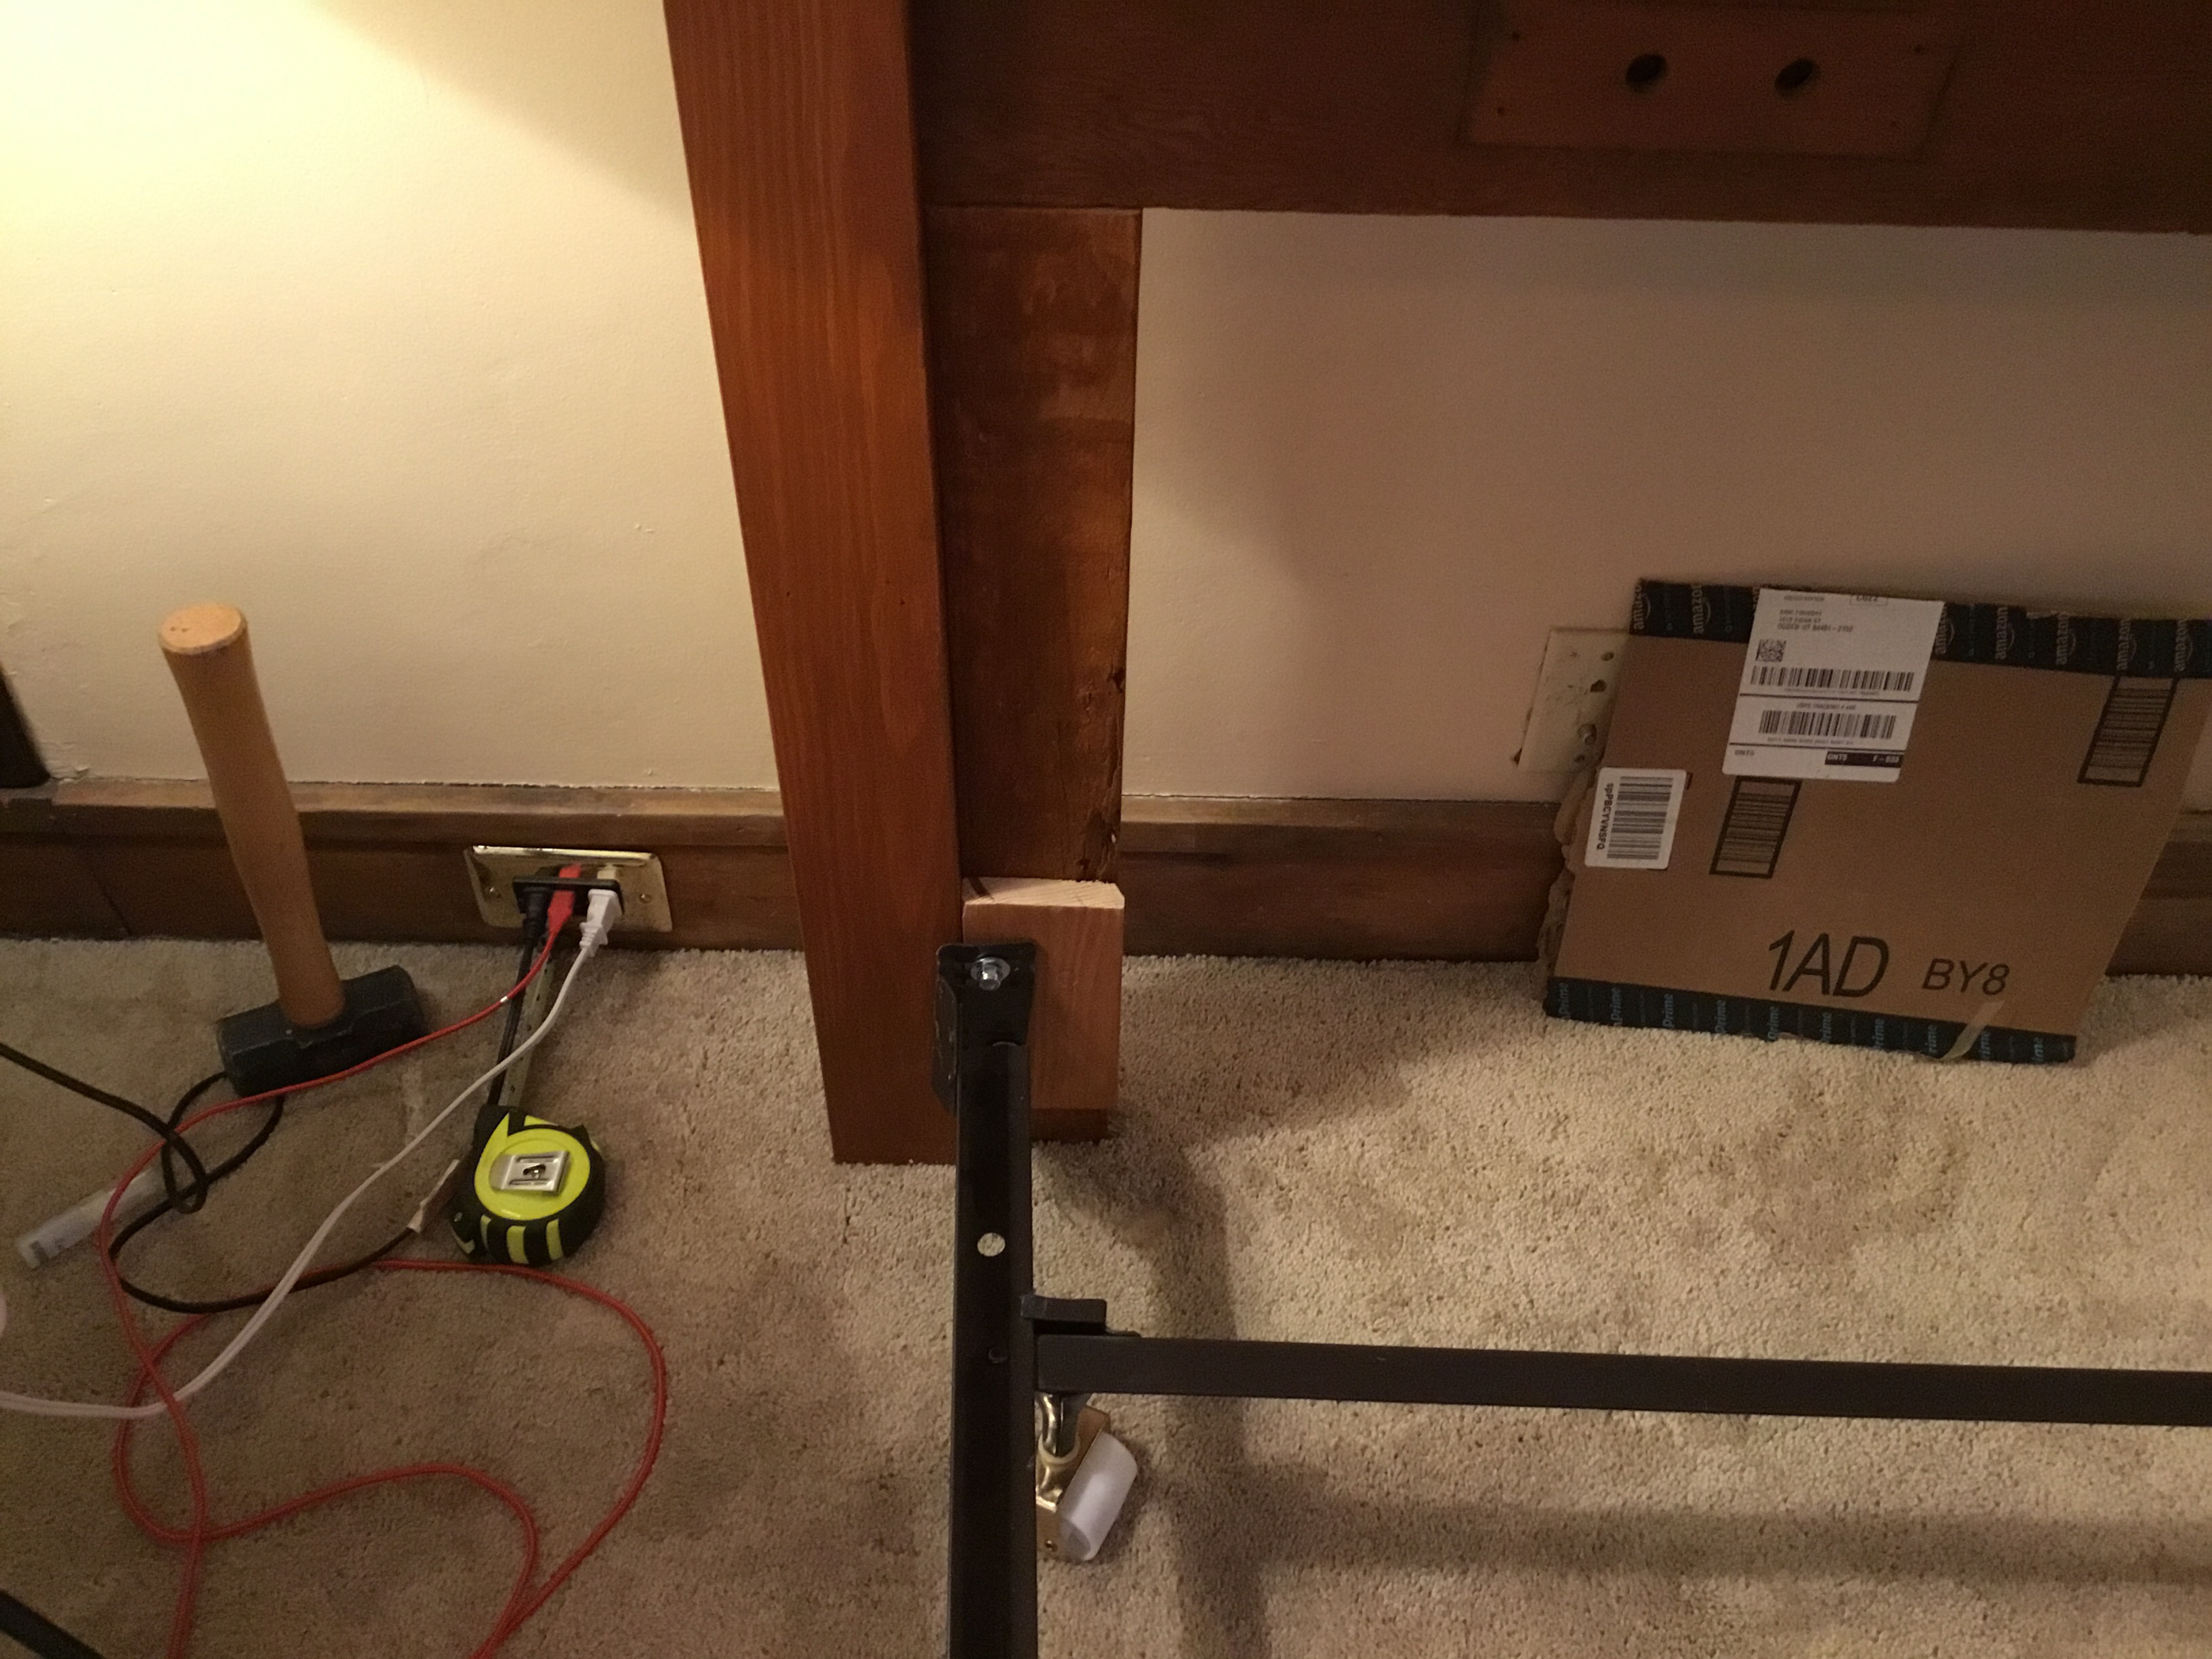
Next measure the desired height of the 2×4’s and cut to size. Then using wood glue, clamps and mending straps attach the legs in place one at a time. Start with attaching the longer 2×4’s, allowing for it to cure for 24 hours before attaching the 25” smaller 2×4’s.
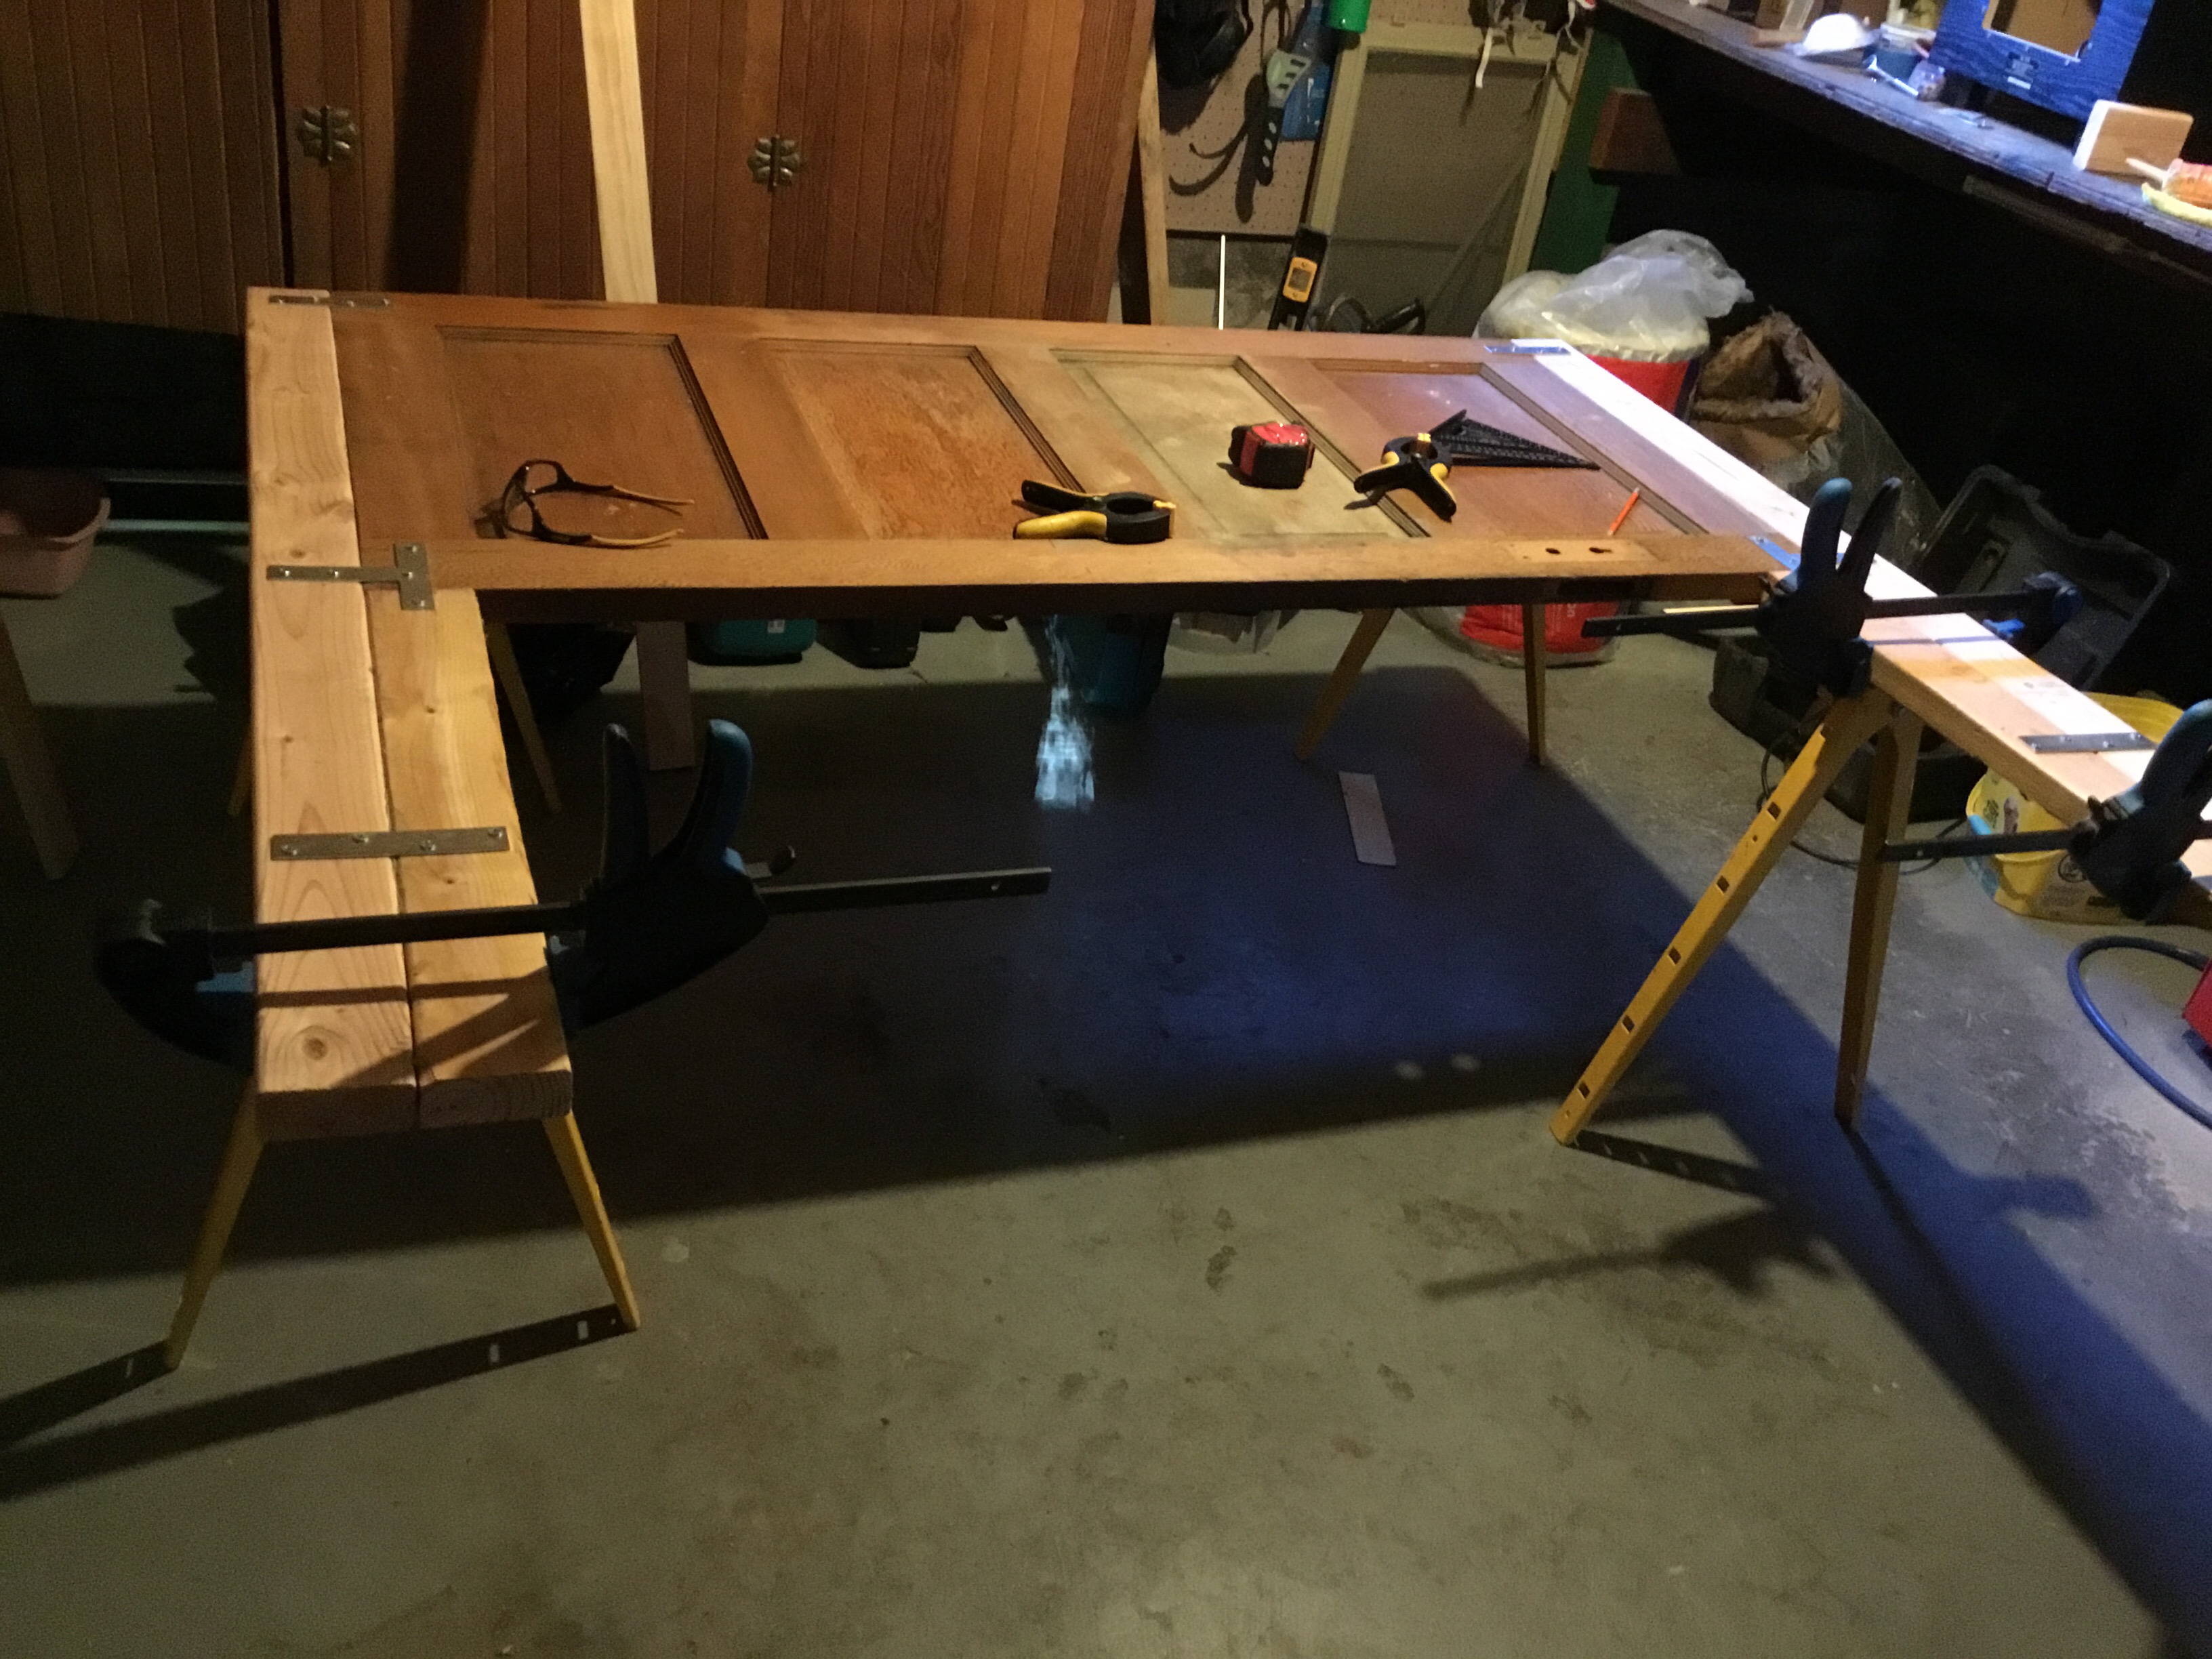
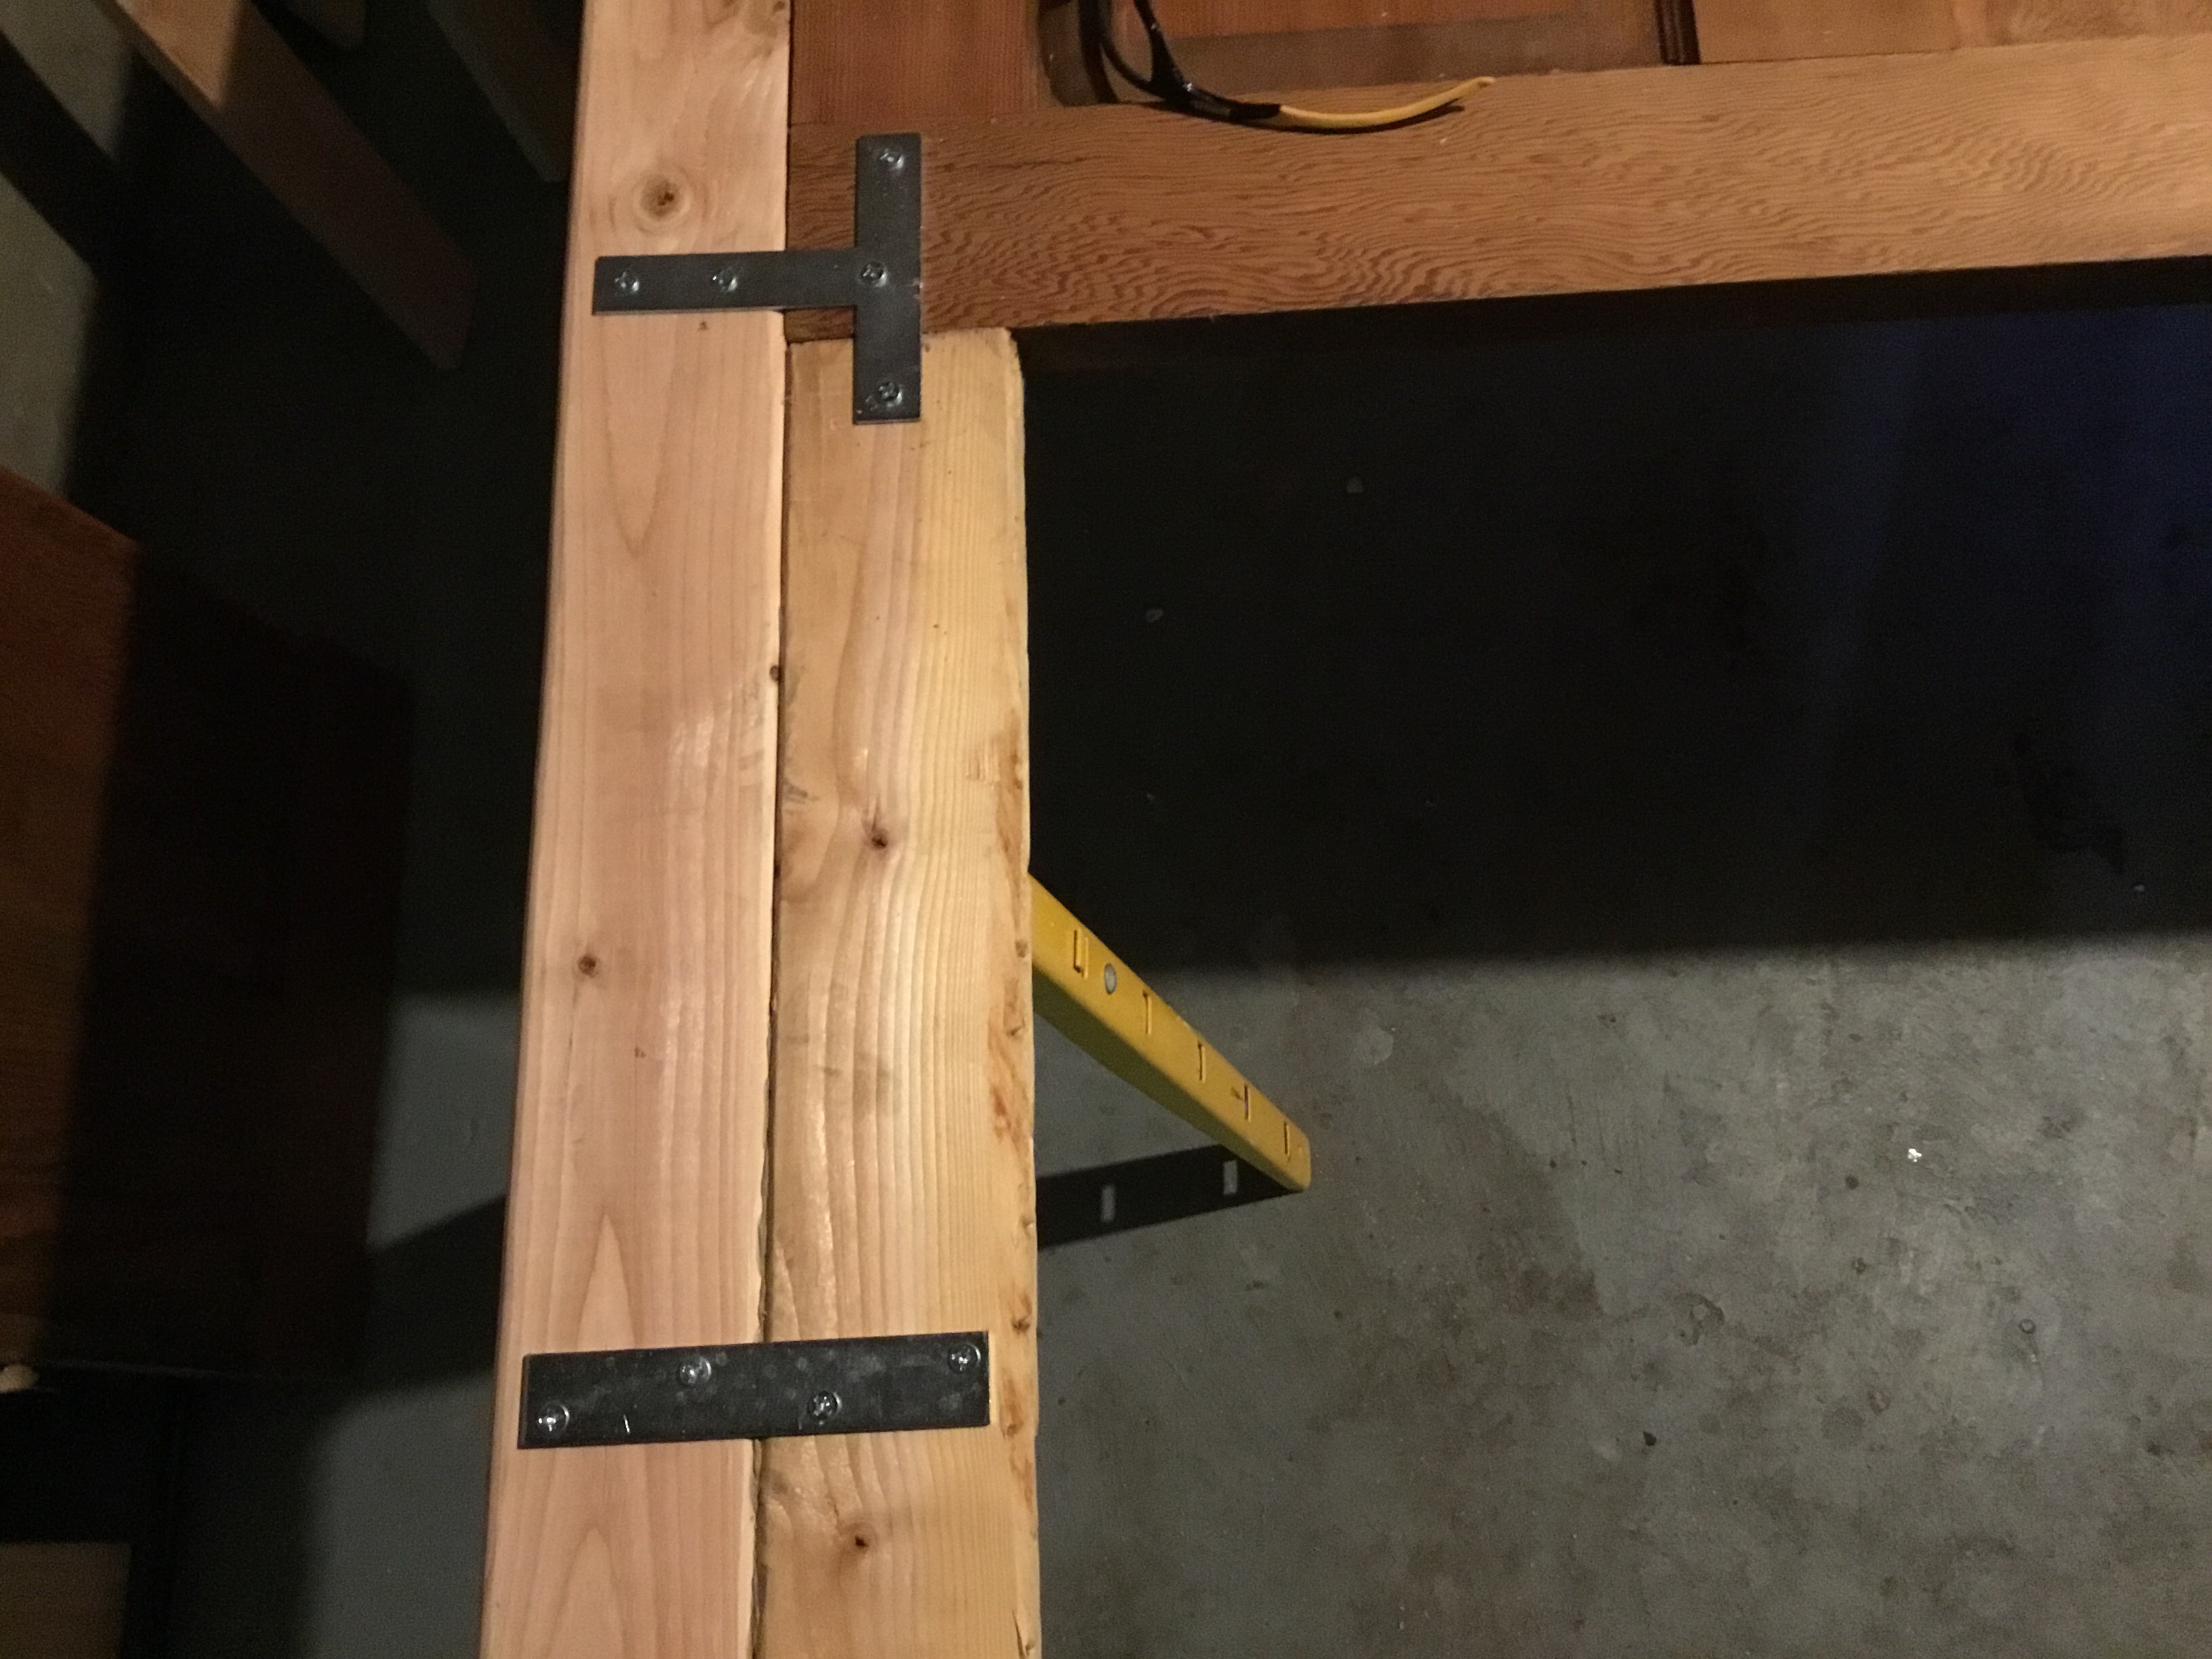
I used a T strap and two straight plates to attach the door to the support legs.
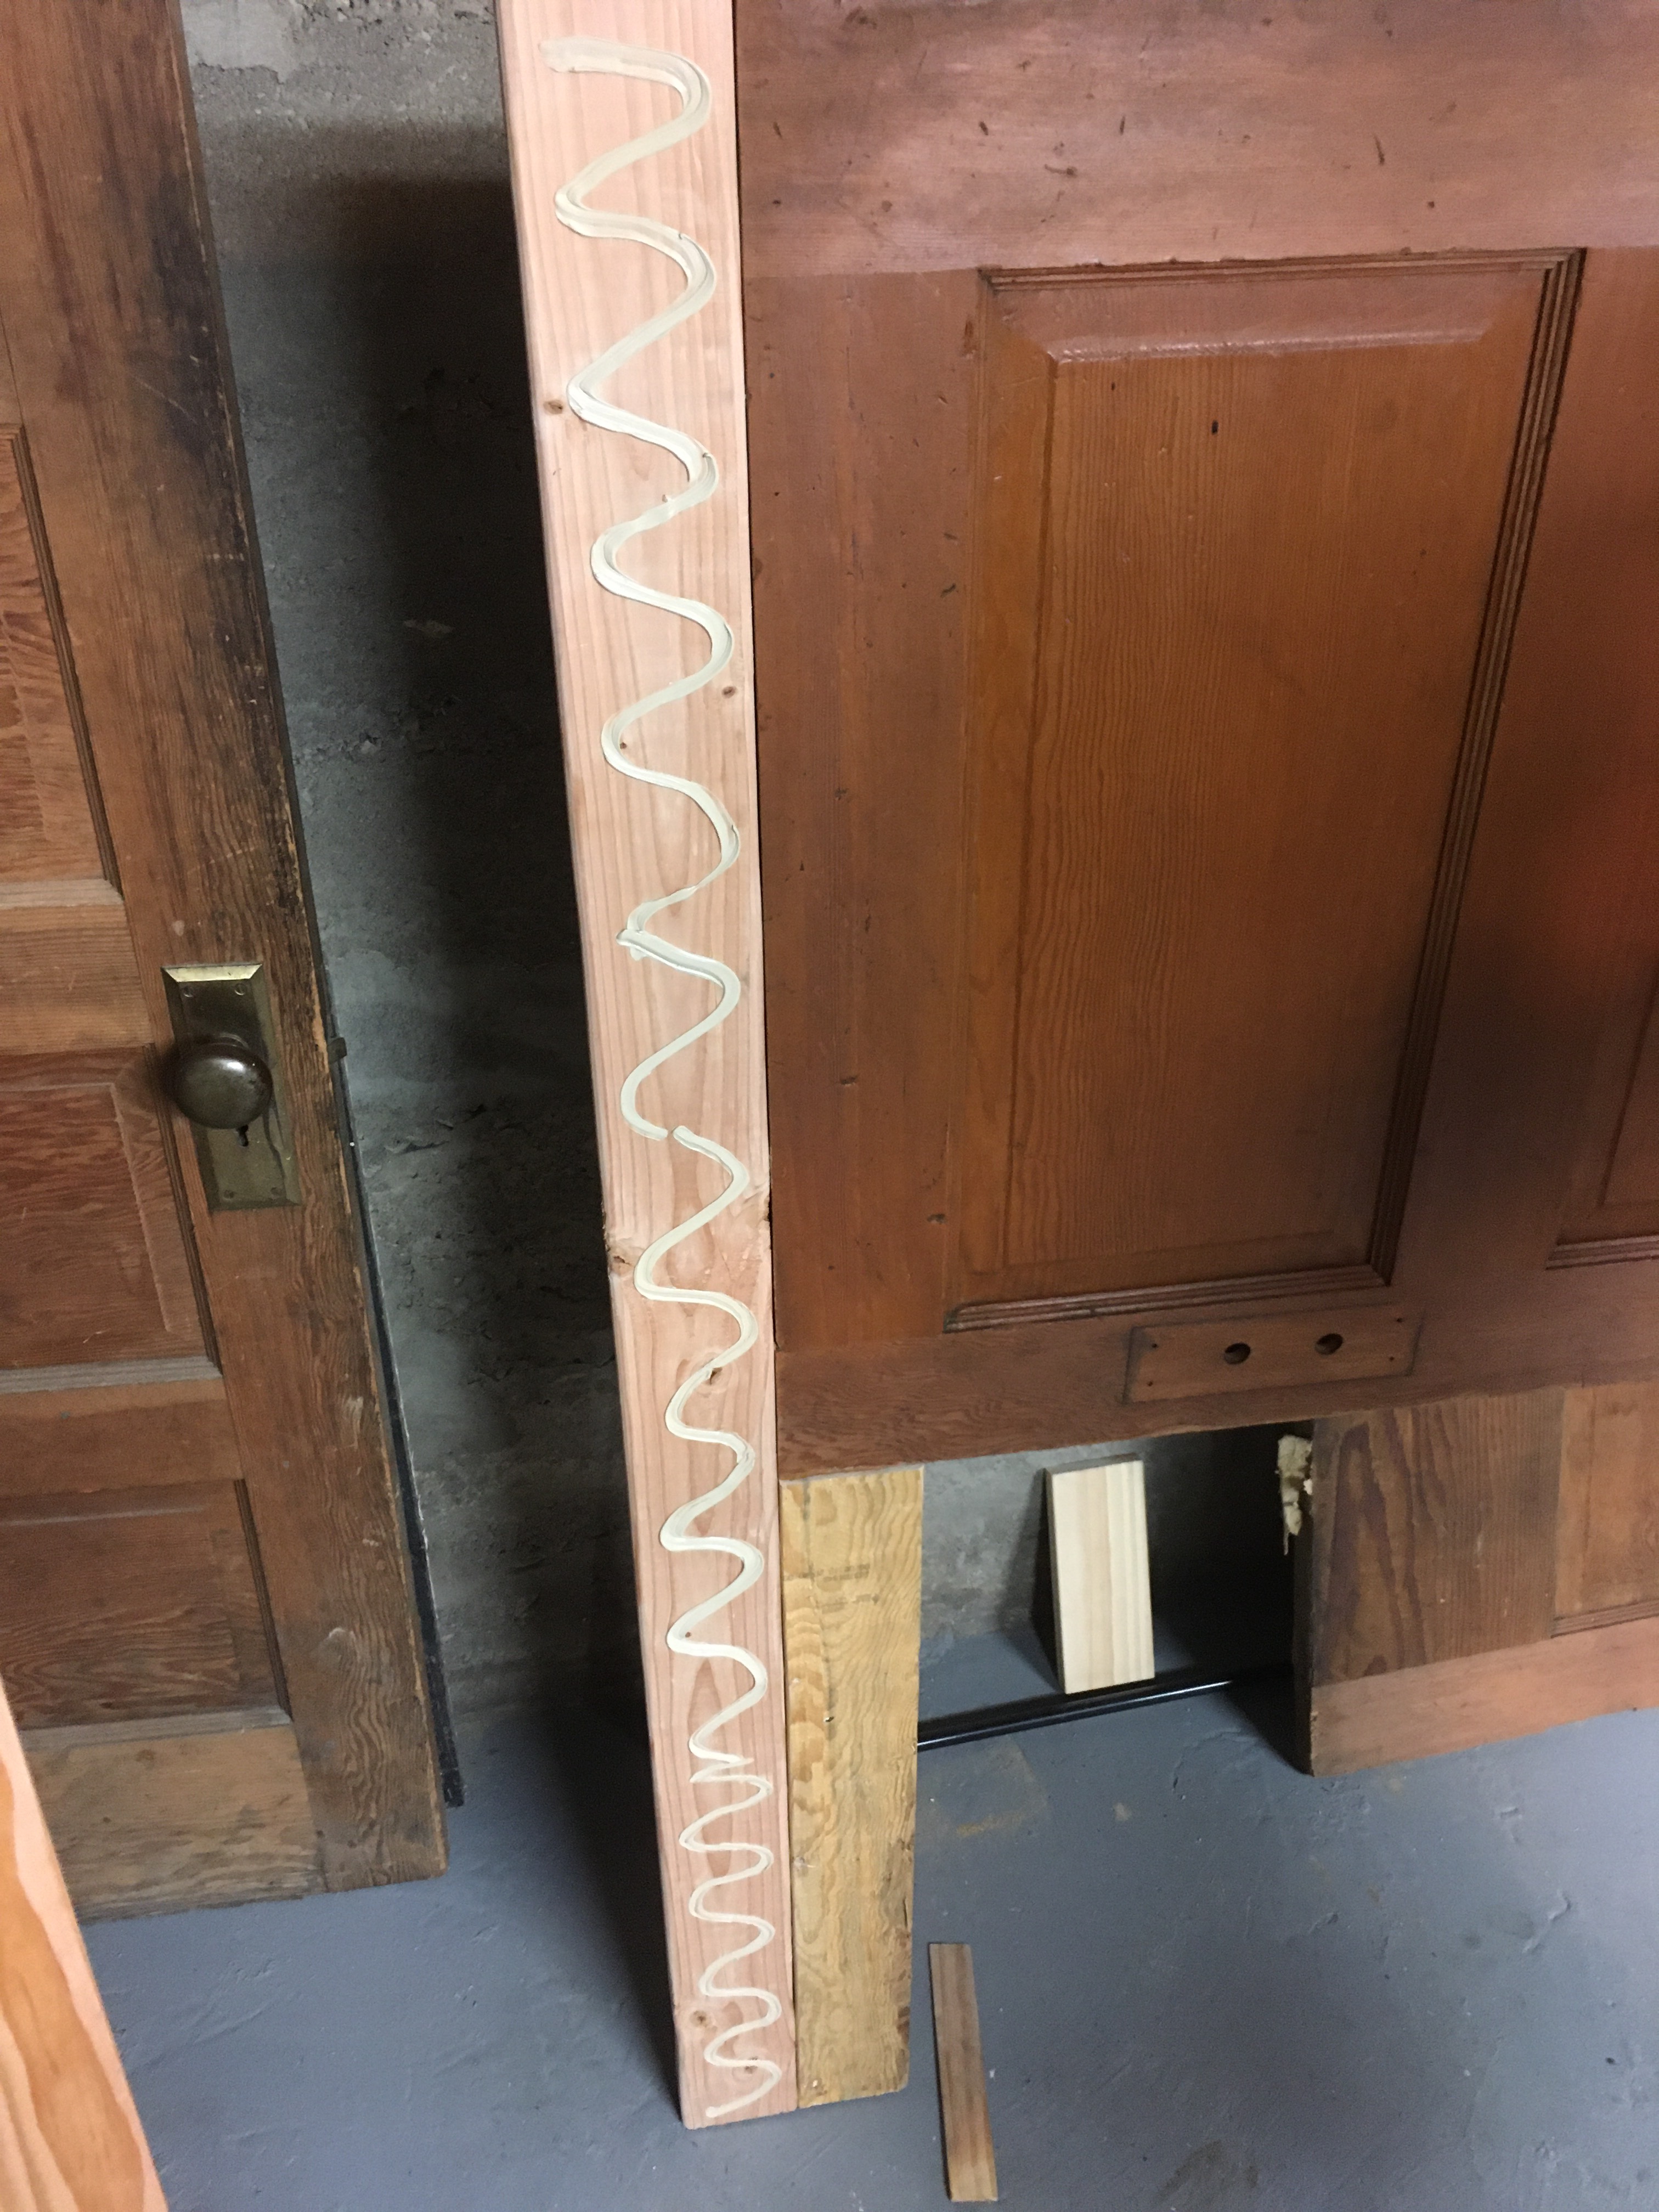
Measure and cut (2) of the 1x4x6 pieces of wood to the same height to cover the outer longer 2×4’s. First place wood glue to the 2×4 before laying the 1×4 in place and clamping it. Then use the finish nail gun to shoot nails through.
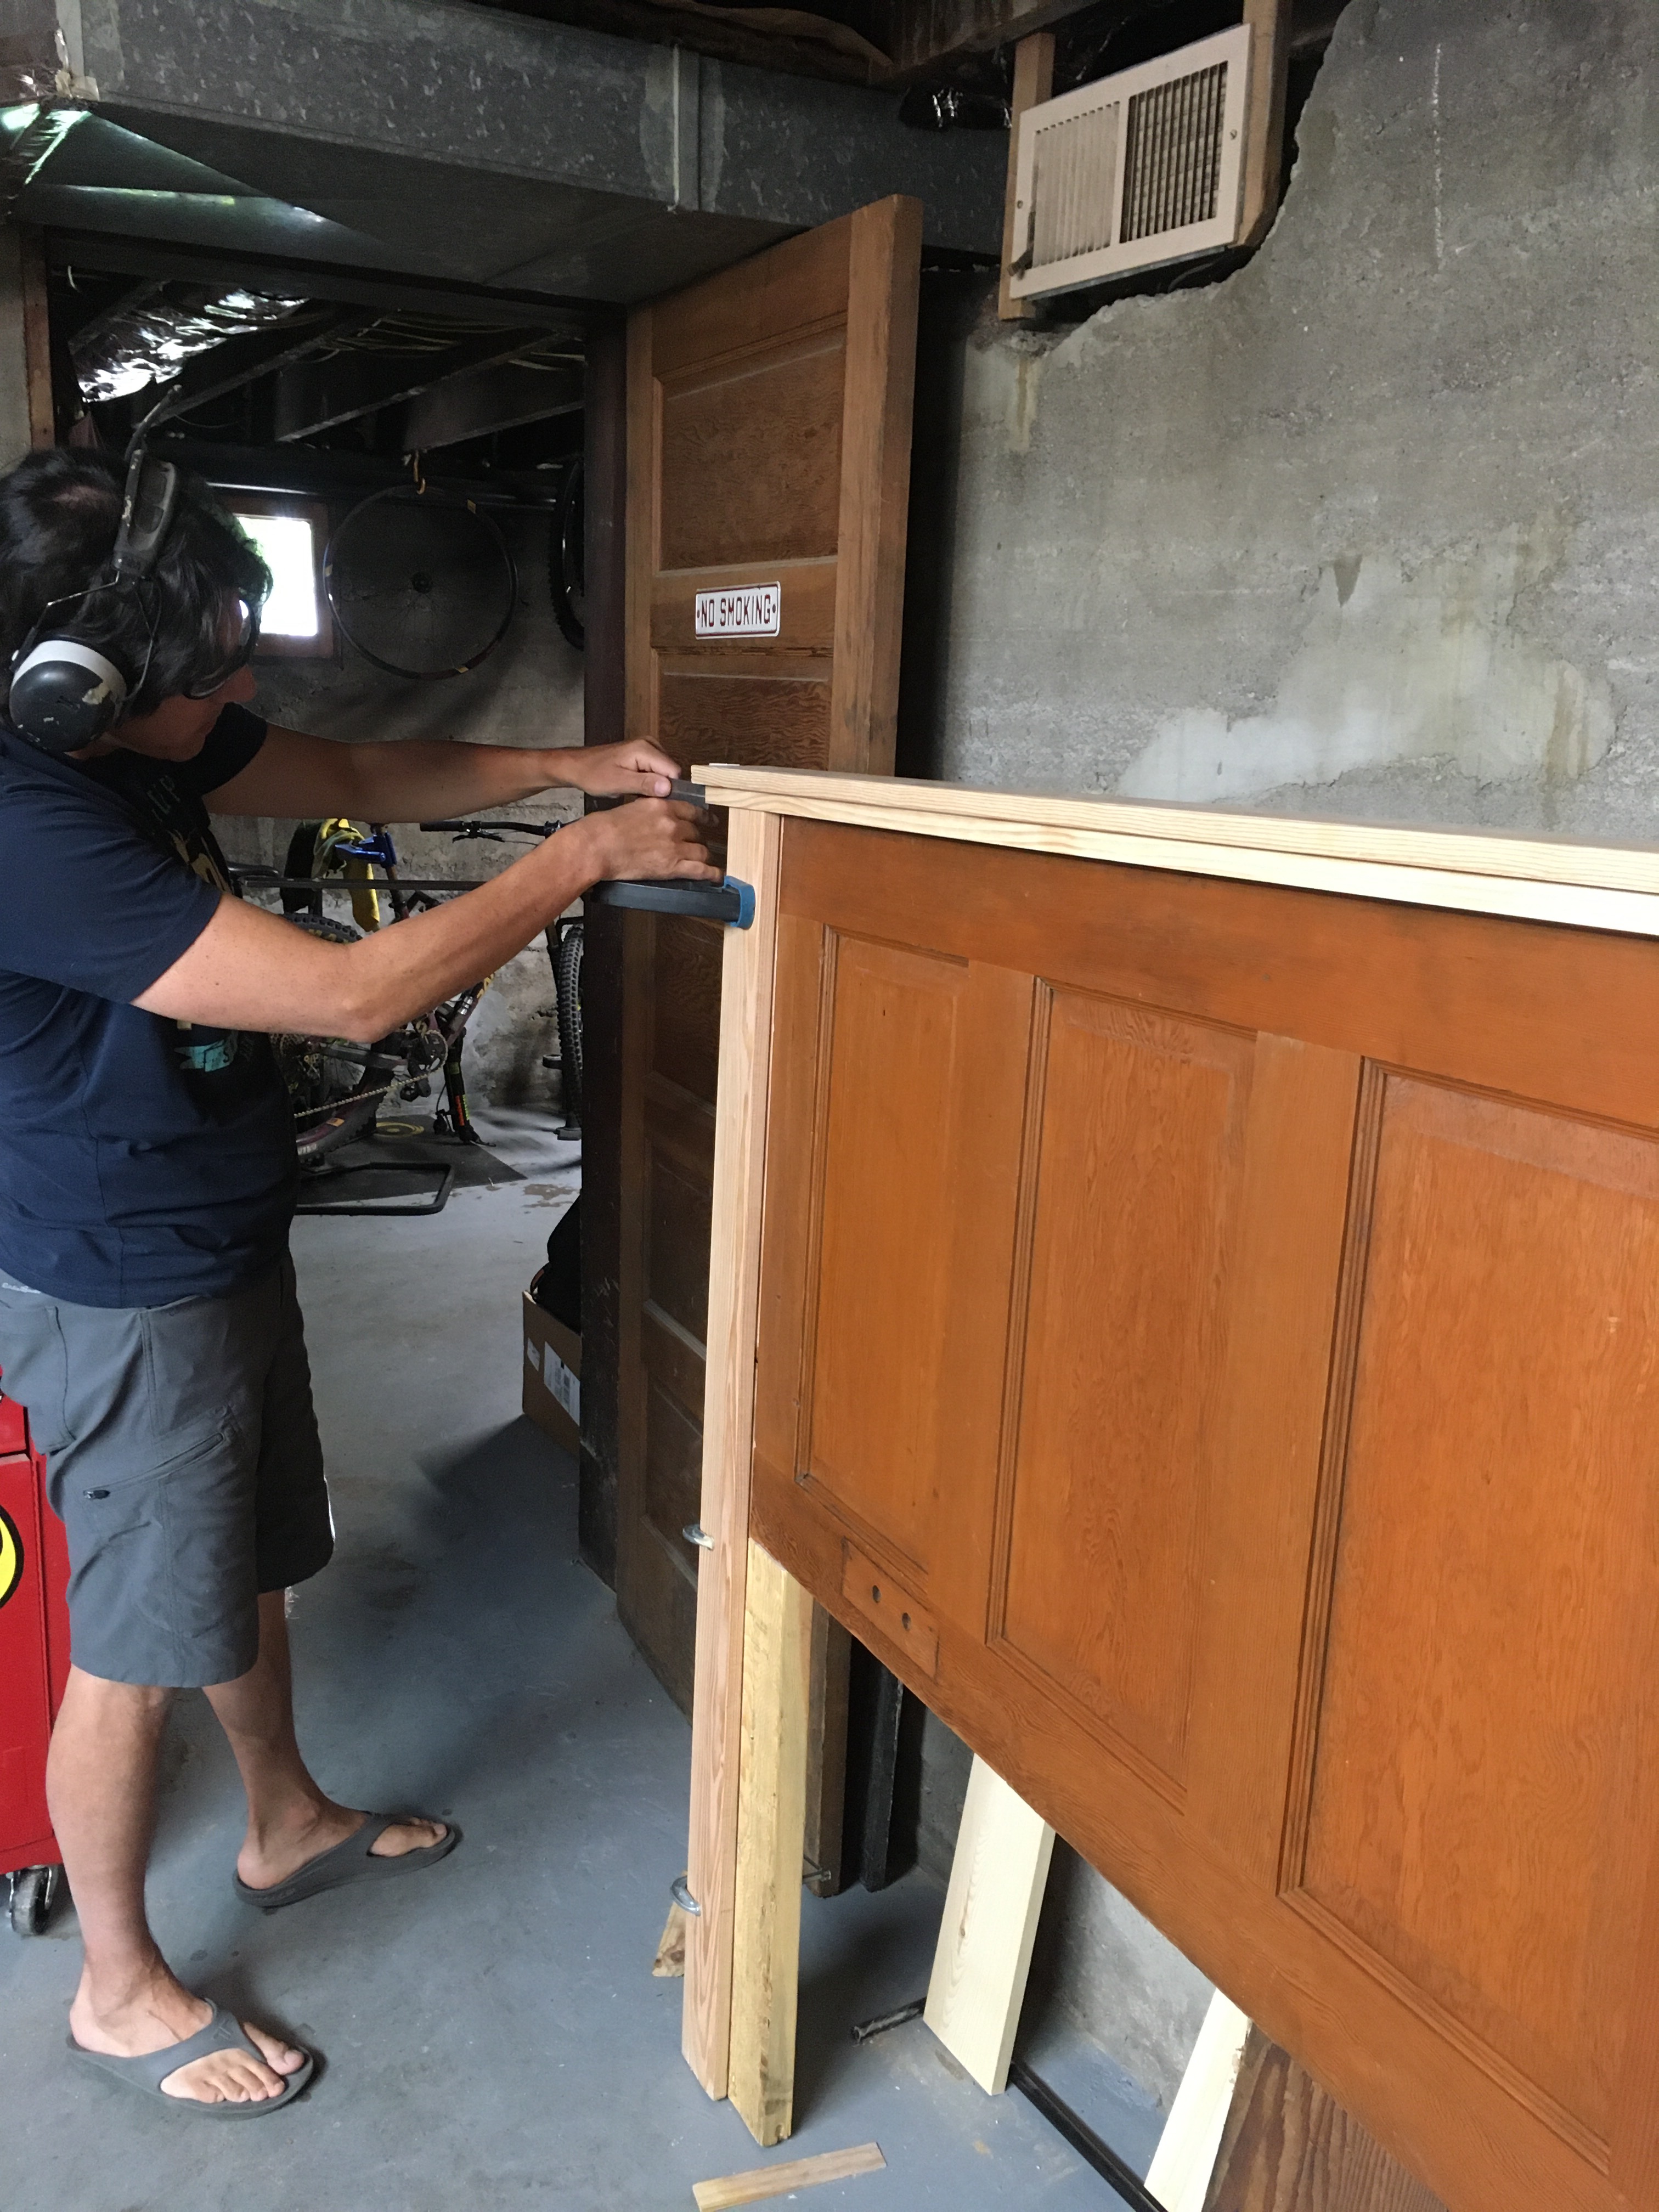
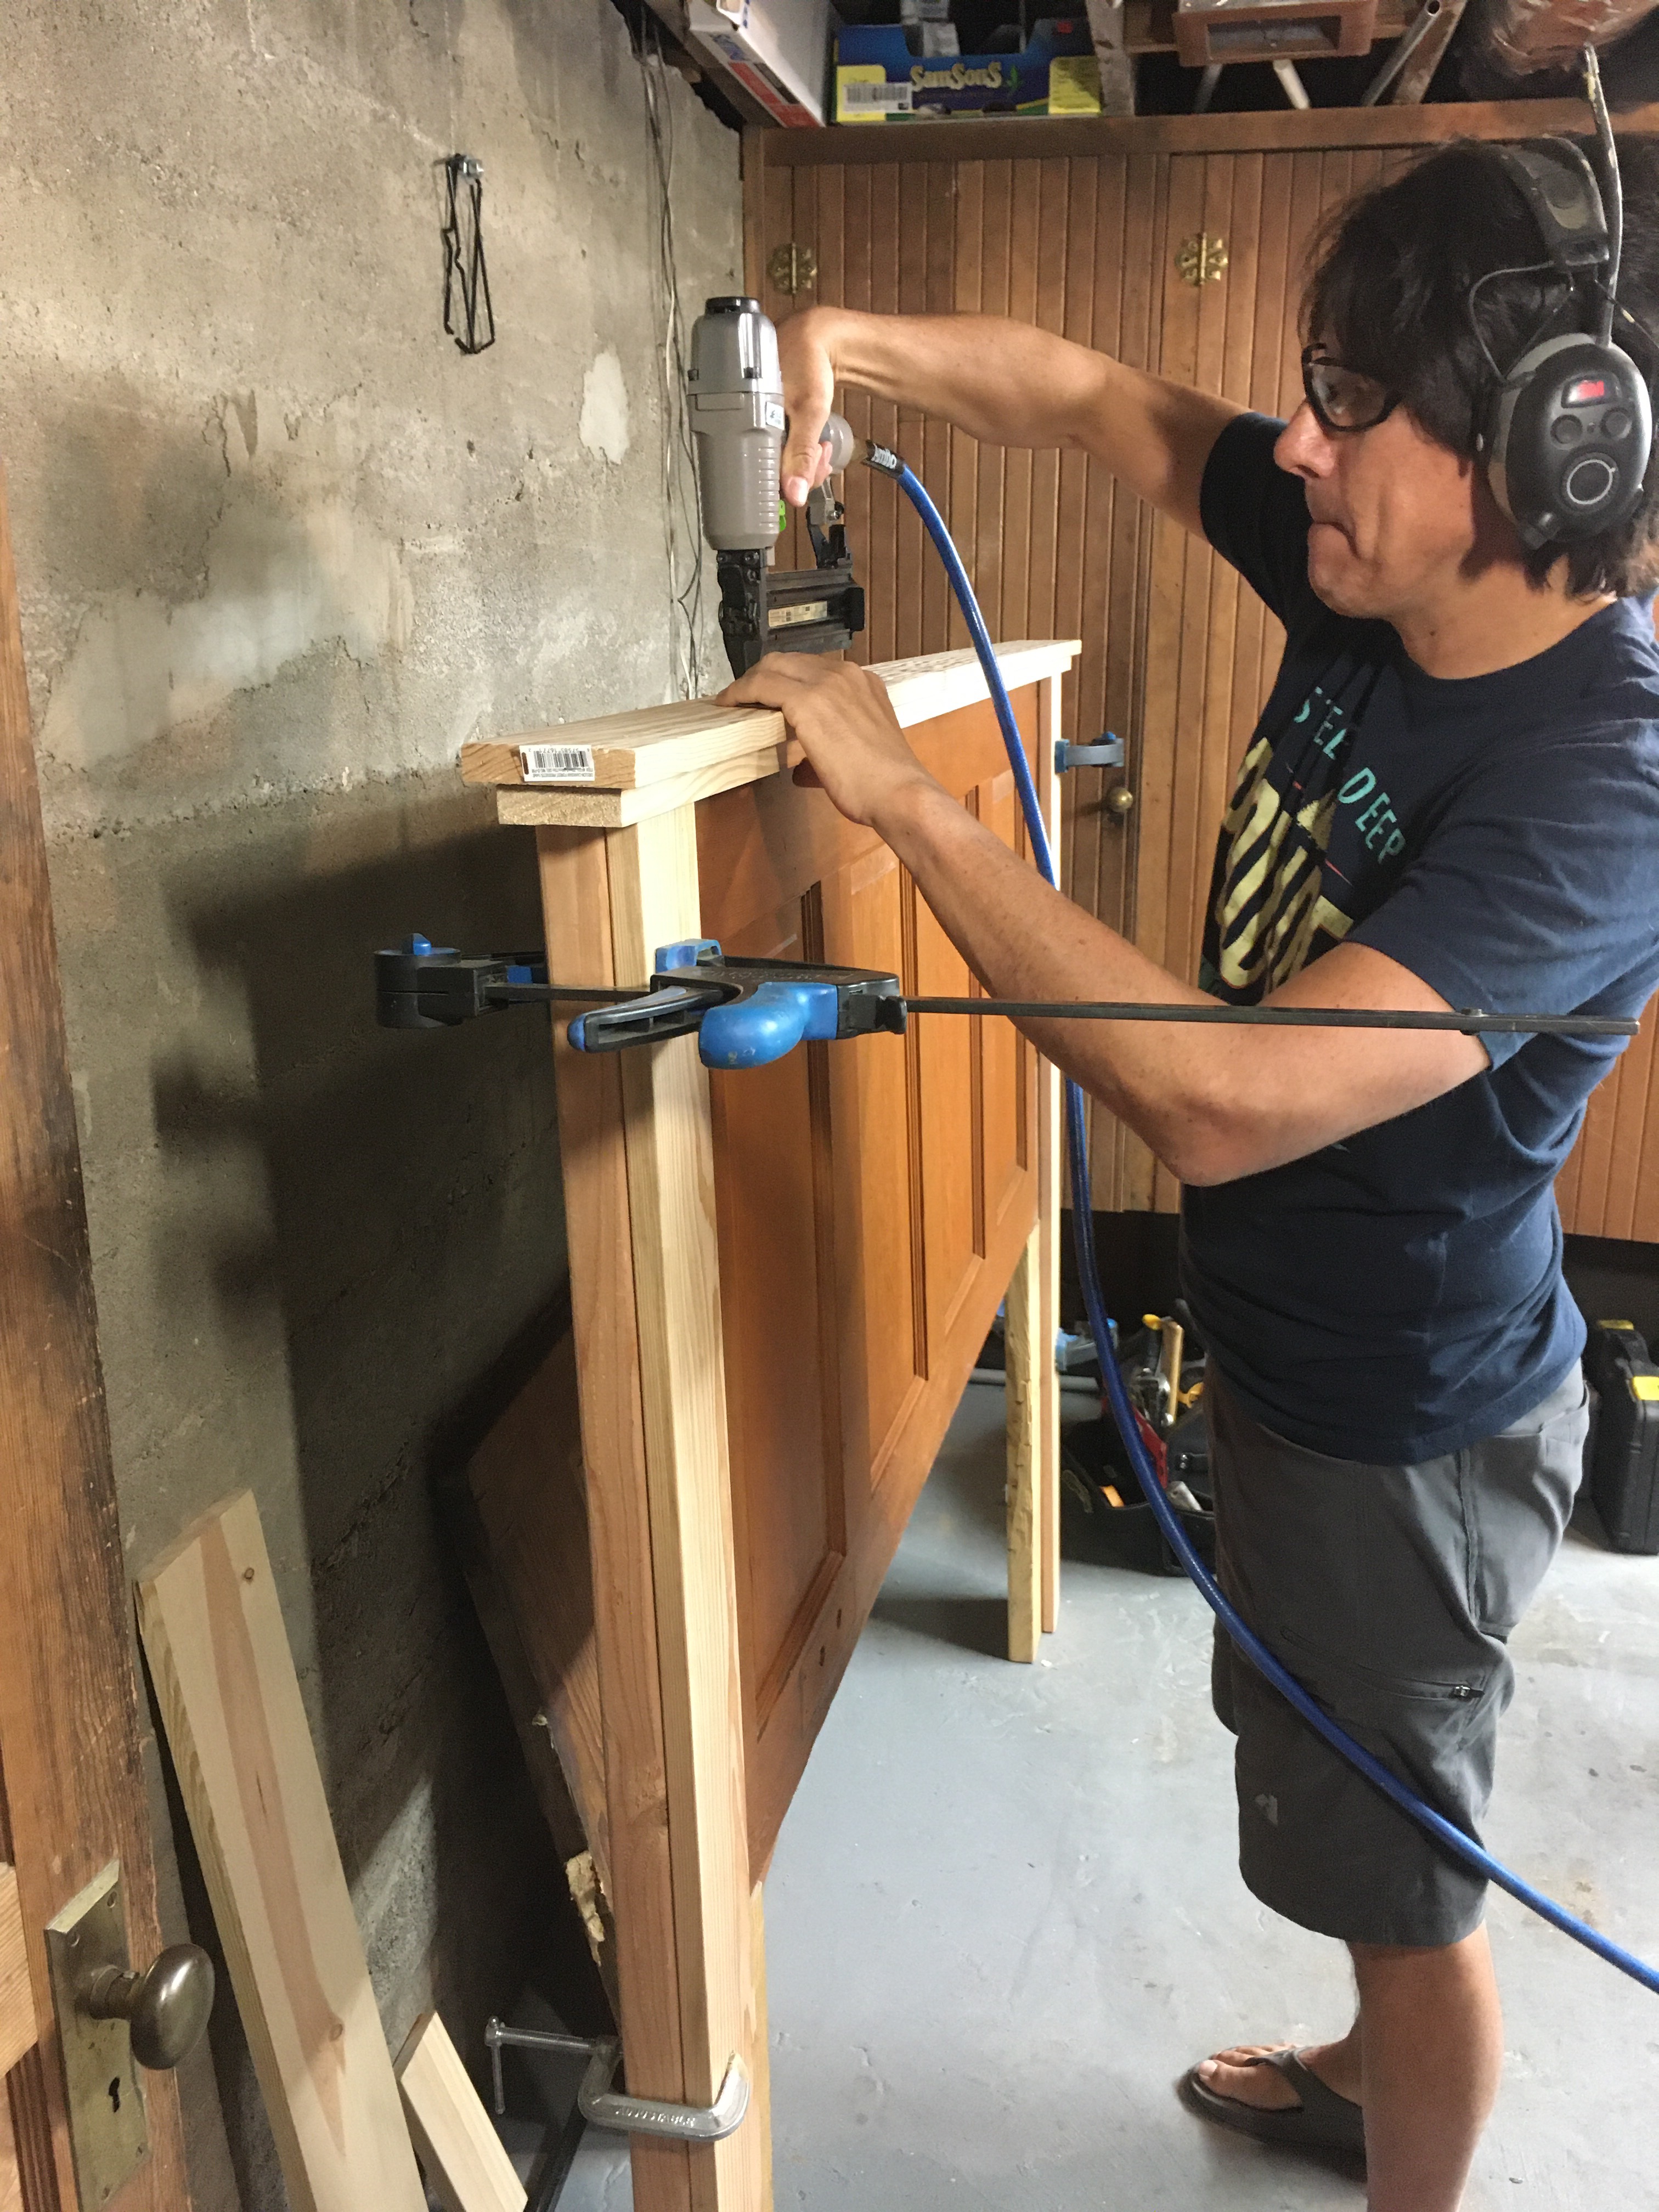
Measure and cut 1/2” off of the (1) 1x3x6. Use glue and the nail gun to center and place the piece of wood across the top of the headboard/door.

Next glue and nail the (1) 1x4x6, without any cutting, on top of the 1x3x6.
Now is the time to stain or paint the unfinished wood.
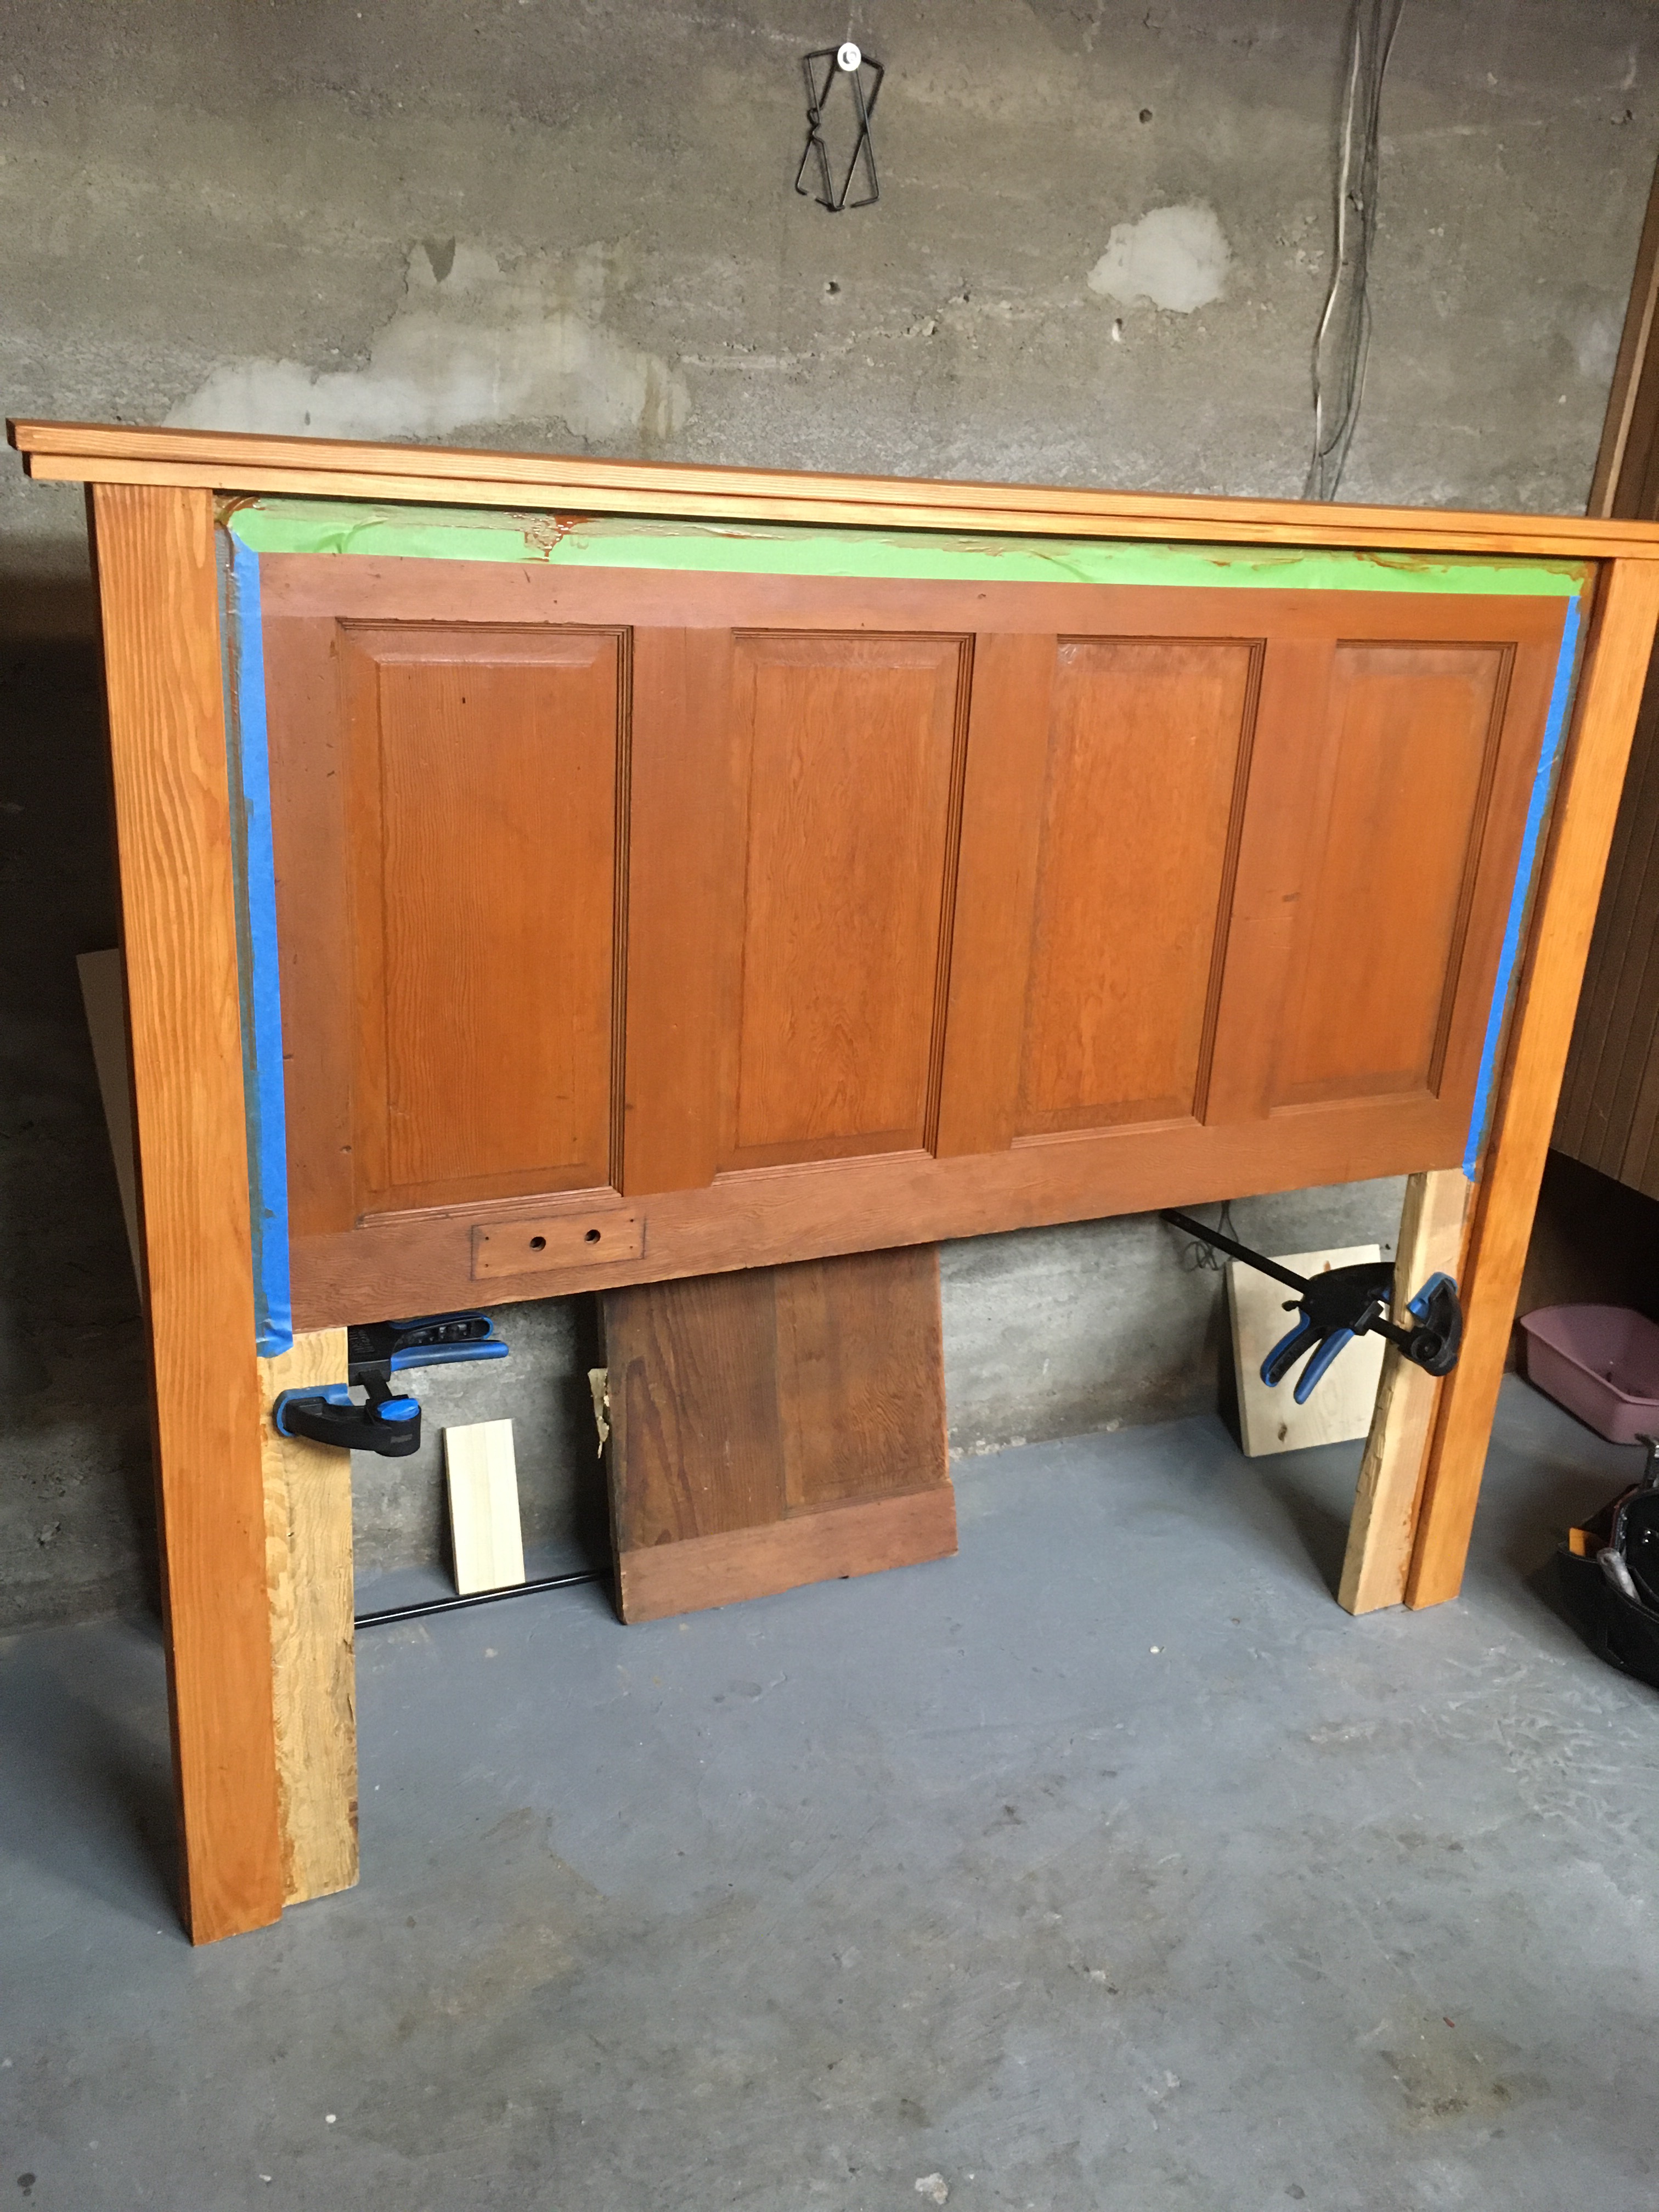
Now doing a dry fit place the headboard in place and mark the holes for attaching to the bed frame and drill the holes. At this stage I had to add 1×4 shims with c clamps because the bed frame was just a half inch too wide and wouldn’t fit flush.
Using lag bolts, washers, and nuts attach the headboard to the bed frame. For my bed frame I used 5/16” x 3” lag bolts washers and nuts.


We had a few extra doors laying around the basement when we bought our home and they didn’t fit for any of the missing doors. So I decided to keep and up-cycle the doors. After four years I finally drug one of the doors out and started getting it ready to become a headboard. This entire projected took me one or two hours every other day for just over two weeks. I admit I had other priorities which is why this took me so long to finish.
I enlisted the unpaid labor of my husband to assist with several parts of this project that required drilling and nailing.