ARB Dual Air Compressor 80 Series Switch Wiring
The first hurdle to overcome was finding a suitable mounting location. Next was finding someone to custom make me a mounting bracket. Most things afterwards are pretty smooth sailing with the installation until I got to the switch wiring installation. To clarify I installed my compressor starting from the the engine bay, ran the wires through the firewall and then started the installation of the switch.
Switch Wiring
Installing the switch wiring posed a bit of a challenge for me. The ARB instructions say
“Red-Yellow wire to Ignition” and “Blue-White wire to Illumination”.

The instructions say to use a multimeter or automotive test light to locate an accessory outlet.

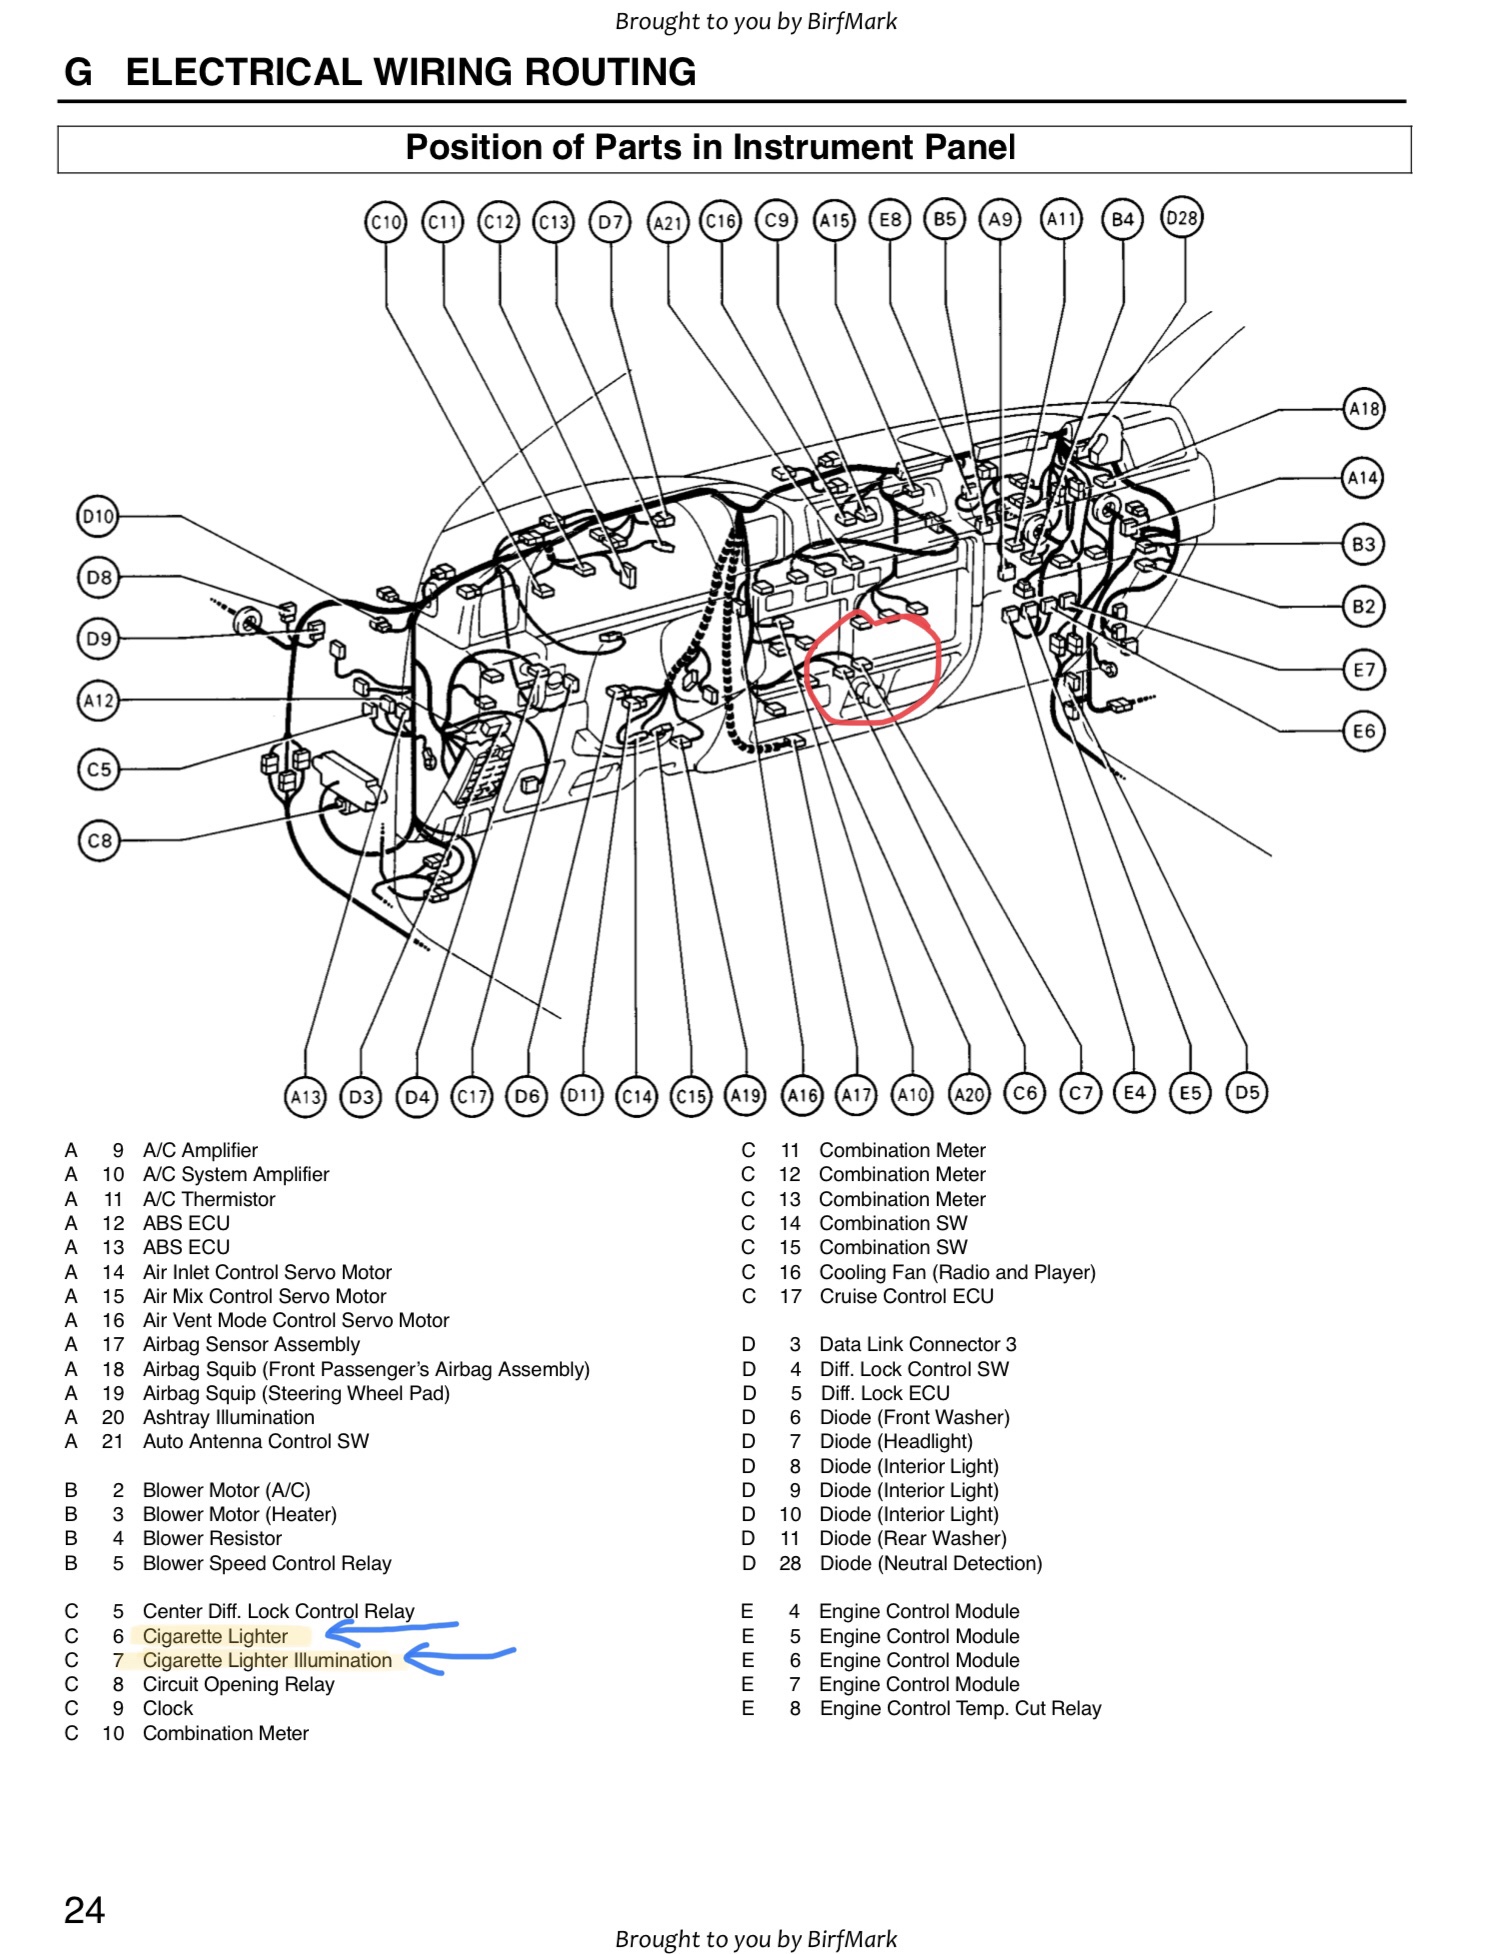
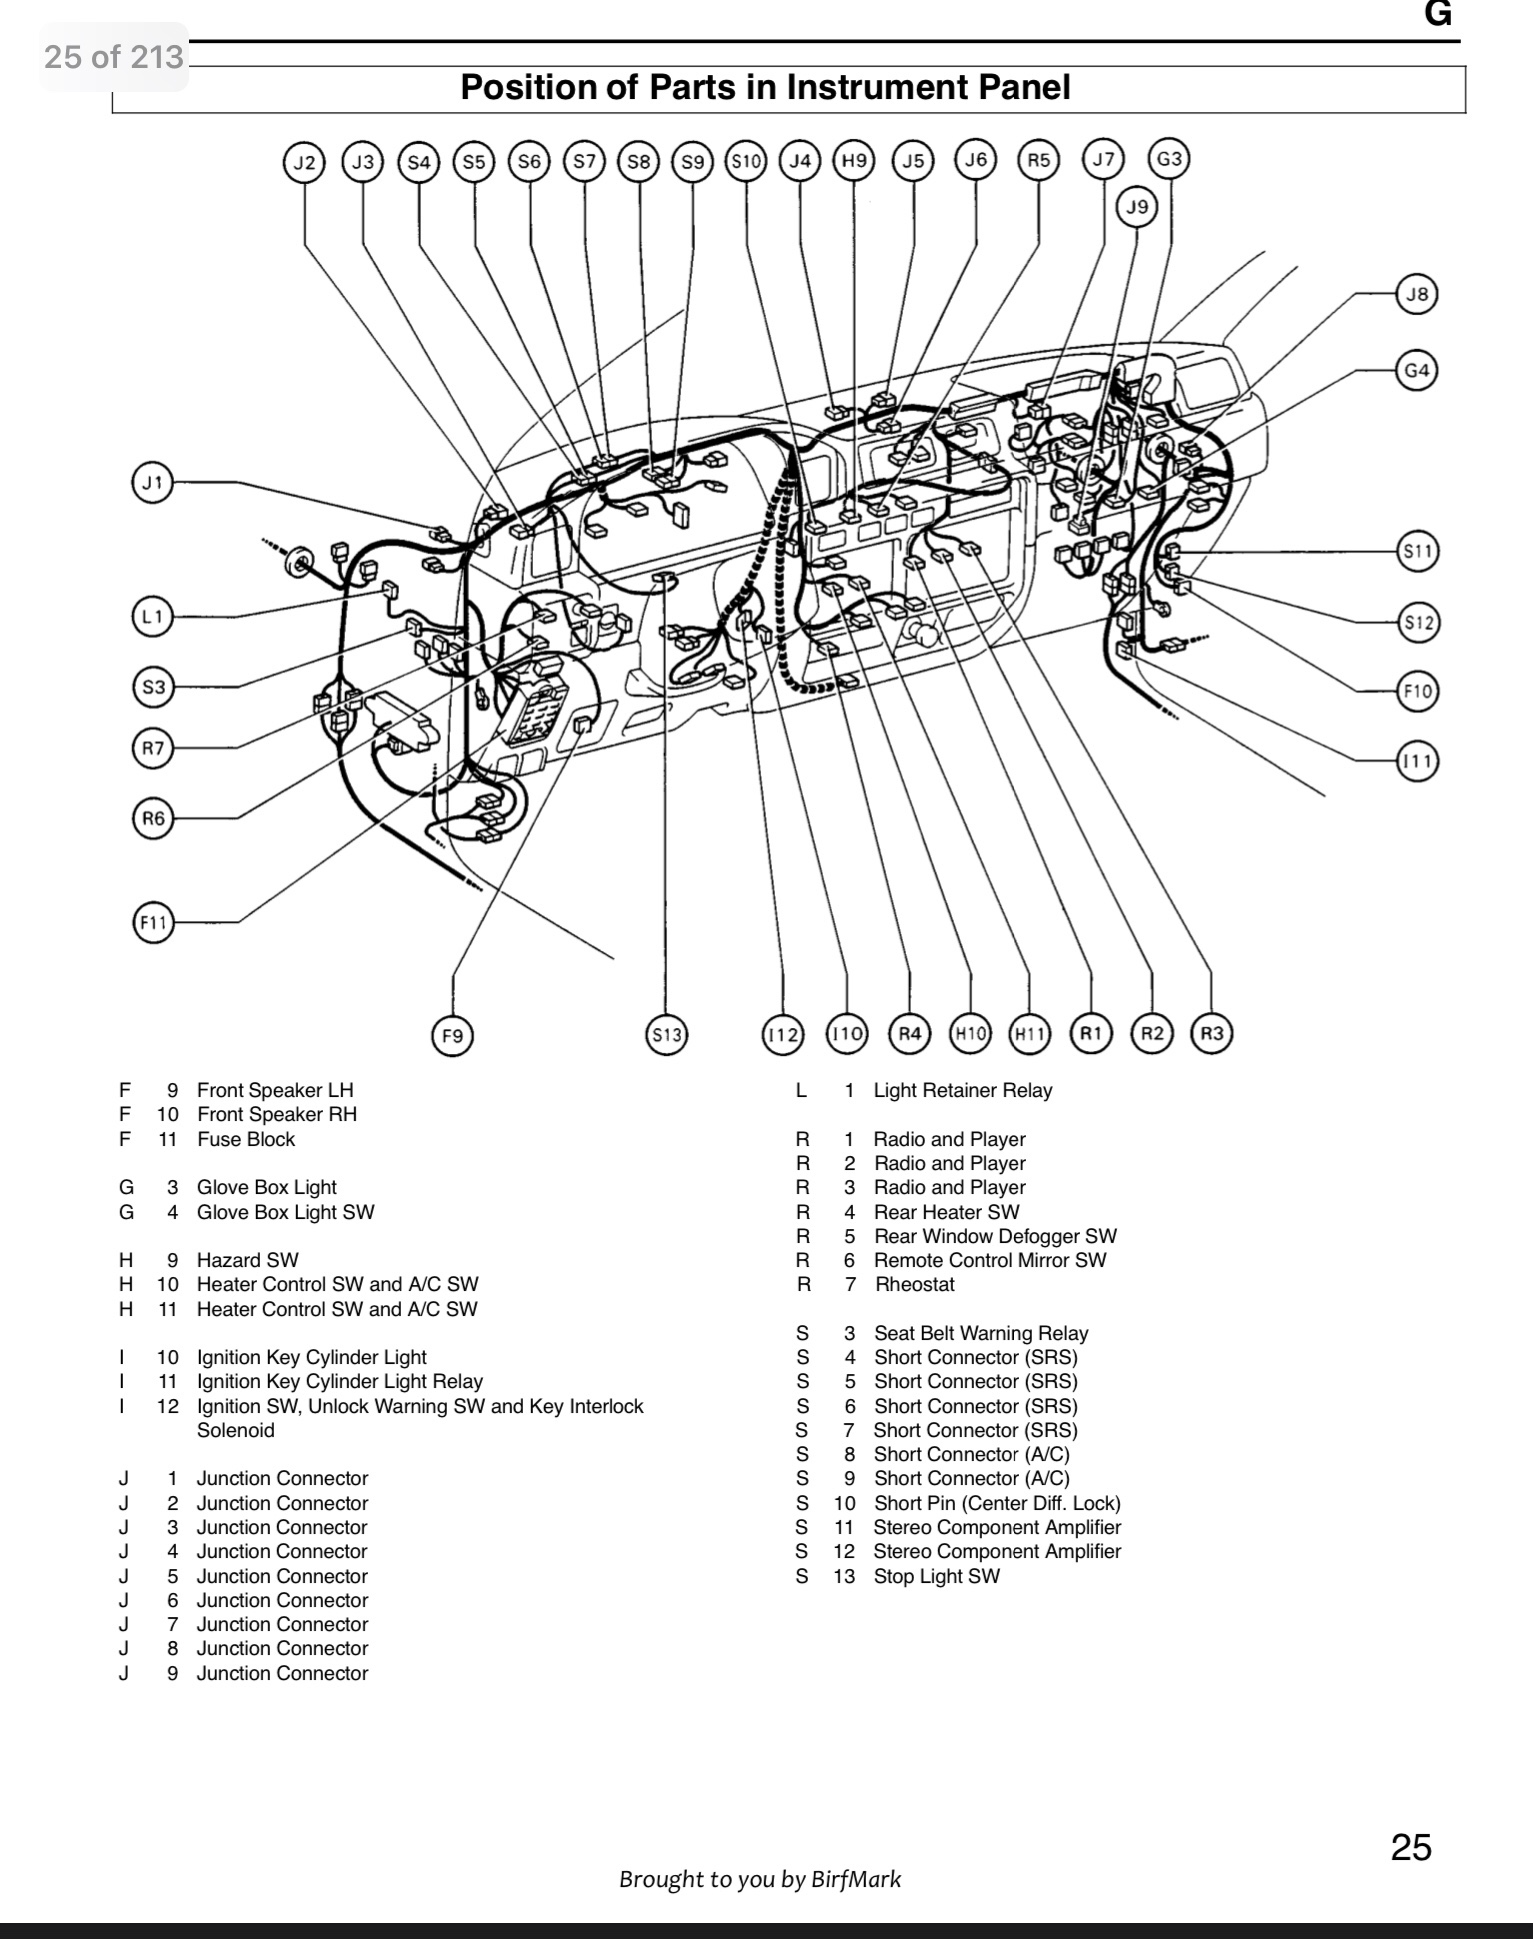
So let’s start by looking at a vehicle specific wiring diagram.
Tools &Supplis
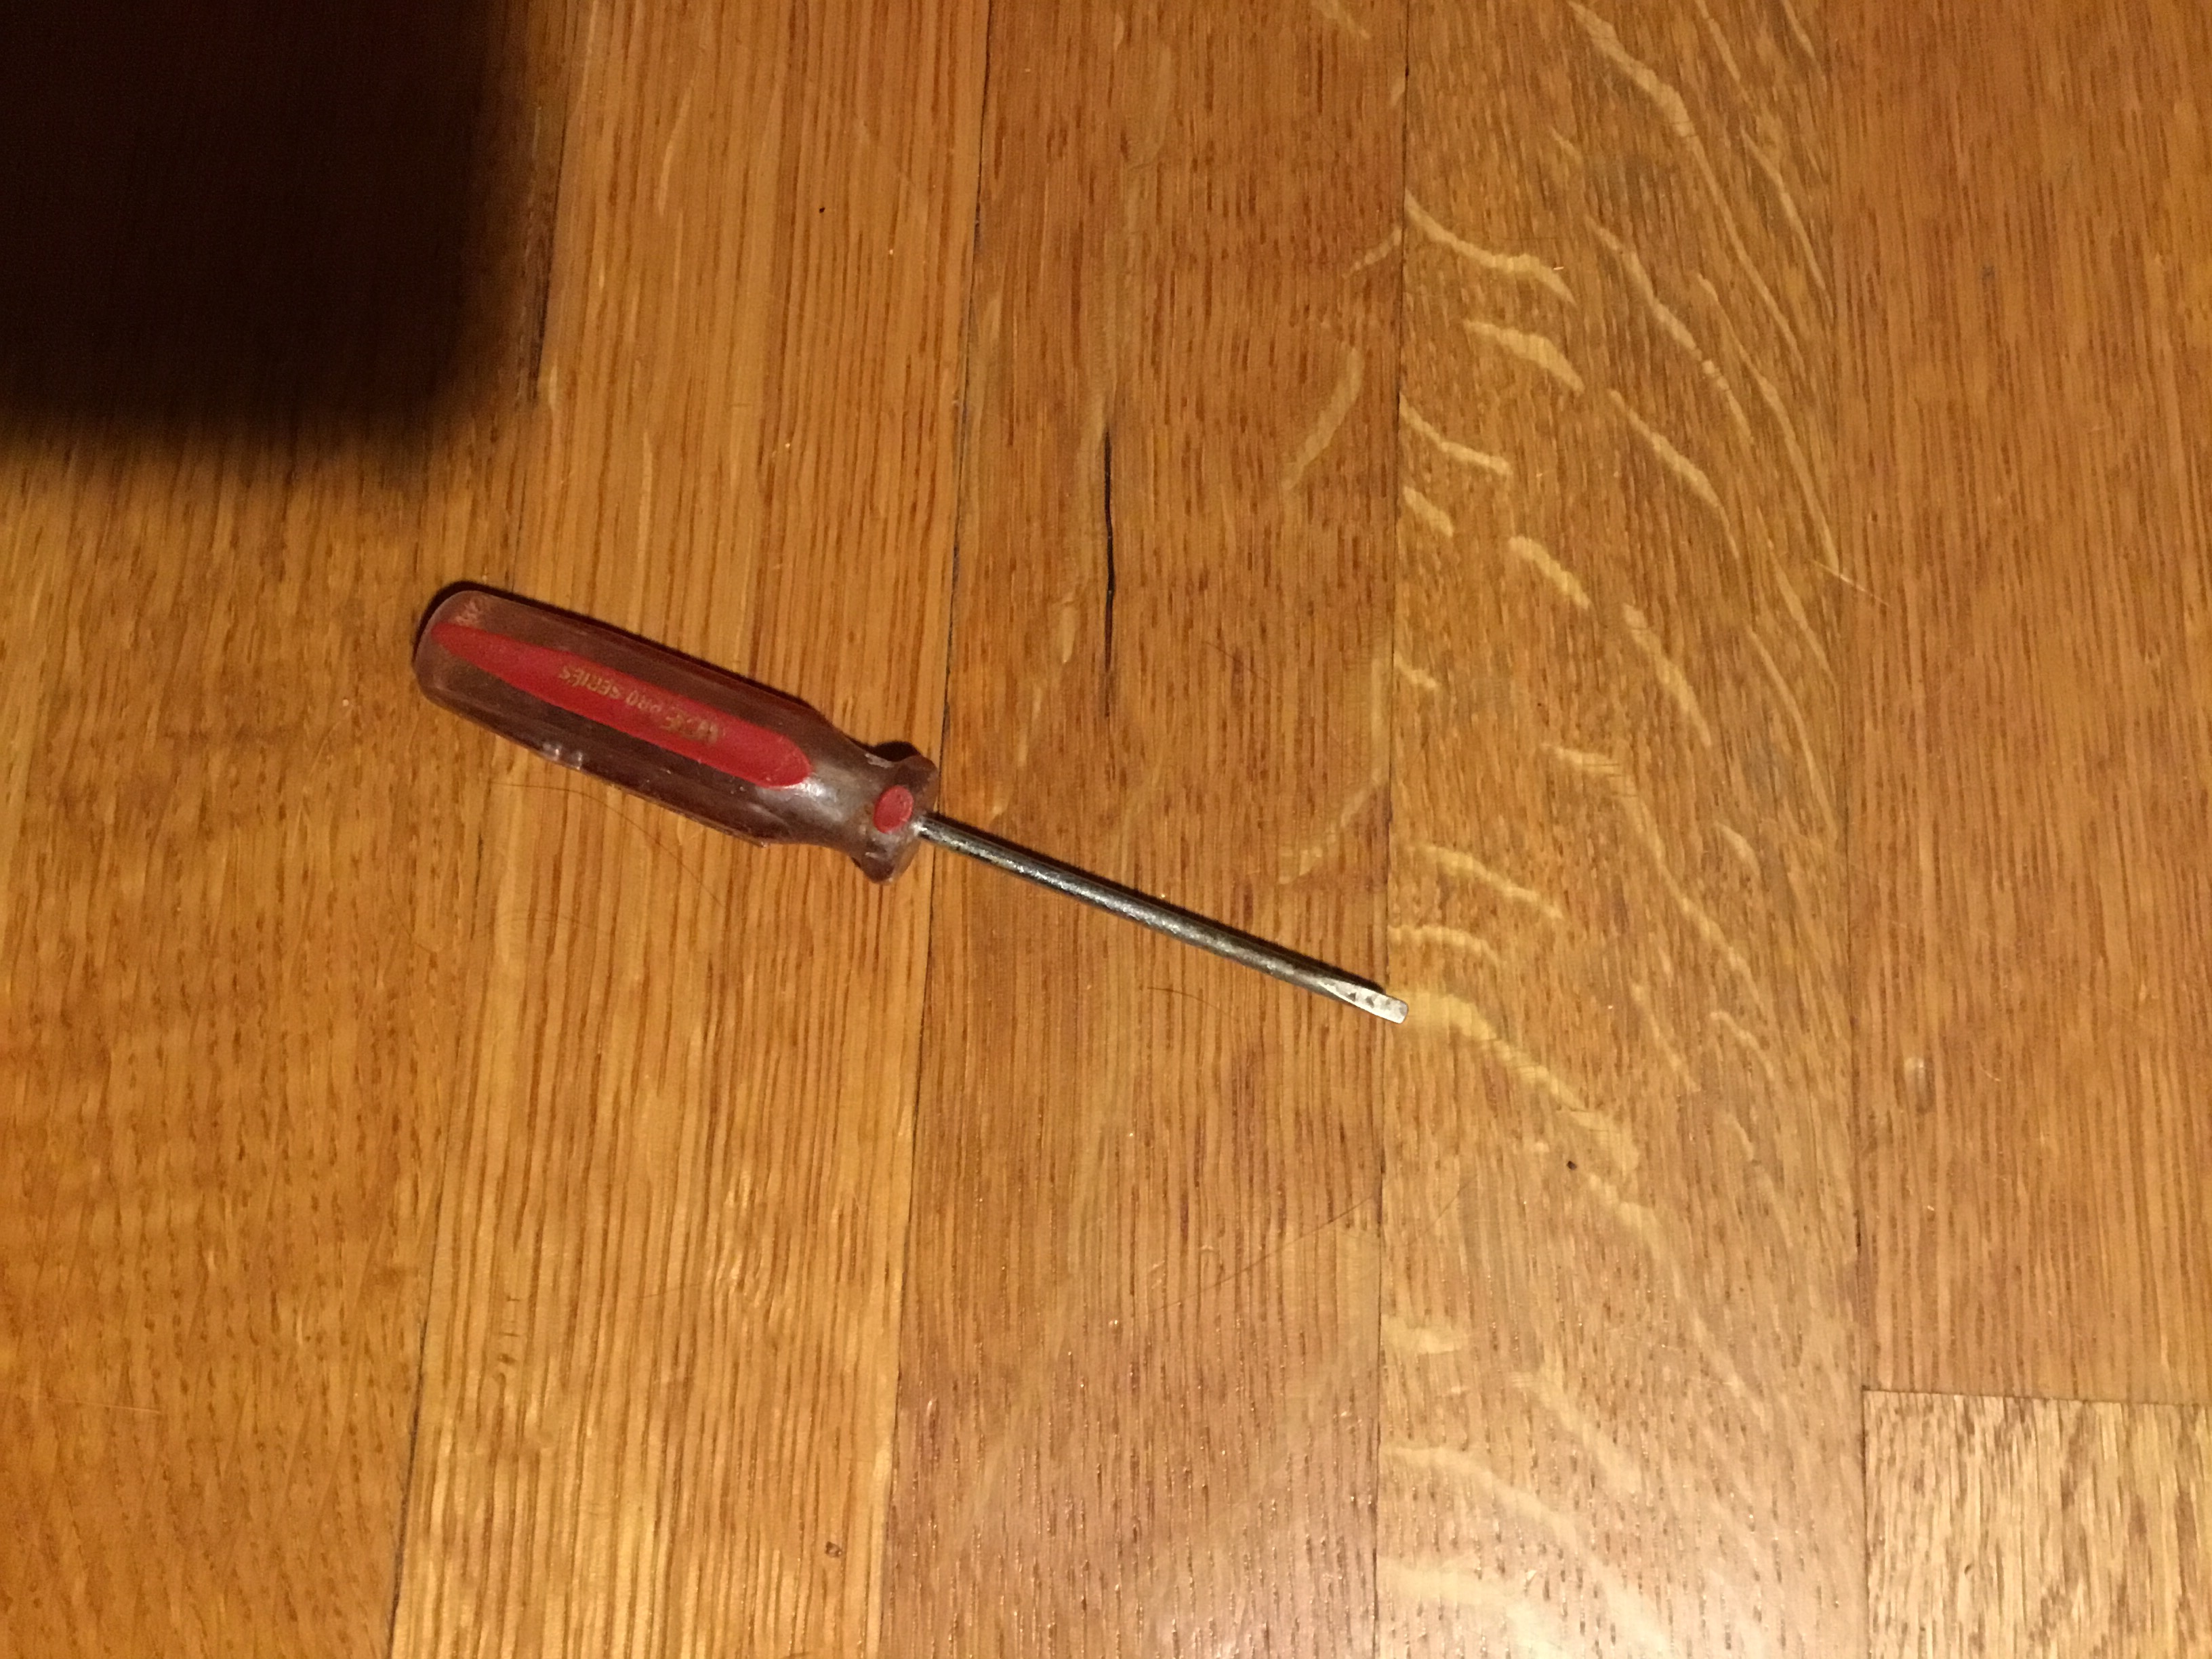
- Mini flat head screw driver
- Phillips screw driver
- Electrical tape
- Wire cutters
- Wire crimpers
- Wire strippers
- Butt connectors
- Electrical Cable Snake
If you follow these instructions then you shouldn’t need a multimeter.
Instructions
Make sure the keys are out of the ignition!
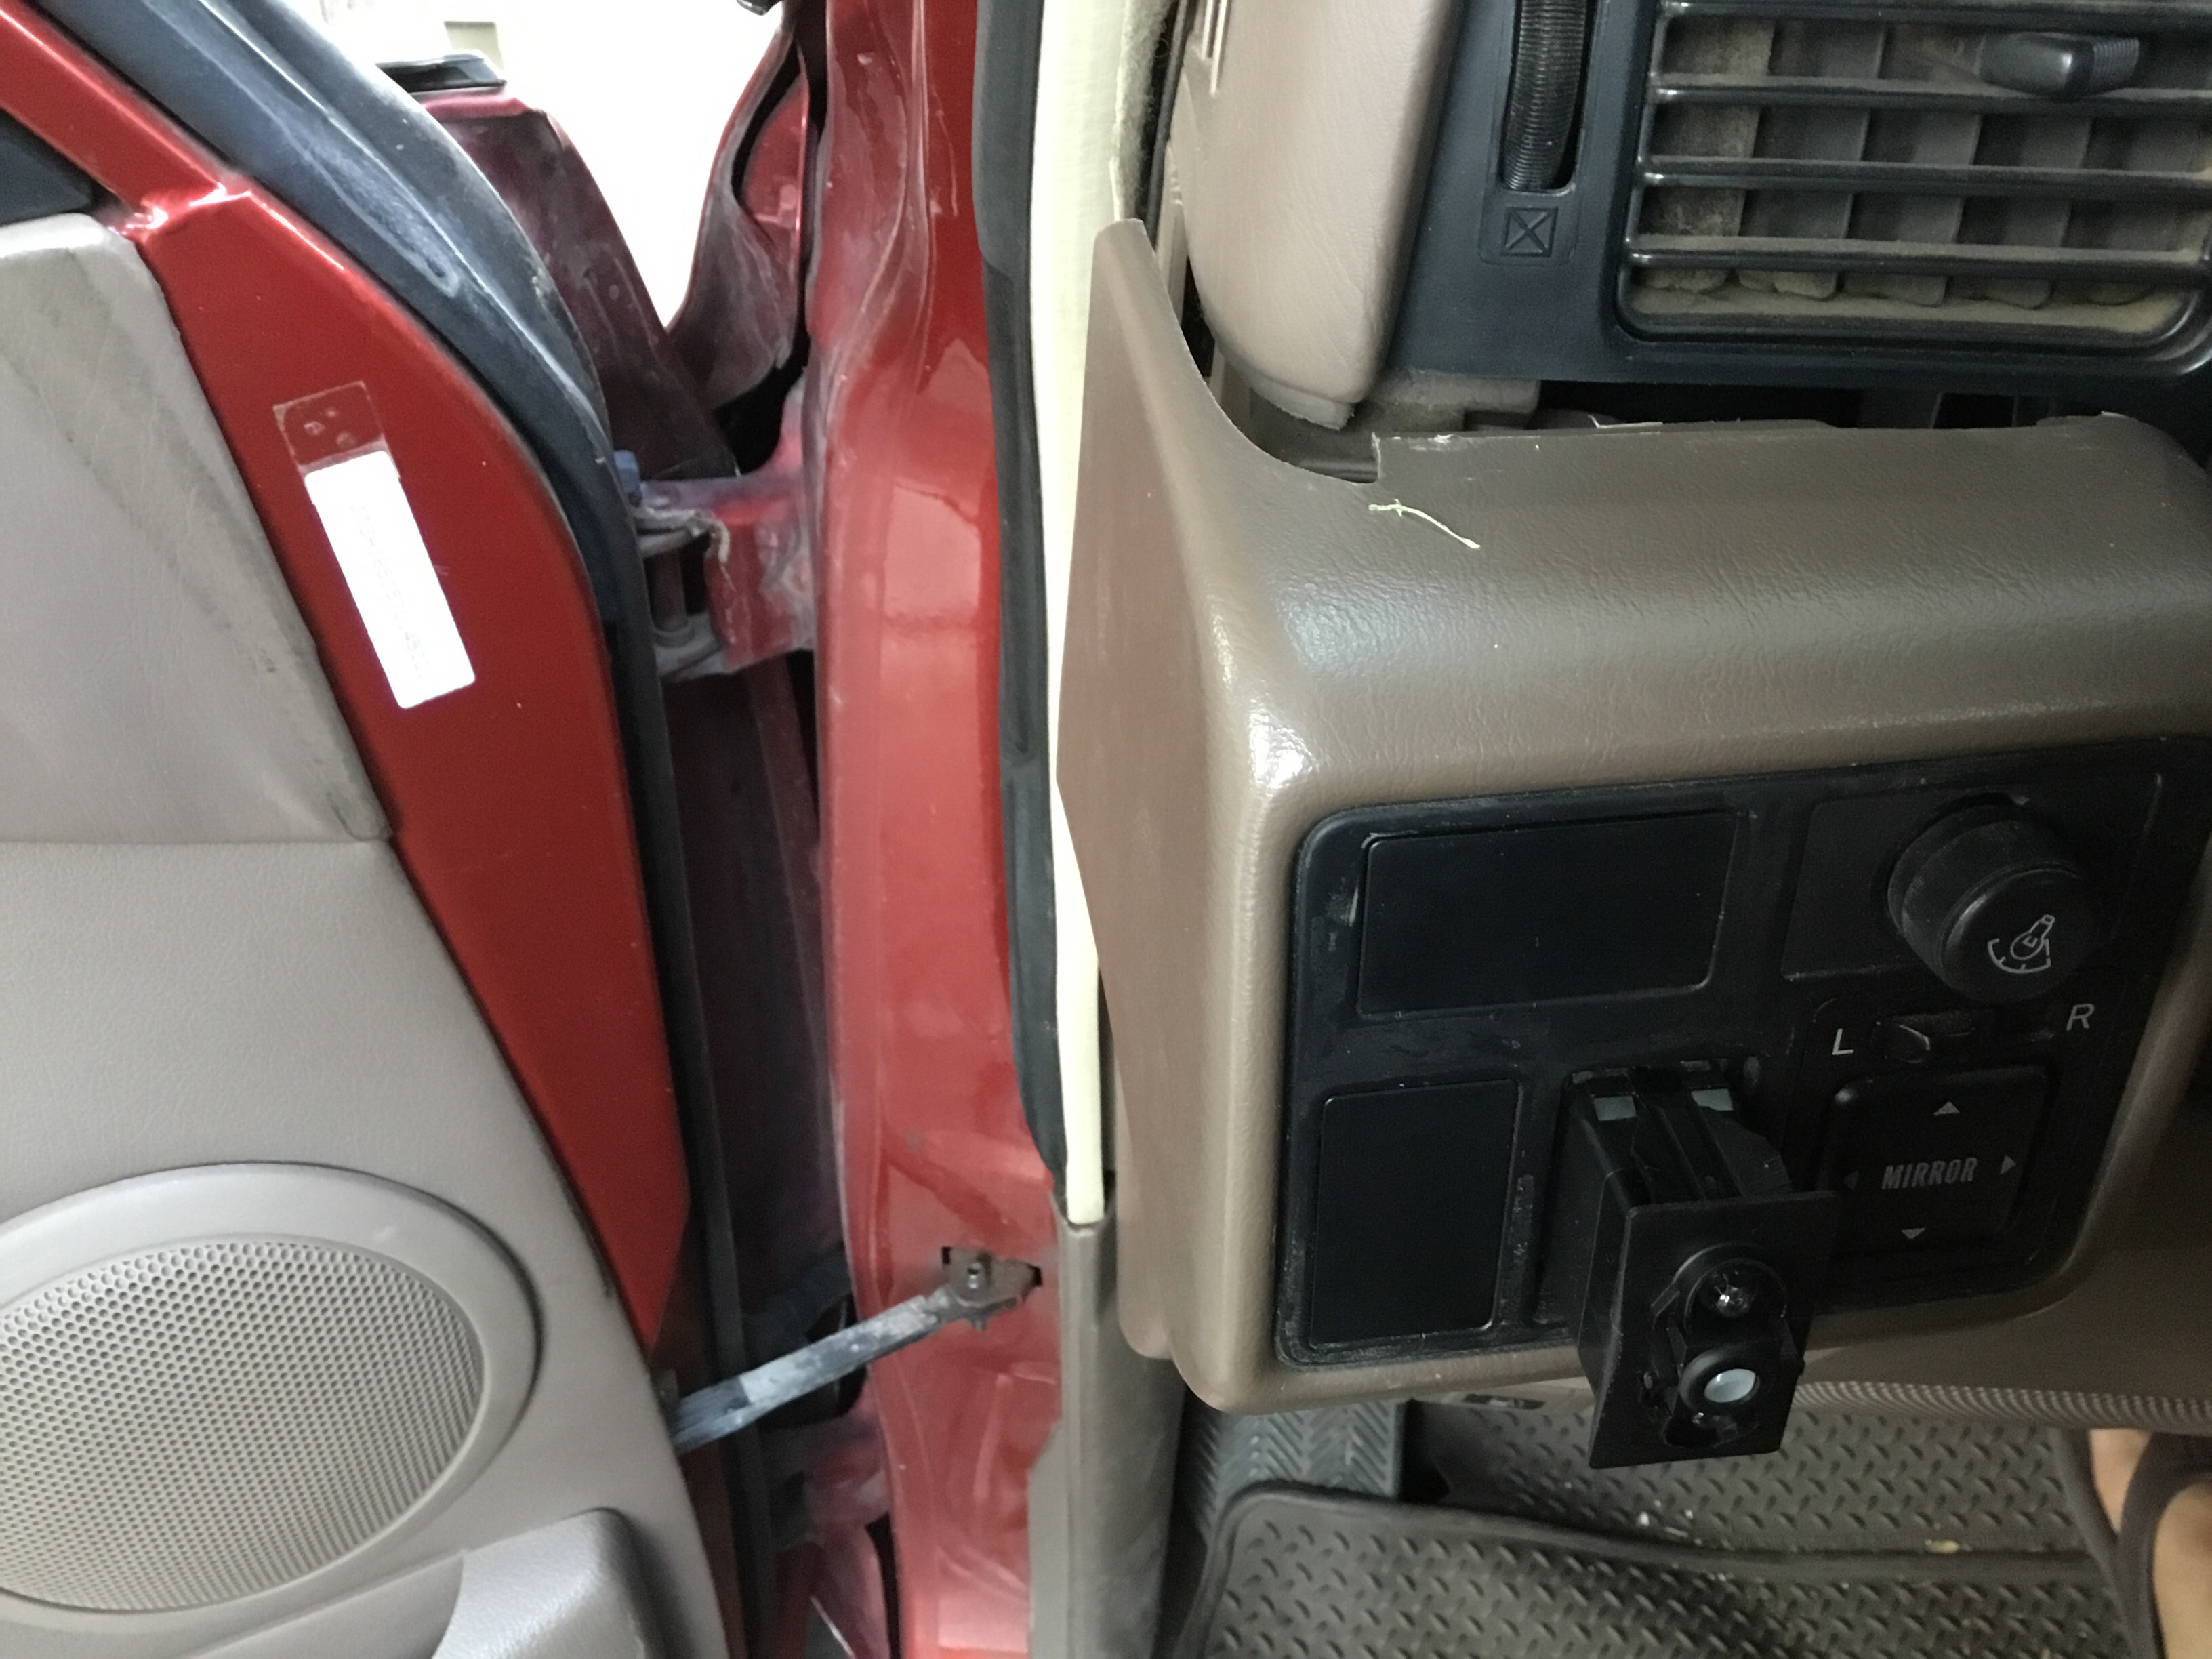
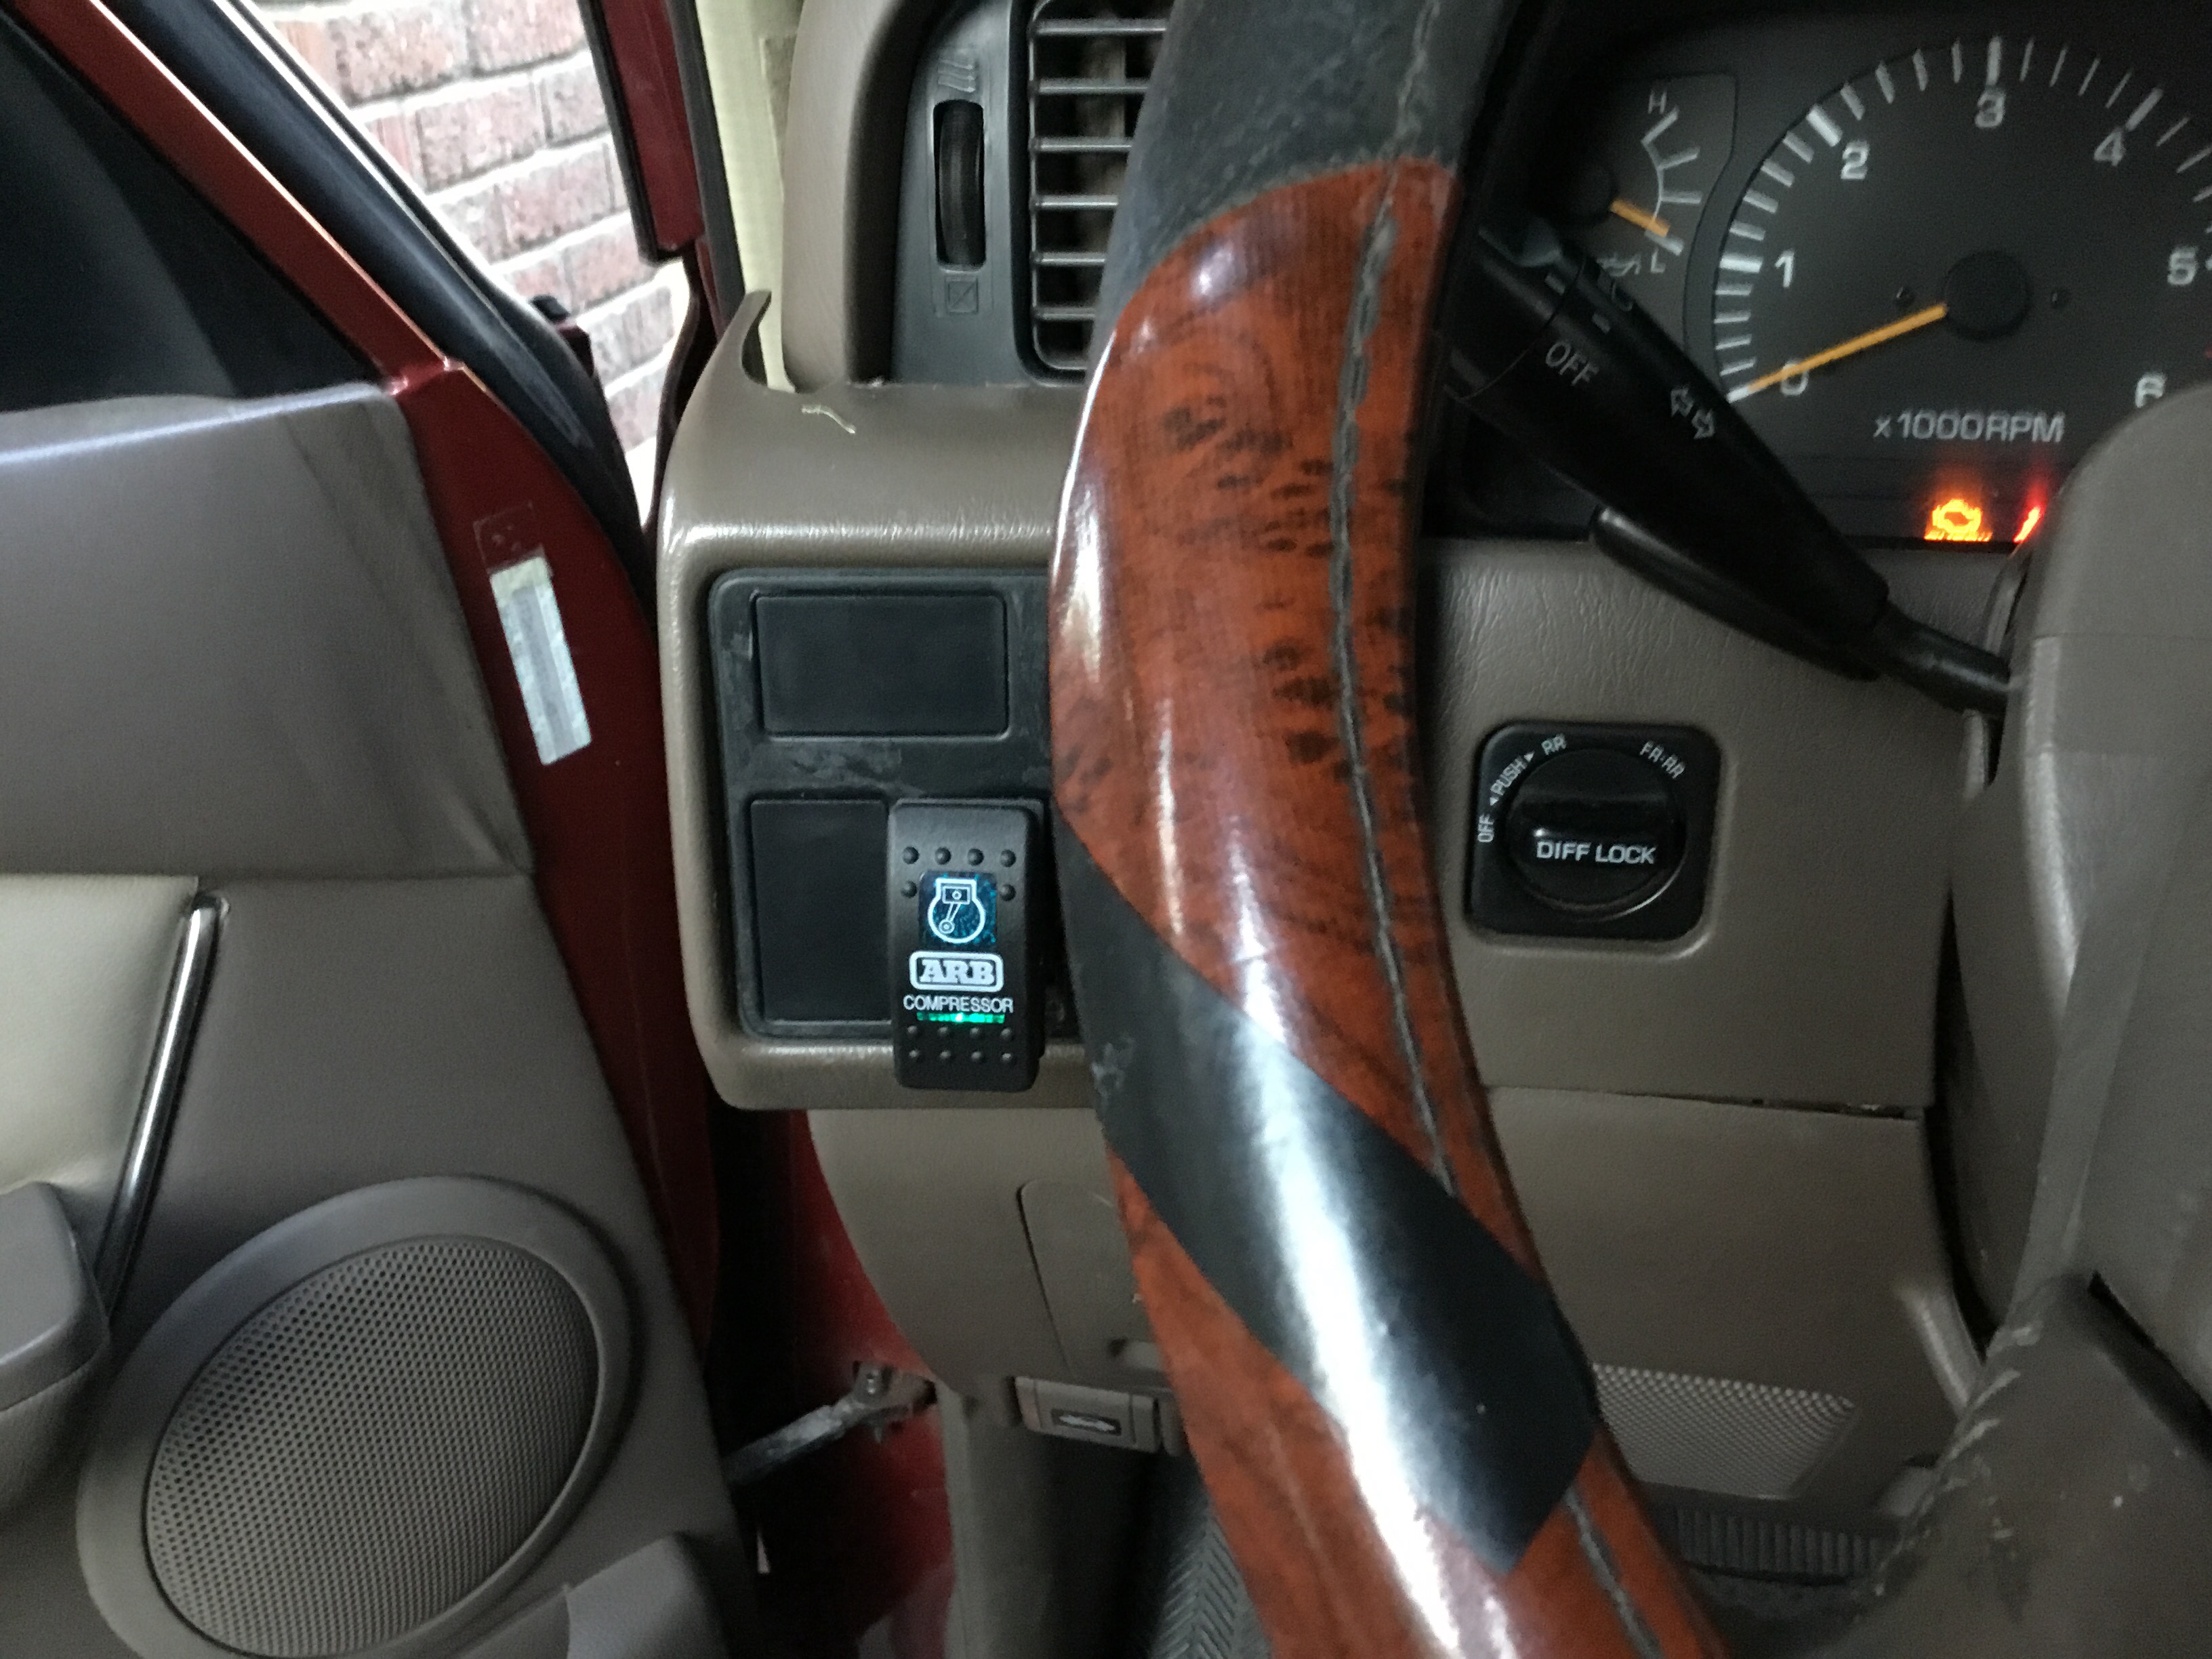
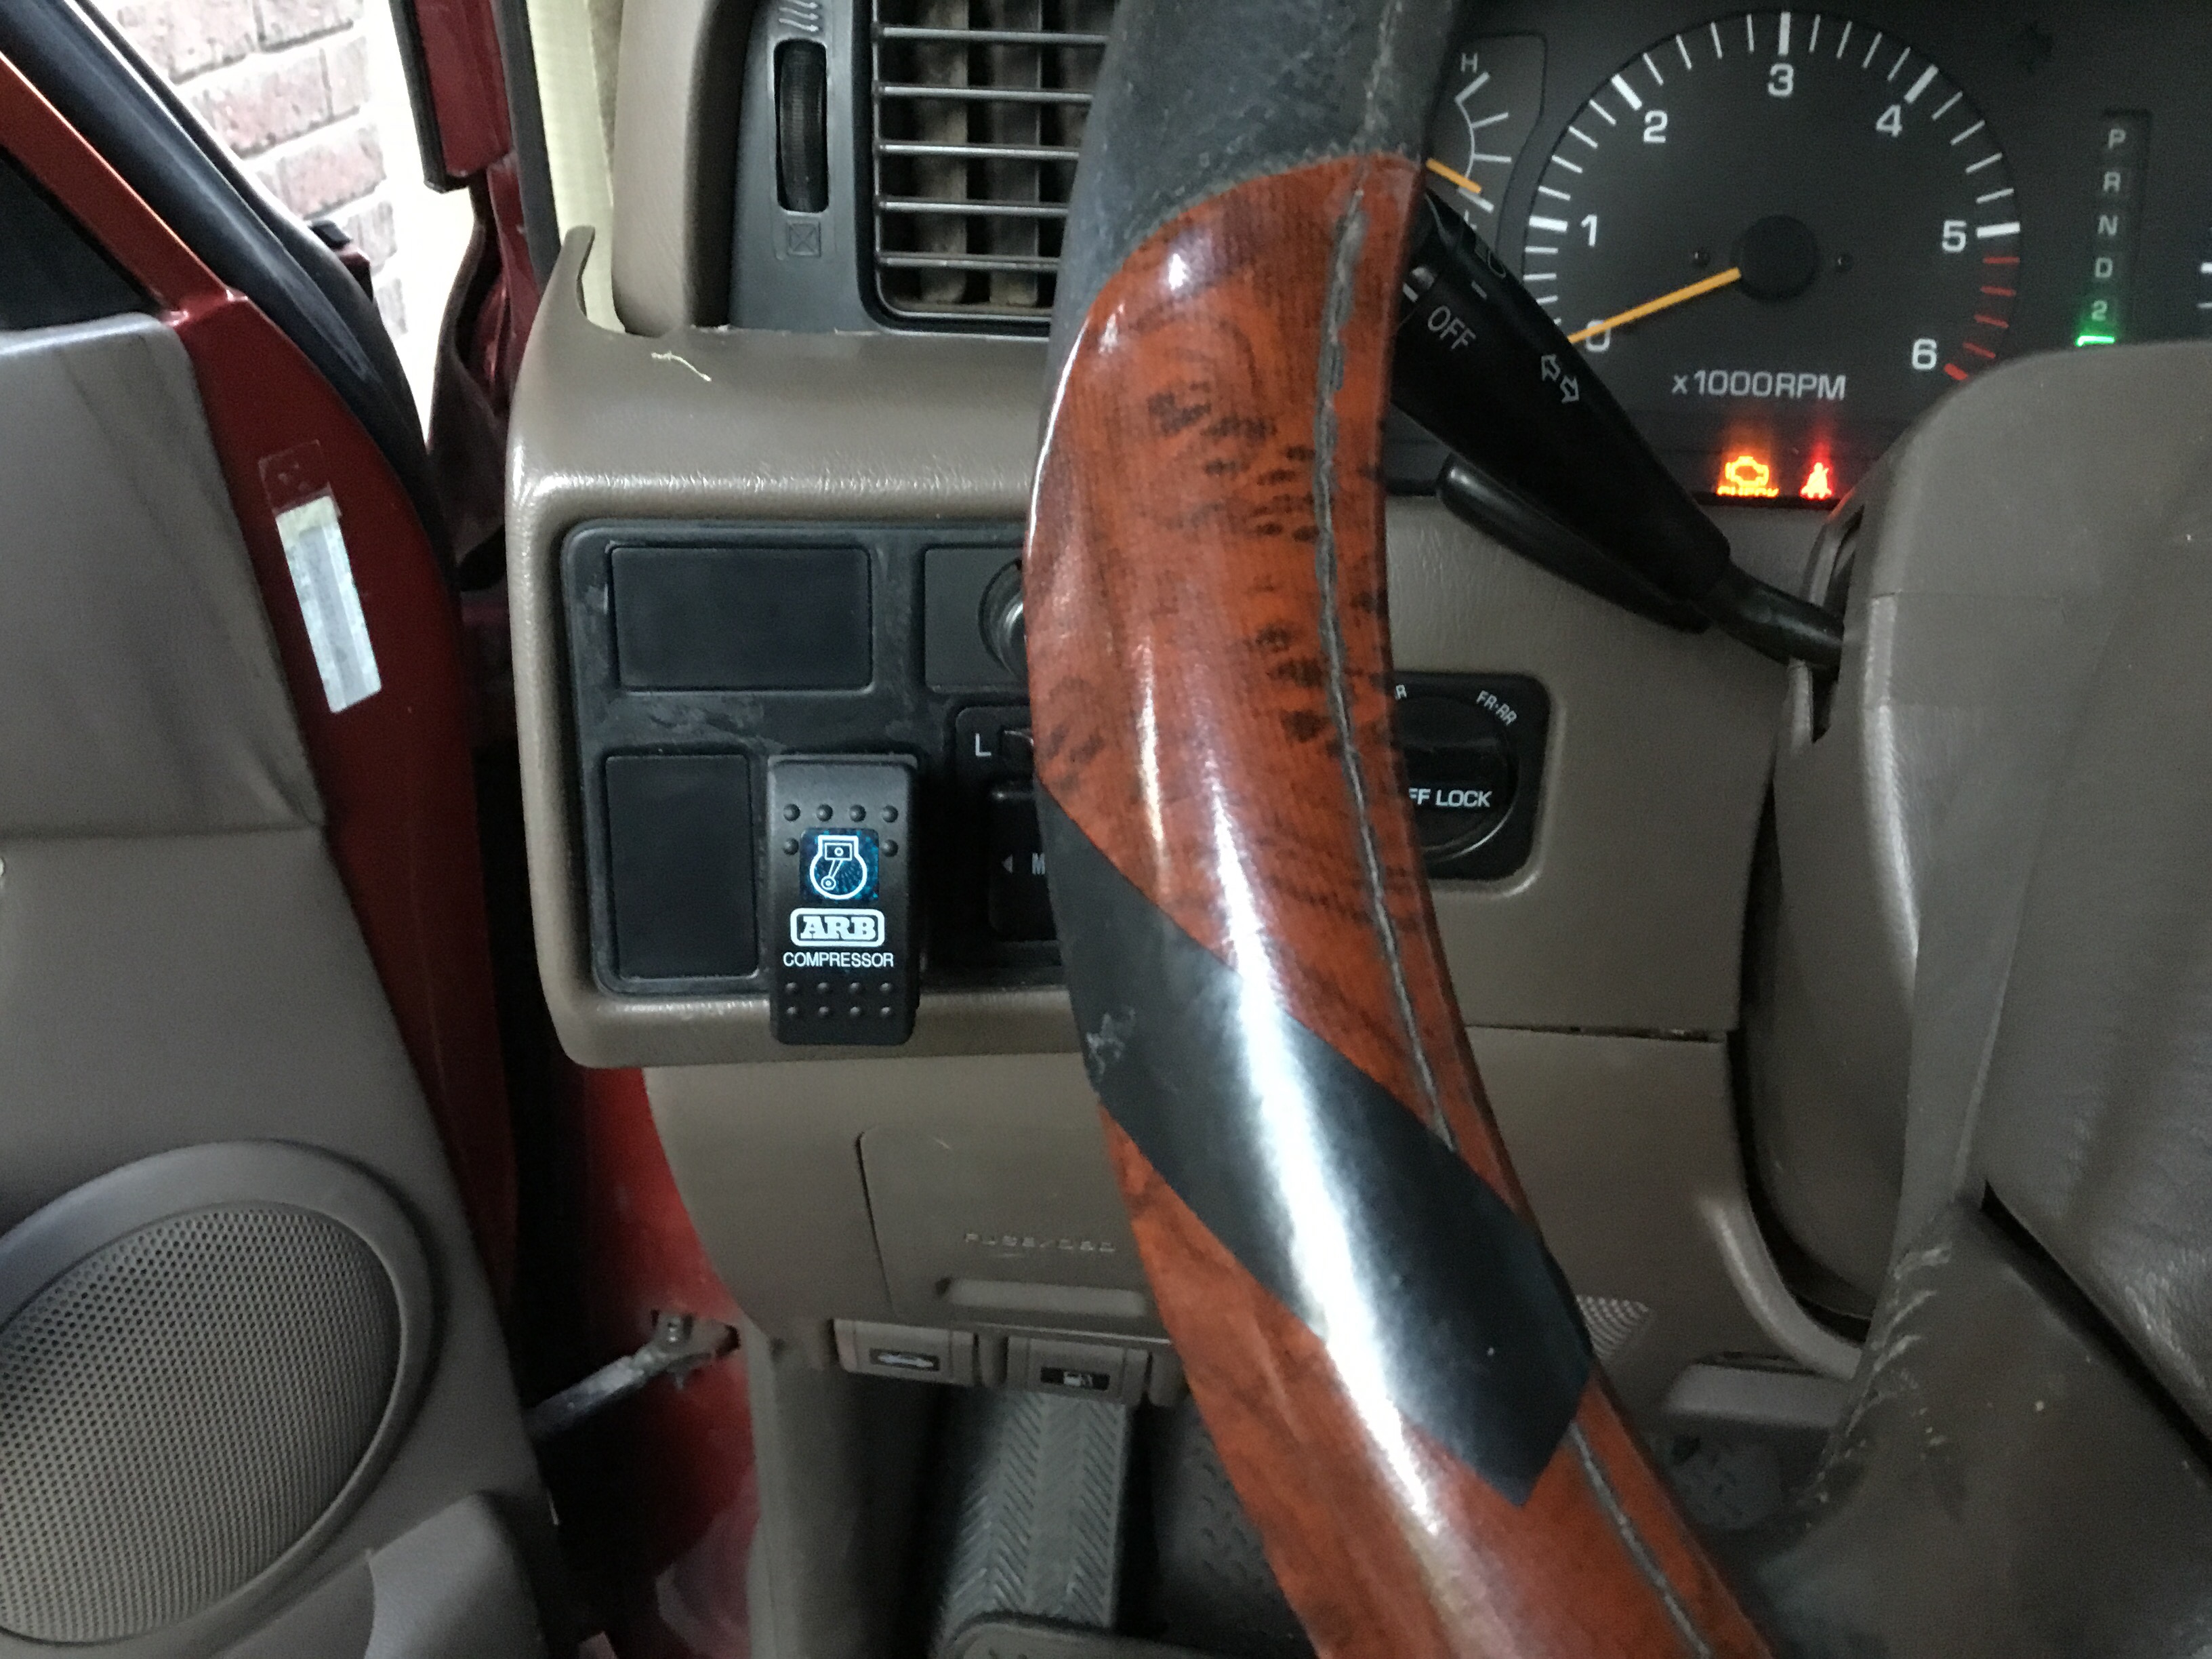
I installed the compressor button on the left side of the steering wheel column. This involves removing the plastic trim just above the steering wheel column. I used my electric wire snake to fish the cable up to the punch out. Be aware that the switch is too big to fit in the slot without further work.
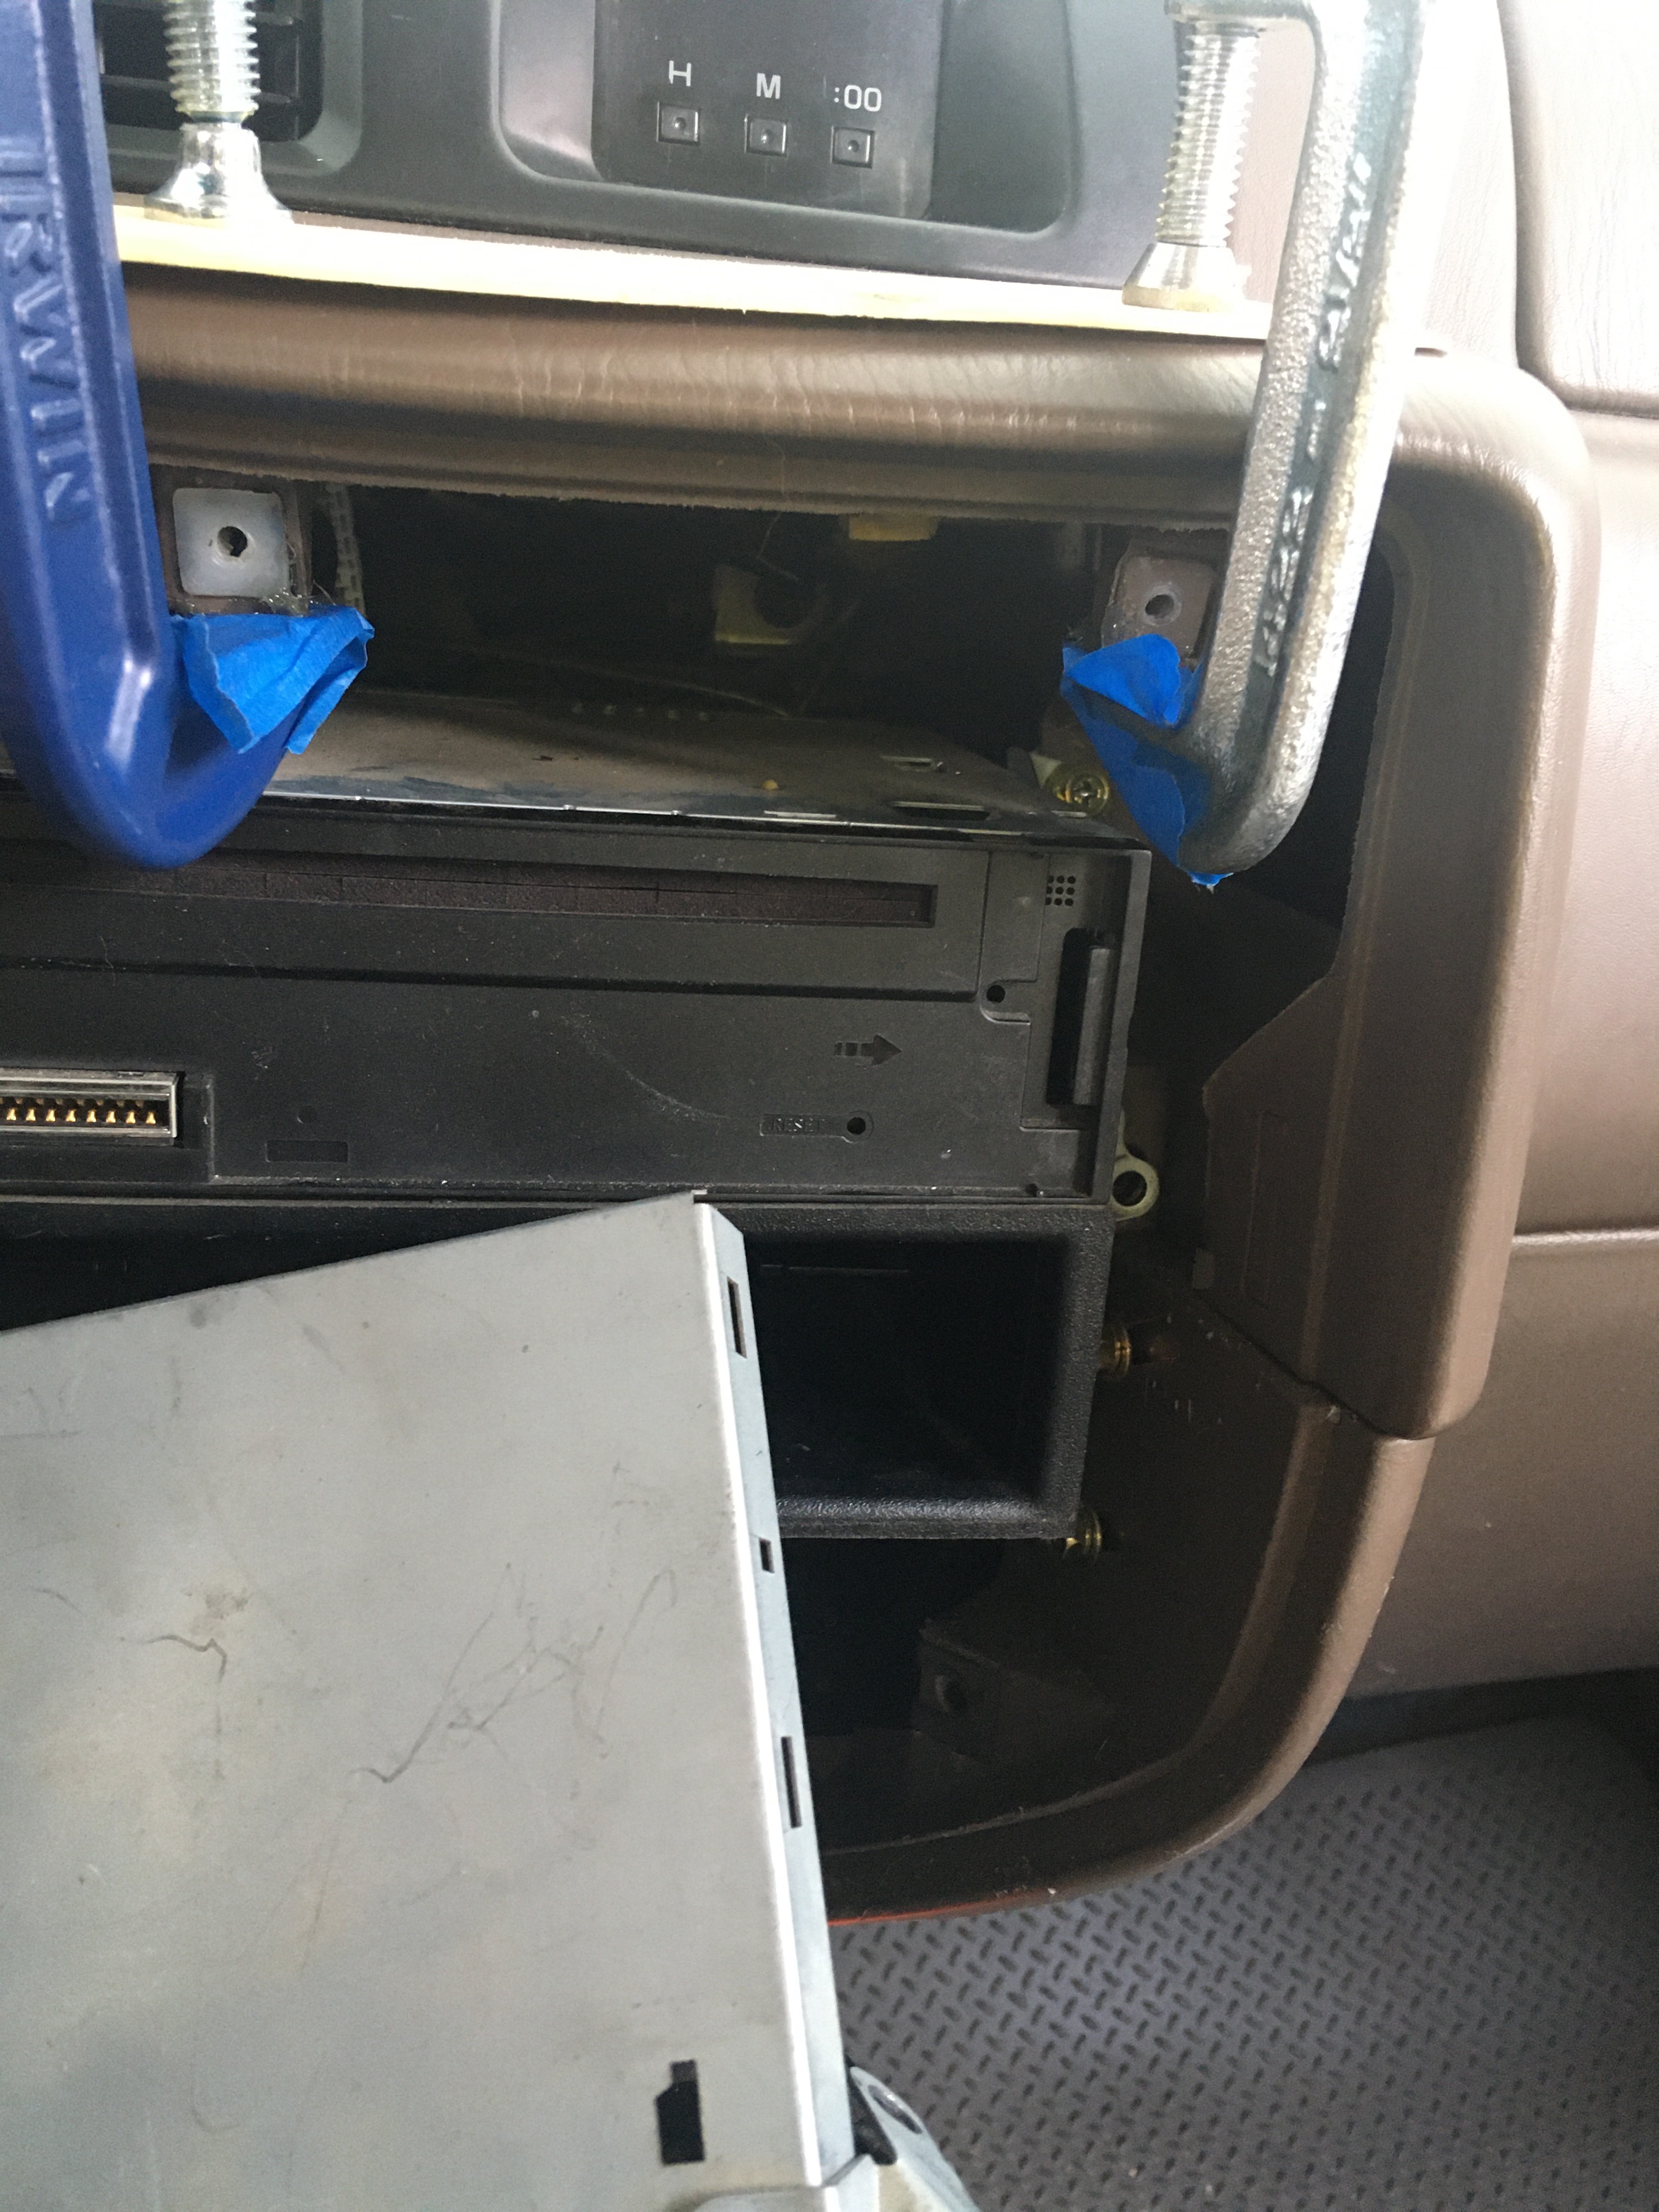
Then remove the middle dash console by removing the 4 screws.
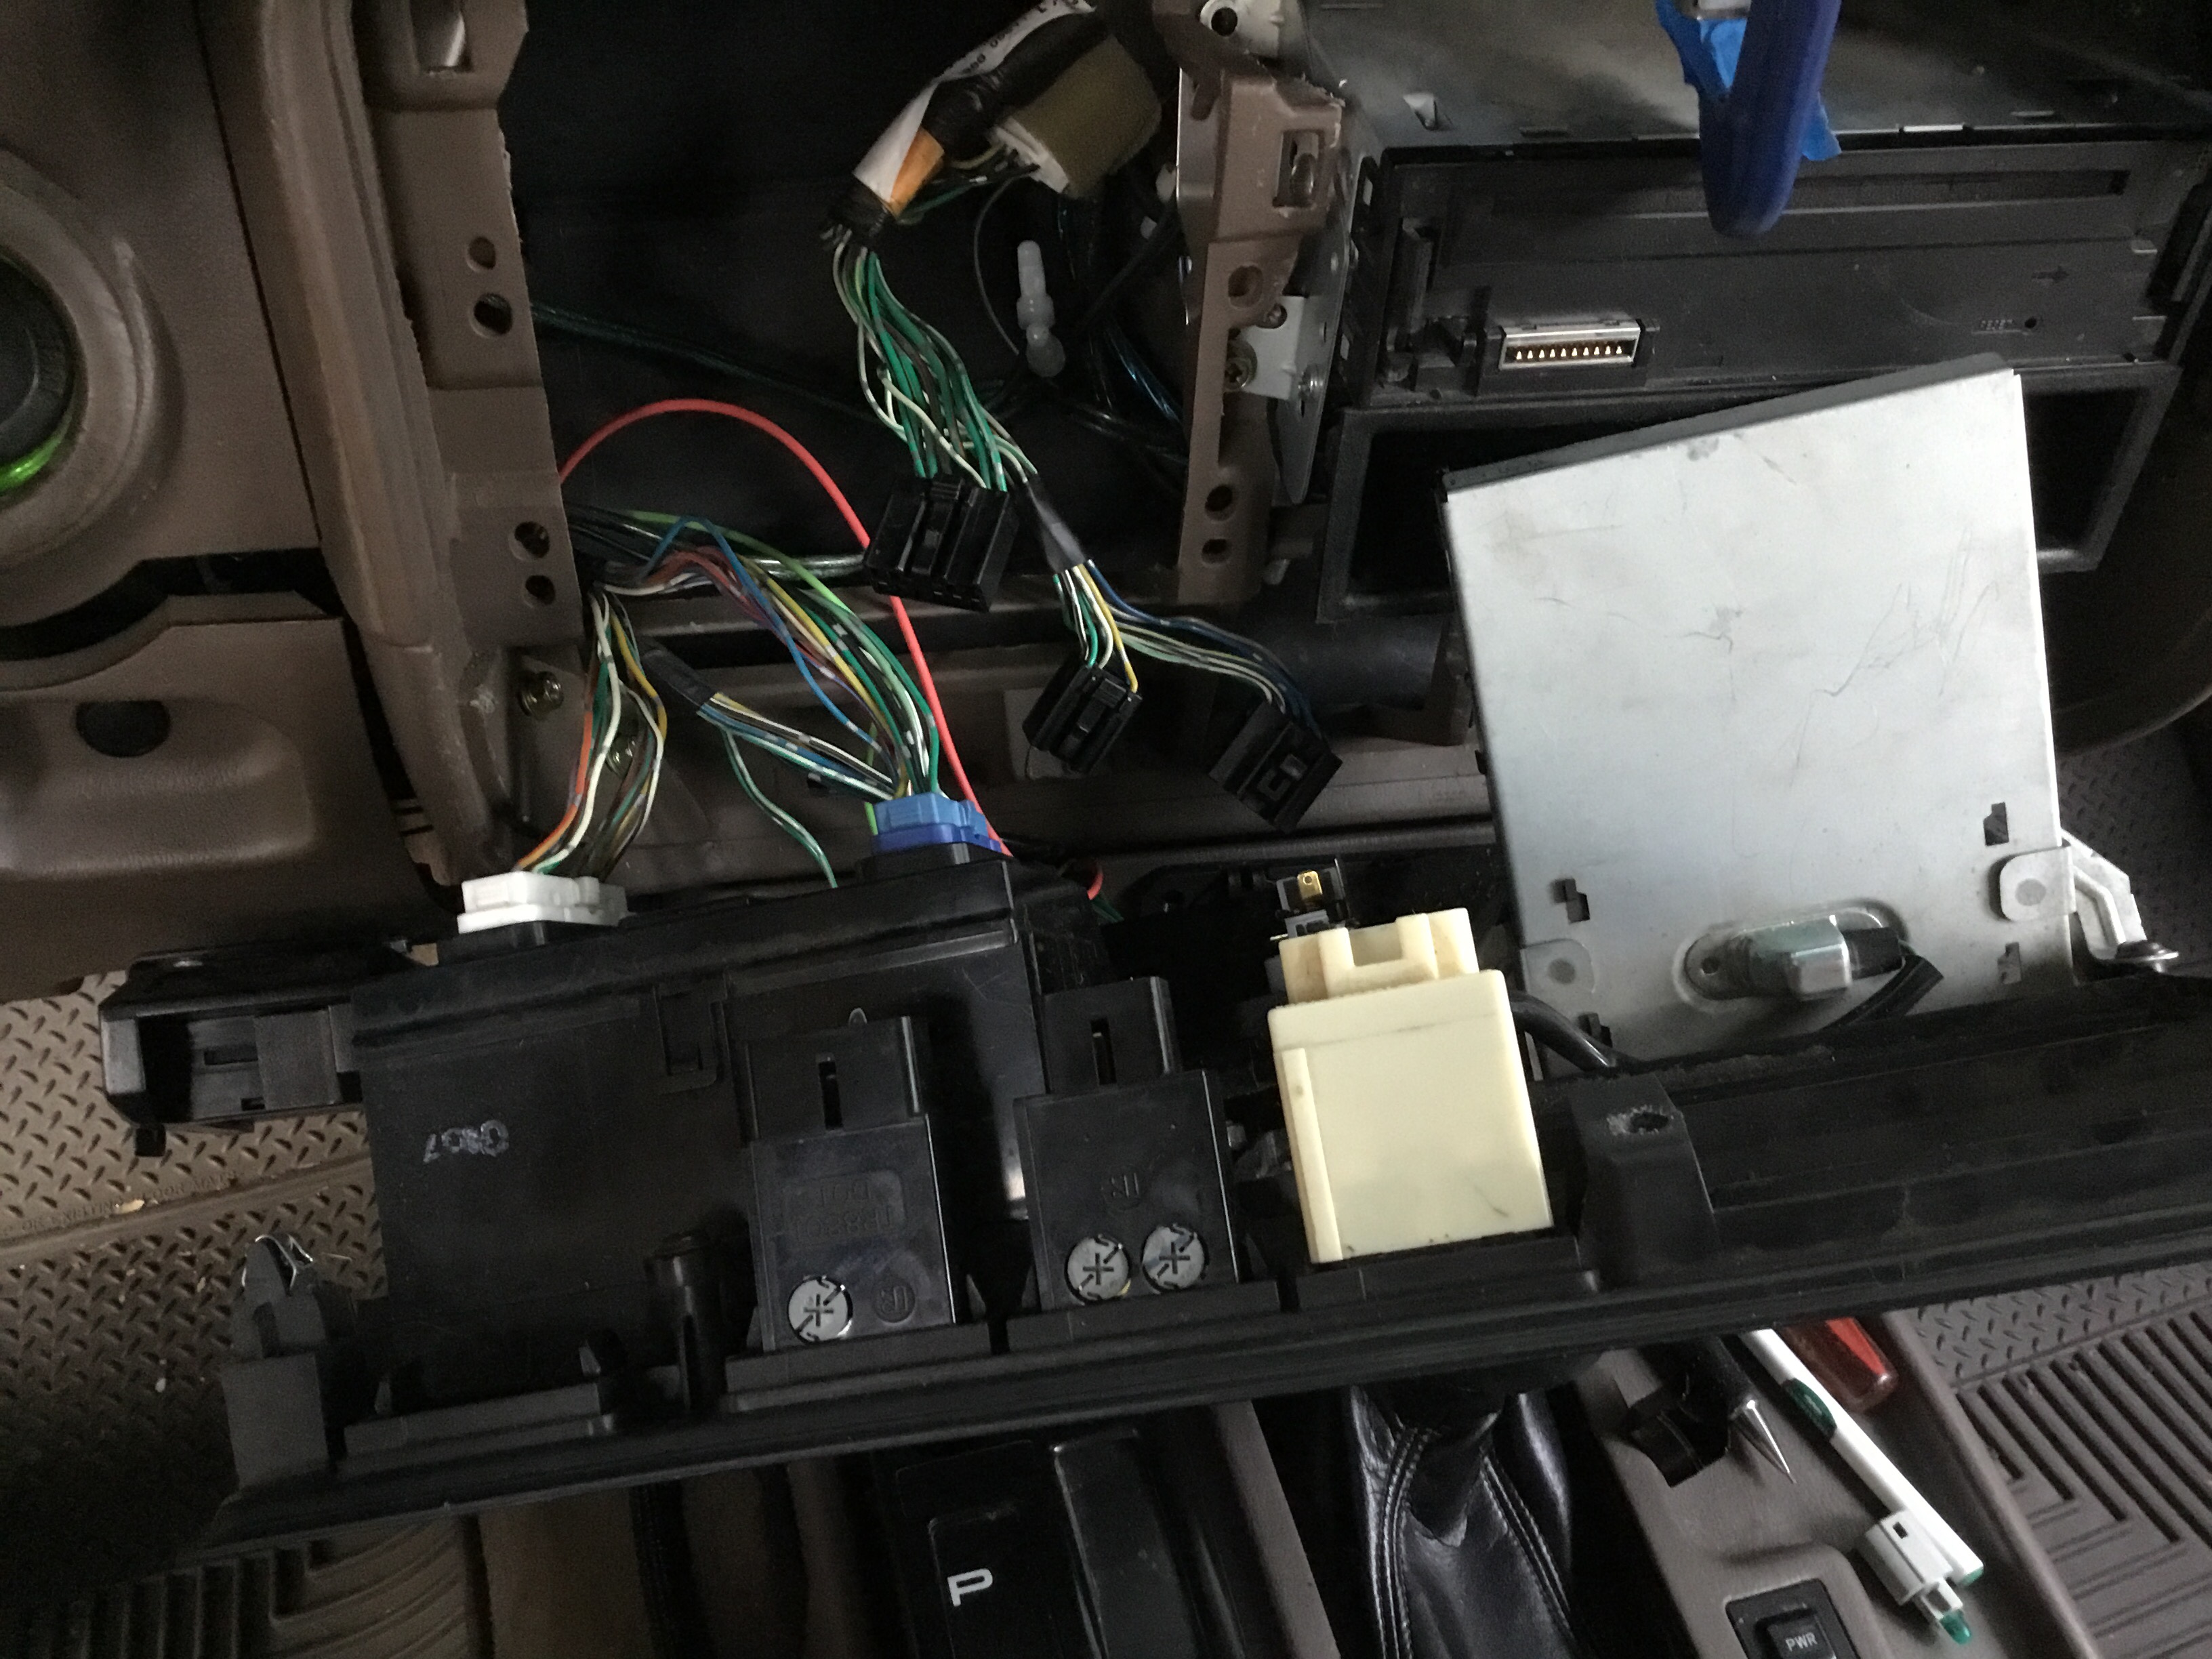
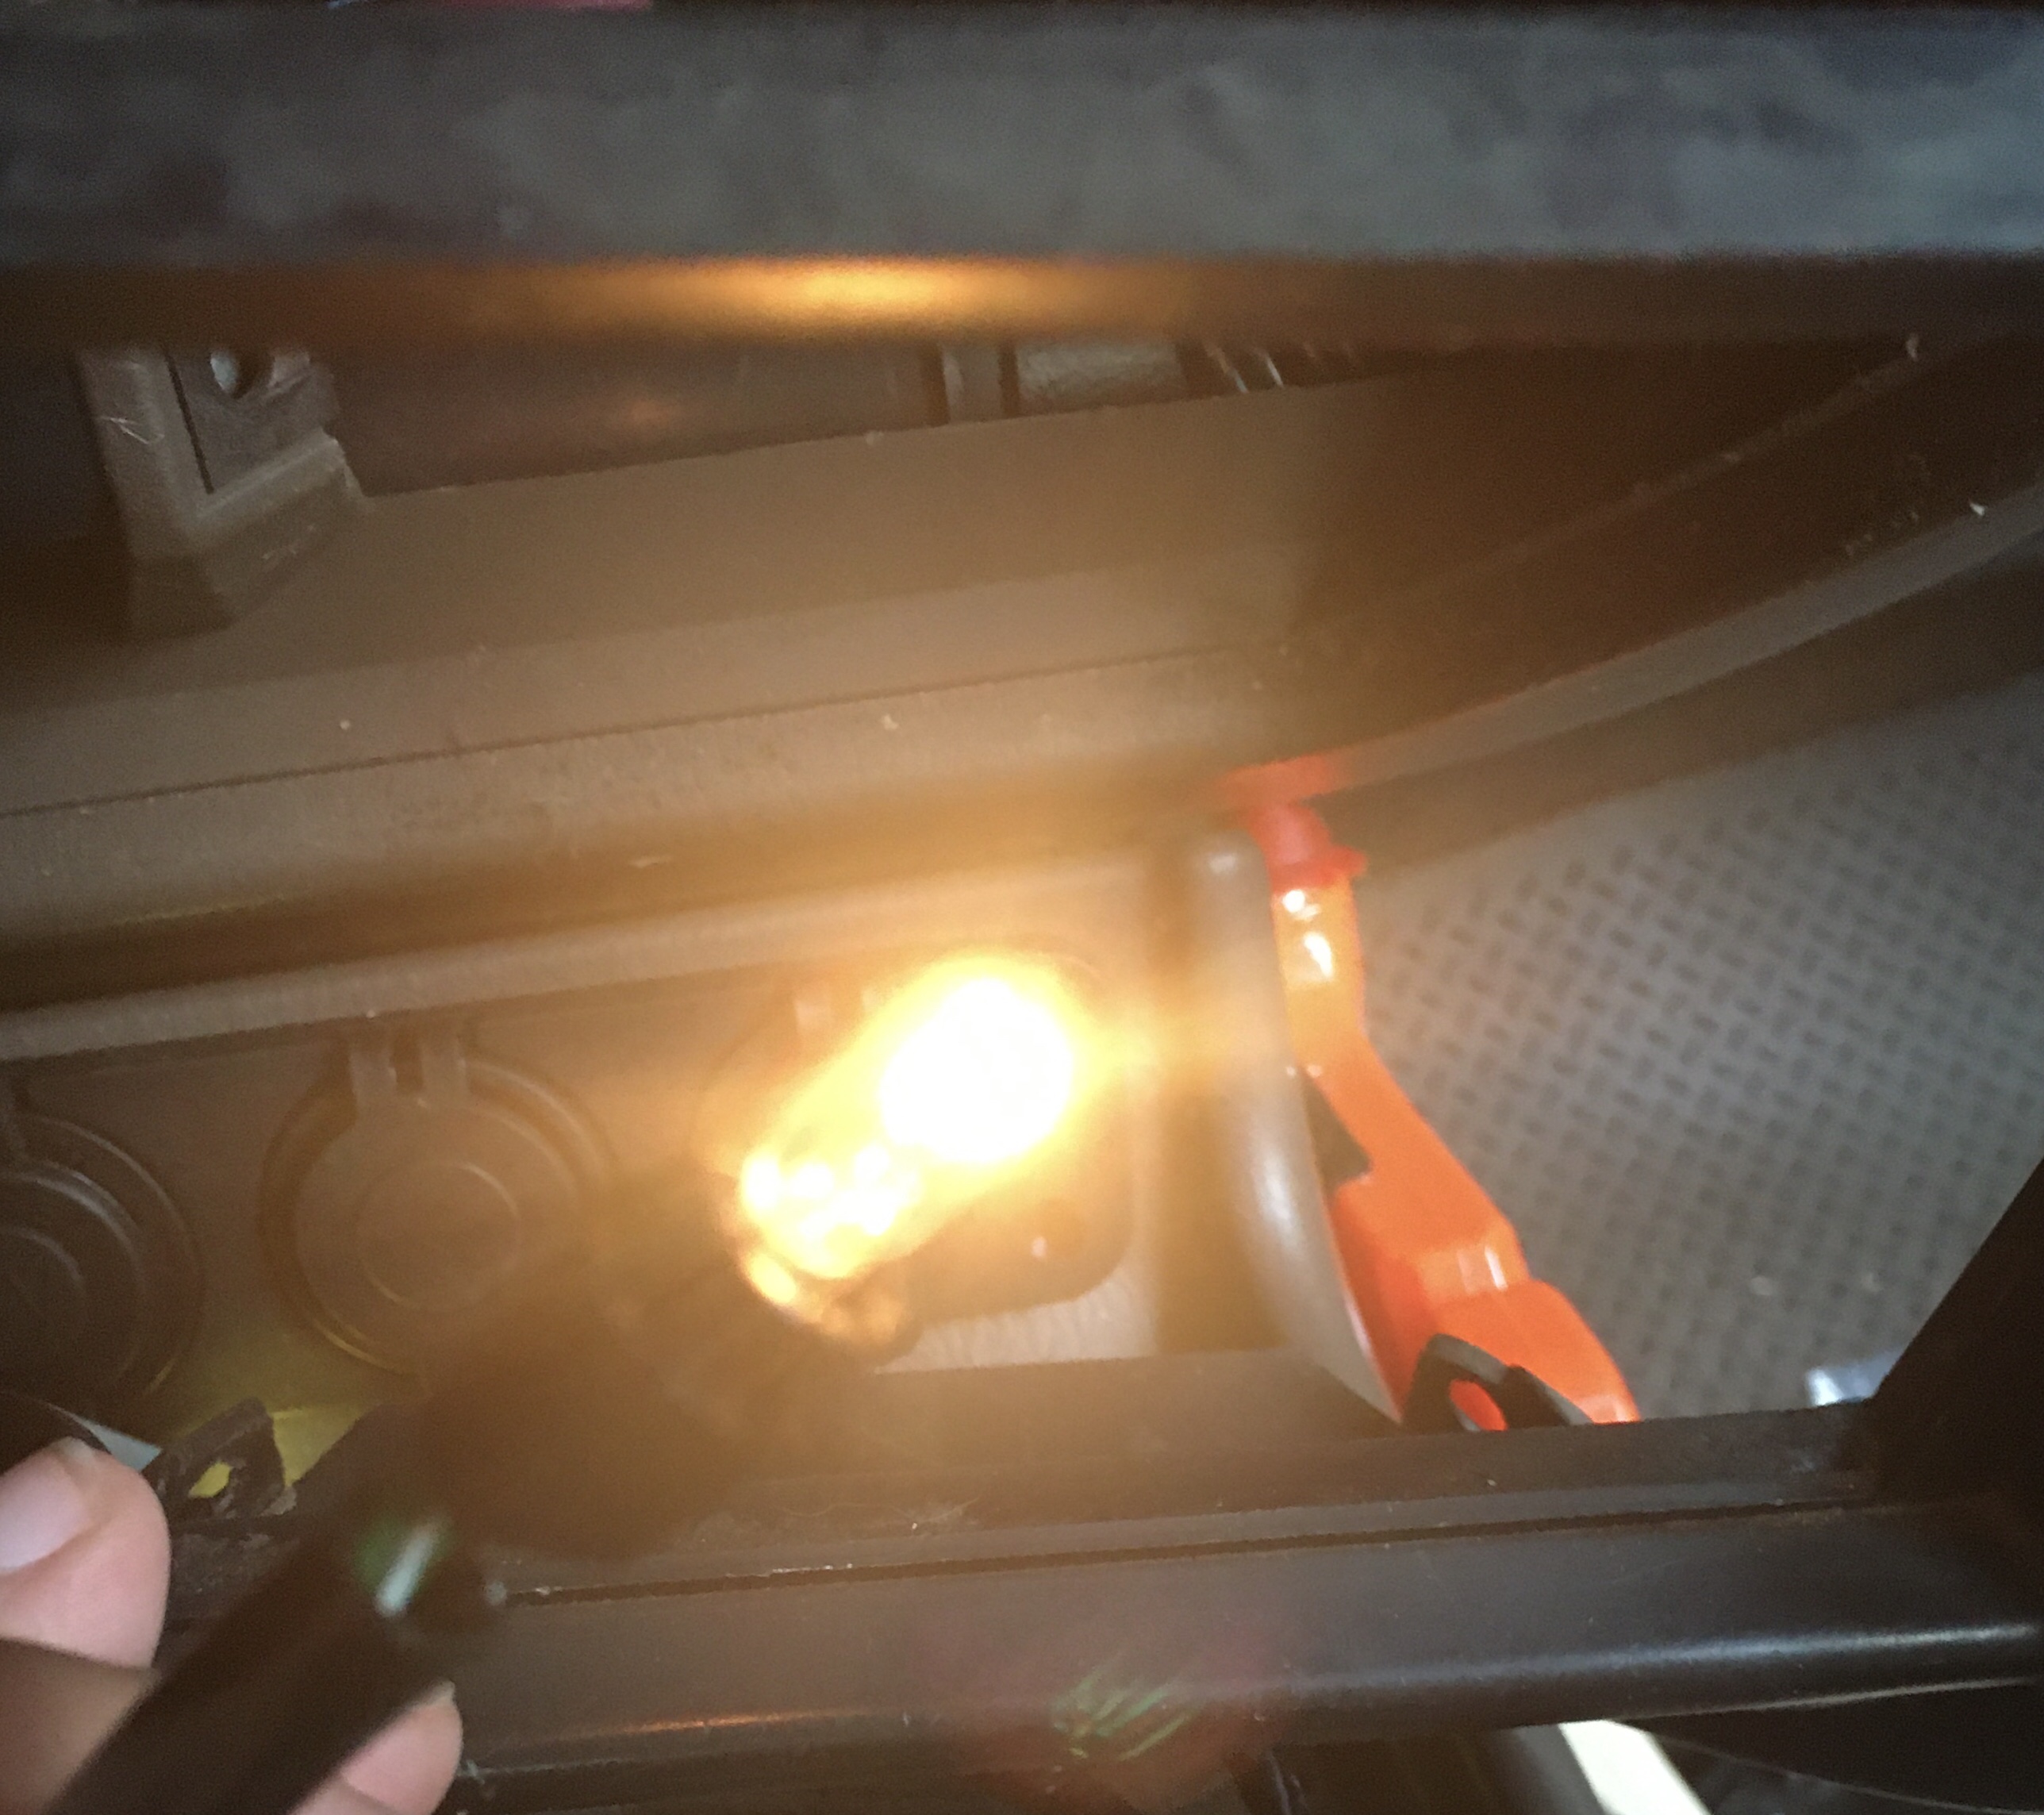
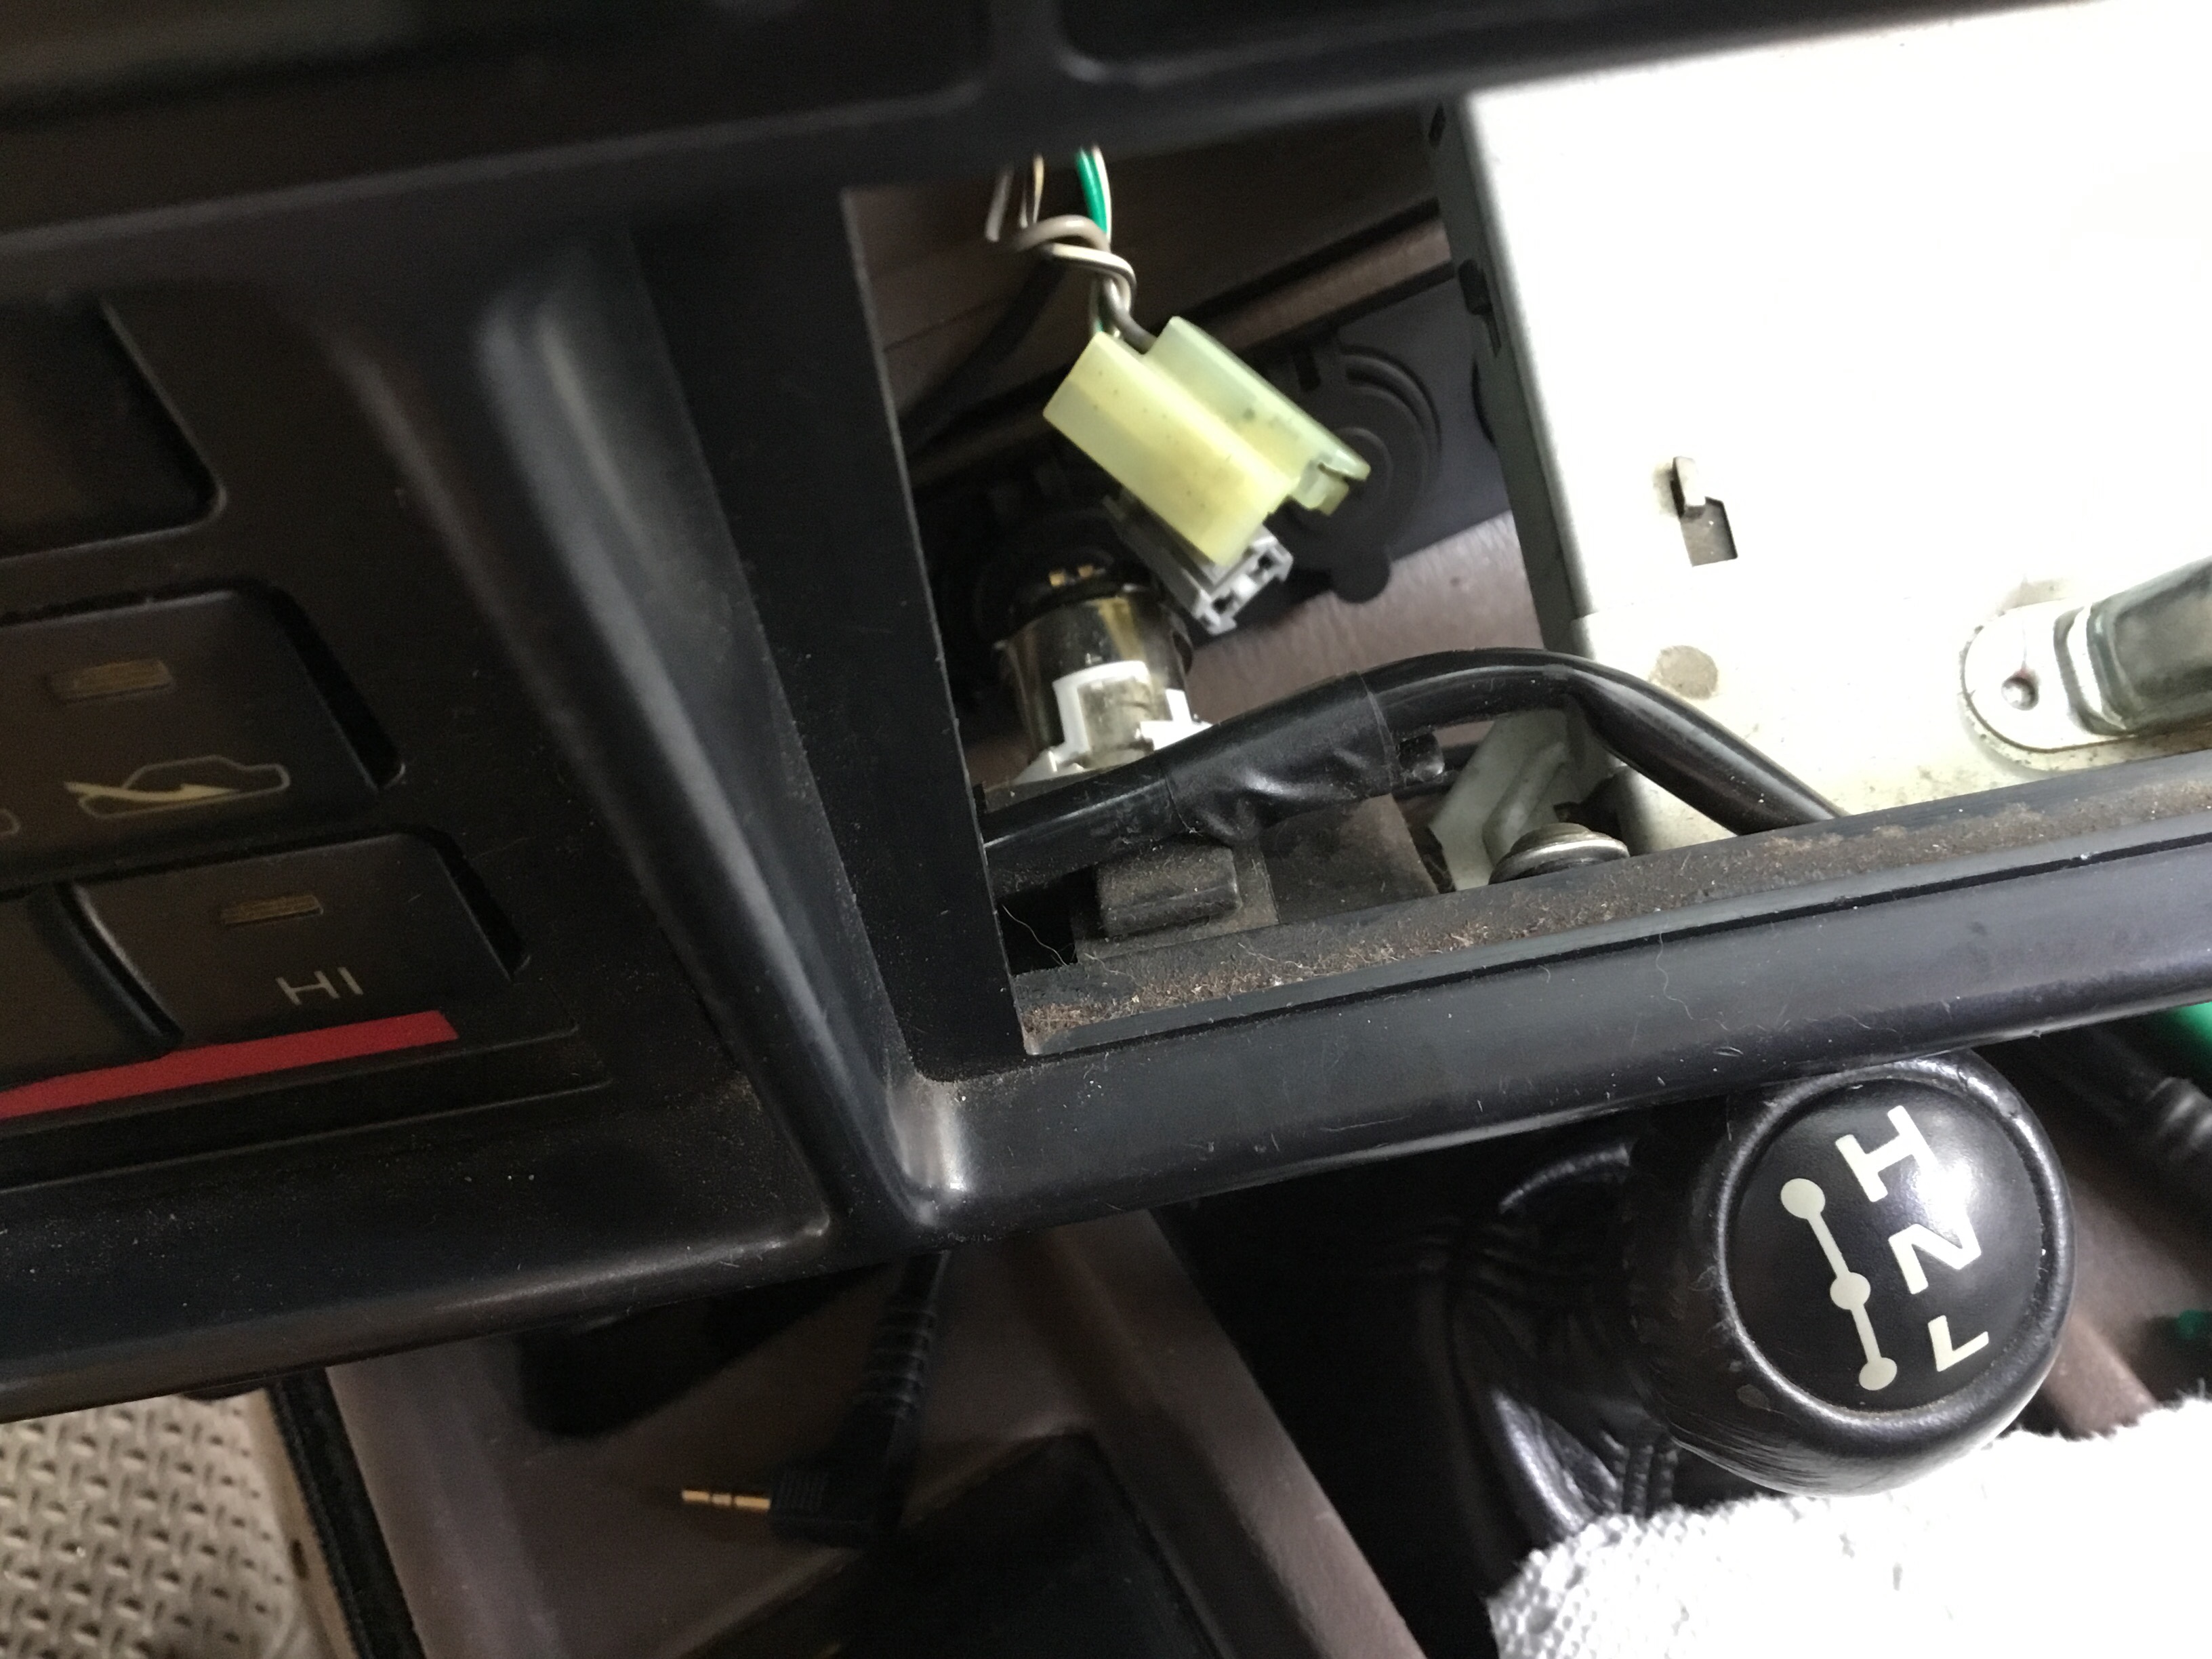
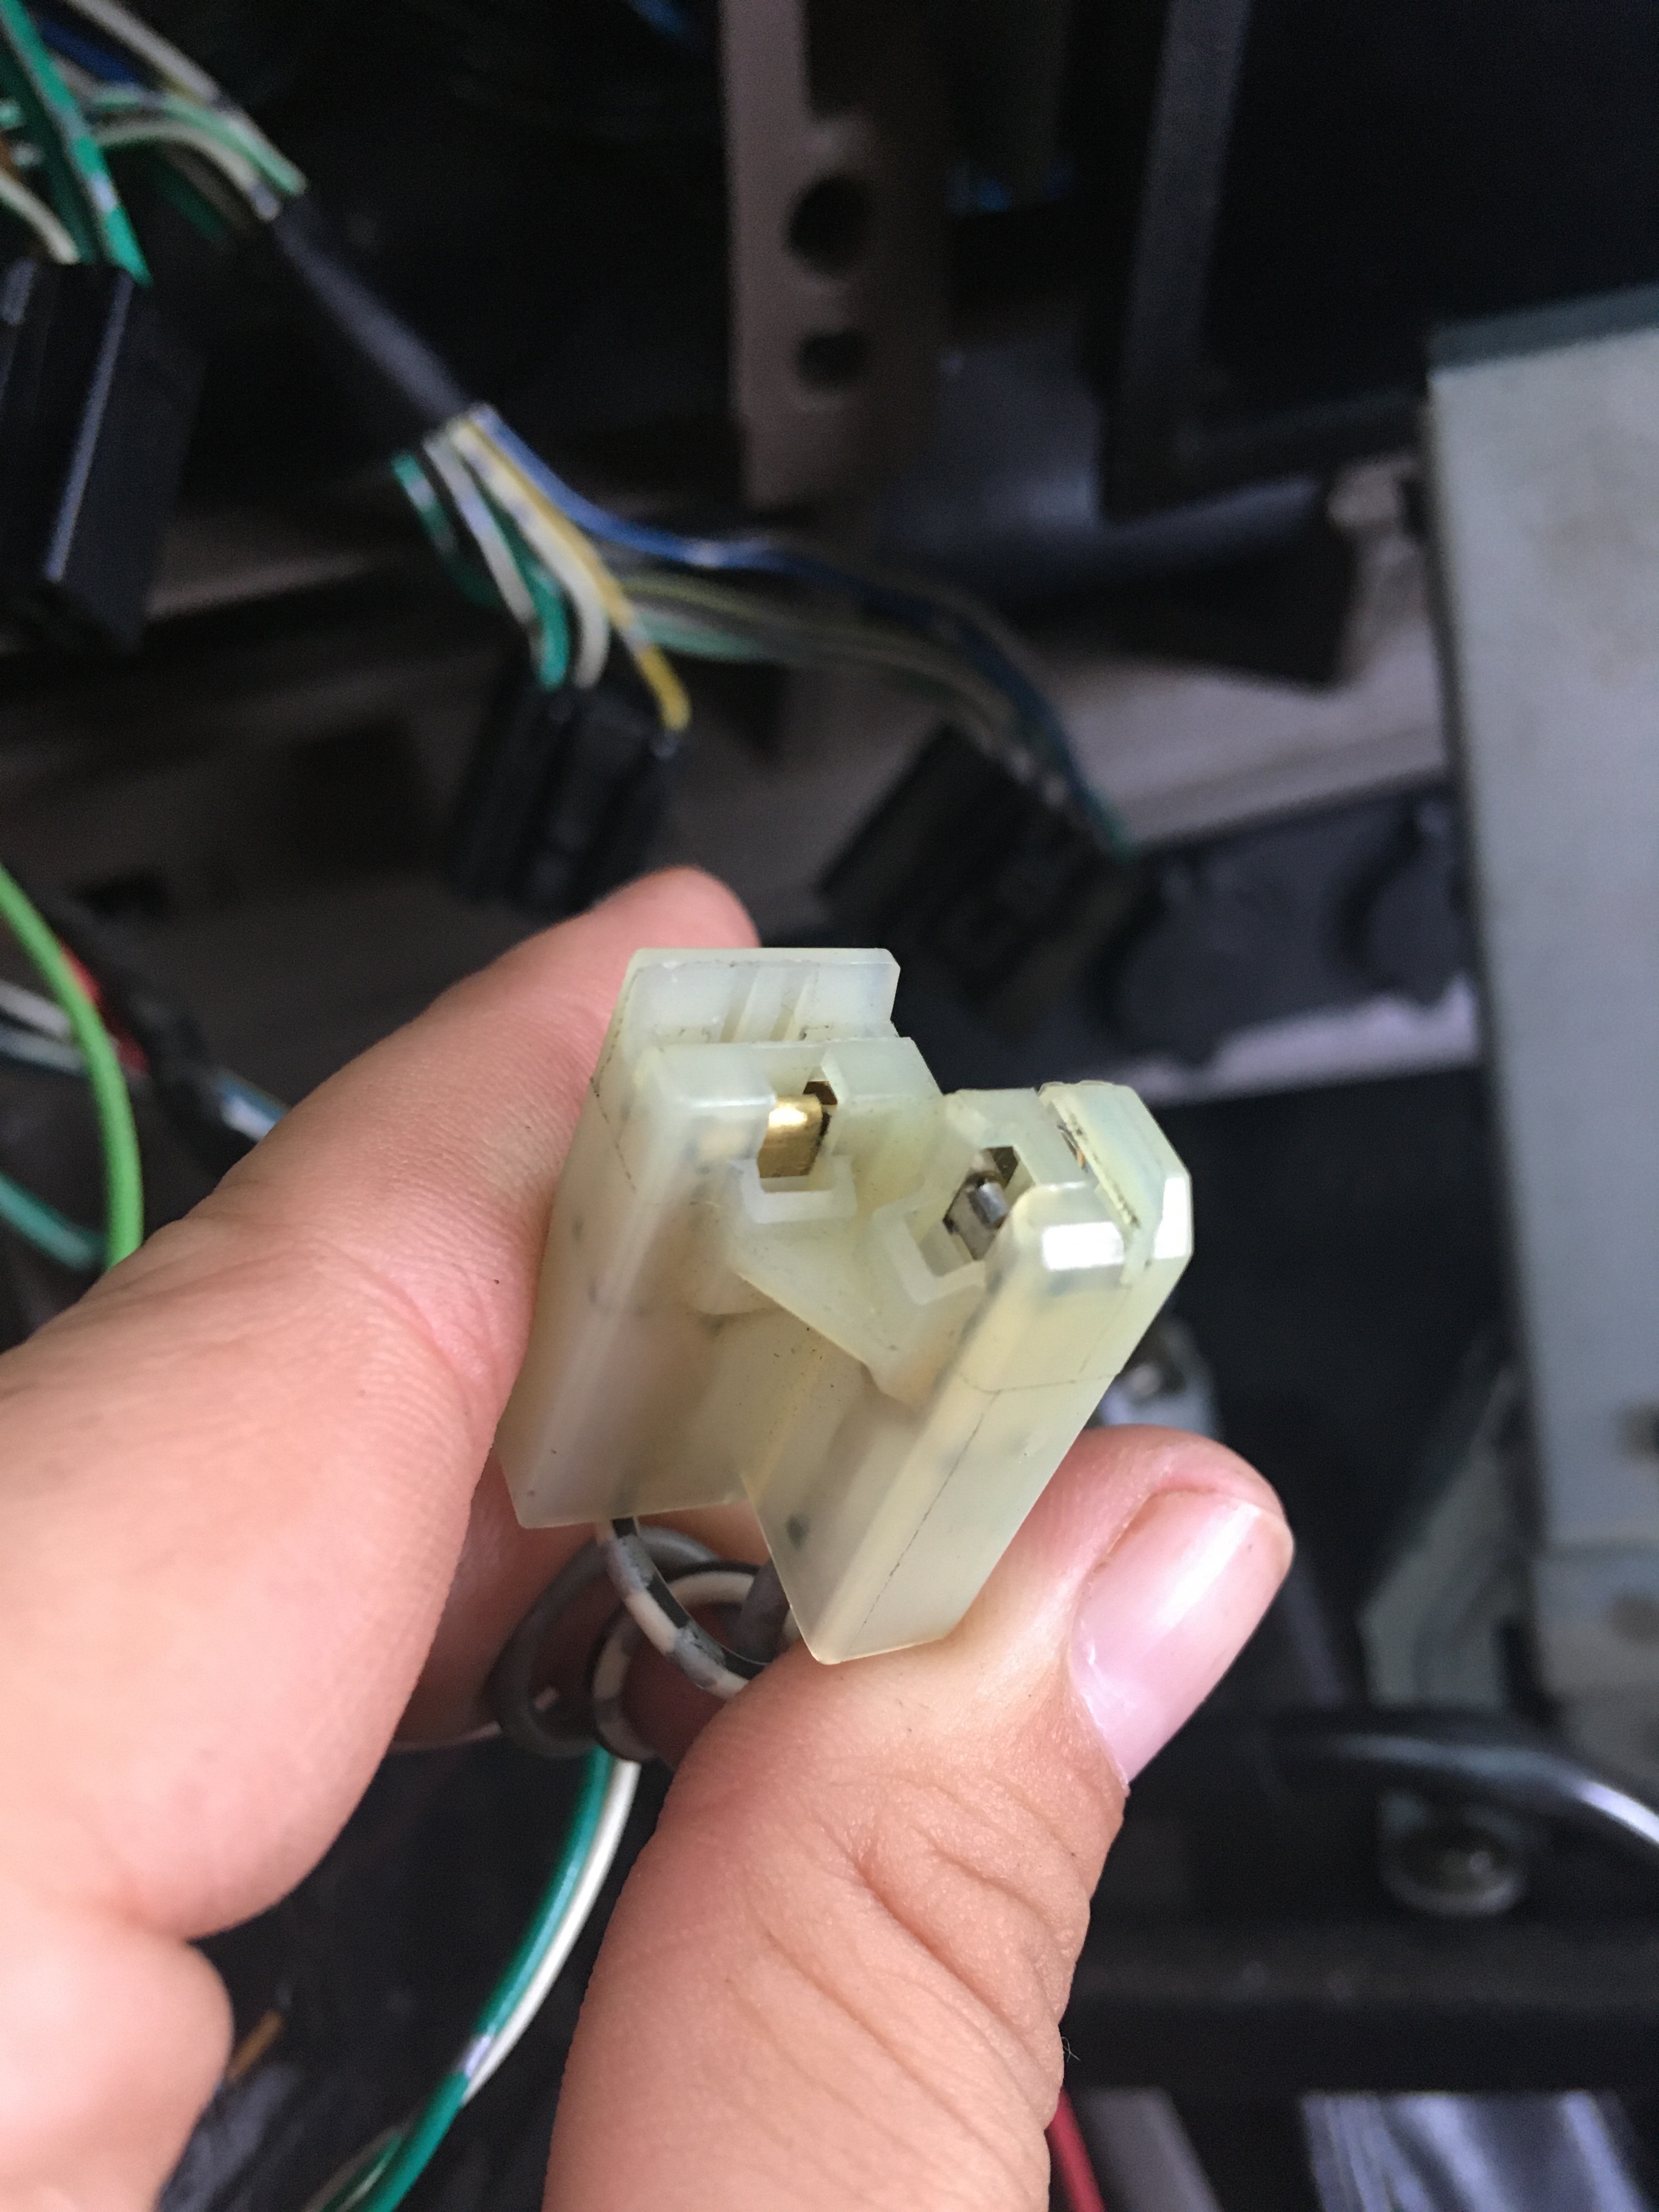
Locate and detach the 12v cig socket and light bulb connectors.
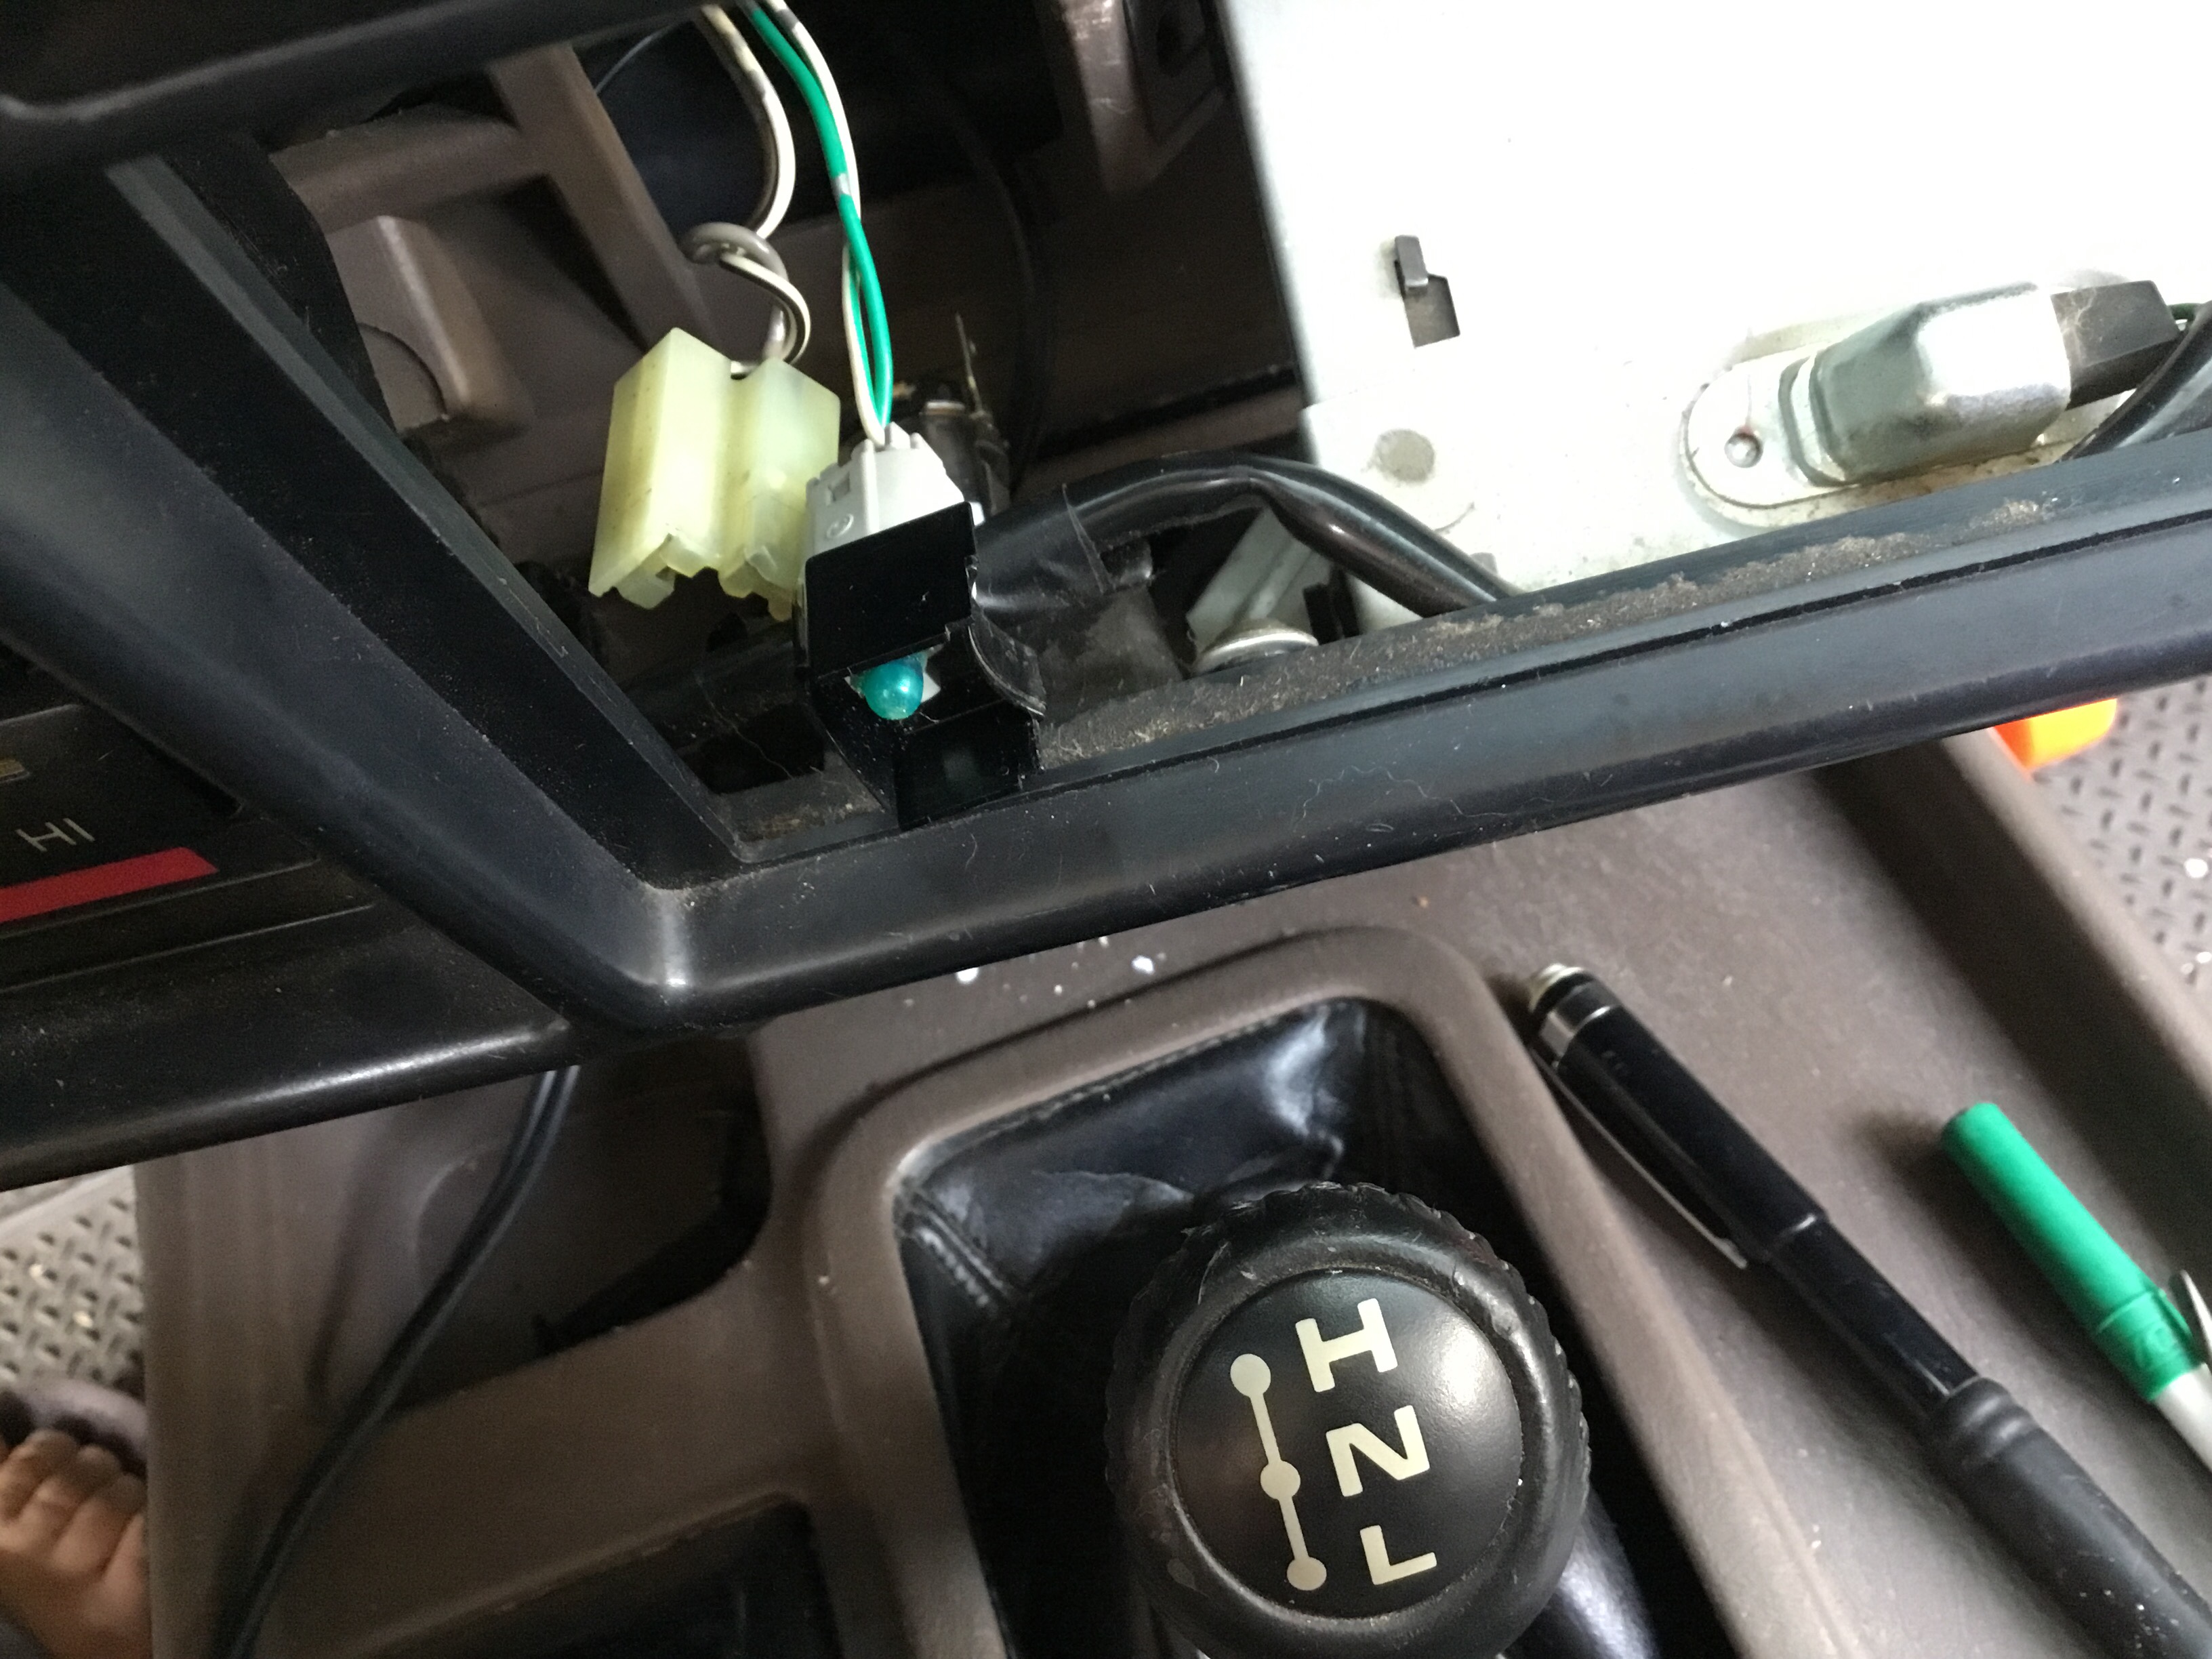
The light bulb can be removed by depressing the little white clips with a micro/mini screw driver.
I can see that the connector pins on the 12v cig socket are different color. The brass pin is the ground and the silver is the hot. I confirmed this with the multimeter.
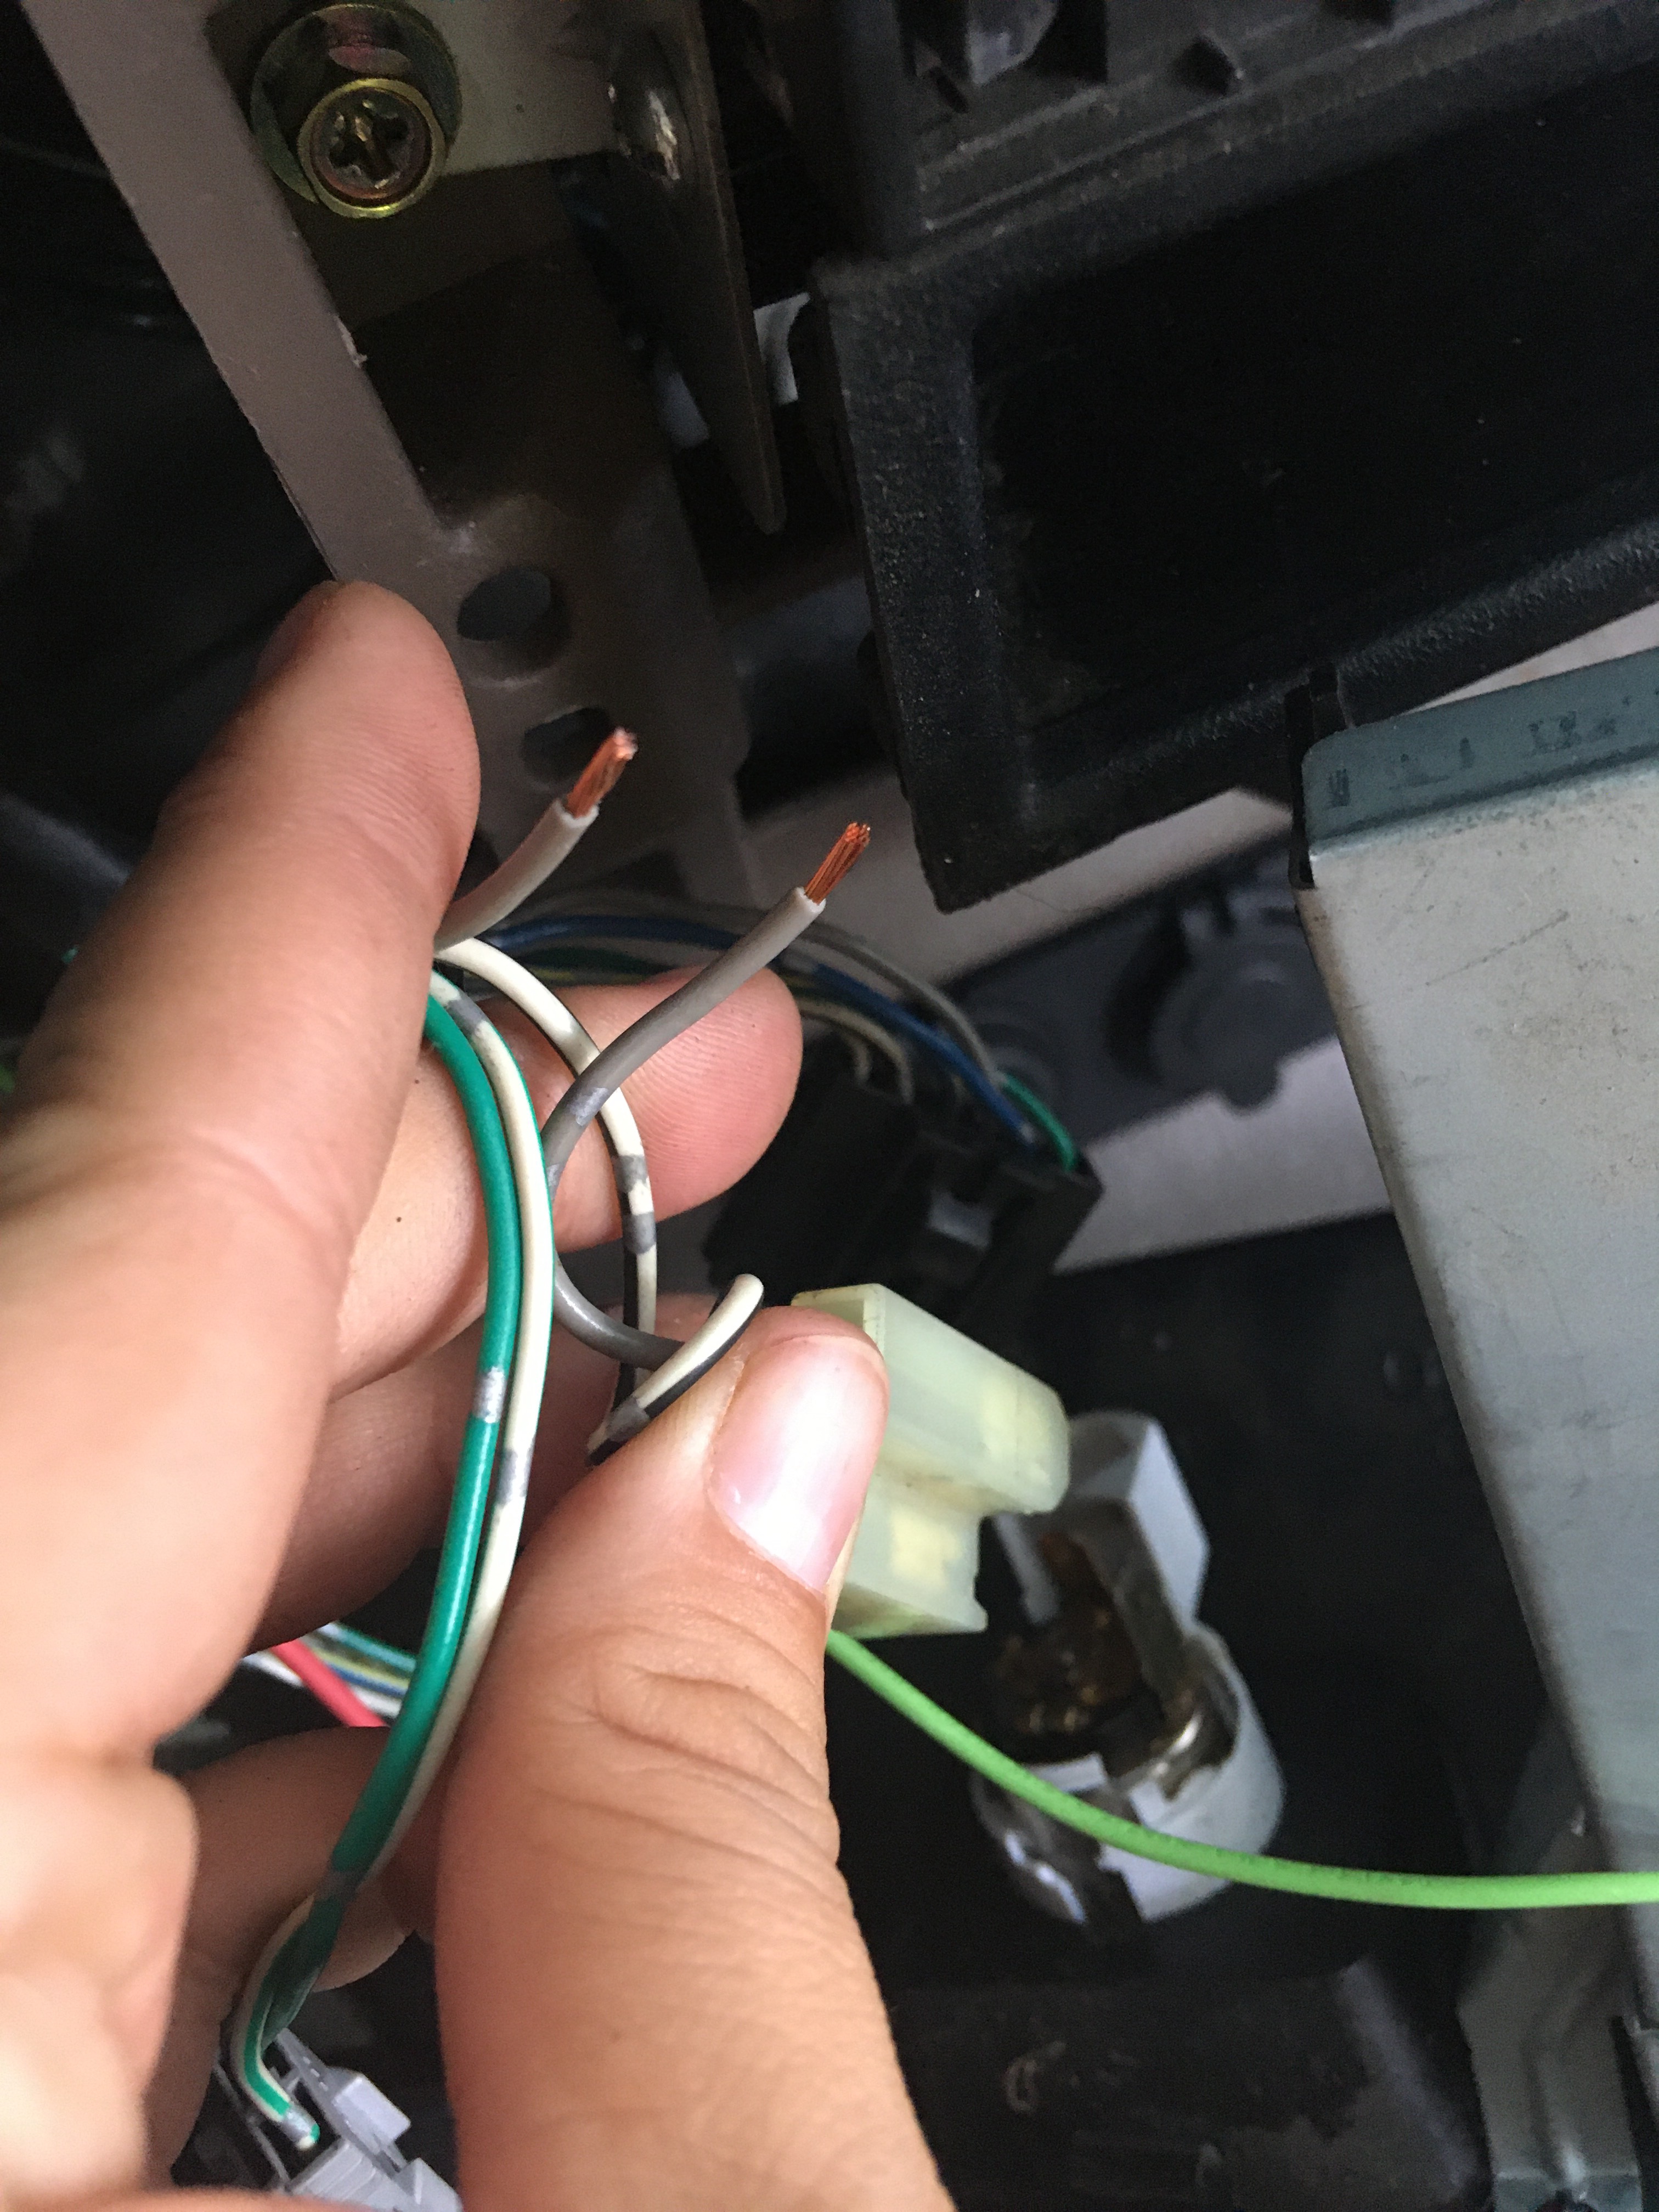
I added extra length of cable wire, 14-18 awg to the blue and white cable and the red and yellow cable. Next I fished them through to the 12v cig outlet.
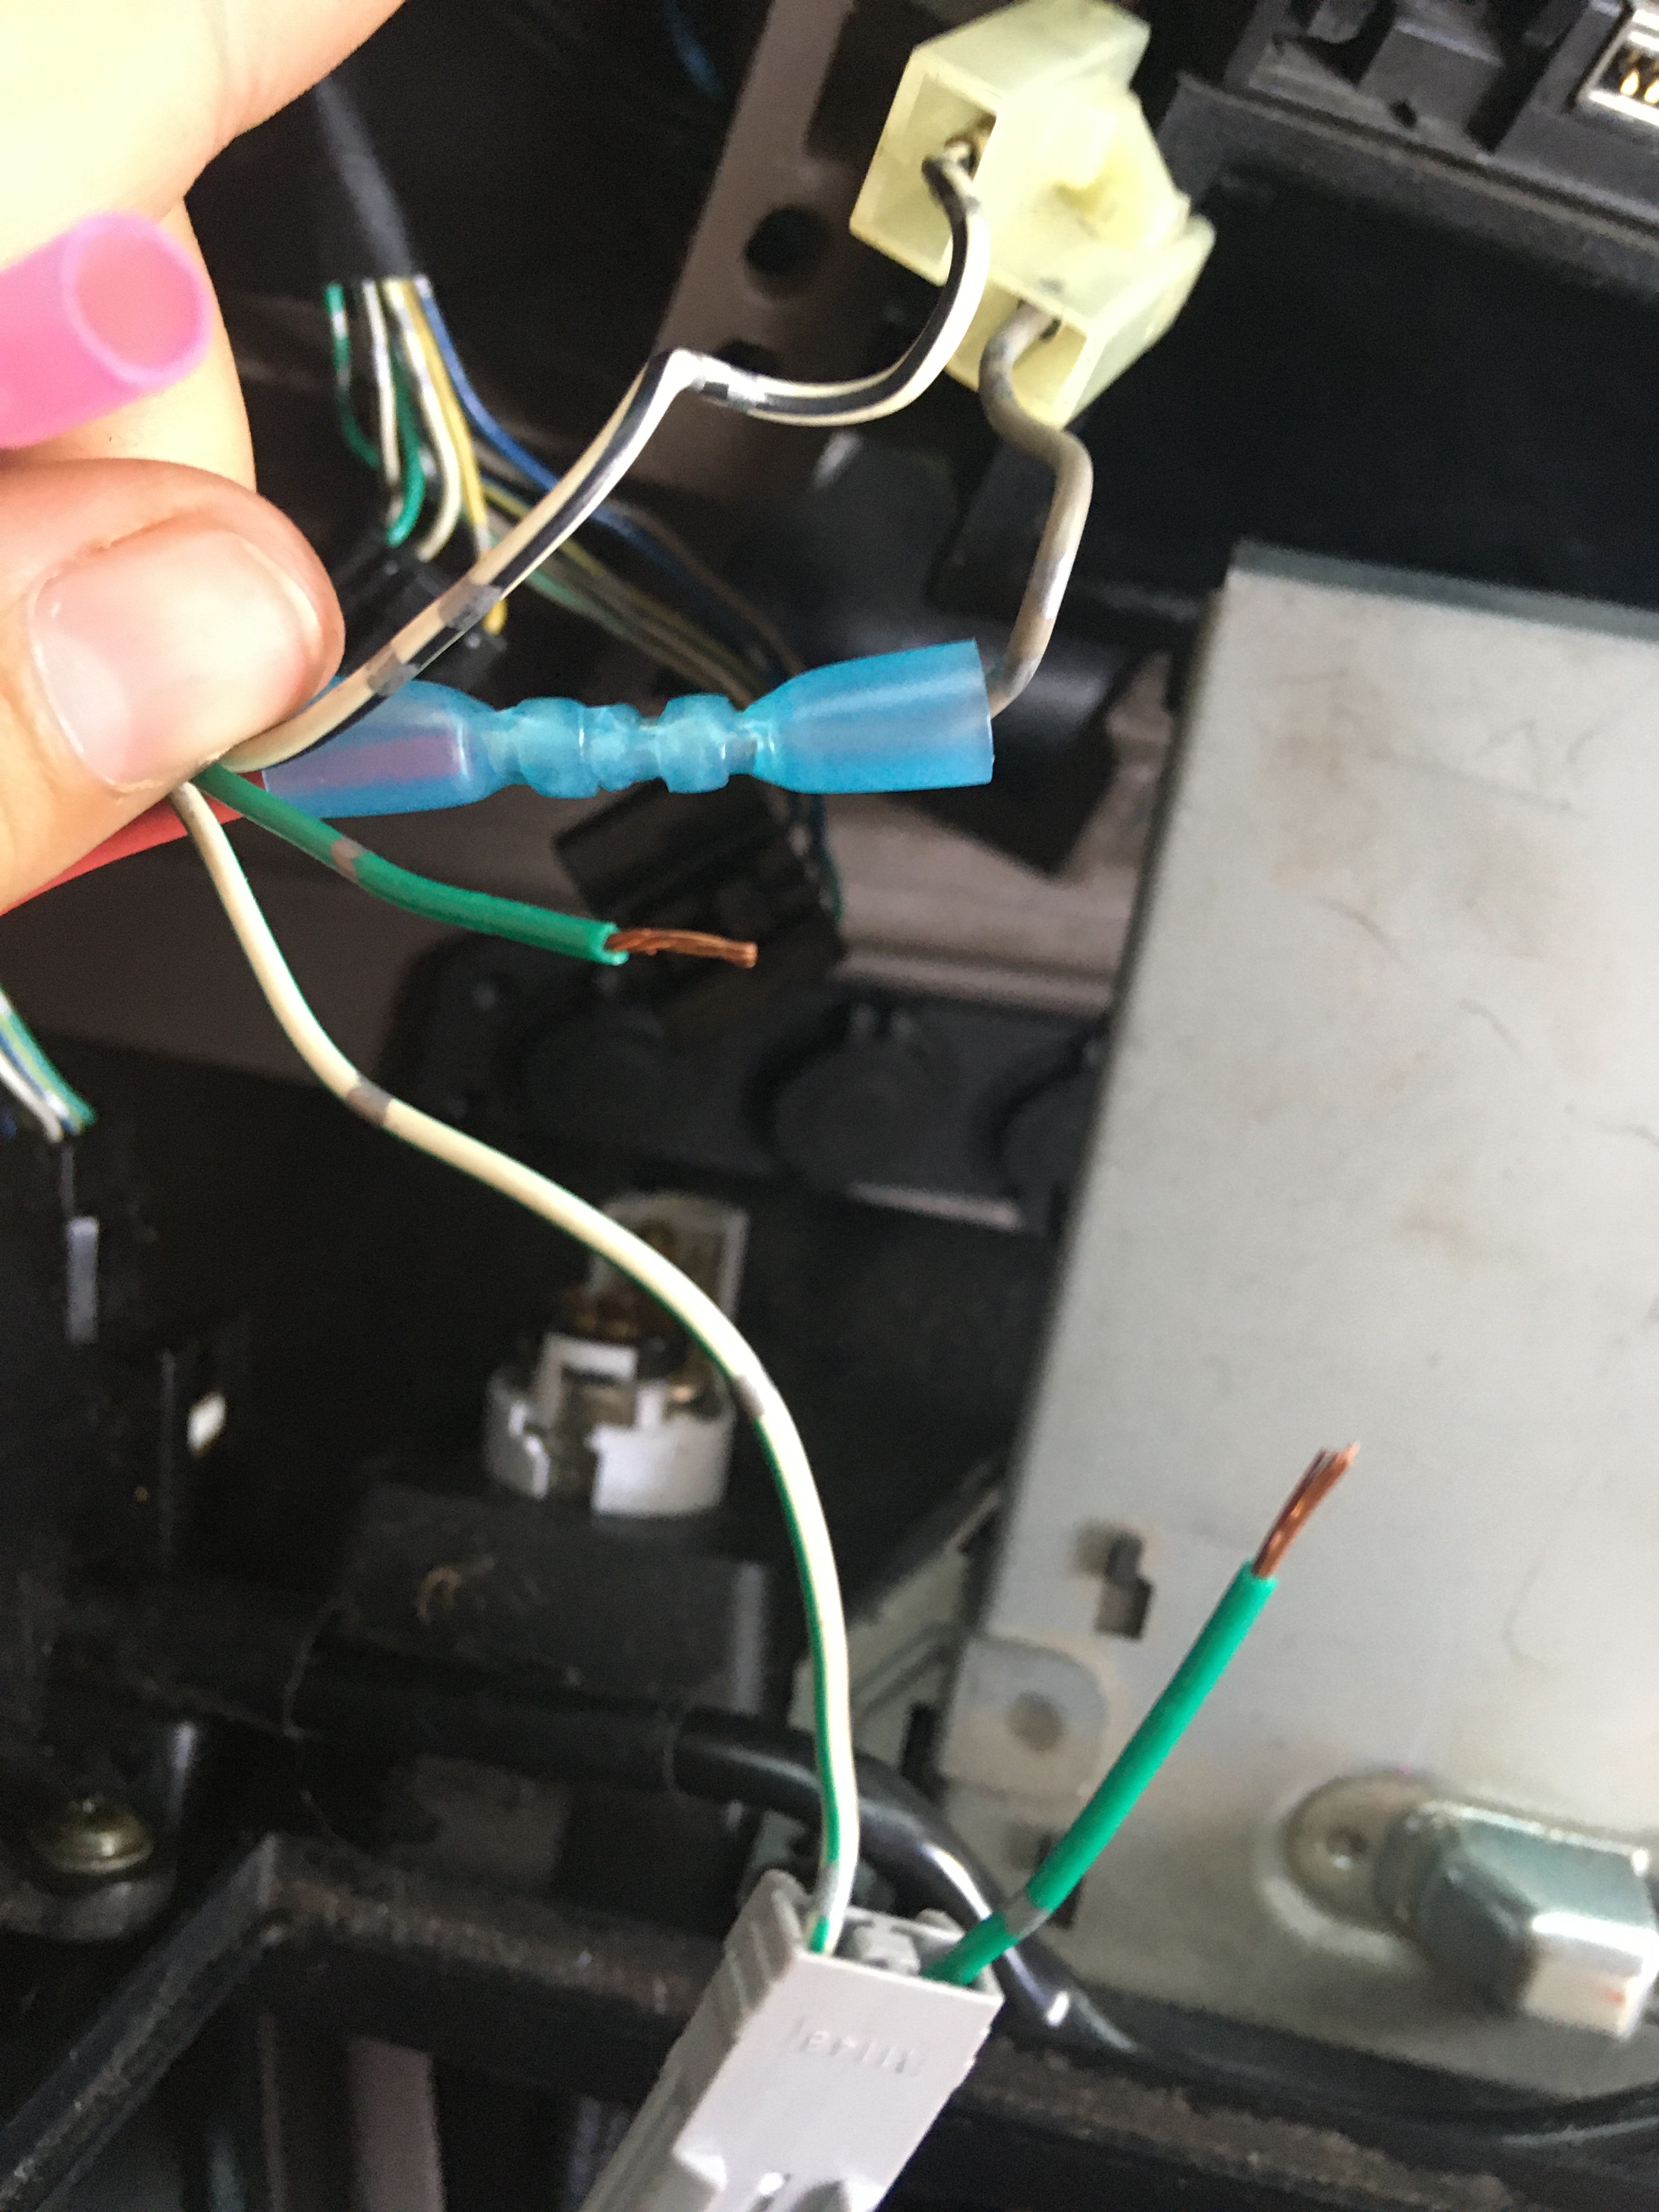
I cut the all grey wire on the 12v socket and spliced my yellow and red (red extension cable) wires together through a butt connector.
Next cut the all green wire from the light bulb and splice the white and blue (green extension cable in the picture) via a butt connector.
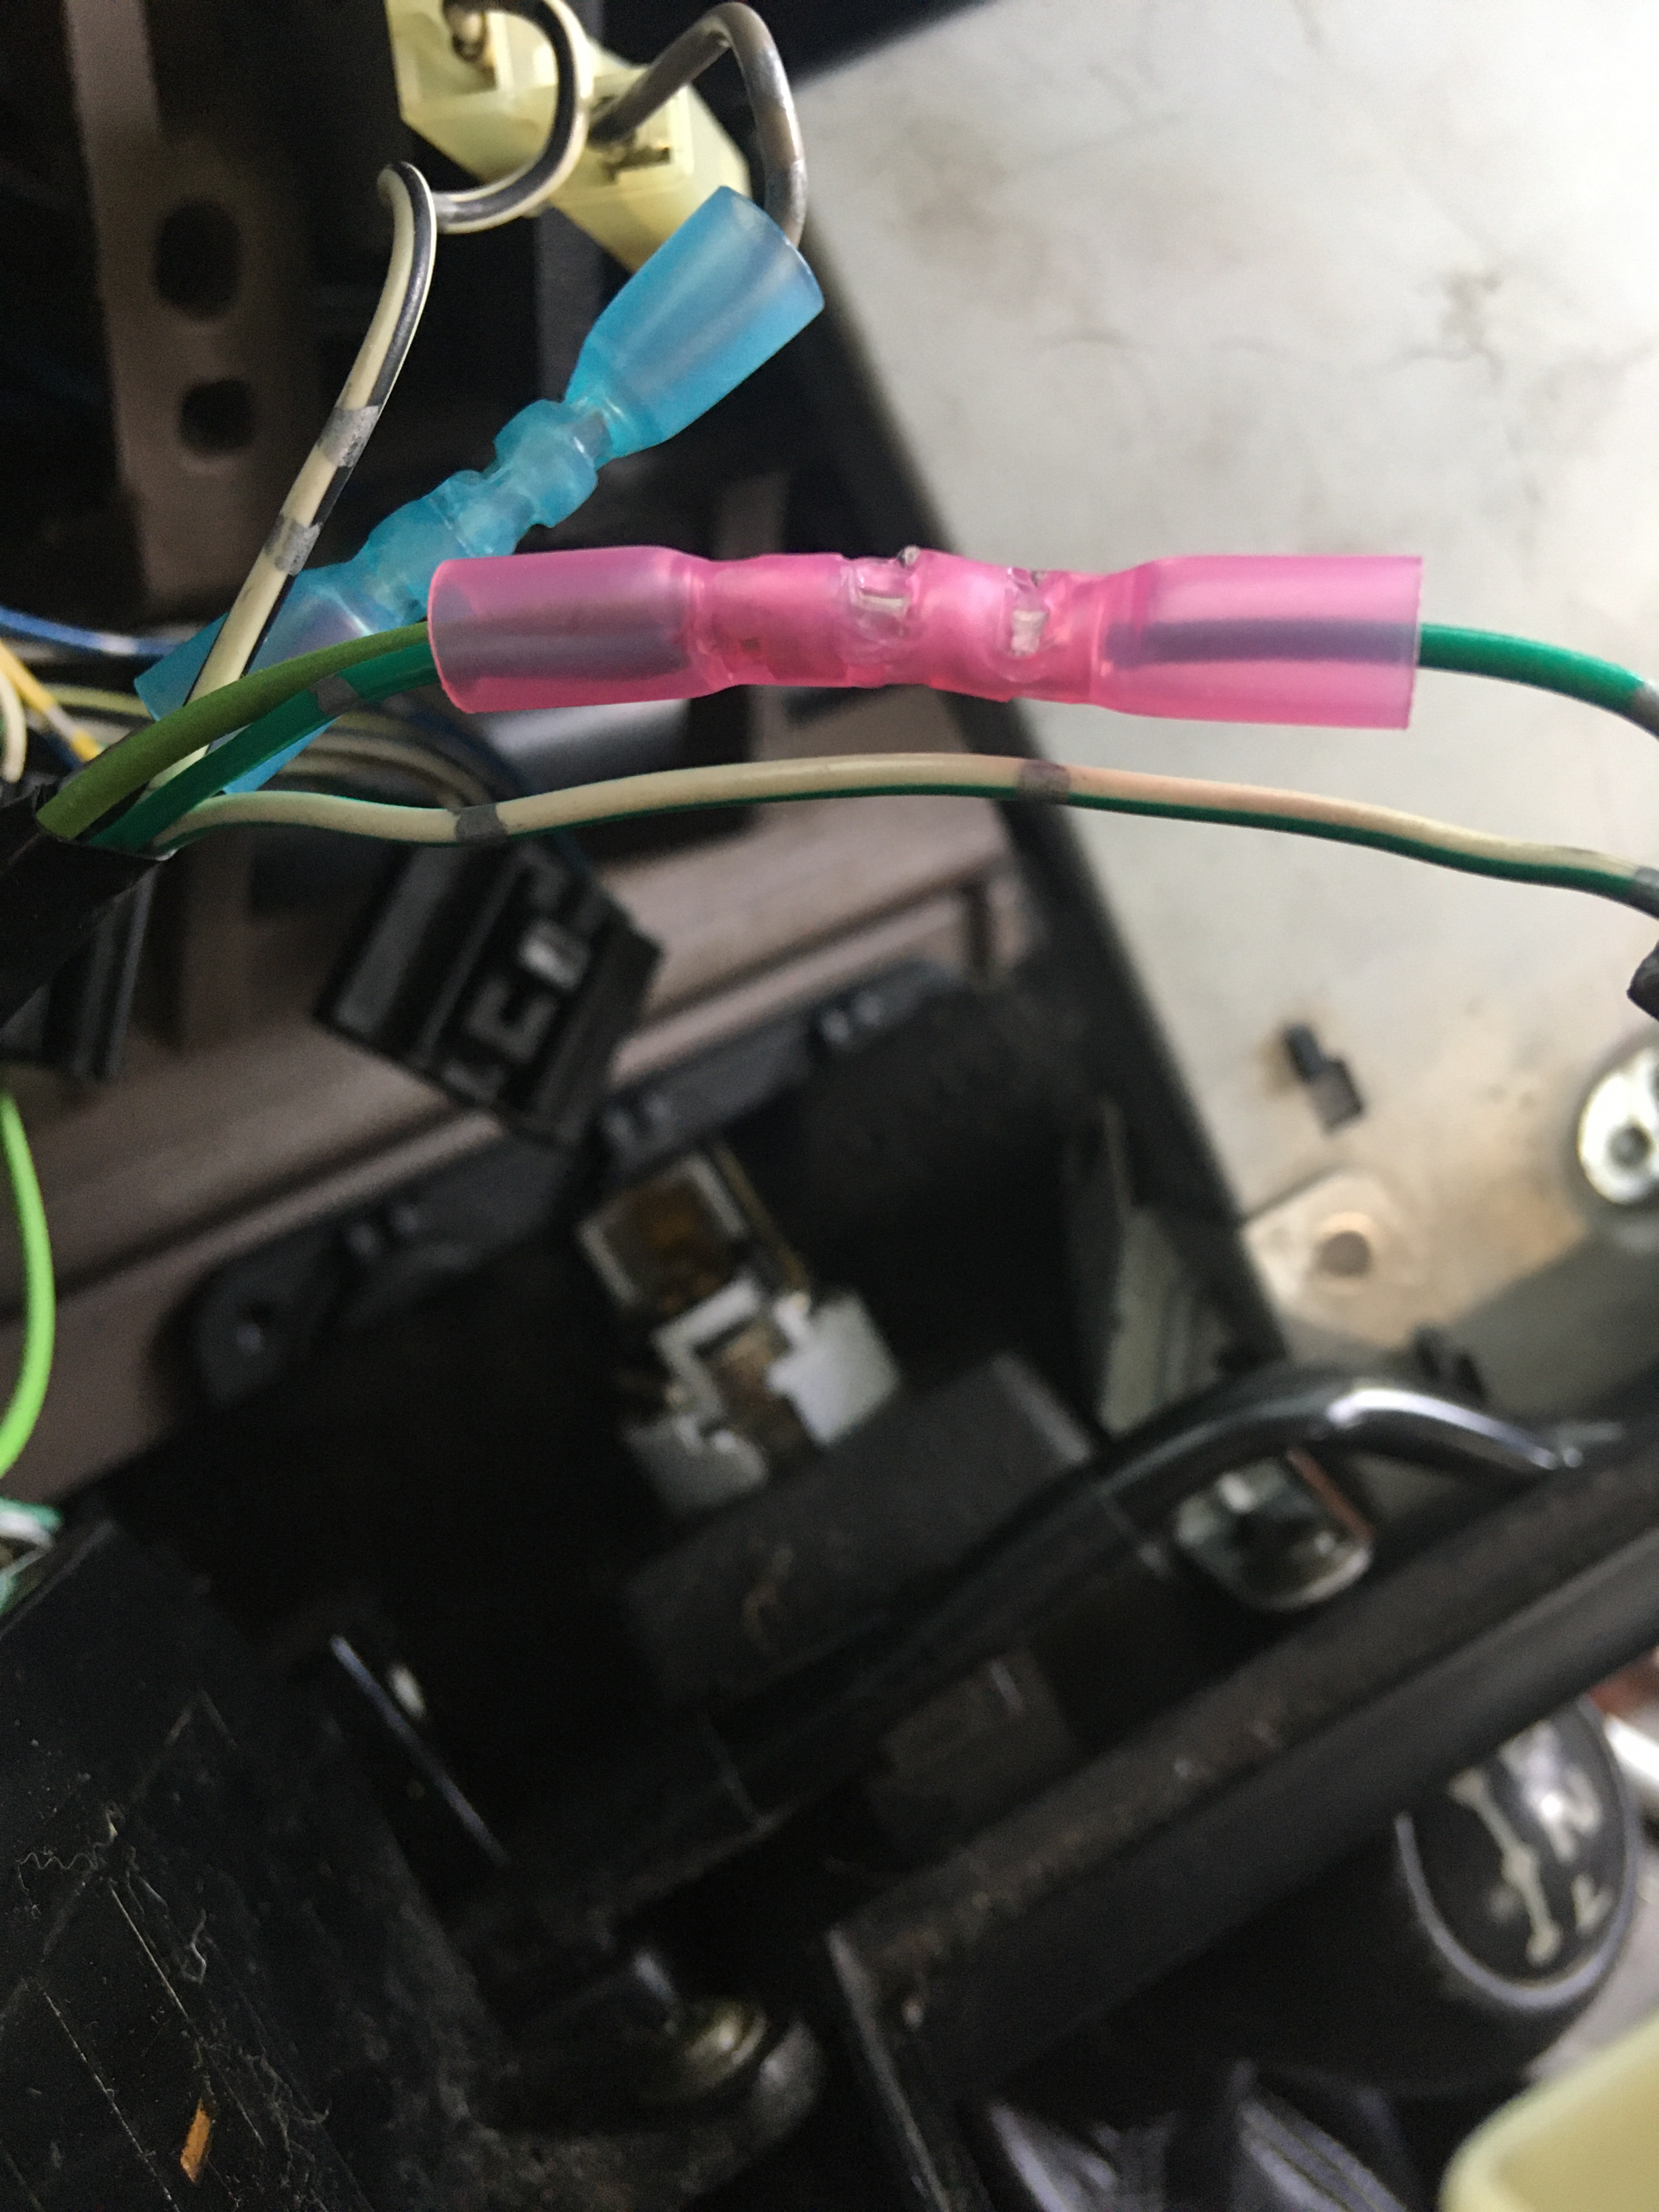
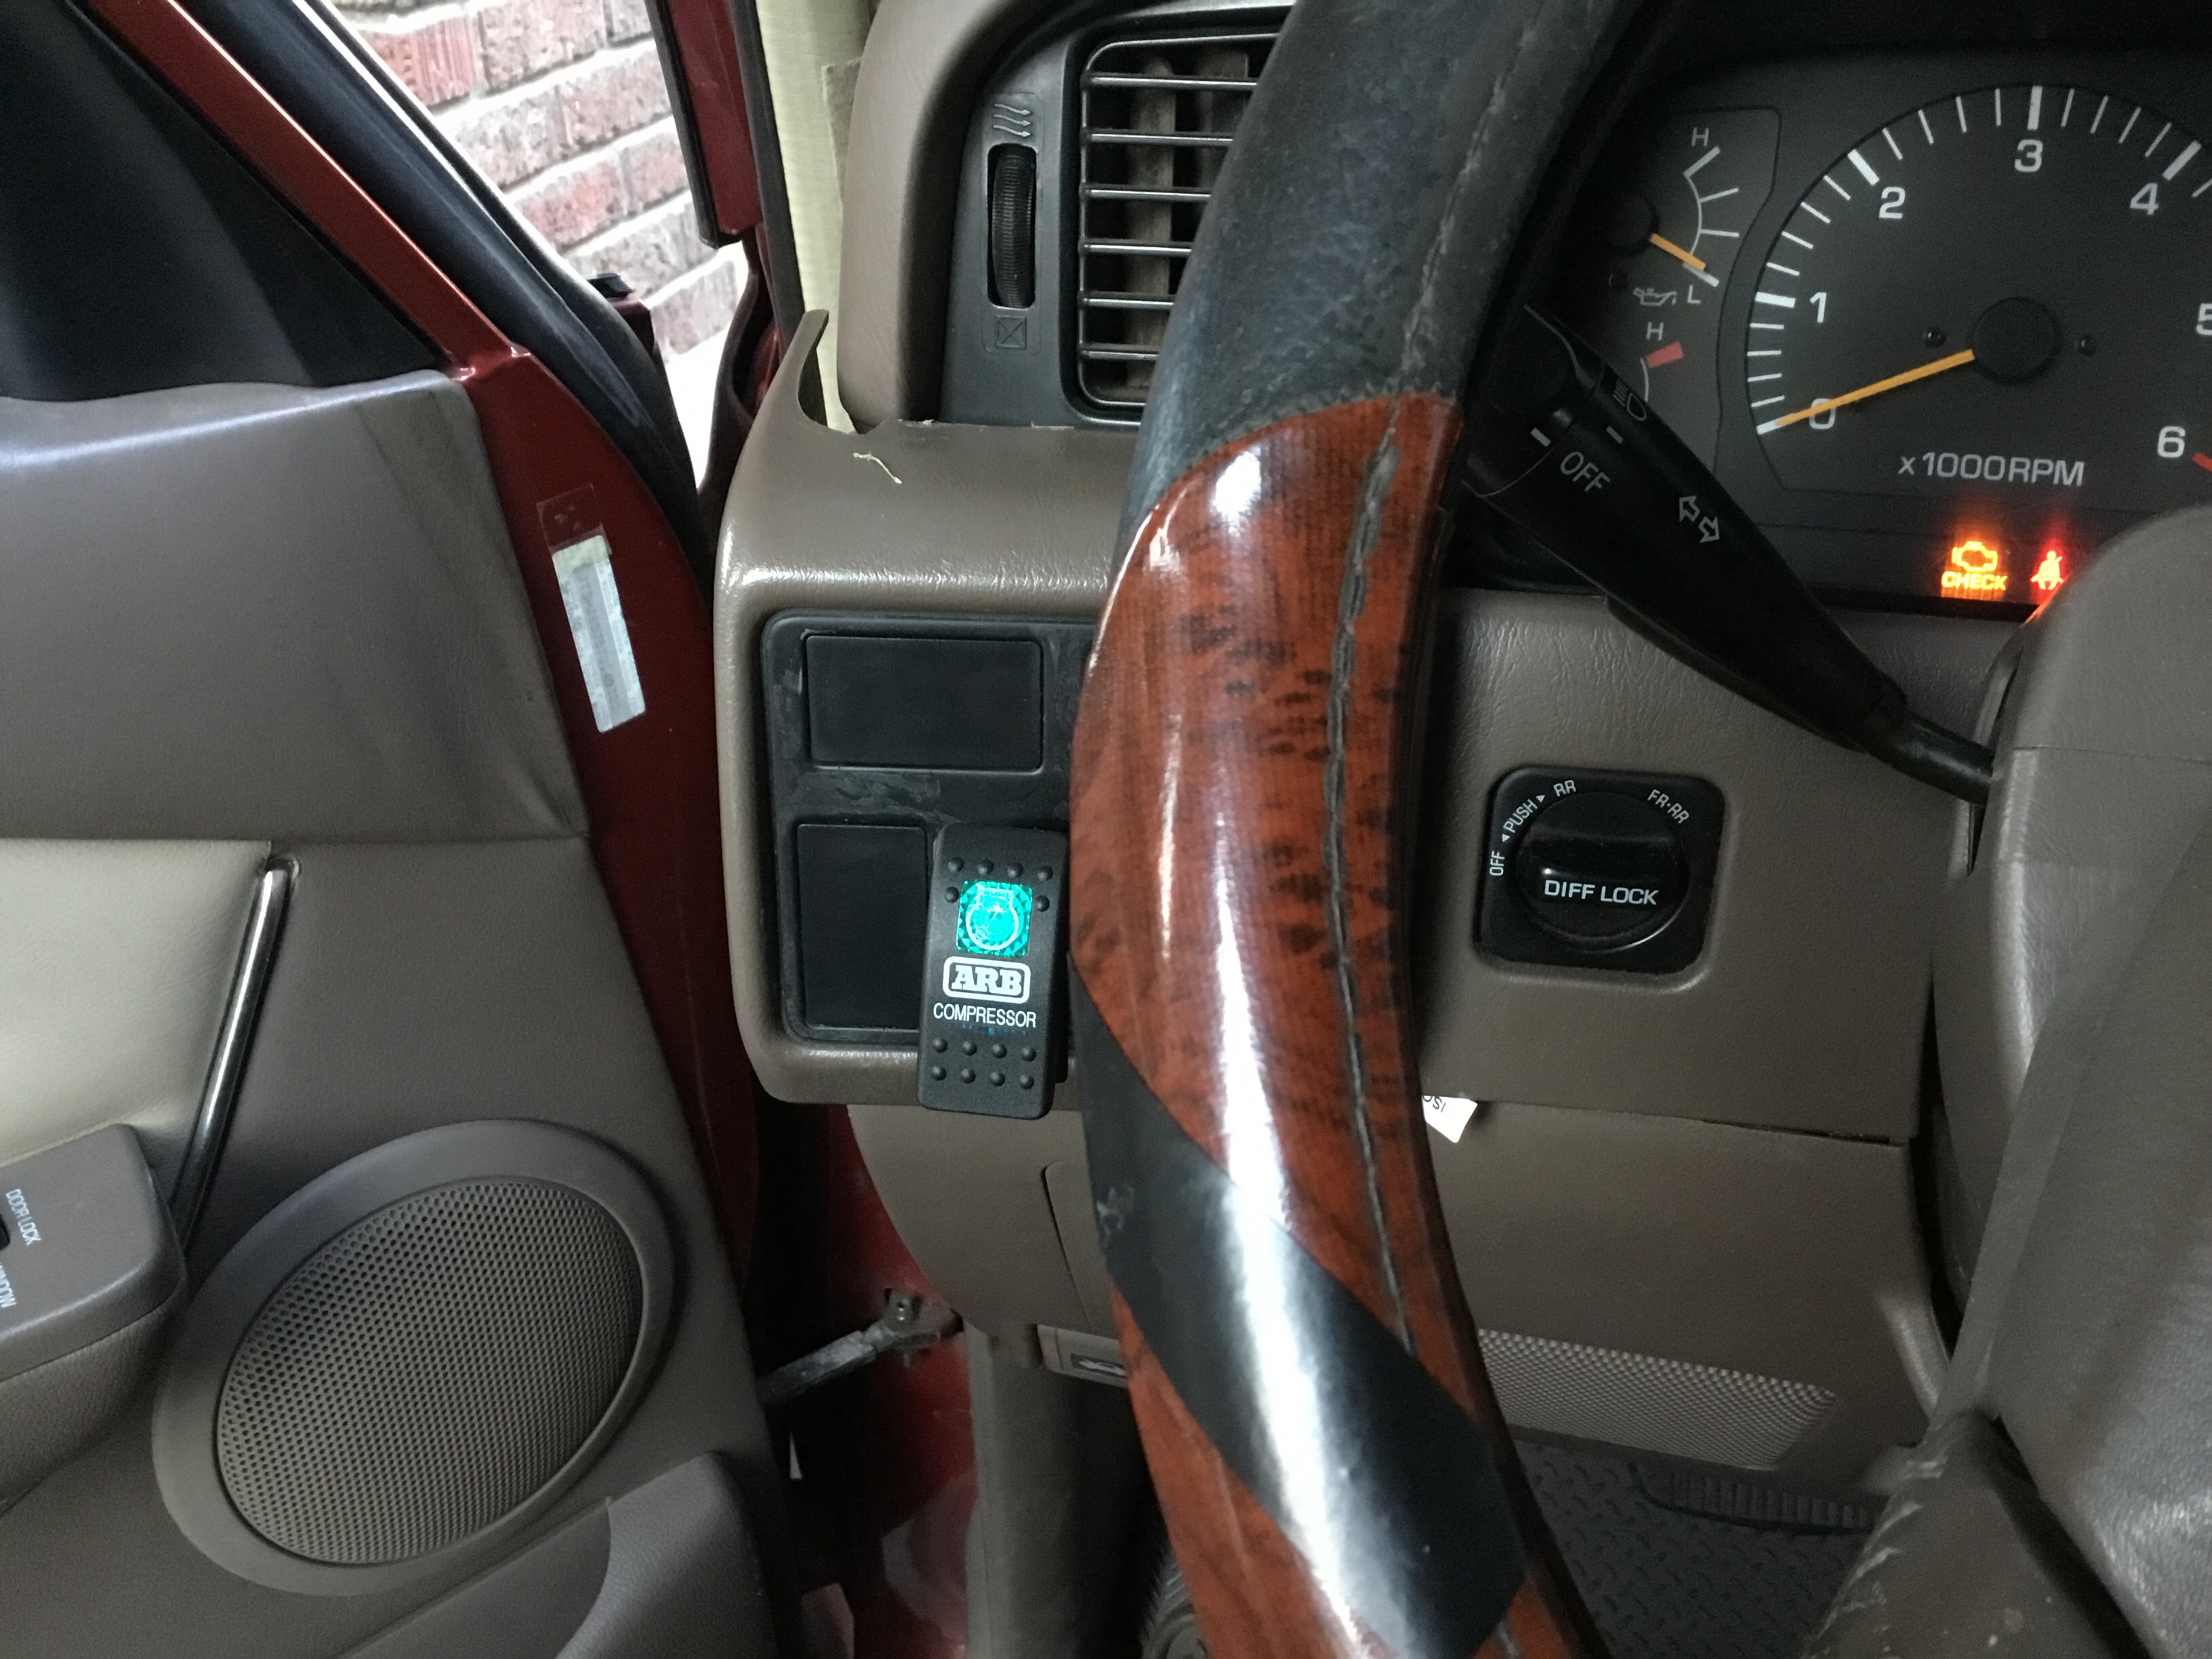
Switch Works!

Extras
#1. So the switch pop out needs to be dremeled wider in order to fit the ARB compressor switch. Or try and find an OEM compressor switch.
#2. While removing the center console I noticed that the two top screw mounts for the middle trim were breaking apart. So I took this opportunity to use JB Weld to fix the breaks.
#3. The ash tray bulb wasn’t powering on so I decided to replace it while the dash is apart.