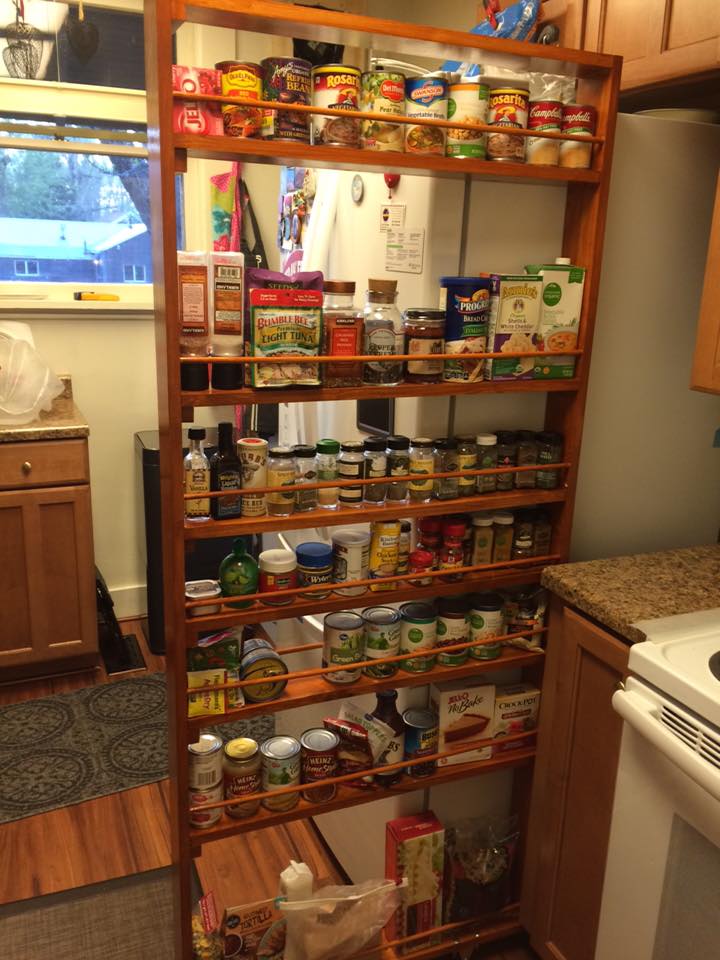
Refrigerator Side Space Saving Pantry

Supplies
- Unbranded 1 in. x 4 in. x 8 ft. Premium Kiln-Dried Square Edge Whitewood Common Board Qty: 1 $5.32
- GRK Fasteners #8 x 1-1/2 in. R4 Multi-Purpose Screw (110 per Pack) Qty: 1 $6.97
- American Wood Moulding 4 ft. x 3/8 in. Round Hardwood Dowel Qty: 14 $0.98/item $13.72
- Unbranded 1 in. x 4 in. x 6 ft. Select Kiln-Dried Square Edge Whitewood Board Qty: 1 $9.82
- Unbranded 1 in. x 4 in. x 10 ft. Premium Kiln-Dried Square Edge Whitewood Common Board Qty: 1 $6.72
- Unbranded 1 in. x 4 in. x 6 ft. Premium Kiln-Dried Square Edge Whitewood Common Board Qty: 3 $3.91/item $11.73
- Everbilt 2 in. Soft Rubber Rigid Caster with 90 lb. Load Rating Qty: 4
Tools
- Wood Glue
- Wood clamps
- Saw horses
- Table saw
- drill and bits
- Wood working pocket hole kit
Process
- Measure the opening (width) between my counter and refrigerator to determine the max width of a shelf I could build for the space leaving a 1/2″ gap for a 1/4″ gap on either side of the shelf.
- Measured the length from the baseboard (which added a 1/2″ lip from the wall) to the front of the refrigerator and counter to determine the length of my shelf.
- I measured from the floor to the top of the cabinets above the refrigerator to determine height and then subtracted for the height of the wheels.
- I started with
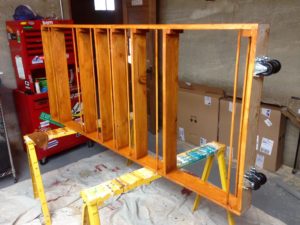
1 in. x 4 in. x 6 ft. Select Kiln-Dried Square Edge Whitewood Board as the fascia front piece and began building the outside frame.
- Look closely at the picture and you will see that I used small scrap pieces of wood underneath each shelf so that I wouldn’t have to screw holes through my fascia piece (yes I now understand I should have bought a woodworking pocket kit to have saved a lot of trouble and time on building this and the 40+ wood screens we made for our house.)
- Once the box framing was secured in place and the shelves were all secured in place we drilled holes on the inside fascia (1×4) for the dowels that didn’t show through the front fascia piece. On the rear panel we drilled all the way through the rear 1×4 and added wood glue to the dowels.

- We then added the four coaster wheels to the bottom
- stained and lacquered it