Jack Skellington Nightmare Before Christmas Halloween
I started this project October of 2017 and it took me over a year to finish due to life events. I am happy to share the results and if you have any great ideas to improve on this build please share them.
- Caution this is a lengthy and tedious project that took up 4-7 hours a day a few days a week over the course of few months.
I have linked most of the supplies I used so feel free to click on the hyperlinks to find the materials to buy. Otherwise most things I found are local from Hobby Lobby, Joann’s Fabric, Michaels crafts, and Home Depot.
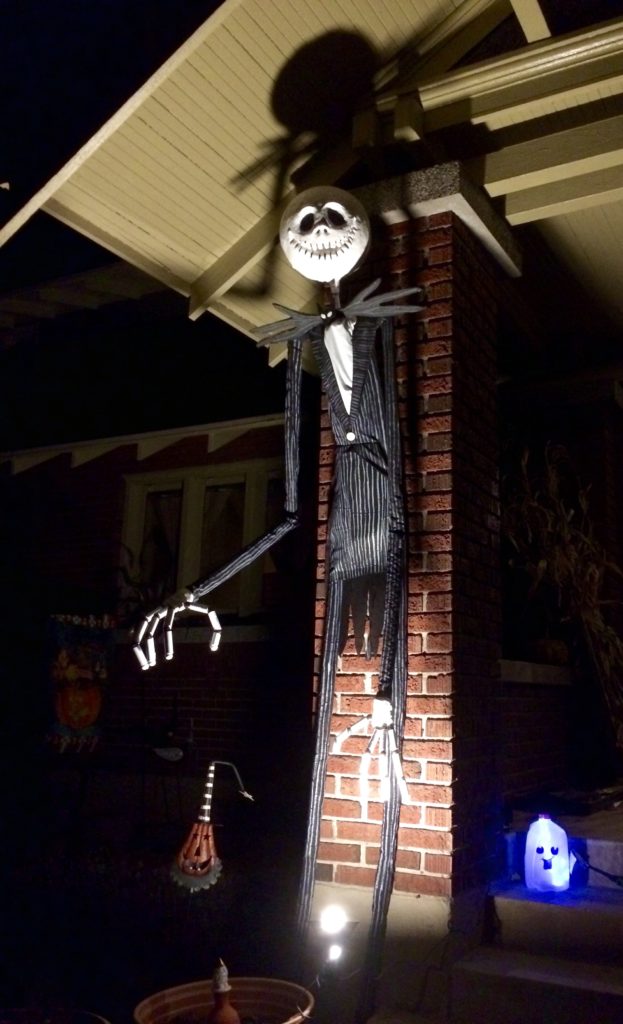
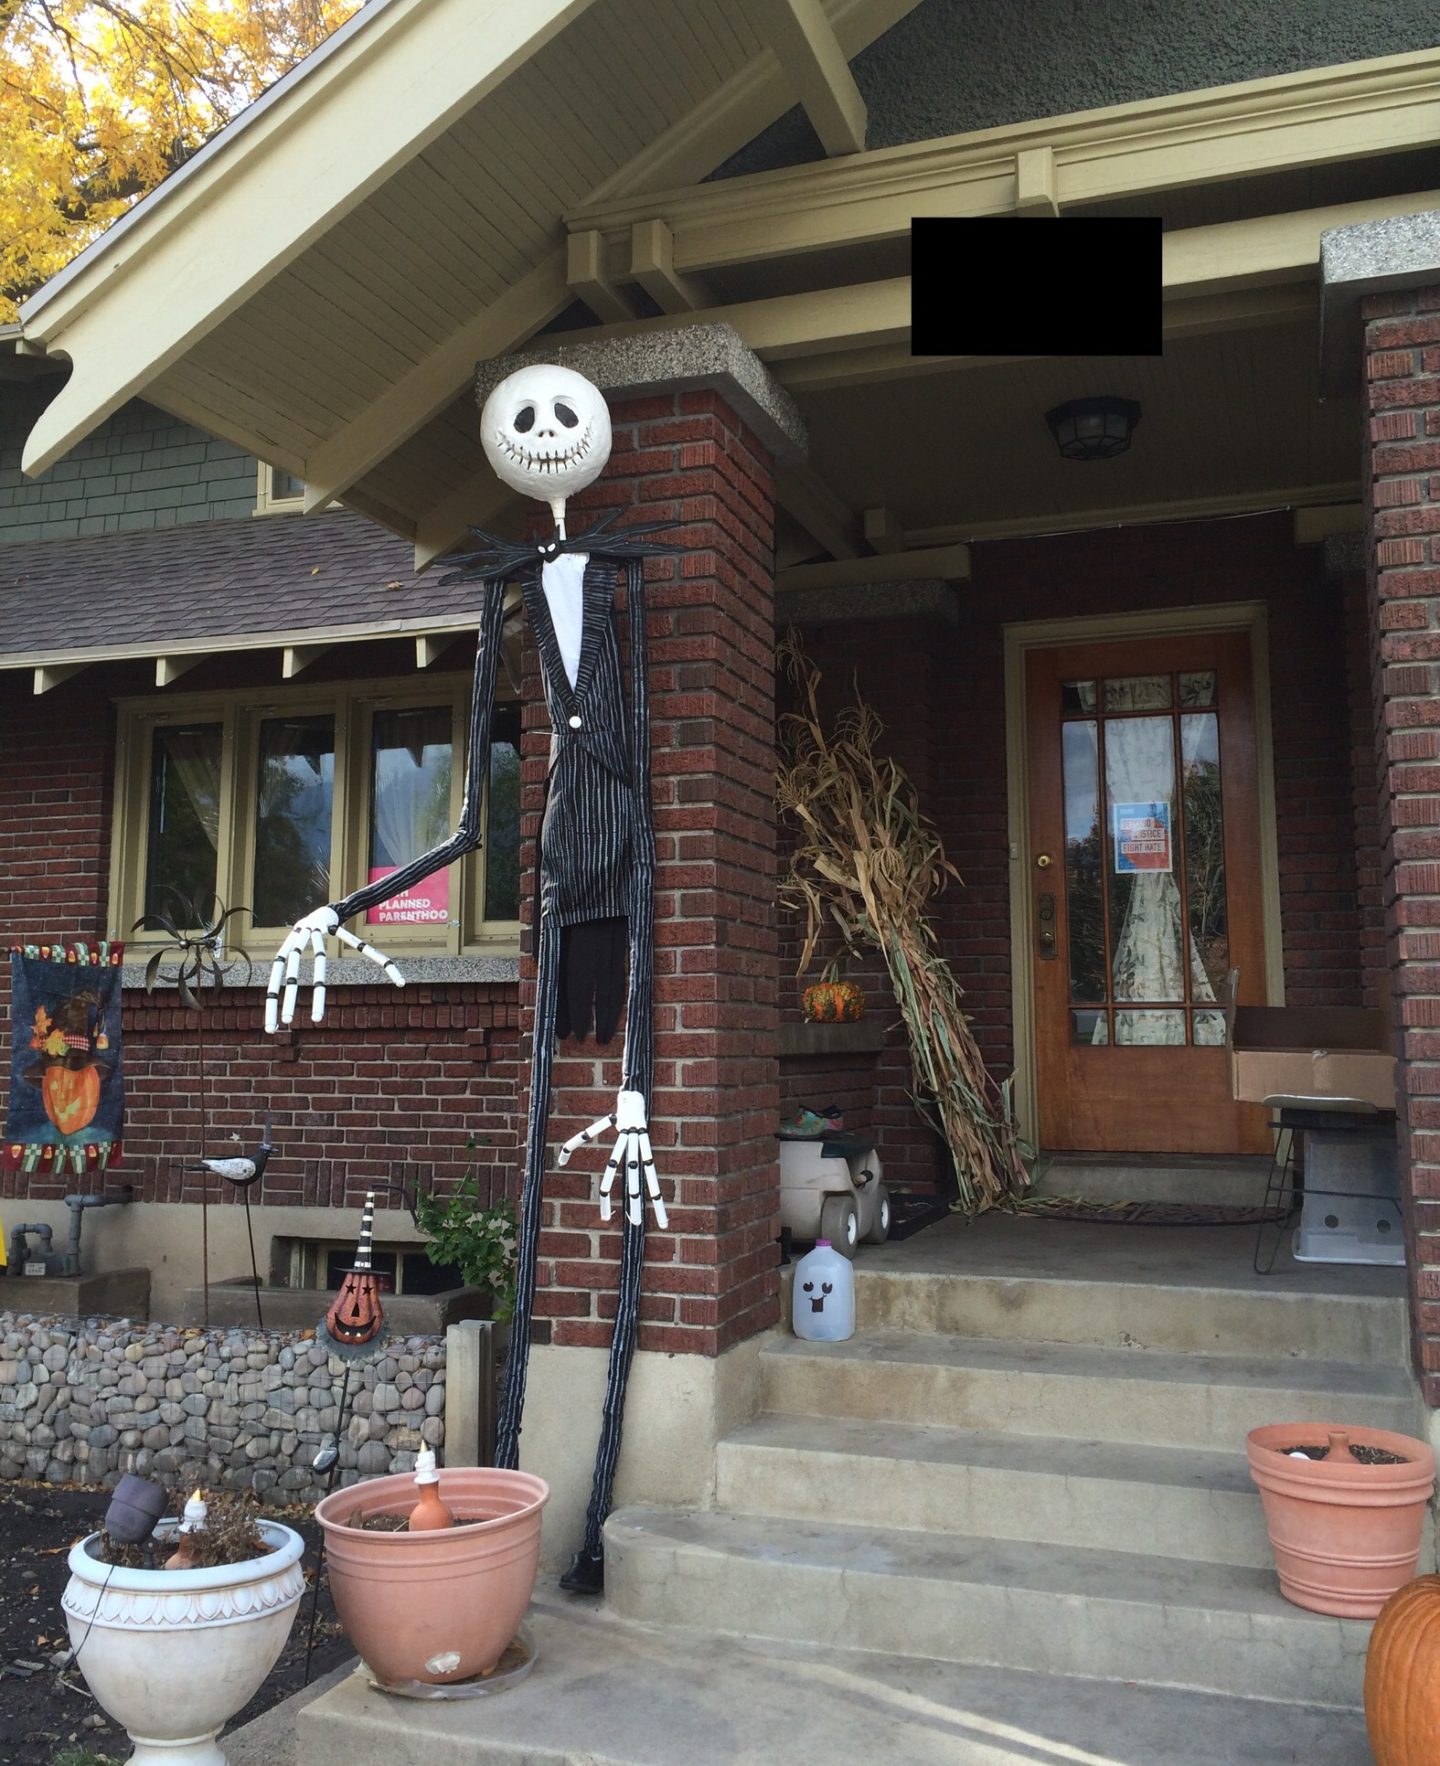
I want Jack to be able to move and place him outside hanging from my house. Once completed he will be roughly 10 ft high. I am writing this based on using 1″ PVC sch 40 for the body which easily attaches into the 1″ joint PVC fittings.
Supplies
I took pictures of some of the supplies I used and they are listed in numerous places. Here is a short list of some of the supplies I used.
- Hot glue gun/ liquid nails/ tacky glue
- cardboard
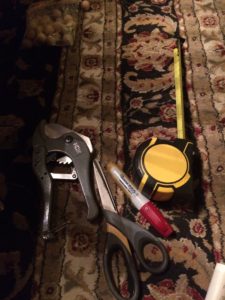
- Wire Cutters
- Iron
- ironing board
- newspaper
- box cutter
- needle nose pliers
- Old tee shirt or sheet
- Scissors
- Measuring tape
- PVC cutters
- Duct tape
- Long twist ties and rubber bands (I keep mine that come off our produce)
- Fabric measuring tape
- aluminum pie tin (I used this as a paint tray)
- cereal box (I used this to spray paint the wooden balls on)
- (1) tube of paintable silicone
- Black Linen Fabric
- fray check
- Fabric Tape
- White fabric crayon
- PVC Primer and Cement
Shoulders, knees, hips, and neck
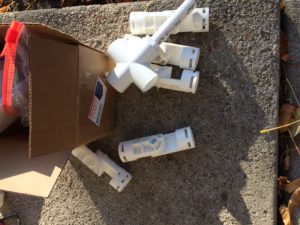
- (1) 1-in Dia 90-Degree PVC Tee fitting $1.22 (hips)
- (1) head and shoulder kit $3.75 (The 3″ neck that came with this kit ended up being replaced with a much longer piece)
- Eight (8) Adjustable 1” PVC Fittings $3.50 each (joints)
Or
- $35.00 for whole body joint kit
Body Parts
- (2) 10′ sch 40 White PVC pipes
- (2) swimming noddles $2.99 each at Big 5 Sporting Goods
- (2) 90 degree 1 inch coupler
Jacks Measurements
At the start of this project I had a good idea of what the measurments were but over time of building the clothes more cuts were made along the way to compensate for the clothes.
I decided that Jacks legs would be a rough total height of 5ft and that his arms would be 4ft (minus hands), and his torso would be 4.5ft. From his feet to his neck he stands 8ft high.
Body
These are the measurments I started with and eventually sized down from.
- lower tib/fib measures 28″ and his femur measures 30″ with a 4″ hinged knee joint
- His humerus (upper arm) measures 24″ and his radial/ulnar (lower arm) are 20″ with a 4″ hinged elbow joint connected to a 2″ hinged shoulder joint. *after looking back at pictures I realize that I should have made his lower arm much longer by about another 2 to 3ft.
- His hips measure 12″ across with all joints and T connections in place
-
Jacks Torso measures 4.5′ in height
- His shoulders measure 15” across with all joints and T connections in place
Once I had my measurements the cutting process, measuring, and piecing the frame together took less than 2 hours.
Next I taped the foam noodles around his spine in the front and back to allow a broader chest for his clothes to drape over.
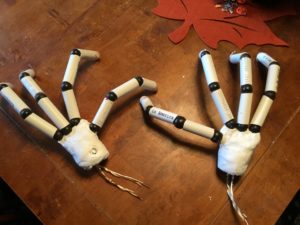
Hands
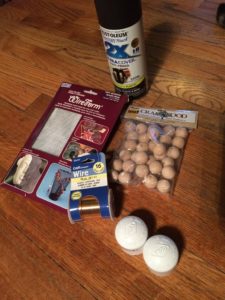
- Black and white spray paint
- (1) 0.5″ sch 40 white PVC – 10′ is more than enough enough for the fingers but they don’t sell 6 ft pieces.
- Wooden craft balls 5/8″ – (2) Two bags of 16 should be the perfect amount, you will need 4 per finger (I bought 1 bag of 30 and a side pack of non matching 6 pack wooden balls. I soon realized near completing the hands that I was 2 wooden balls short with my 30 pack)
- 16 gauge guy wire (Bought at joanns fabric $7.99)
- (2) 1″ PVC end caps
- (2) Two self drilling machine screws with hex head #6×1/2″
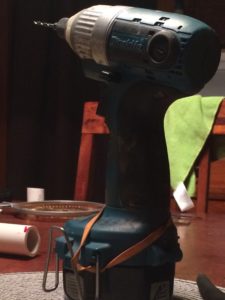
His hands Take quit a bit of time as the paint needs to dry. The pieces are rotated and repainted before putting his fingers together.
#1. Cut the 0.5″ PVC into sections and drill the holes through the end cap.
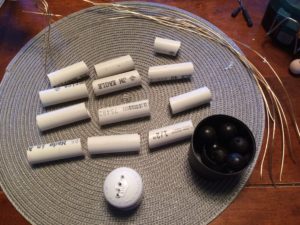
For his thumbs I cut 4.5″ and then cut that in half for his two lower bones and then I measured the top of his finger at 1.5″
For the rest of the fingers I cut (6) 5 inch pieces and cut those in half for 2.5″ sections then I cut (6) 2.25″ sections for for the top of his fingers.
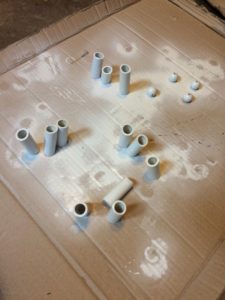
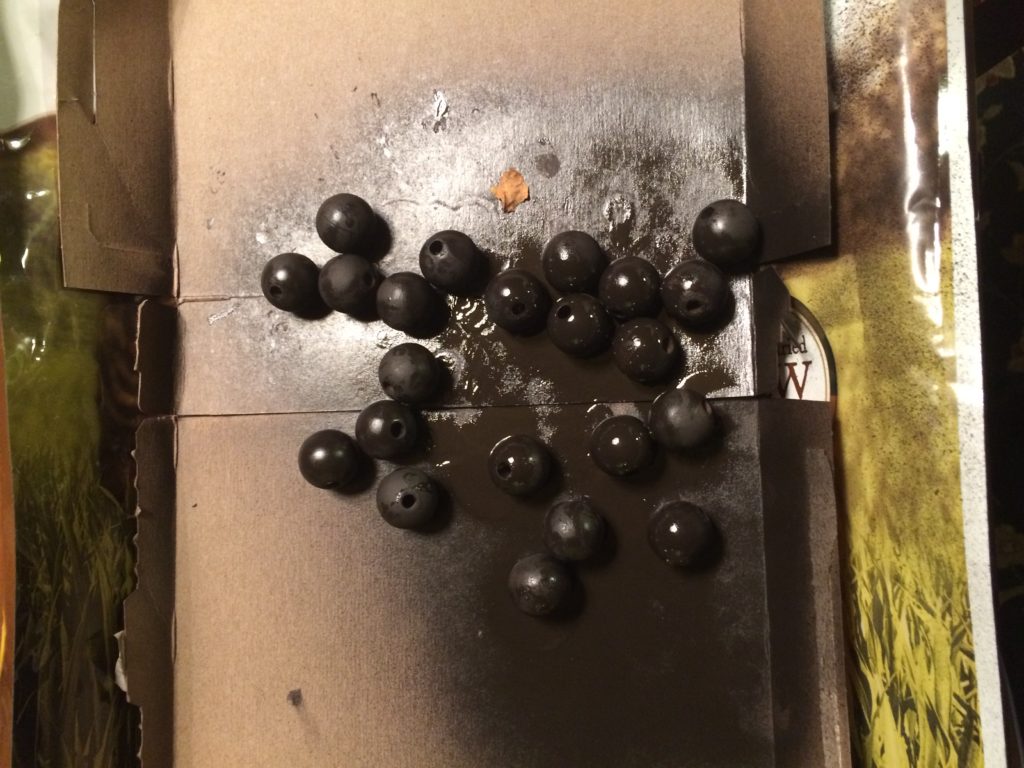
#2. Paint the wooden balls and PVC
Black for the joints and white for the finger tips
#3. Cut Wire Cut two sets of 16 gauge wire per finger to length and dont forget to include length to compensate for the increased diameter of each of the wooden balls.
I measured out 15″ of wire for his thumbs and 17″ for the rest of his fingers.
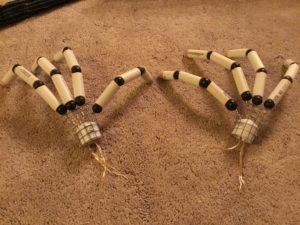
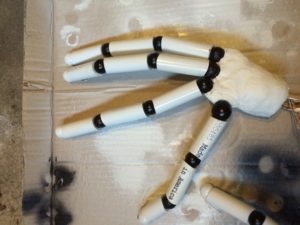
#4. Put the Fingers Together. Once the wood balls are dry begin to feed the wires through each of the PVC fingers and wooden balls. I used 3 pieces of PVC for each finger and 4 wooden balls.
#5. Attach Chicken Wire and the Fingers Together. I fed the wire through the chicken wire and then through the holes drilled out in the end cap and twisted paired wire together before twisting all four sections together. I have a hole drilled on the side which attaches the caps to the PVC arms for added stability and security.
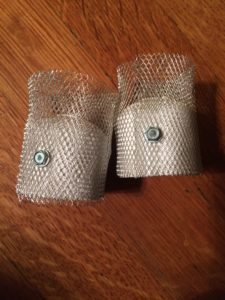
I first tried using this crafting mesh but it collapsed and crumbled under the weight of the fingers.
#6. Make the Palms of the Hands. I was able to add white magic clay to the chicken wire and coat the clay with paintable white silicone.
Head
another possible option for making Jacks head and saving money is to make your own paper mache clay and coating it with latex paint and polyurethane.
- I used moldable magic clay 2lbs $25.00 Joann’s fabric (I used a 50% off coupon on a regular priced item which magic mold is typically full priced).
- Exterior polyurethane spray paint or silicone
- acrylic black paint and small detail brush and sponge brush
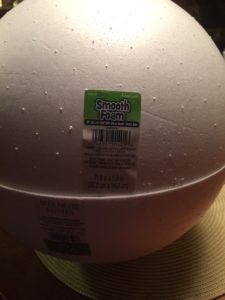
- 8″ foam ball, large pumpkin
- I am using two 12″ half domes found at Joann’s fabrics $7.99 each
- Black acrylic paint
- White acrylic paint
- paint brushes and foam brush
When measuring the human body the thigh and upper arms are longer than the lower radial/ulnar and tibia and fibula bones. It is important to note that a persons inseam (inner thigh) measurement is going to be less than their lateral (outside) thigh to hip measurement.
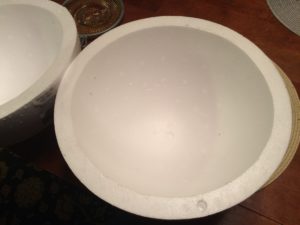
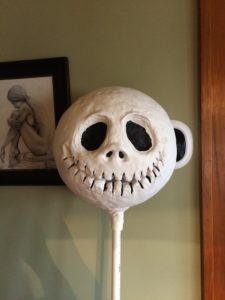
#1. I used the hot glue gun to glue the two half’s of the spheres together.
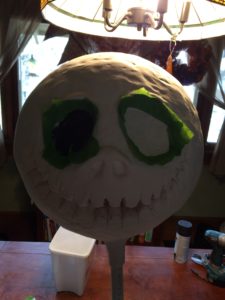
#2. Print out the Face and tape it onto the sphere Jack Skellington Face Print Out
#3. Use a thumb tac to pop holes through the paper and outline the eyes, nose, and mouth
#4. Use an ex-acto knife to cut the pieces out and have a plastic butter knife on hand and a serrated knife to help cut out the pieces.
#5. I used all 4 packs of 8oz magic mold to completely cover Jacks head with the clay.
UPDATE: after a year of being stored there were major cracks in the clay. This is where the silicone became necessary. I had to silicone all of the new and widened cracks that were now 1”-2” larger.
#6. I used my plastic knife to make the cut outs of his lips
#7. The head is now extremely heavy with all of the clay in place and I had to install a longer 1/2″ piece of PVC that extends all the way to the top of the inside of the head to stabilize it.
TIP: This would be a good time to sand down your clay head and smooth it out as well as adding any additional clay or silicone to any cracks. I did not take the time to do this and the cracks worsened over time.
#8. Use masking tape to tape off around the eyes and nostrils before using the black acrylic paint to color in the nostrils, eyes, and mouth crevices.
Tip: use a tooth pick to paint into the tiny spaces between the teeth.
#8. Use the white acrylic paint to paint the rest of the head and teeth and touch up the areas where the black may have smudged.
#9. Parts of the head had cracks after the clay dried so I will fill them in with clear silicone. (I neglected this step and the cracks worsened).
#10. Use exterior polyurethane spray paint or paintable silicone to waterproof the head.
Clothes
- I picked up 3 yards of black linen fabric for $6.50/yd at 52″ wide (You could probably get away with 2 yards of fabric.)
- I bought a white T-shift short sleeved from walmart
- fray stop (used to seal all of the linnen fabric cuts and edges.
- adhesive clothing Velcro
- multiple snap buttons (4 buttons)
- large white button
- White fabric crayon
- no sew stitch witch
- Kids sized black dress shoes (Salvation Army) $2.45
- Iron
- News Paper
I took the fabric and I wrapped it around Jack to get my measurements for my cuts. I would highly encourage you to use a fabric measuring tape when doing this. My rule of thumb is that it’s better to be a bit too big than too short.
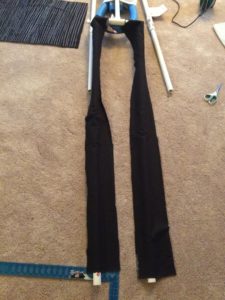
Arms & Legs
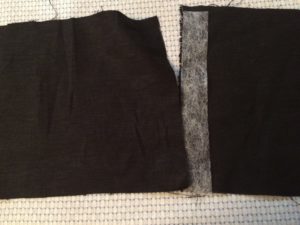
#1. I measured 7″ wide and cut (5) five strips of fabric 52″ long for the arms and legs. The fifth strip was cut to make up the 12″ of the legs that I was short and will have to heat tape together.
I later realized my arms were too short to cover the shoulders up to the neck line and I had to add extra pieces.
#2. Used a tulip fabric crayon and marabu art crayons to draw the white stripes by hand.
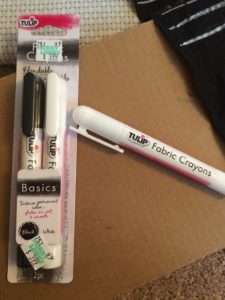
- I ended up emailing the manufacturer of Tulip fabric crayons to see if they would sell me a bulk pack of the white fabric crayon because it is easy and fast to use to draw on the white stripes to all the clothes. They responded to my email saying that they can’t sell just the white crayon. So far I have used two crayons and completed his sleeves and pants and each pack is $3.99 and i suspect I will use a total of four to five crayons.
- I switched over to marabu fabric crayons.
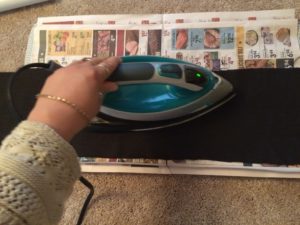
#3. Use the iron to heat seal the crayon stripes to the fabric.
- I used recycled newspaper and turned the fabric upside down and then set it on “linen” and ironed for 1-2 minutes.
# 4. Cut and apply your fabric seam tape and use the iron to set it for all of your arm and leg seams.
- follow the directions on the package for how to apply the seam tape. To heat seal it you will use an old single layer sheet or t-shirt and get it wet and ring it out. Lay the wet fabric ontop of your seam and then apply the iron (set to wool) ontop of your wet t-shirt/seam for 10-15 seconds. Then allow it to cool down before using it.
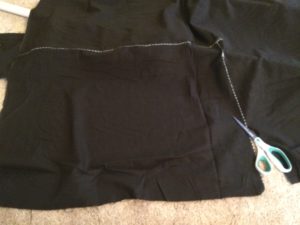
#5. High Wasted Pants
- I cut a 29″ x 21″ Piece of fabric linen to create the high waist pants that will attach to the pant legs. I used my seam tape to create a finished seam on the top that could possibly be visible when complete.
- After the white crayon lines were drawn and heat sealed I added no sew Velcro to the pans. The pants kept sliding down so more Velcro was added to the pants and jacket to hold them together.
#6. Use the stitch witch to seam the legs to the high wasted torso piece of the pants.
#7. At this point I added my (2) 1 inch PVC 90 degree couplers to the feet and added more 1 inch PVC to hold on the shoes.
Torso
I used two swimming noodles one wrapped around his mid spinal PVC section and to his waist. I positioned the swimming noodles using duct tape, a giant rubber band, and giant twist ties before I put on the white T-shirt.
The jacket!
The arms were already made and seam sealed.
I wrapped a new piece of linen to the torso like a burrito and pinned the fabric in place.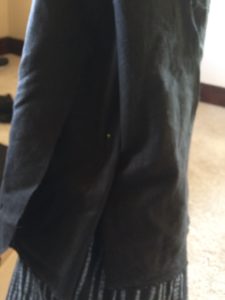
Next I marked my arm holes and cut an X in each arm hole.
From this point forward it was a lot of folding, tucking, shaping, pinning, and taping the fabric in place. I then sewed in snap buttons to close the front of the jacket.
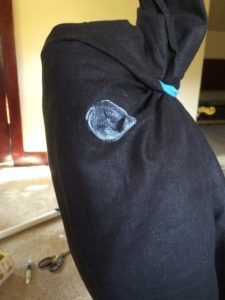
To make the coat tails I had to use a new piece of fabric then I used the white crayon to draw the tail pieces and cut!
Then I used stitch witch to attach it in place to the coat.
I took the time to seal all of the fabric edges with fray check.
Draw the white lines and heat seal with the iron.
sewed on the decorative white button.
TIPS:
#1. I did not permanently attach the sleeves of the jacket to the torso of the jacket. Instead I used sew on buttons to attach them together. This makes it easier when making adjustments to the joint bolts for positioning and when taking him apart for storing.
#2. I used adhesive stick Velcro to create access openings near the joints where tools are needed for tigthening the elbows and knees.
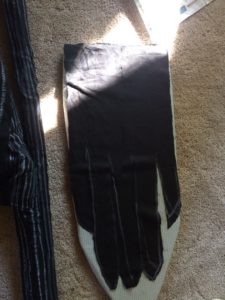
Making the Bat Tie
begin by measuring the width of the shoulders and then add 12 inches. (15”+12”=27”)
Next I printed off a template

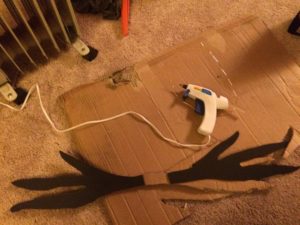
I took measurements of the wing span and multiplied every measurement by 3 and drew it onto a large piece of cardboard.
After using a box cutter to cut out the wings I used it as a stencil to cut out black crafting foam and used a hot glue gun and tacky glue to adhere the foam to both sides of the cardboard.
Using a different template for the bat head I drew an outline and then used Crayola Black Model Magic Modeling Material (sold in 4 ounce packages) to mold the bat head. I used white Crayola Model Magic Modeling Material to make the eyes.
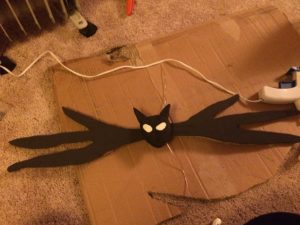
Then using the white fabric crayon and drew the white lines on the wings.
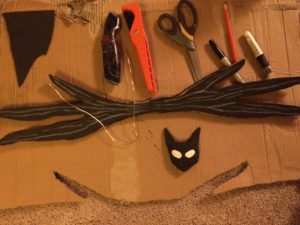
I used paintable silicone to cover the exposed cardboard and then painted it black.
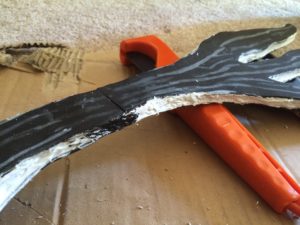
I Attached the bat head to the wings with liquid nails and used metal wire to attach the bow tie to jacks neck.