IKEA Cat Tree
The Ikea Elvarli Cat tree is great for anyone with limited space or wishing to have a damage free cat tree such as when living in a rental home or having plaster and lath walls. This cat tree works by installing a damage free pressure support rail that runs parallel between the ceiling and floor. It does require installation near a a wall and preferably a corner where it can be supported on two sides.
If you don’t have the tools, time, or desire to build your own shelves then you can buy ready made shelves here at Contempocat for $189.00. I would have gone this route if I didn’t already have everything I needed to build it myself.

- (1) Elvarli Post $30.00
- Elvarli Brackets $5.00/pack (2 per pack)
- 4 prong T- Furniture nuts (3 per bracket bar)
- Hex bolt (3 per bracket bar)
- 1/2 Plywood
- Finishing stain for the wood
- Optional velvet, cork, or carpet for finishing
- Electric drill
- Jig saw
- Large card board
- C-clamps
#1. Shelf sizing
First decide what size the shelves are going to be. This can be done by using cardboard as a template. I first measured my cat beds and used the measurement to make my cardboard templates.
For what it is worth I tend to always have some giant pieces of cardboard tucked away in my basement.
#2. Cut wood with center notches
For this part you want to allow the plywood enough overlap to attach to both brackets on either side of the rail.
Using my template I traced the cut out rectangle onto the plywood.
Next Begin by Using a drill to bore out pilot holes to allow the blade of the jig saw to cut the rectangle.
Dry fit the plywood onto the rail with brackets in place. Use C clamps to hold the wood in place with the bracket. Mark the holes for the bracket bolts. Remove plywood to drill holes.
Stain wood and allow to dry between coats
TIP: I chose to round my shelf corners for safety reasons.
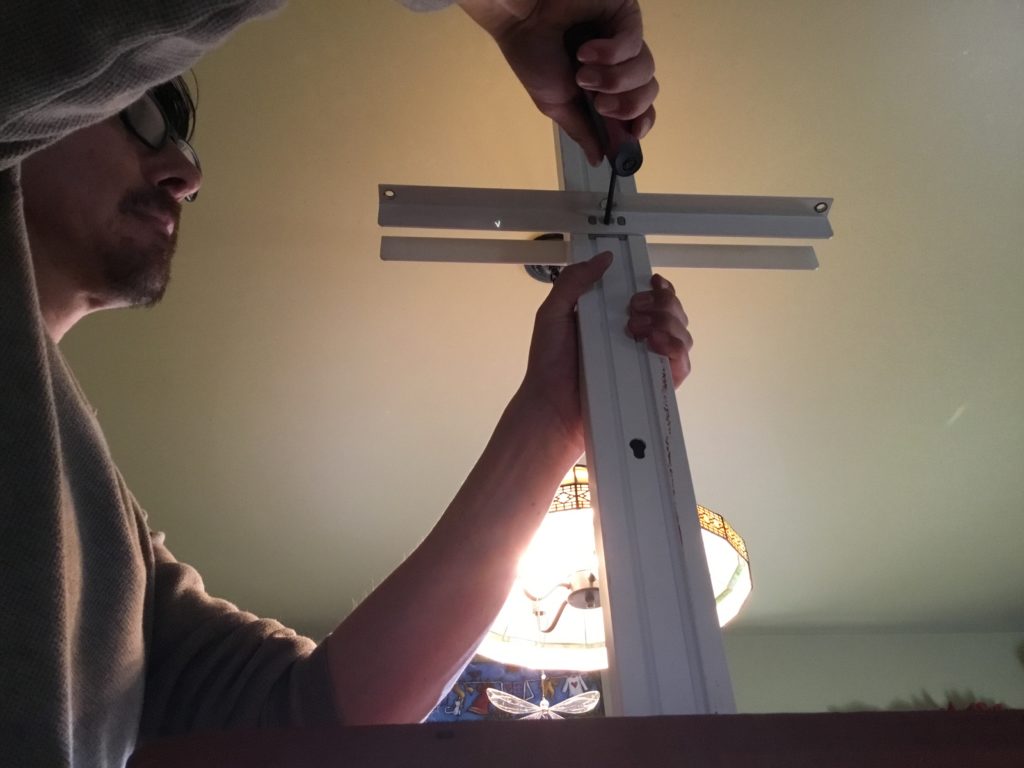
#3. Apply the brackets to each side of the rail.
CAUTION: the Allen bolt nut inside of the rail easily falls inside of the rail so hold onto it while sliding the brackets into place.
#4. Now slide on the plywood shelf and secure in place with Furniture T nut and bolt.

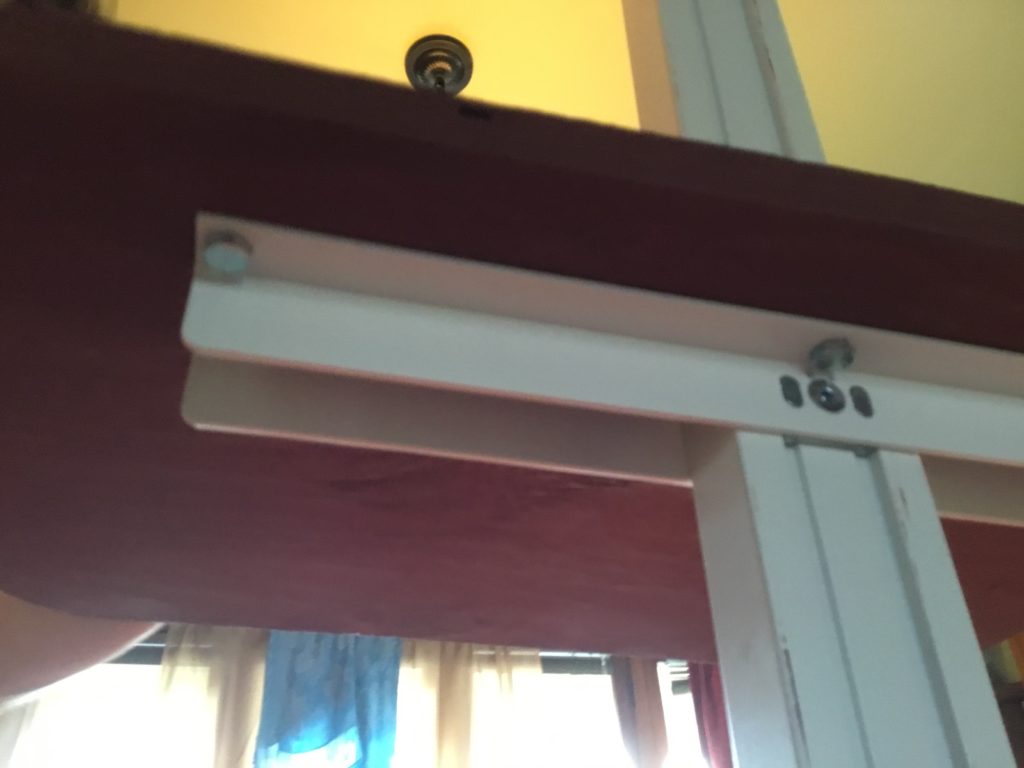
#5. Repeat steps #3 and #4 for the rest of the shelves.
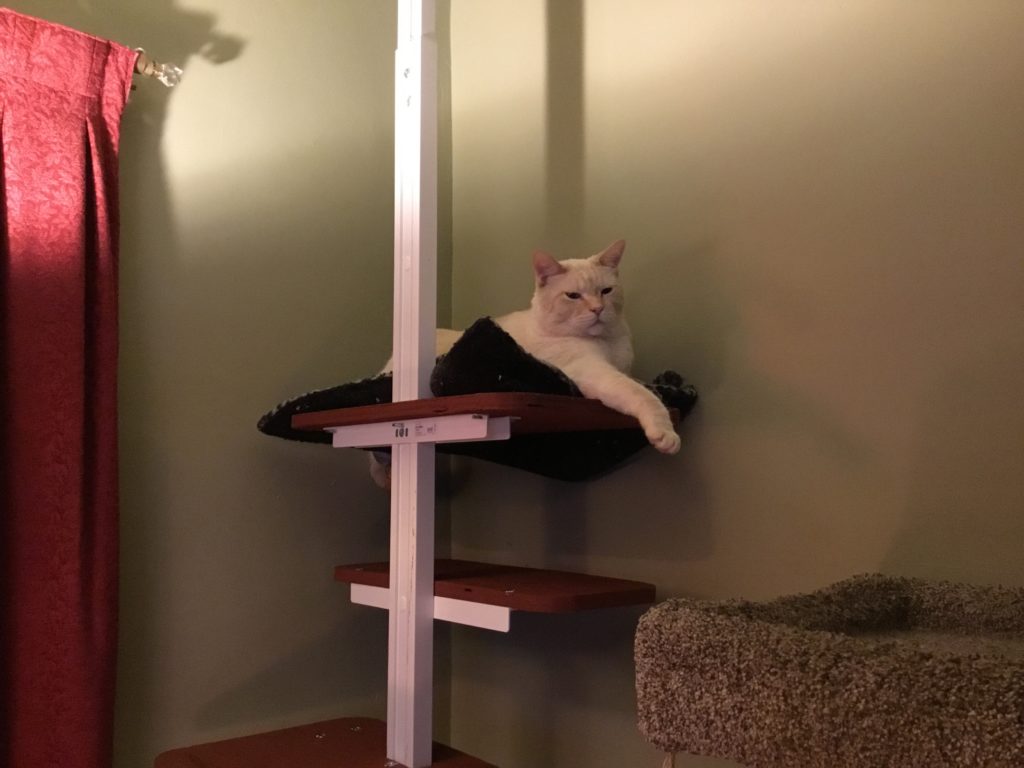
If this is going to be the only cat tree and it won’t be next to any furniture then I recommend adding 7 shelves and spacing them opposite if one another set at ever mounting bolt, don’t skip a mounting bolt and this sets the shelves too far apart and the cats may have trouble accessing them.
In the picture below you can see how I placed the cat shelves too far apart.
I first tried using the cat tree as a free standing cat tree without any wall support. this failed and the cat tree eventually fell over and was then moved to a corner where it had the needed support of the wall.
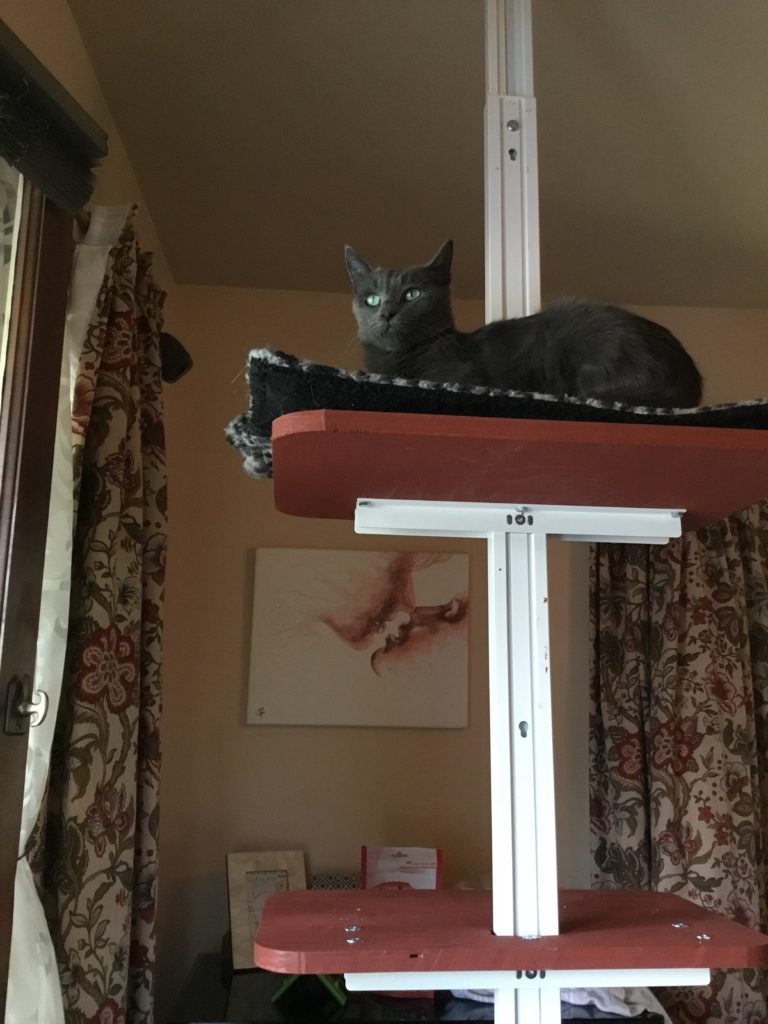
#6. Finishing the cat shelves
For added comfort it is optional to add a layer of felt, wool, cork, or whatever your heart desires. I placed a flat mat cat bed on one of the shelves. You can also cut and glue cork, felt, or wool, and even carpet.
The best option is to have removable easy to clean covers to vacuum and throw in the washing machine.