Restore A Vintage Wood Door
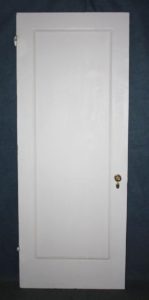
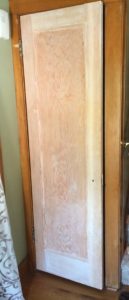
We went vintage door shopping at second hand stores, antique shops, and salvage yards to find our single panel 23″ x 80″ wood door for our 1920’s craftsman style home and all we could find were painted doors. So we had to face facts that we would be paint stripping, re-boring, re-hinging, and restoring a vintage door to install into our entry way closet that didn’t have a door when we bought the house.
Paint stripping Supplies needed
- Wood door to be restored ($20 bought at a salvage yard)
- paint stripper (Citristrip safer paint varnish stripping)
- paint scrapers (5-in 1 paint scraper ) and (plastic putty knife)
- disposable paint brush
- tray (I used a tin pie tray to pour the paint citristrip into and pain onto the door)
- brush set (miniature utility brush set)
- Mineral spirits
- Fine grade steel wool
- Heavy Duty Rubber Gloves are important because the disposable gloves easily get holes when working and the paint stripper can irritate and burn the skin. Wash the gloves after using them each time, when left with paint stripper on them the material will warp and possibly lead to the break down of the material and holes.
Wood cuttingTools
- Circular saw
- Router
- Hinge template
- Smoothing plane
Refinishing supplies
- Wood stain (oil or latex)
- polyurethane for the top coat
I chose citristrip because it was the least caustic and safest chemical stripping agent with positive reviews.
1.) I took the door and set it on the saw horses and tested a small corner of the door.
A common mistake that wasn’t thoroughly mentioned in the product reviews and i did myself is that people don’t wait long enough for the stripping agent to do its job before test scraping and then assume it doesn’t work.
2.) Once I realized my mistakes and that the product worked relatively well then I slathered it on the rest of the door.
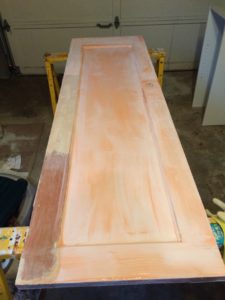
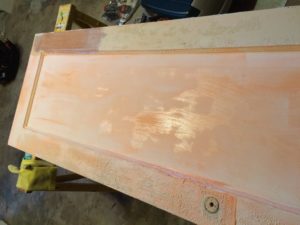
3. This is a set it and forget it type of project and the longer you let it set the better it will work. I left it on for over 12 hours over night before scrapping off the paint with the plastic putty knife and the 5-IN-1 tool for the detail work. Whatever the putty knife couldn’t get I used the mini brass utility brush to remove the paint on the detail work and inner corners.
The instructions on the bottle say not to leave it on longer than 24 hours.
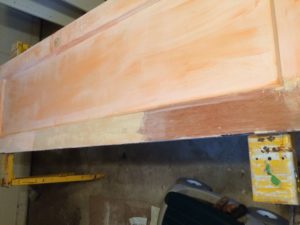
4. Mineral spirits was used with the steel wool to gently remove any remaining paint and neutralize the citristrip.
Door Sizing and Hanging
5. We took the stripped door and dry fit it to the closet door opening.
6. We used the circular saw to cut the hinge side of the door down. We cut the hinge side in preparation of needing to reroute the hinge holes.
7. We then dry fit it to the existing door jamb to get the existing hinge placement onto the door before using the hinge template and router to cut the hinge cut outs.
8. We hung the door and discovered it wasn’t flush and needed to use a smoothing plane to even it out to get it to shut completely.
9. Fill the old mortise lock set hole with scrap wood
10. measure the door to the existing jambs striker plate for mortise lock and knob boring placement.
11. Remove the door from the hinges and any hardware
12. apply the stain (In our case 4 coats of stain) according to the instructions.
13. Apply the polyurethane top coat.
14. Install the door hardware and re hang the door.