Fzj80 Back Bay Customs Tailgate Storage Lid
I finally made the big plunge head first down the rabbit hole of land cruiser wish list upgrades and bought a Back Bay Custom Tailgate Storage Lid. I was so impressed and happy after installing the rear cargo attic shelf that I was compelled to continue to find efficient ways to store all of our gear and continue to declutter. We completed this modification in October 2019.
For starters I signed up for the Back Bay Customs emailing list a year or more ago and I was finally notified as soon as the tailgate lids were back up for sale. By the time I got around to their website they had already sold out of the black lids. Lucky for me I wanted the oak color and ordered it. Overall I am extremely happy with the quality of the tailgate lid and greatly appreciate having the gas lift strut. I was also lucky enough that While at the Overland Expo West 2019 I was able to see a modern land cruiser and their sorry excuse of tailgate storage and this helped me to make the decision to buy the lid.
It is important to note that the instructions were missing from the box and the pdf instructions on their web site are out dated and lacking detail but their email communication was great and helped us finish Up the same day we started, Sunday! The PDF shows the incorrect placement of the gas strut hinge mount, just move the mount to the farther bolt holes closer to the farther outside tailgate edge.
IMPORTANT INSTALLATION NOTE:
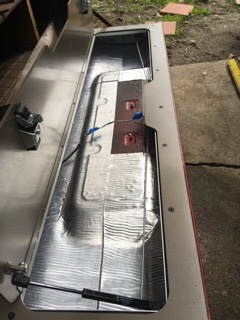
After cutting away and removing the sheet metal you can look at the underside of the remaining area and see 4 support brackets. These brackets need to be cut across their top where they meet up with the top sheet metal that you just cut away and that the lid frame will be sitting on top of. Cut a 1/4 flat notch out of the four brackets and your aluminum strips should seamlessly go into place. To do this we used a jig saw.
I also lined the cargo trunk space to stop rattling nose and to prevent objects from sliding around.
I wish that it would have come with a trunk liner but otherwise I look forward to using it on our next trip!
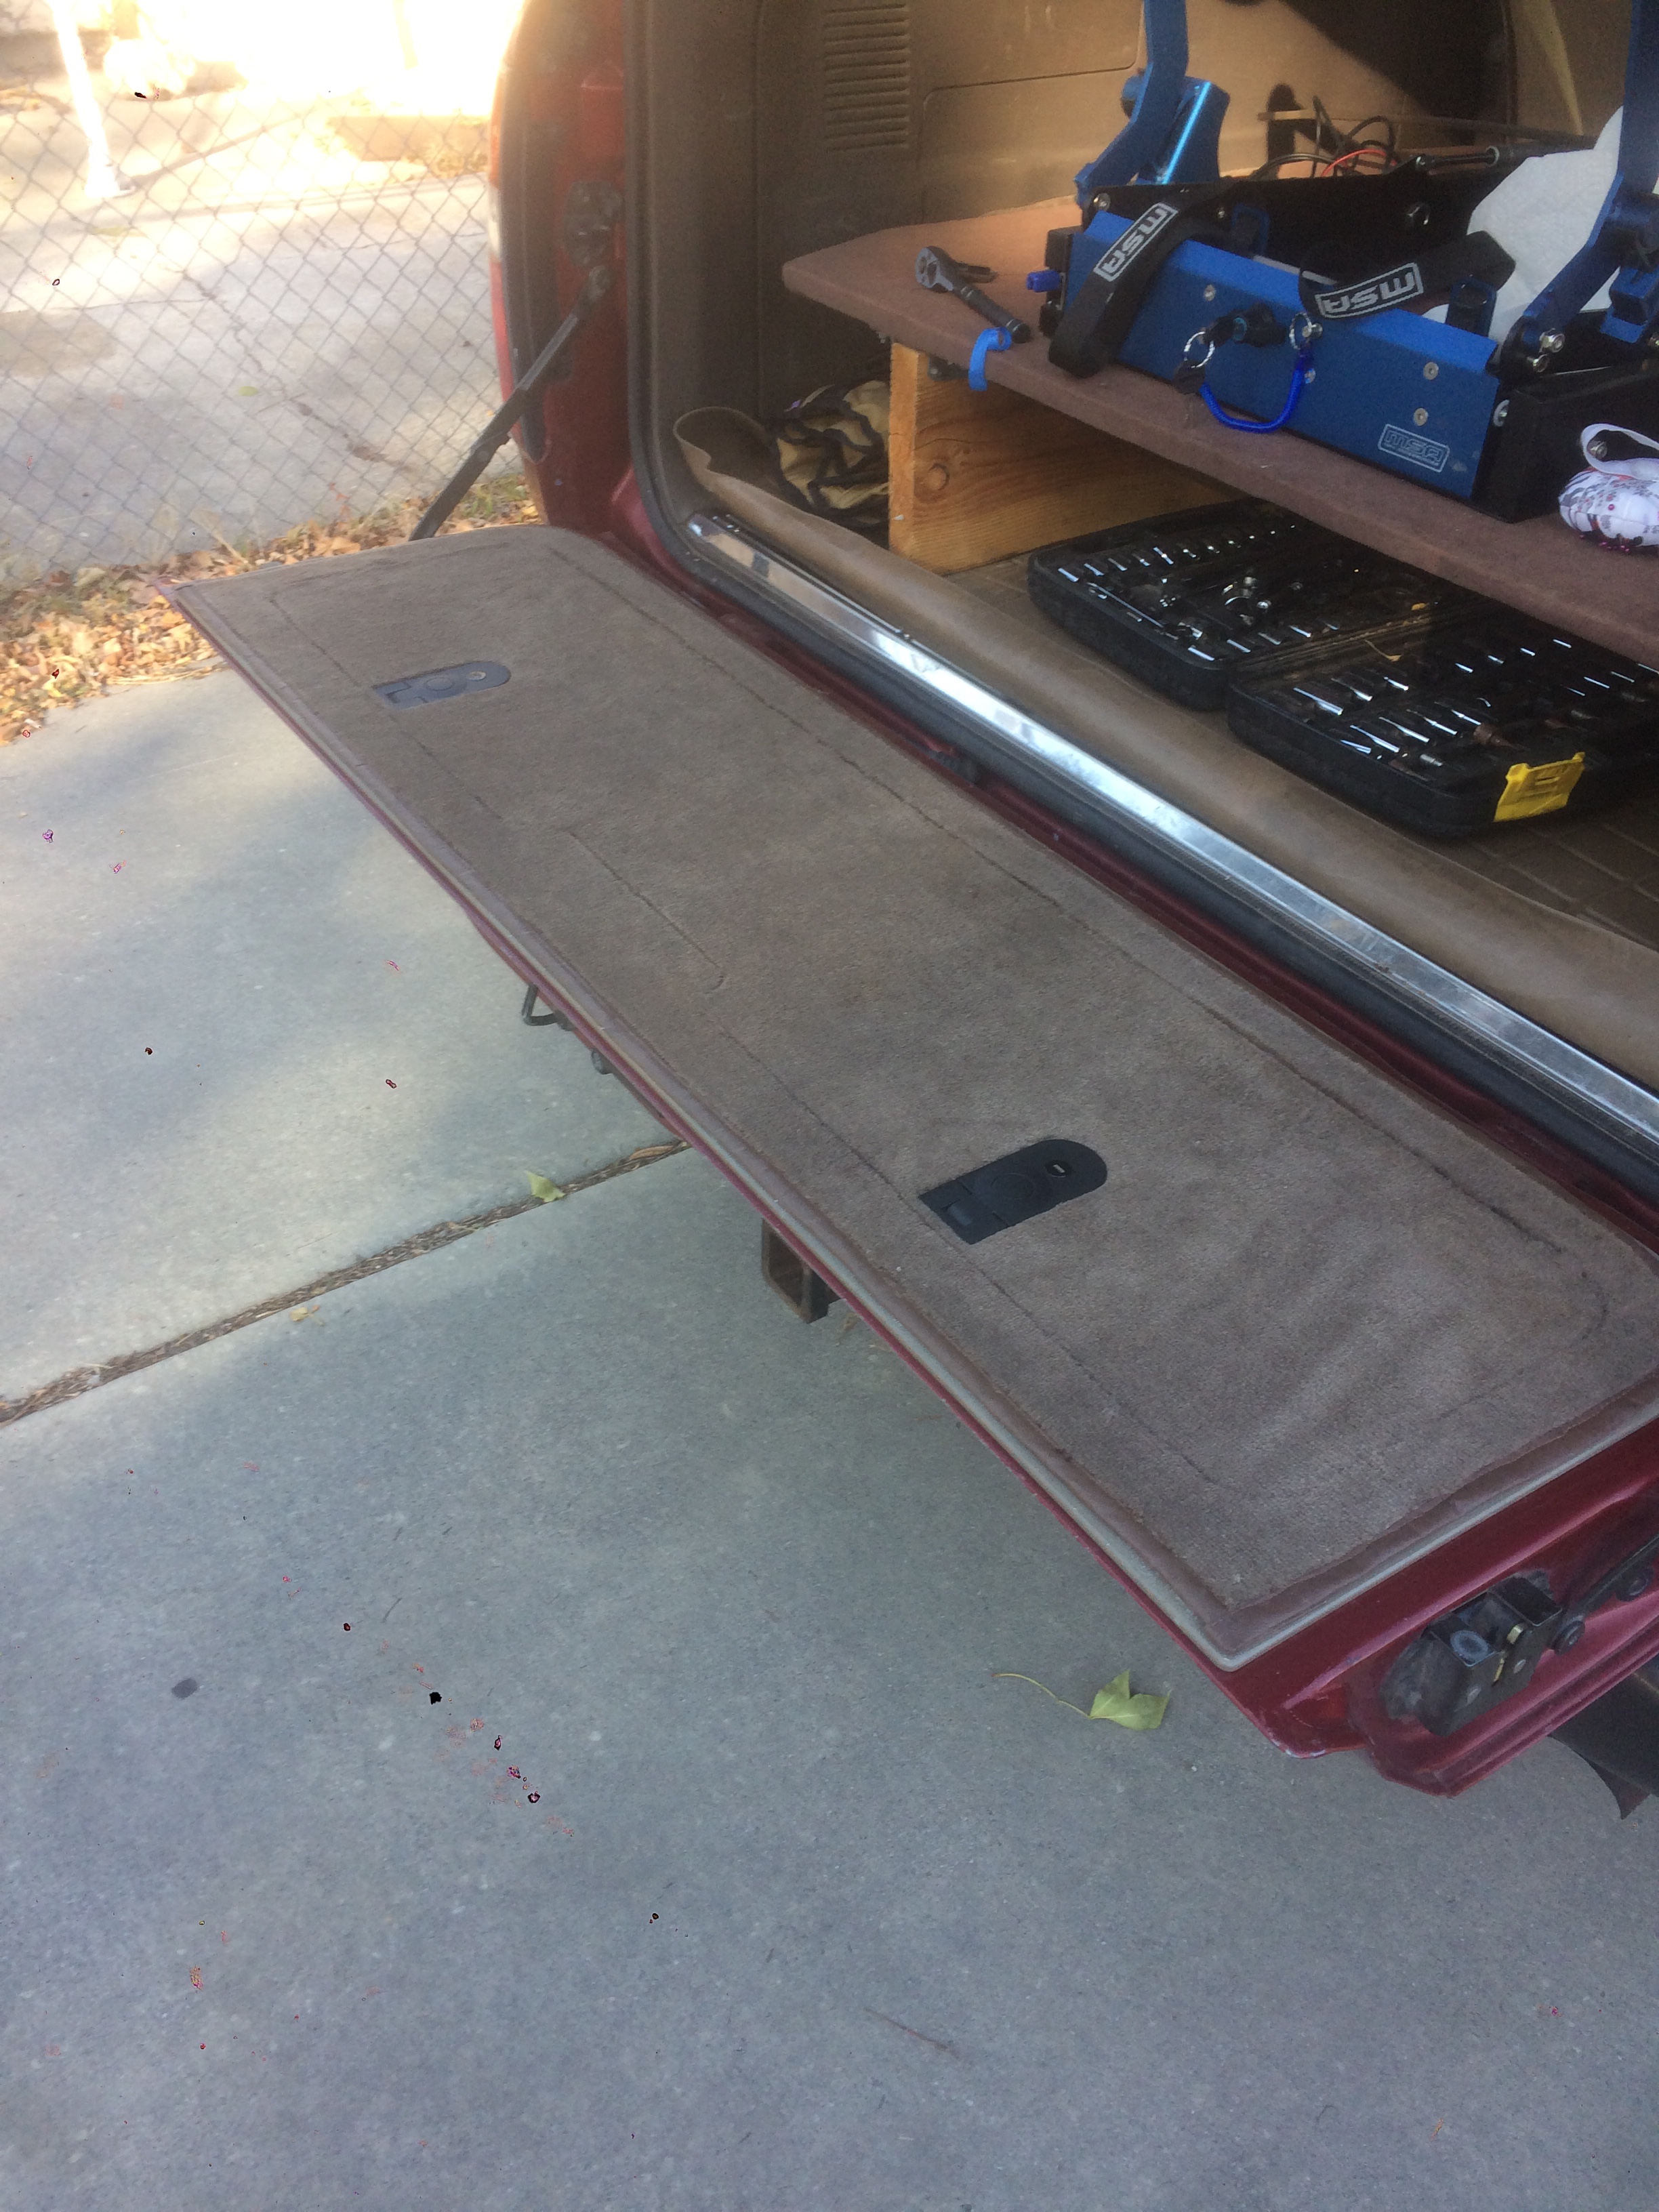
Additionally we really wanted to keep the lid area carpeted and here is how I did it!
UPDATE: 8/17/2020
The carpet didn’t last in the high heat of the desert sun and fell off. I had to use gorilla glue to re attach it once the temperatures dropped.
I was inspired by Ih8mud Tailgate Lid Carpet Install
#1. Remove the stock carpet and staples from the backer board.
#2. Clean carpet and make repairs.
#3. Test out and mark where to align and glue the carpet to the lid.
#4. Clean the lid surface with a degreaser or mild soap and warm water.
#5. Use 3M Super 77 spray contact adhesive.
#6. After allowing the carpet to dry for a few hours to over night.
#7. Use Sewing Pins.
I used sewing pins to outline the lid edging. I then used an exacto knife to cut the carpet using the needles as markers. Cutting out the holes for the latches was the easiest part. The hardest part is cutting above the hinge and getting the needles to fit between the hinges.
#8. Modification
After the carpet was installed the latches didn’t seem to want to re attach. Some finesse is needed and loosening the bolt to adjust to the added carpet height.