DIY ANTIVIRAL FACE MASK
With all of the overnight sensation DIY Face Mask posts that have popped up in the past few months what could possibly be different about my masks?! Well for starters I researched the efficacy of DIY Cotton masks and came up with this solution based on real life scientific peer reviewed published research!!!!! I am a little late to the game because I took my time making sure that what I am doing isn’t in vain and will actually protect me better than the single and double ply cotton masks that only offer a 50/50 chance of protection! For what it is worth I was interested in DIY masks long before this pandemic ever hit!
My mask design is mirrored after the Medical grade N95 and uses 4 (5) layers and citric acid.
Contrary to popular belief of the public the best masks, for long term use, DO NOT use elastic for ear straps!
Update November 2020
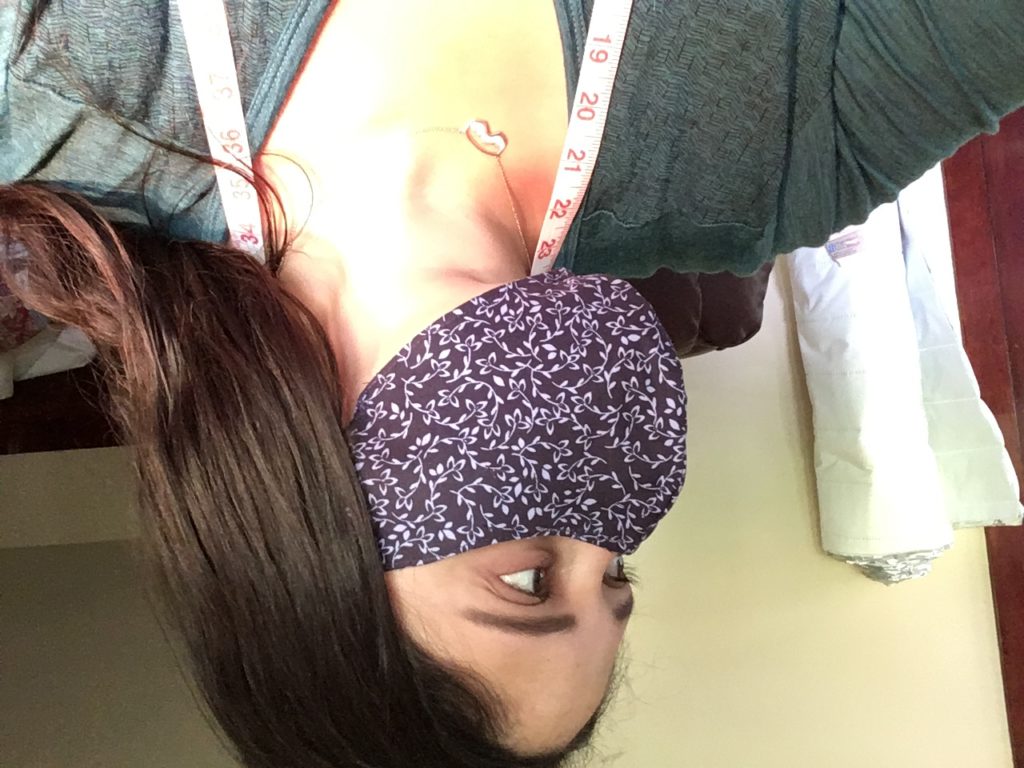
We have been using my masks for 6 months straight. I am able to re soak them in the citric acid solution and keep reusing them. I love how form fitted they are to my face and they never slip or fall off my face. I see too many people with masks falling off their faces every time they blink. This mask template I used allows us to wear sunglasses and reading glasses without fogging up!
Lets get to it!!
Materials
- Cotton (Decorative Face fabric seen by the public)
- Extra cotton for 1″ Nose wire pocket
- Pellon 950F (Stabilizer)
- Pellon 915 (Spun Polypropylene, Inner Fabric against face)
- Pellon 830 (cellulose Filter)
- Non woven Polyester (Alternatives are non woven polypropylene felt, nylon felt, or polyester microfiber)
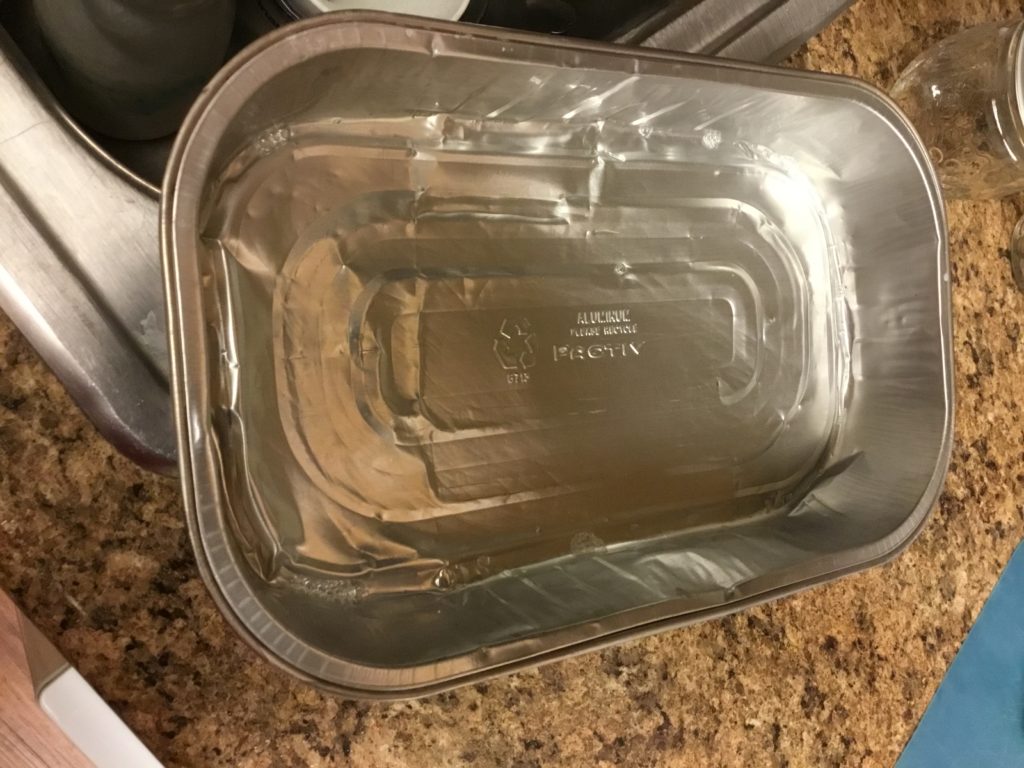
- Aluminum bake ware (Alternatives are 16 gauge metal wire, or Coffee bag aluminum clips)
- 1/4″ Twill tape or 1/4″ Bias Tape
- Pony Beads
- Citric Acid
- Distilled Water
- Surfactant
- (Optional) Pinking Shears
Instructions
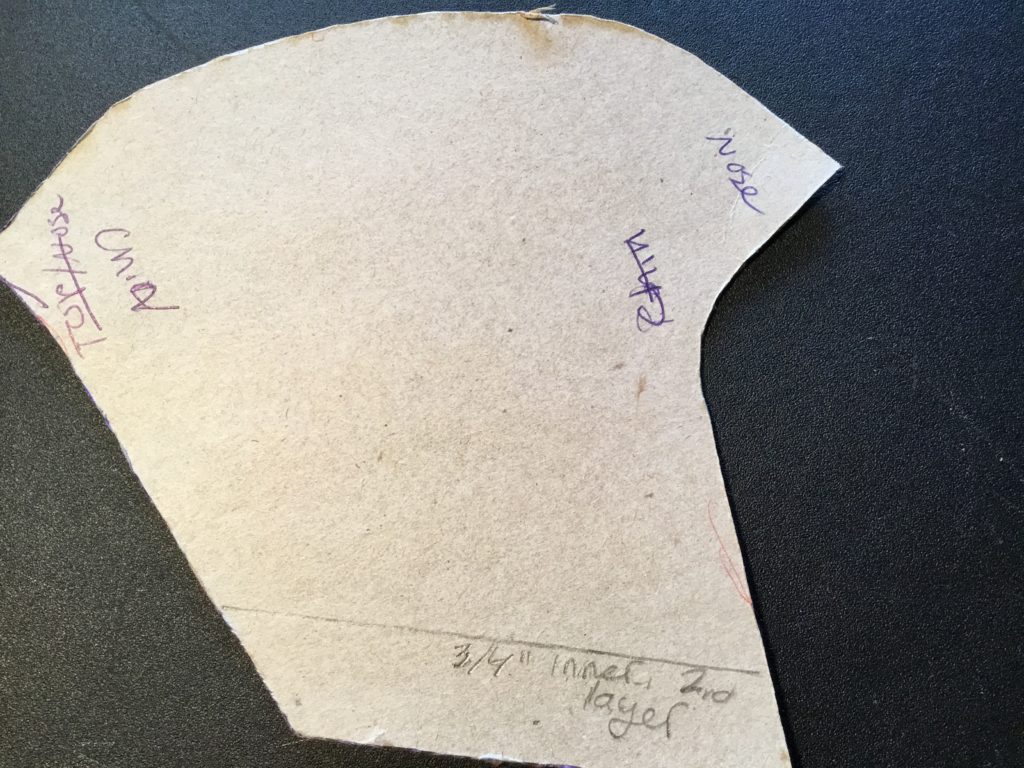
Step #1.a Choose a sewing Template
Whatever template you choose is going to greatly alter the way in which you make your mask and it may be necessary to make adjustments and modifications to suit your own personal needs and template.
Step 1.b Pre Wash Cotton
Step #2 Cutting materials
Food for thought.. in order to cut the filters a completed mask will need to be used to trace an outline.
It is important to mention that my filters are unscathed and un punctured non woven solid filters! I did not cut these in half and sew them together because that would create puncture holes allowing for transmission of microorganisms. Instead I used a completed mask to trace and then cut whole pieces. Cut the outline 1/4 inch smaller so the filters will fit into the mask pocket.
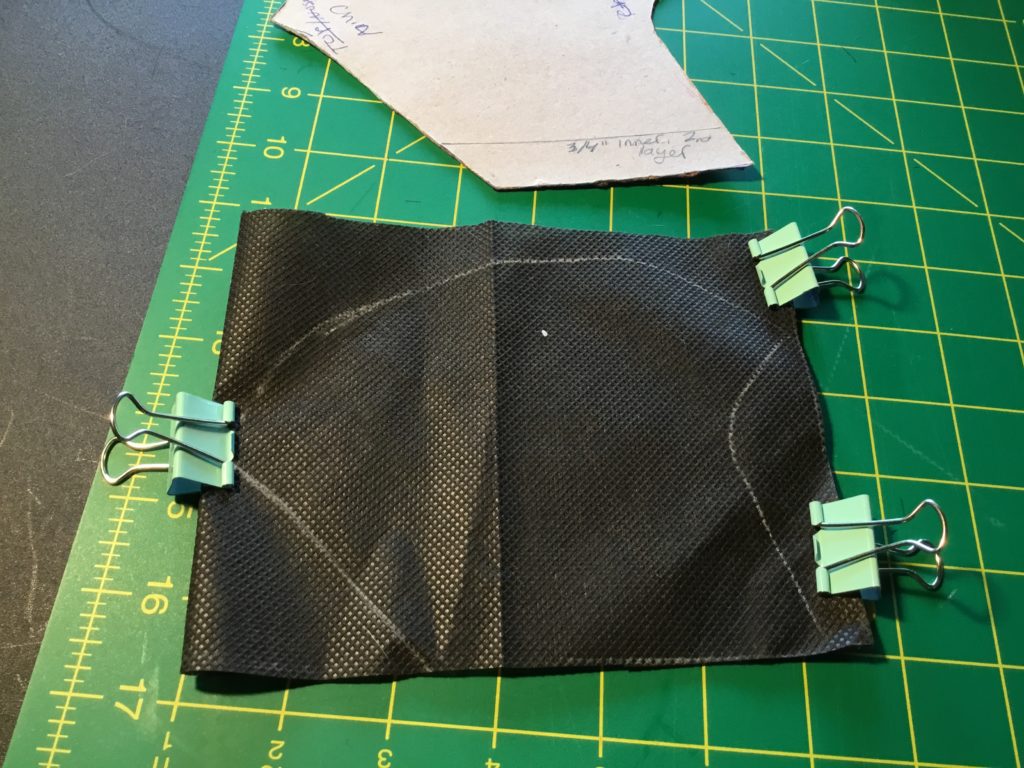
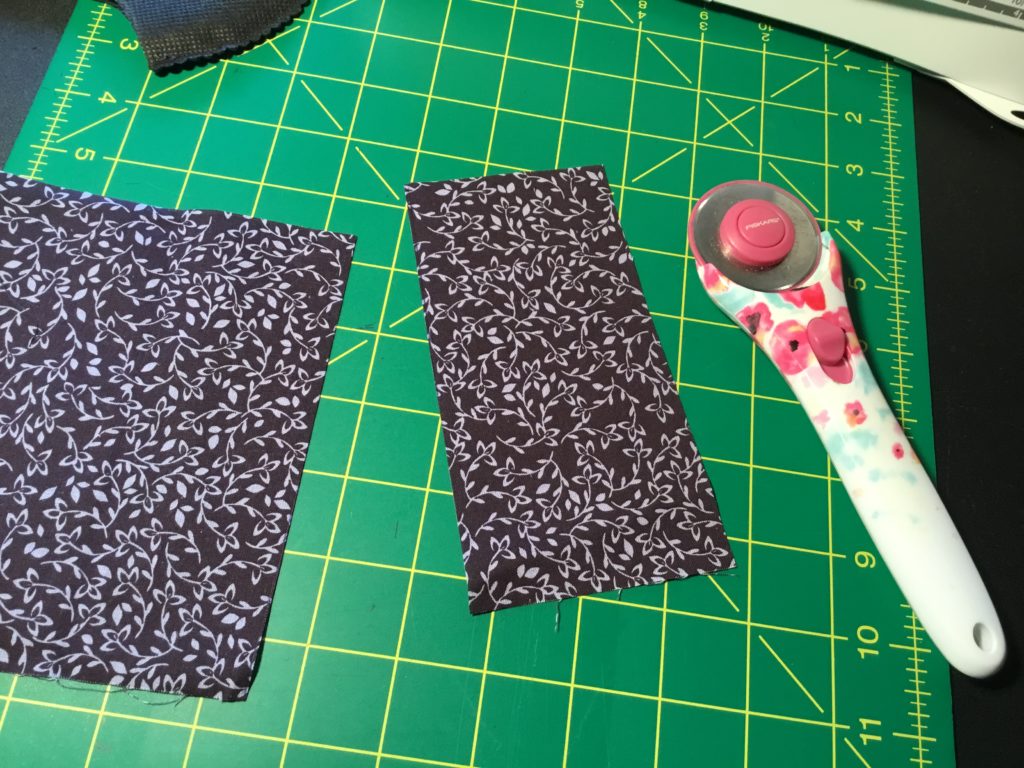
After making the templates by cutting old cereal boxes and cardboard, I then Ironed out the cotton and measured out my face fabric, Pellon 950F Stabilizer, and my Pellon 915. I cut enough pieces to make multiple masks in batches of 3-6 at a time.
Ex. 6″ x 12″ rectangular fabric pieces for the cotton and Pellon 950F. I cut the Pellon 915 6″ x 11.25″ I then folded the fabric in half and pinned it together with the template to draw and cut my outline.
I cut out a piece of cotton fabric and pellon 950F that was long enough to be double folded over so that my template of a half mask would cut out multiple pieces at once.
what you can’t see in the picture is that my cotton and Pellon 950F are folded in half together and are cut at the same time.

Next I folded over my Pellon 915
Step #3 Soak
The moment everyone has been waiting for THE ANTIVIRAL COMPONENT!! The filters are flammable DO NOT microwave them.
***Doing this makes the mask antiviral and capable of being washed in cold water and hung dry and effective for up to 20 wash cycles!***
WARNING THIS MAKES A LARGE BATCH I was able to soak 9 masks (cotton and Pellon 950), 11 felt filters, and 11 Pellon 830 Filters! DO NOT PUT ANY OF THE PELLON INTERFACING FABRICS INTO THE MICROWAVE!!
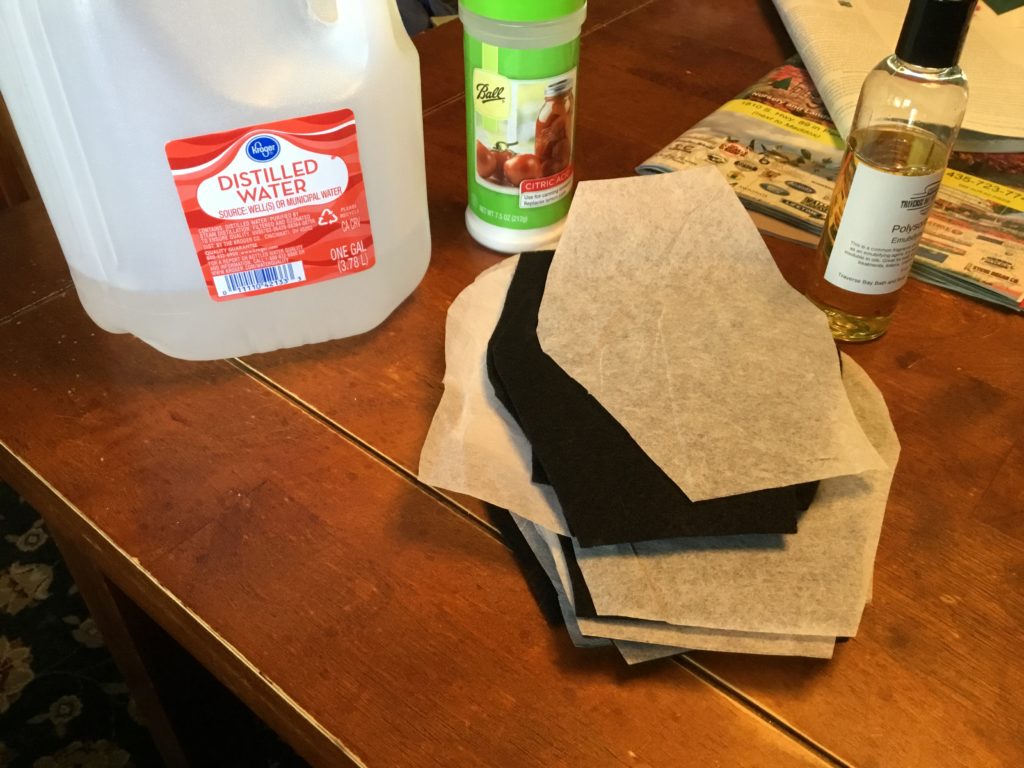
******16oz citric acid solution*******
I suggest using distilled water for anyone with hard water. Also heating up the distilled water before mixing and stirring the surfactant drastically helps prevent clumping.
- mix 1.04oz of surfactant
- 1.12oz of citric acid into
- 13.84oz of hot distilled water and STIR until the surfactant is dissolved!
Start by Dipping ONLY the Cotton fabric in the citric acid bath until it is entirely wet and then allow it to drip out the excess liquid, I used my clothesline outside. Next dry ONLY the cotton it in the microwave by setting the power level to 900Watts for 20 minutes.
Next Whatever couldn’t go into the microwave, all of the filter materials, were dipped and soaked in the solution and then got hung up outside (90+ degree) on my clothes line.
Please note that whatever is used to mix the solution is going to become very soap sudsy. I have used one of my aluminum bake wear pans and a glass bowl to mix the solution in and I didn’t have any issues cleaning either of those afterwards.
To Re soak the masks simply cut the recipe in half and hang dry the masks and filters outside. DO NOT put them in the microwave because this will melt and burn the filters and mask. These materials are flammable and should never be placed in the microwave once fully assembled.
Step#4 Sewing

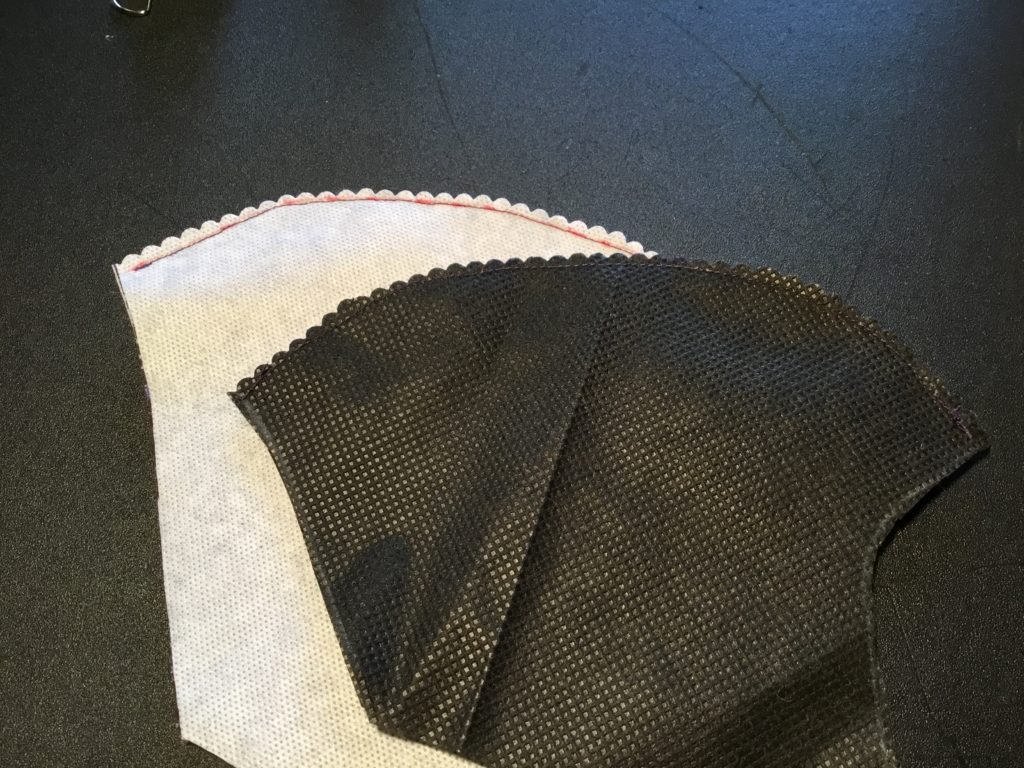
Pellon Liner
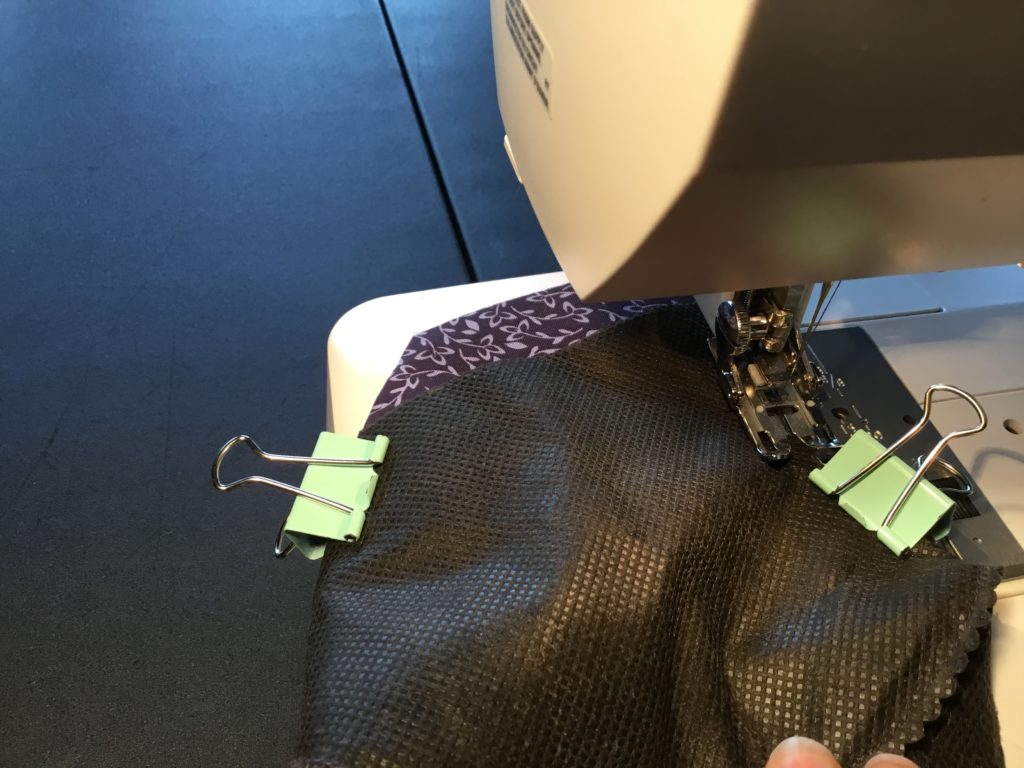
- Place the Pellon 915 (Black fabric) Face Side Together
- Clip into place
- Draw a 1/4″ seam allowance
- sew it together down the seam allowance!
- Use Pinking shears to cut off excess fabric from around the fold or use scissors and cut out “V” shapes along the exposed sewn edge.
Cotton
- Place the cotton and Pellon 950F (White fabric) face fabrics facing one another
- Clip Together
- Draw 1/4″ seam allowance
- Sew pieces together
- Turn pieces Right side OUT and iron to activate the Pellon 950F.
Step #5 Nose Wire
Update: After a few months use my aluminum nose wire break. I have found great success using coffee bag ties.
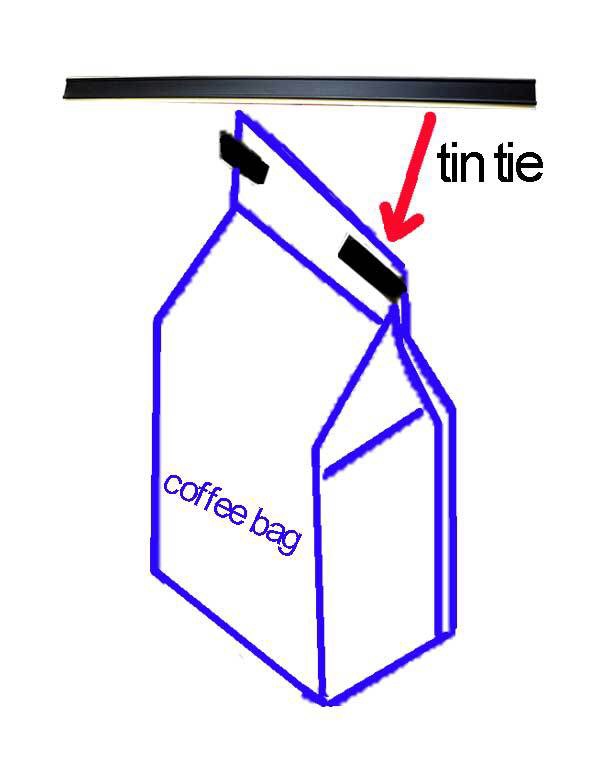
Cutting the aluminum can wait until after all of the sewing is complete but here is how I accomplished up cycling materials from my recycling bin!
For the metal closure over the nose I enlisted the help of my husband Eric to use tin snips to cut up an aluminum bake ware pan that was left over from a Costco Lazana and had been cleaned and stored in a cabinet for just this occasion, or in case I needed to take something to a pot luck or gift a food item!
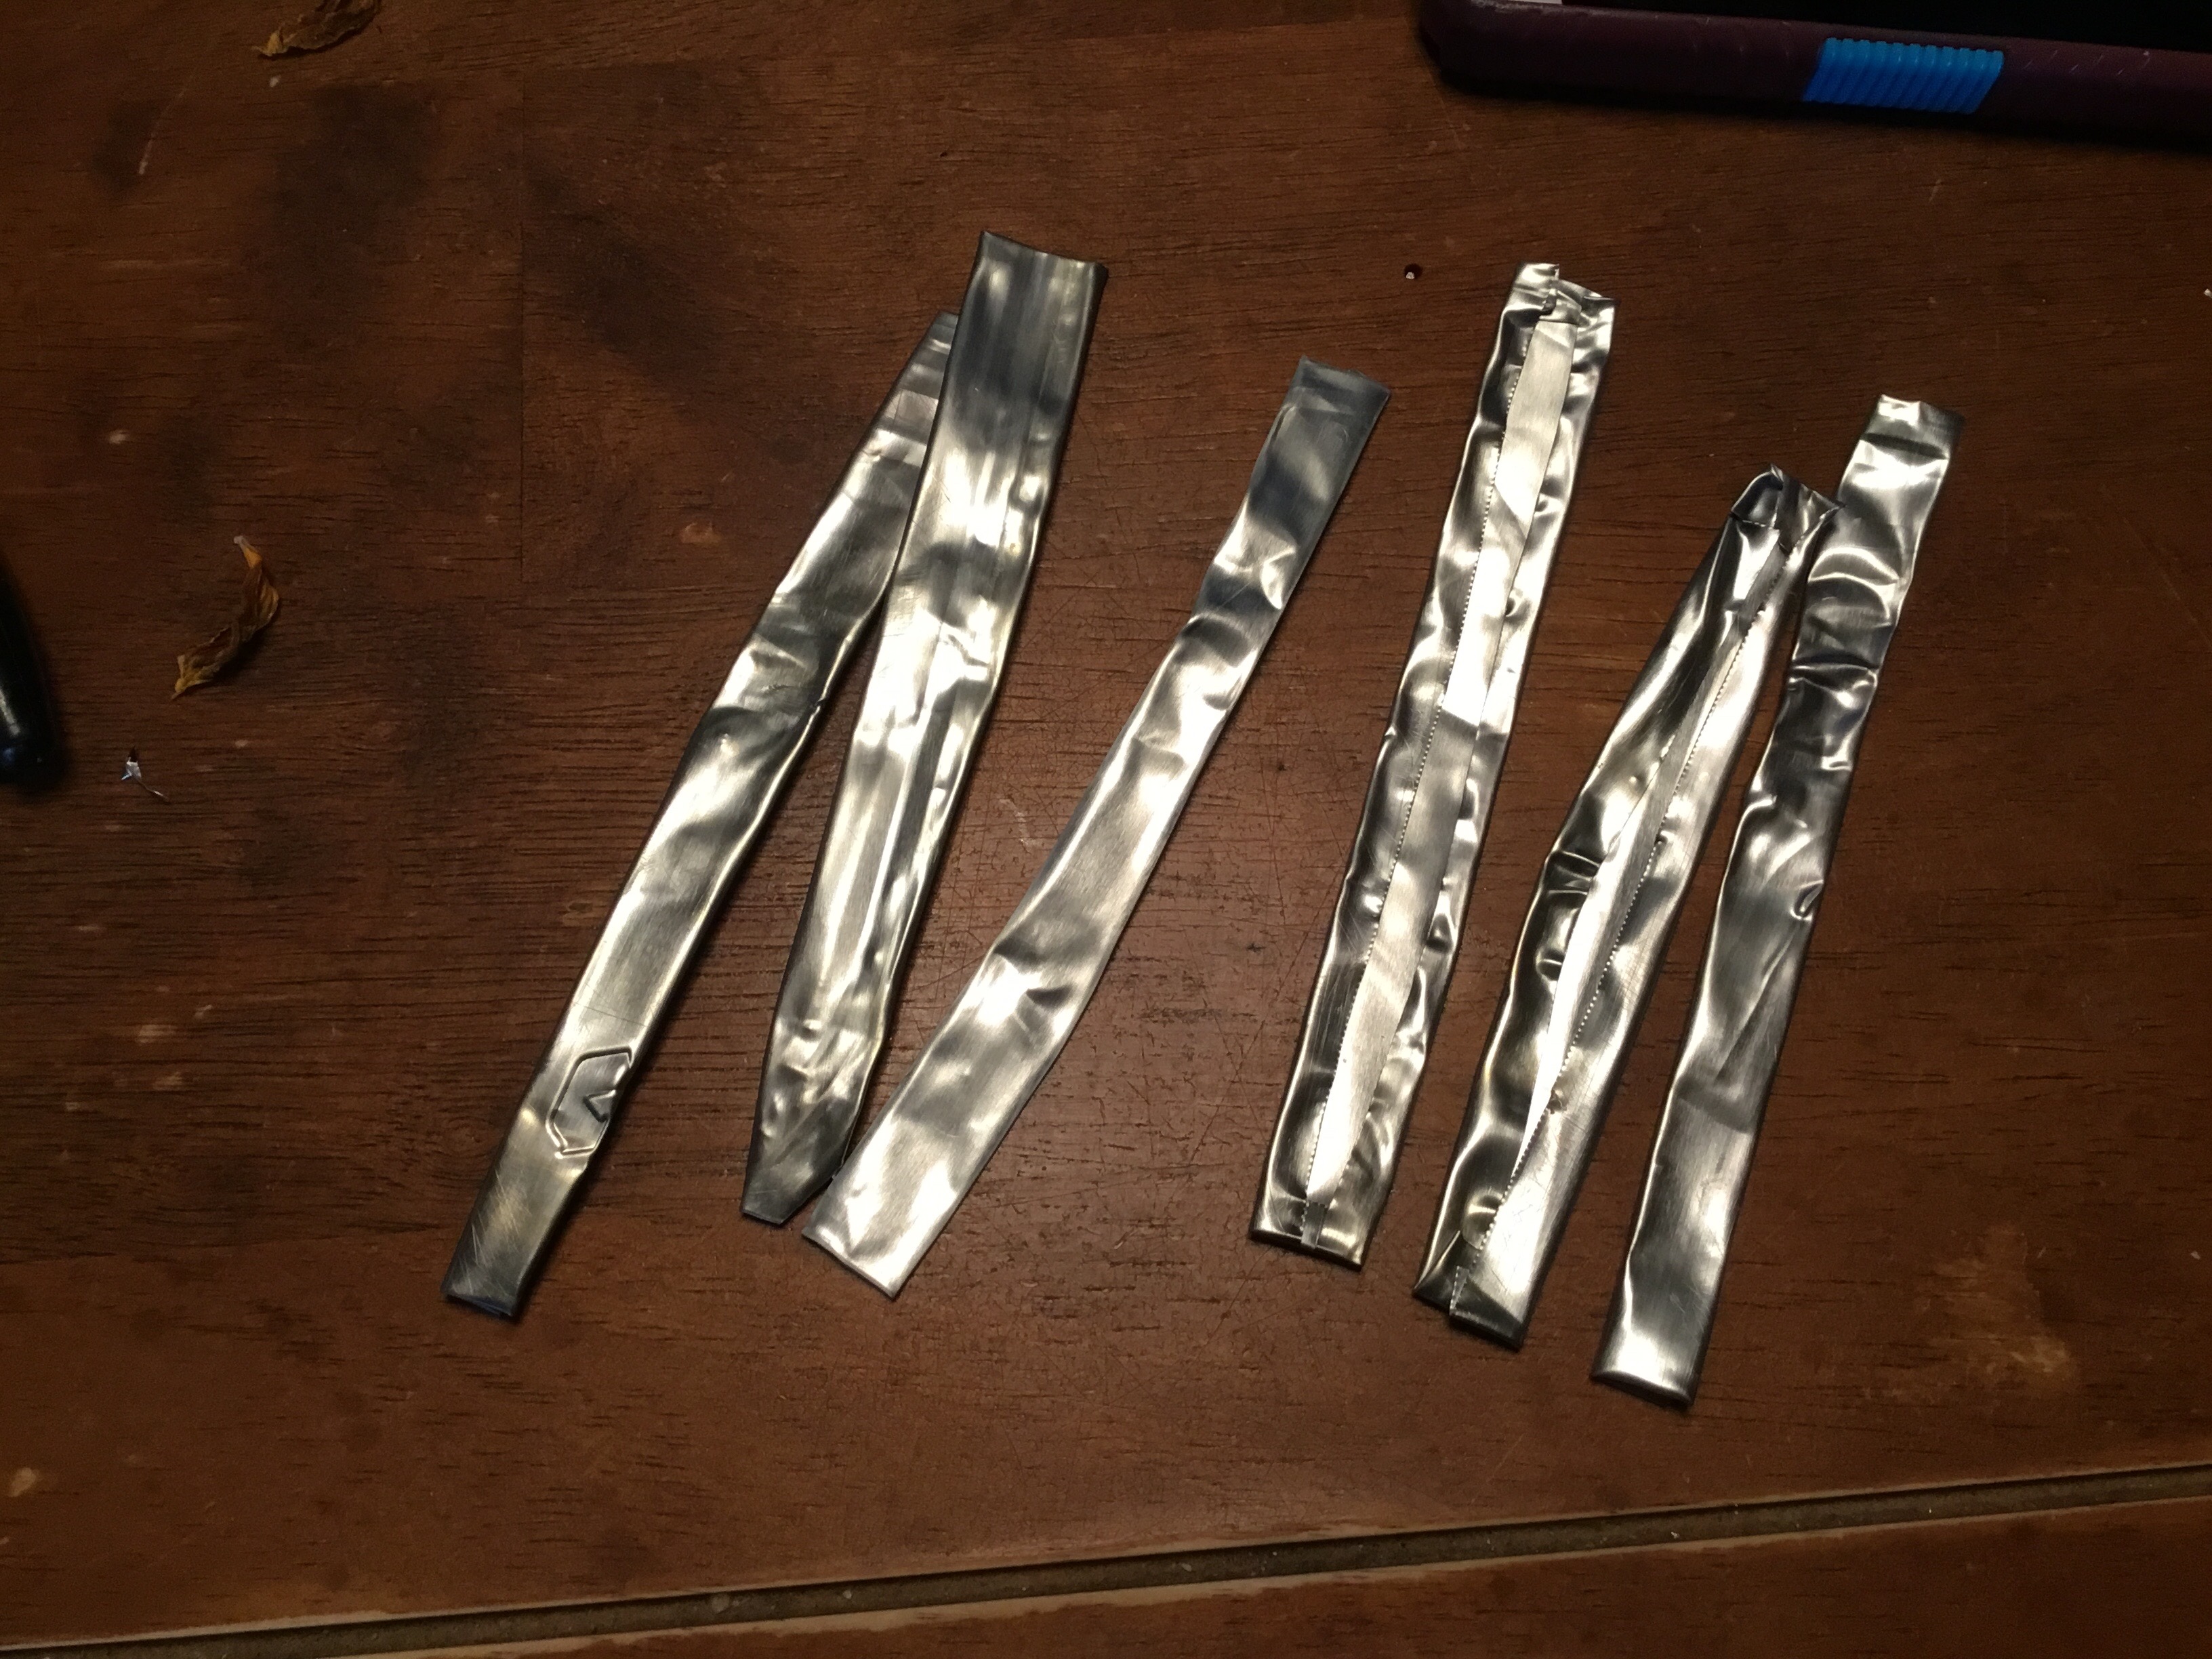
Cut 1” X 6”
Bend all of the sharp exposed edges in on the self so that only a 1/4-1/2 inch strip remains to be slid into the mask.
- Turn the mask wrong side out and mark 1/4″ seam allowance along the top of the face mask
- Take a 1″ cut of fabric and line it up below the seam allowance and sew the top and bottom of the fabric into place.
- TIP: I found it easiest to sew the nose fabric into place while keeping the mask turned right side out and allowing for the sewing machine to follow the contour of the mask!

Step#6 Inner Lining Filter Pocket
- Fold the edges of the Pellon 915 and sew 1/4″-1/2″ of fabric in on its self to finish the exposed edge of both sides of the lining fabric.
- Place the Pellon 915 Black liner fabric and the cotton face sides together
- Pin/Clip face sides together
- Sew along the upper and lower of the mask leaving two open sides
- Turn RIGHT sides out and with your hand or fingers press along the edging of the mask to create a crease where the fabrics are folding.
- Now sew along the edging of the top and bottom of the mask so that the mask will hold its form
- When doing this the cotton fabric should fold in on its self where it remains exposed, closest to the ears.
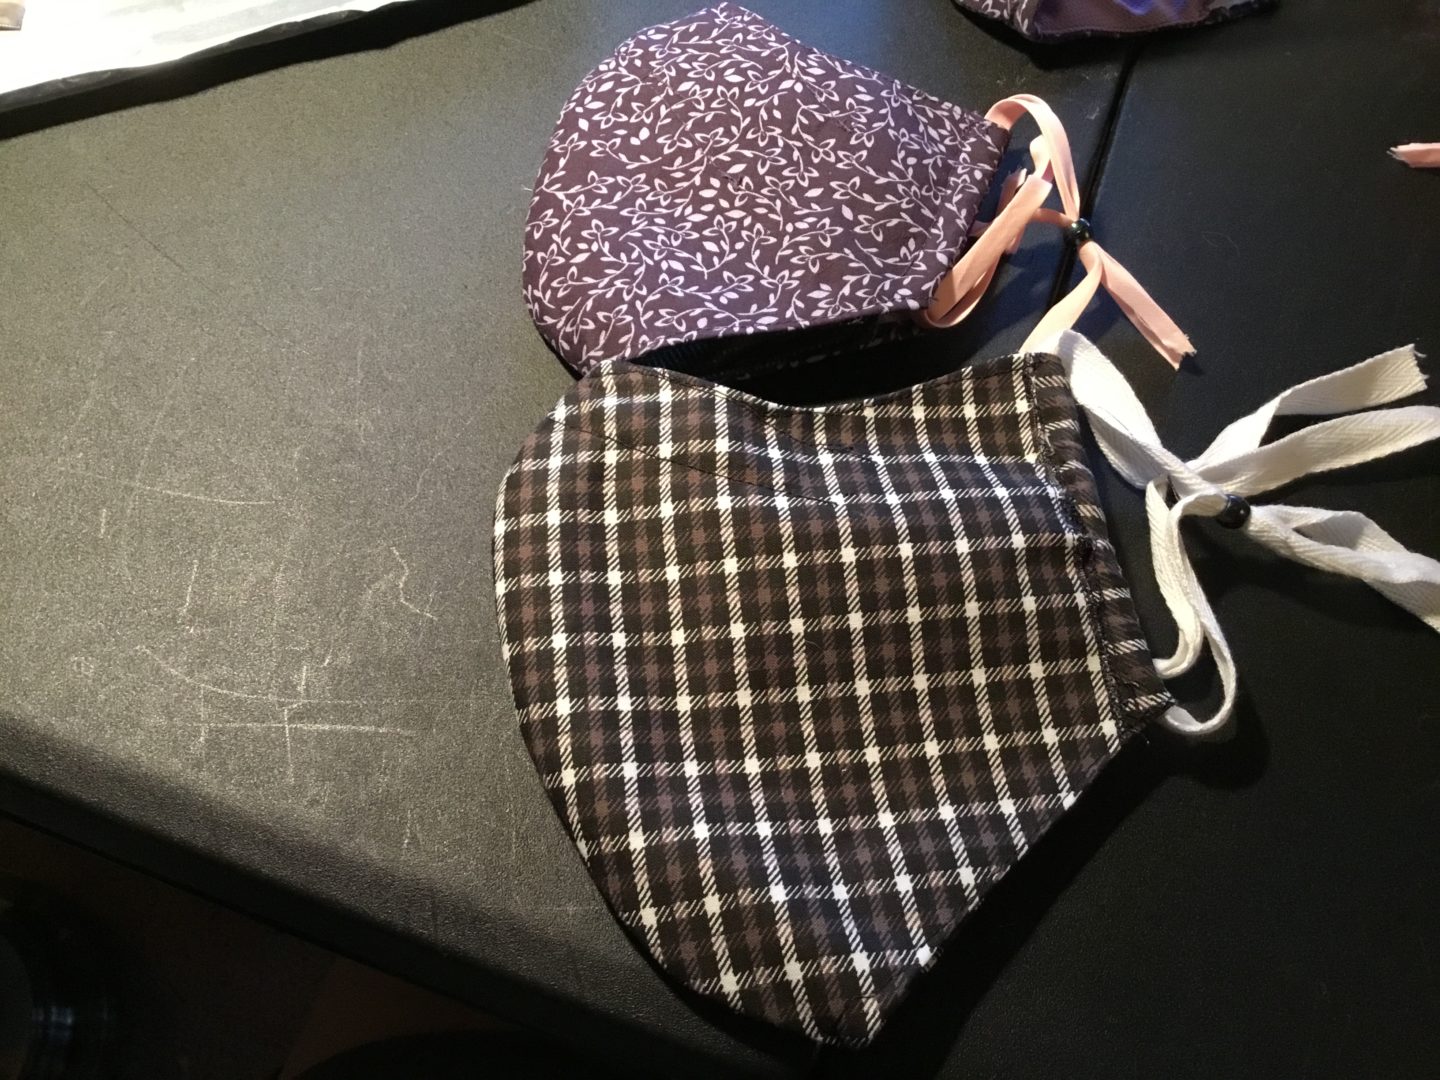
Step #7 Ear Straps
Fold the Cotton edge fabric in on its self to create a small strap pocket and sew a straight stitch.
- Cut 6-7 inches for each ear strap
- Feed the bias tape or twill tape through the side ear holes
- Now is the hard part of getting the straps through one pony bead on each side!

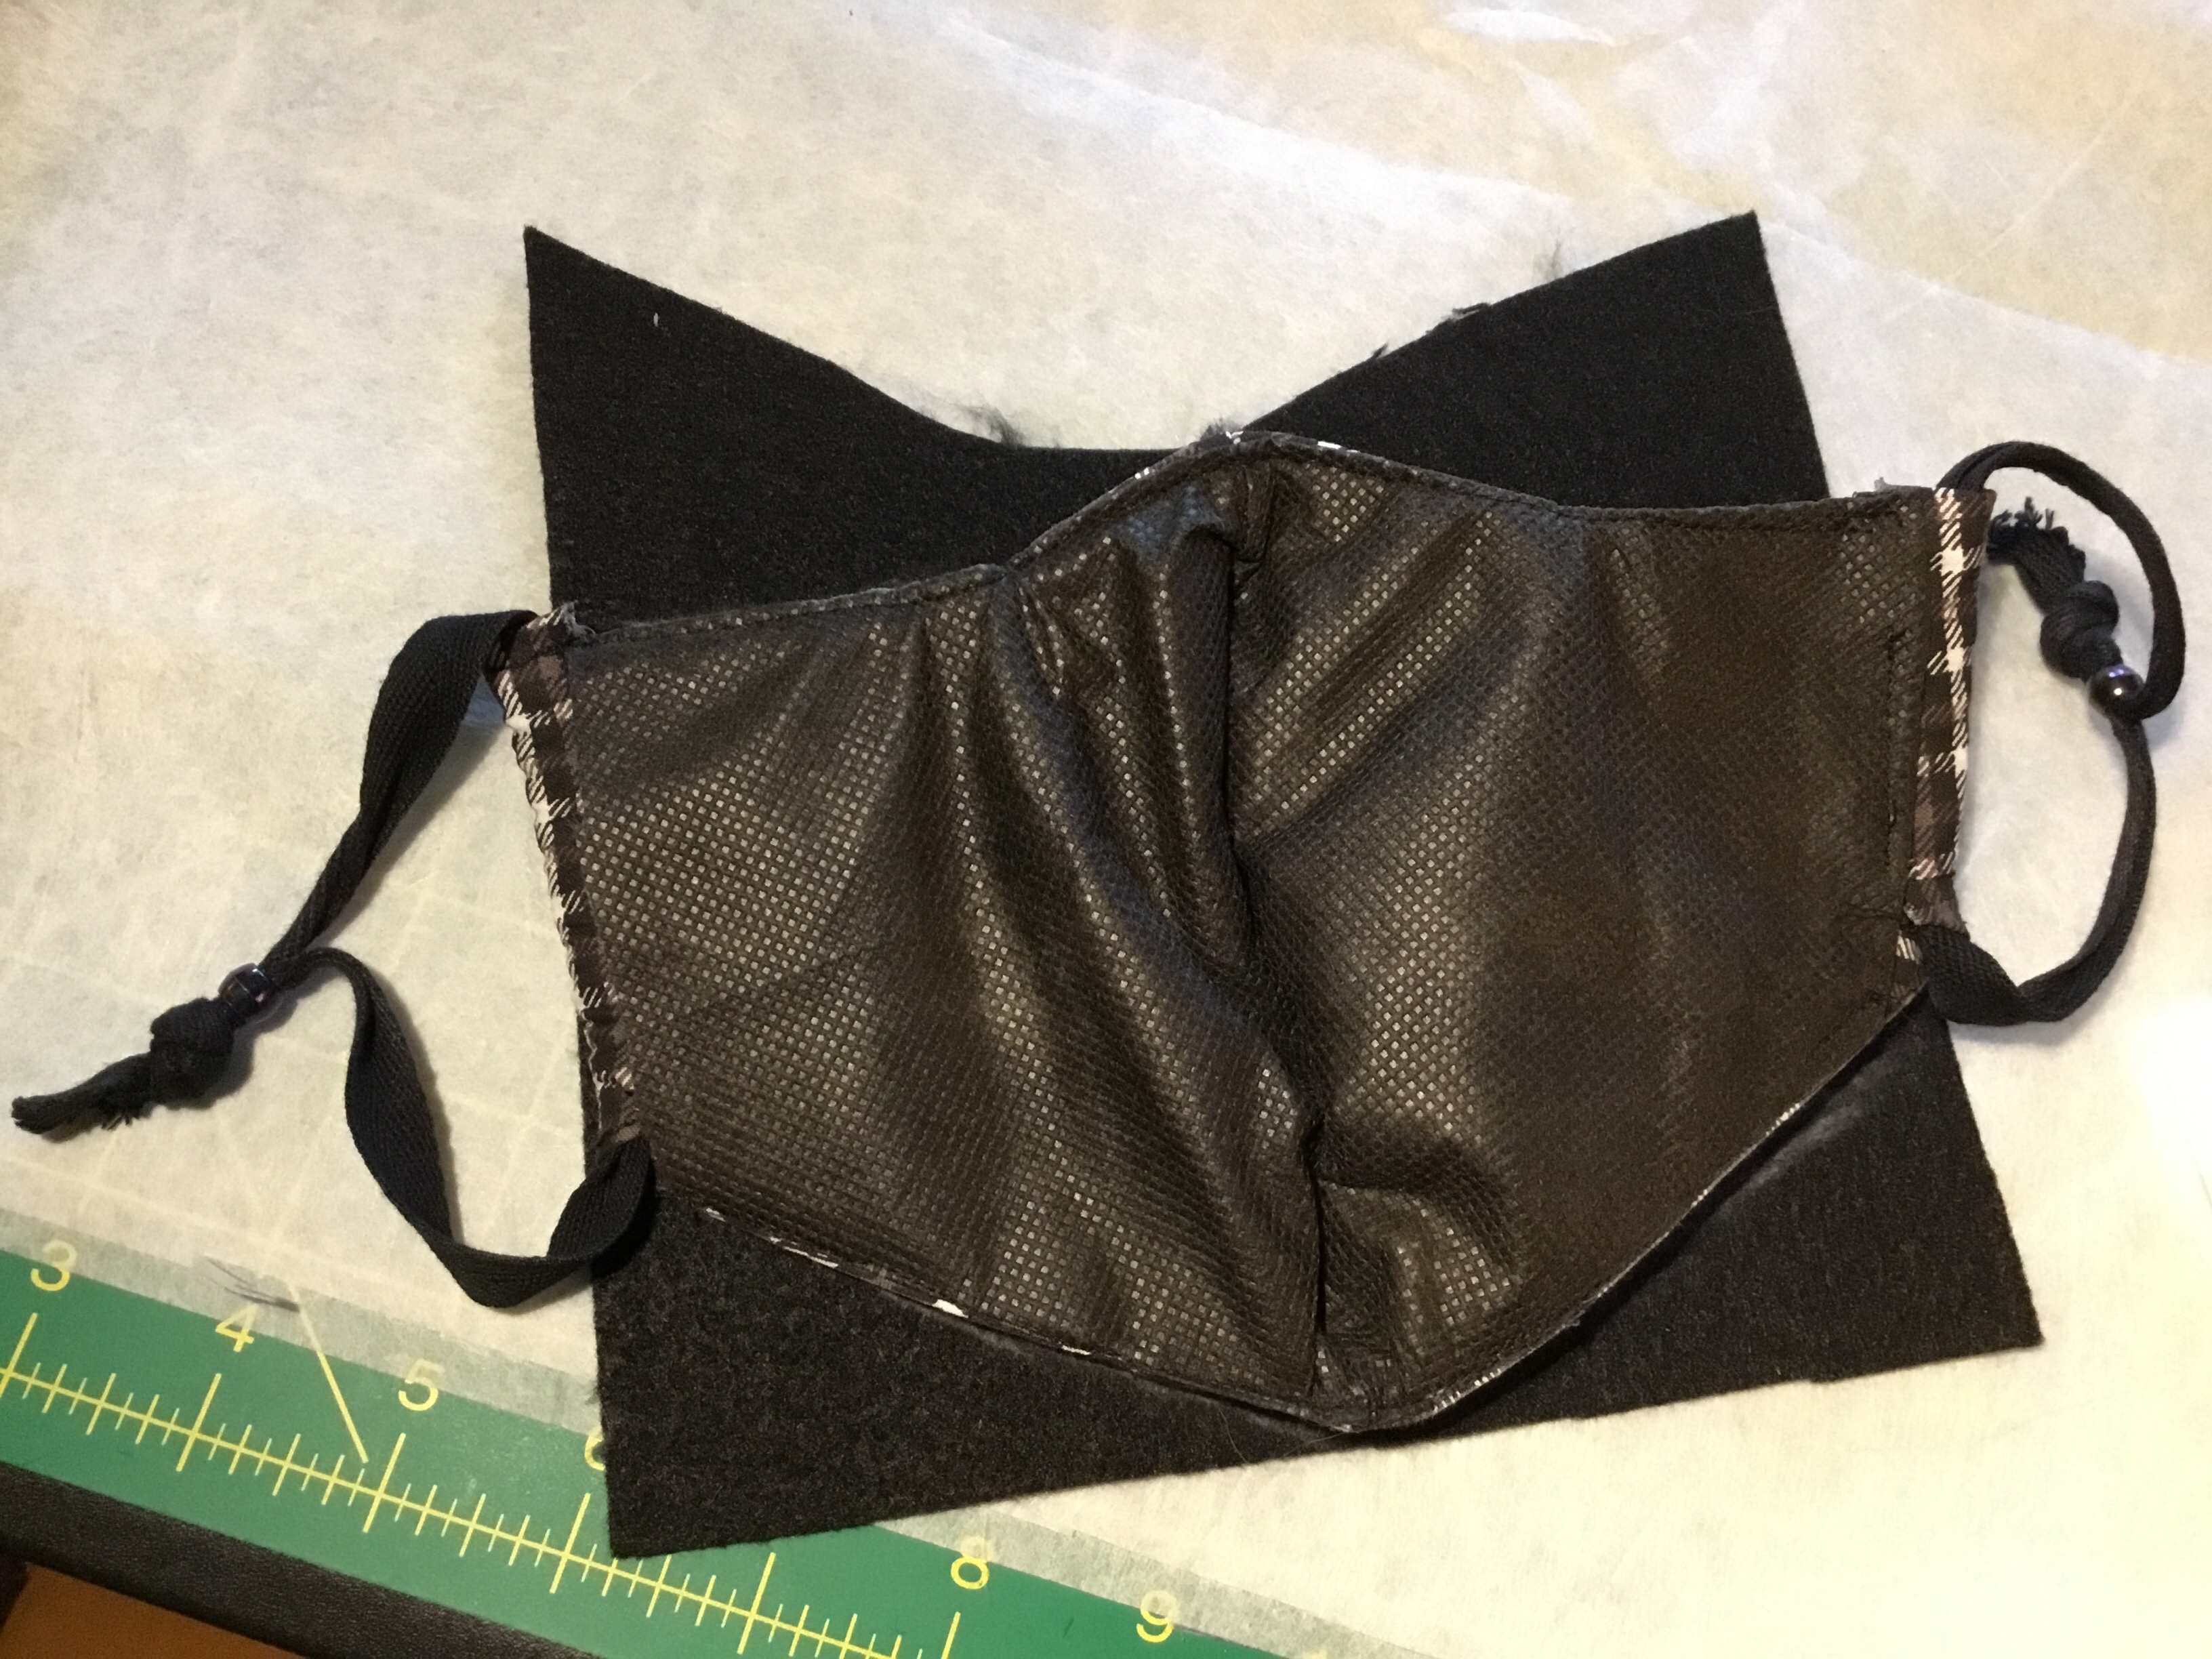
Step #8 Filters
Since this work was completed at the start then the Pellon 830 and Non Woven Felt are dry and ready to be inserted into the mask!!!!
Place the filters inside the mask with the Pellon 830 on top and the non woven polyester felt closest to face.
Top outer layer cotton, polyester/cellulose filter (pellon 830), woven polypropylene filter (non woven felt), and spun polypropylene (pellon 915).
I took this opportunity to spray my masks with some essential oils to help offset the musty smell of the surfactant and yes surfactant does have a oddly musty stale odor to it! DONE!