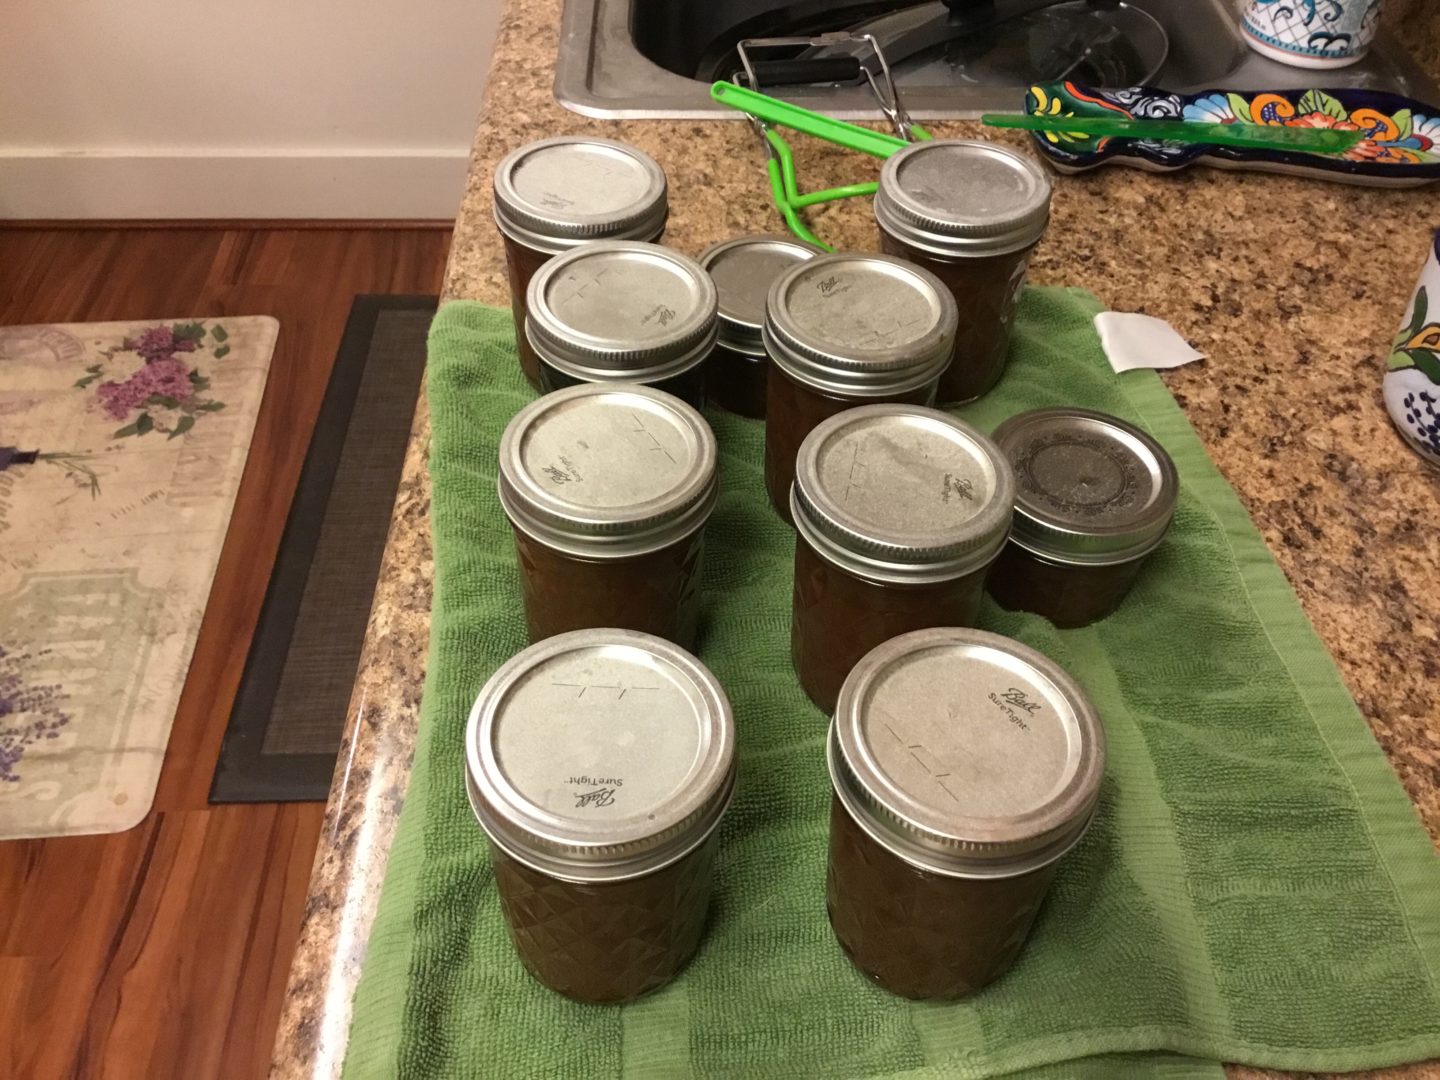
Canning Apple Butter

I used the stove top method year 1 and it turned out amazing especially for a beginner not knowing what I was doing. It resulted in a great texture and consistency but it was extremely labor intensive staying and stirring the mix for hours at the stove.
Year two I used two recipes and combined them into 1 using the slow cooker but I messed up the water content and added too much water (2 cups) during the softening process and it resulted in runny apple butter even after reducing it in the slow cooker for over 9 hours. So here is what I have learned from my success and mistakes.
Ball Guide to Preserving Recipes
Results in 6 half pint jars
If doubling this recipe do not increase water without a 4qt or larger pot. The liquid from the apples will greatly add and overflow smaller pots.
For spiced apple butter use 1:1 ratio substitute of water with apple cider and 3 cups of sugar. Substitute sugar with Brown sugar for a robust flavoring.
Do not be tempted to alter the sugar ratio of the recipe beyond what is written here. The sugar is highly essential for the thickening process of the apple butter.
- 4lbs of apples
- 1 cup of water
- 4 cups of sugar
- 2 tsp cinnemon
- 1/2 tsp cloves
#1. Wash, Peel, core, cut apples
#2. Either simmer them on the stove top in a 2 qt or larger pot for 20-40 minutes or for larger double batches throw them into the slow cooker on low for 8 hours.
#3 using an immersion blender, in the stove top pot or the slow cooker, purée the apples when softened.
Bonus tip: filter the pulp and excess liquid through a food mill, electric strainer, or a mesh sieve before returning the pulp to the slow cooker.
#4. Pour contents into the slow cooker if not already there. Add sugar and spices and set slow cooker with lid ajar so steam can escape. Set to low for 8-10 hours stirring halfway through.
#5. Check apple butter consistency by placing a spoonful onto a chilled plate, if the apple butter stays formed after 2 minutes and a water halo doesn’t appear around the apple butter then it is ready to be canned.
#6. Using prepped and sterilized 8 ounce/ 4 ounce jars fill jars leaving 1/4” headspace for disposable lids. If using Harvest guard or tiggers lid than leave a 1/2” headspace per the companies instructions.
#7. Place filled jars into water bath canner and bring to a boil before reducing heat and starting the processing timer for 10 minutes. Add 1 minute to the processing time for every 1,000 feet above elevation.
#7. Cool jars for 12 hours