½ in EMT Curtain Rod and Finials
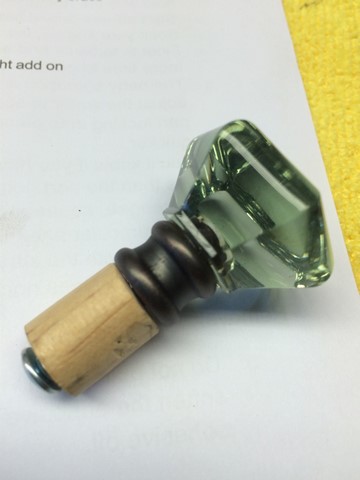
Since my windows are 11ft wide I needed a viable option for a curtain rod that can span the distance, be strong, and light weight. This left me looking at using ½ inch EMT Conduit. I can’t express how excited I was to save money on making my own curtain rods and seeing the finished look of that first curtain rod and finial! After searching for similar pre made curtain rods that retail for over $75.00 each I had to find an alternative DIY solution.
½ in EMT Conduit Curtain Rod and Finials
Supplies
10ft ½ in EMT
5ft ½ in EMT
(4) Drawer Knobs
(1) ½ in Wooden Dowel
(2) ½ in EMT Conduit Coupler
Goof Off
Sand Paper
Cardboard
Spray paint (color of choice)
Electrical tape
Drill
Pencil
Hand saw or Pipe Cutter
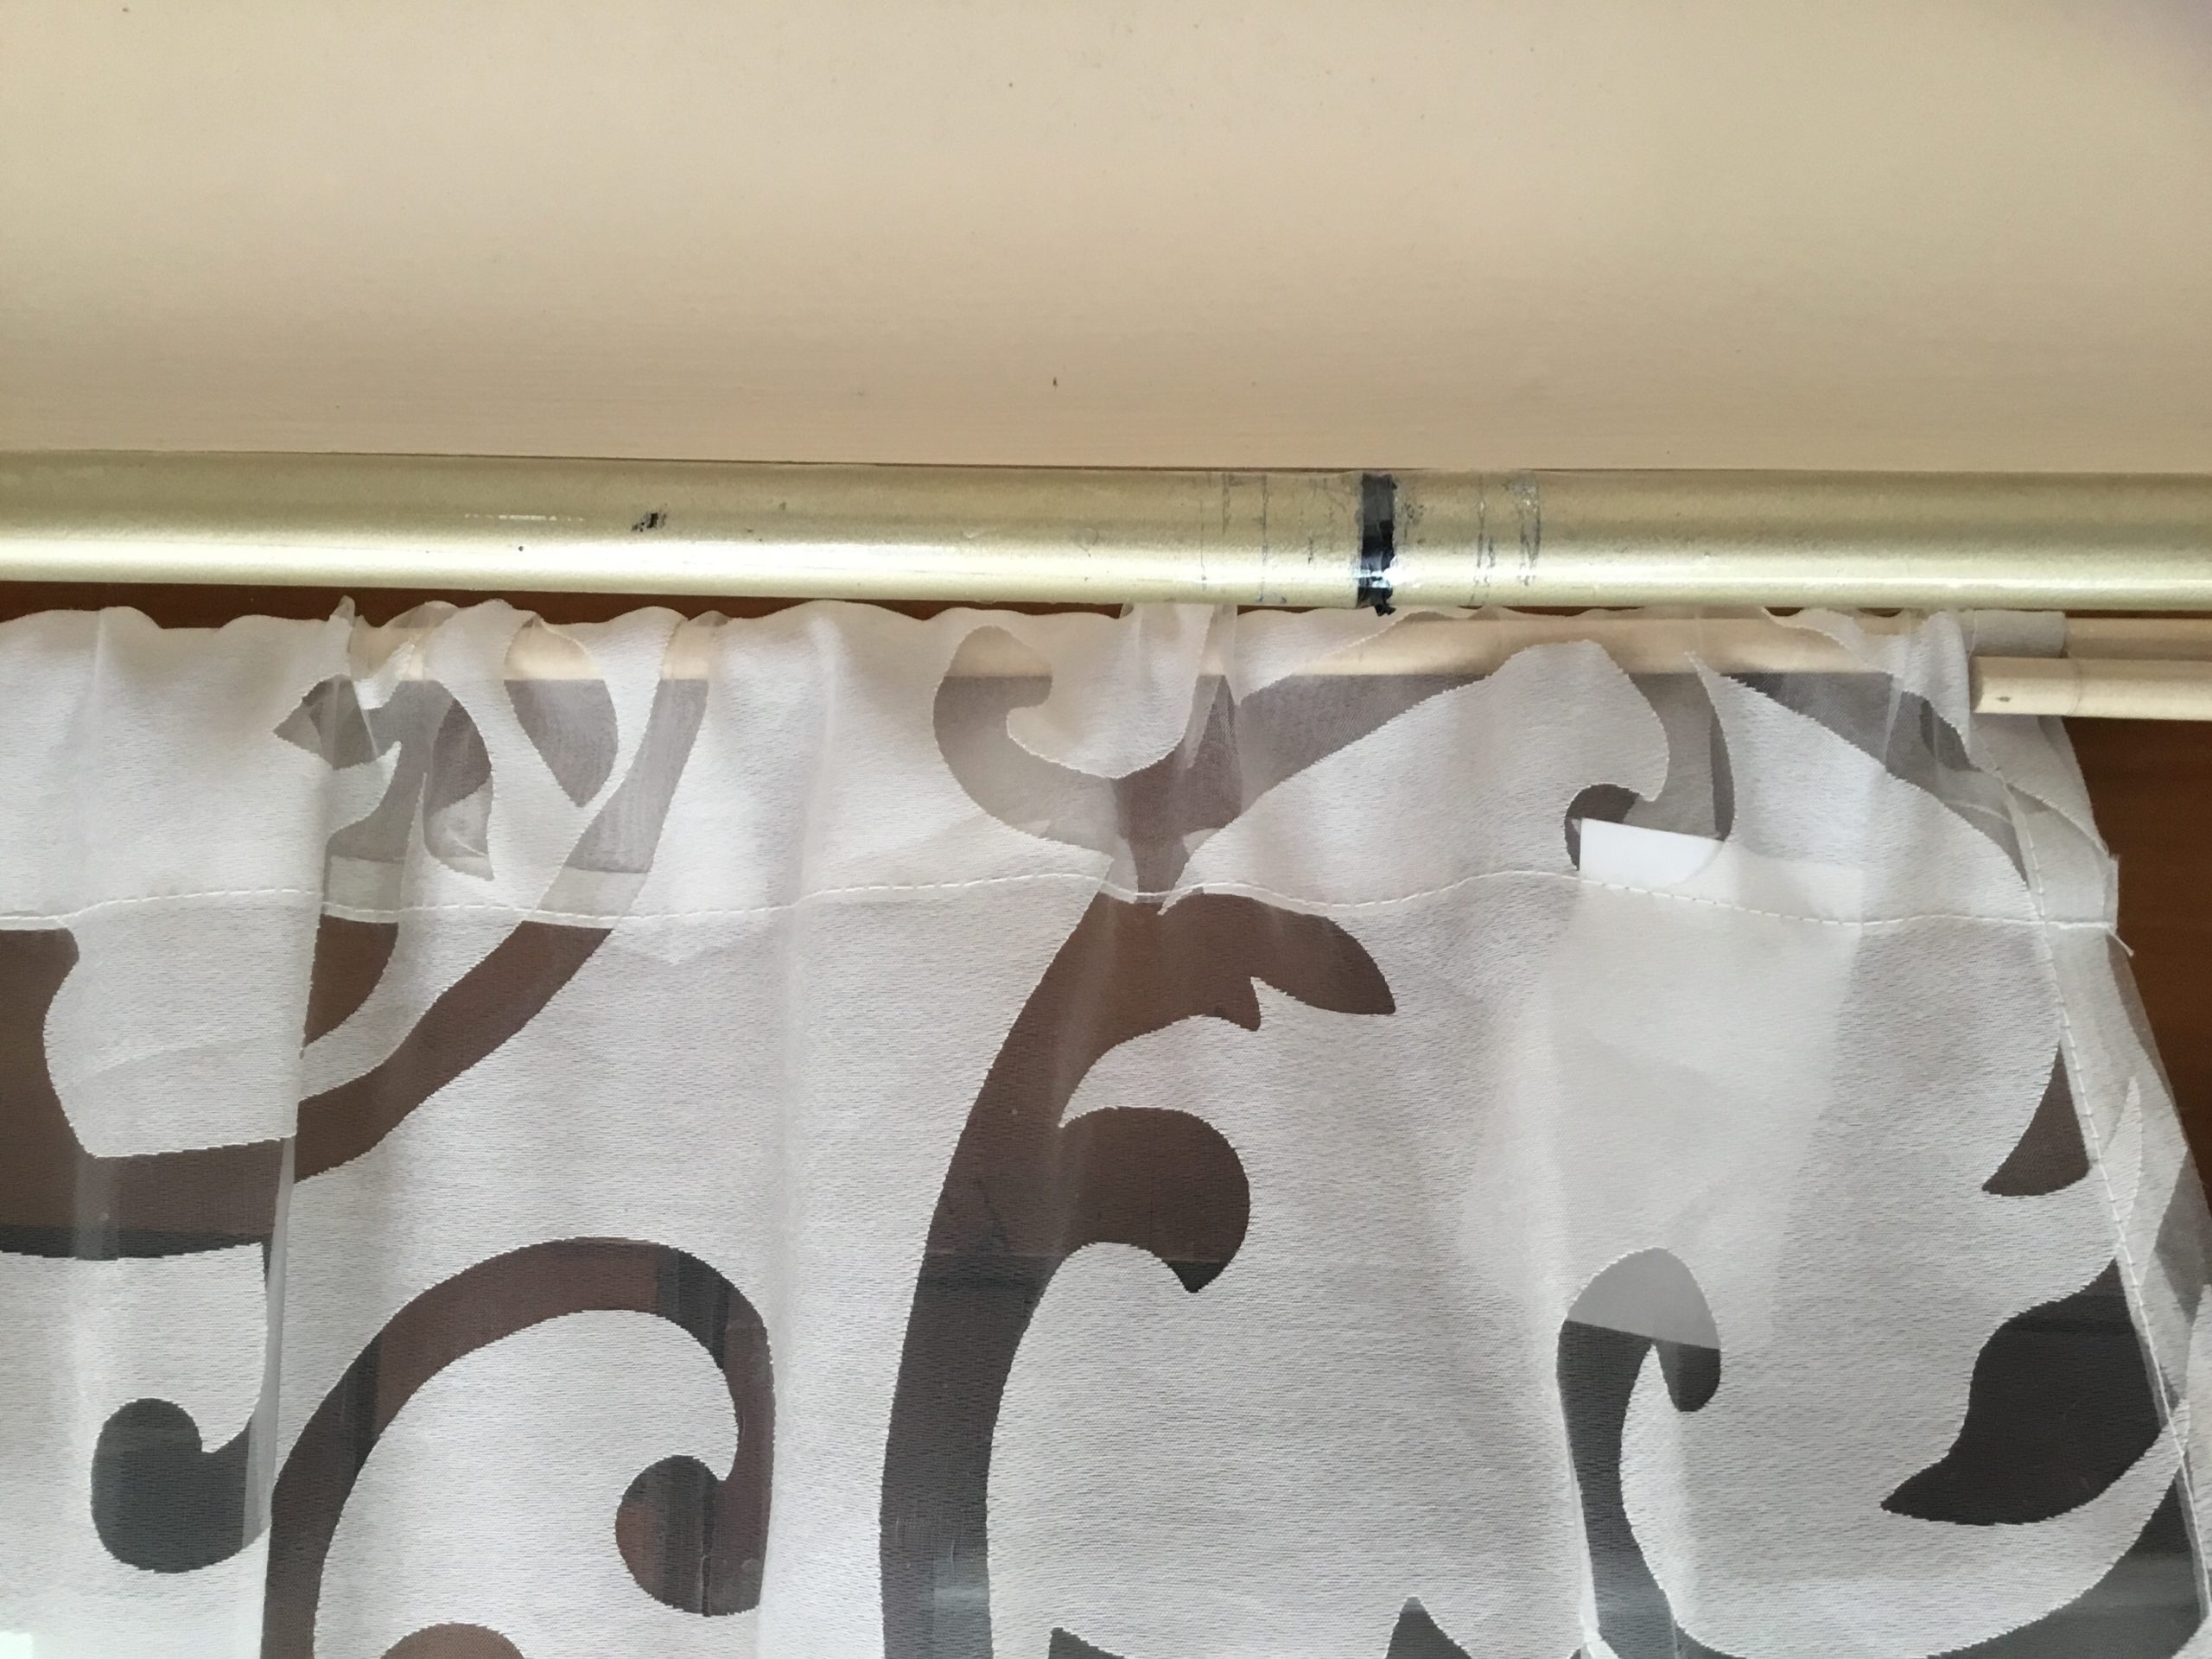
Curtain Rods
UPDATE 4/18/21: I finally got around to improving these curtain rods. I used 1/2″ Wooden dowel and cut it into 2″ sections. Next I wrapped each end in electrical tape until it was thick enough to snuggly fit inside the EMT conduit. For good measure I added moving tape to the entire length of the curtain rod top, on the side where the conduits were connected and specifically to cover the connecting seam. The tape helps prevent snags and offers a smooth glide action.
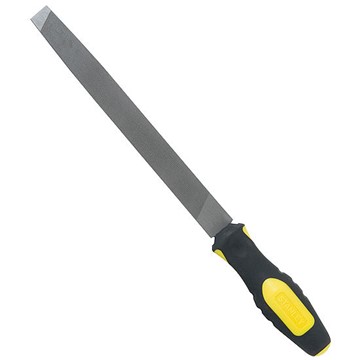
Begin by making any cuts necessary
Sand the end of the cut area with a metal hand sanding tool
Remove any sales stickers from the EMT (use goof off to get a smooth finished surface)
Use a paint drop cloth or cardboard to work on
Use sand paper to rough up the surface
Use a damp cloth to wipe the surface
Use etch primer to cover all surfaces (optional)
Use spray paint (color of choice)
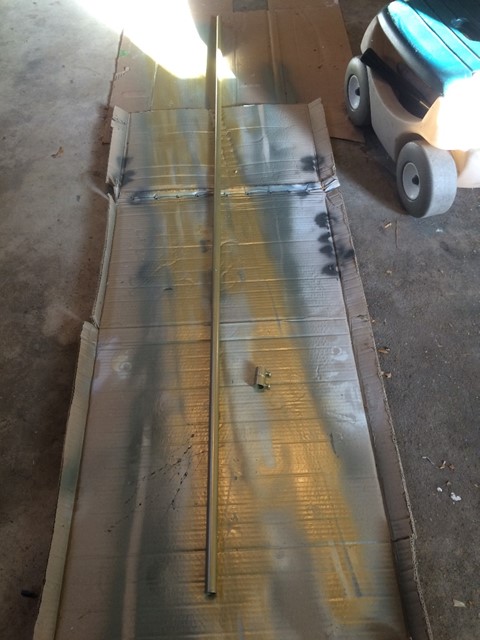
Add a polyurethane coating (optional)
If you don’t add the polyurethane coat then allow 1 week to cure before attempting to attach curtain rods for use. Allowing the cure time will ensure that the paint does not chip off when under the weight and use of the curtain hooks sliding across the top.
Finials
Here are a few great options I came across at home depot but if you have a Hobby Lobby near you or Bed Bath & Beyond then I would recommend going to one of these places instead. I saw many finials 50% off at BB&B or you can get the knobs at Hobby Lobby.
I bought mine from Hobby Lobby and they are the same if not better than the knobs at Home Depot and every three weeks like clock work they are 50% off.
After choosing your Finials..
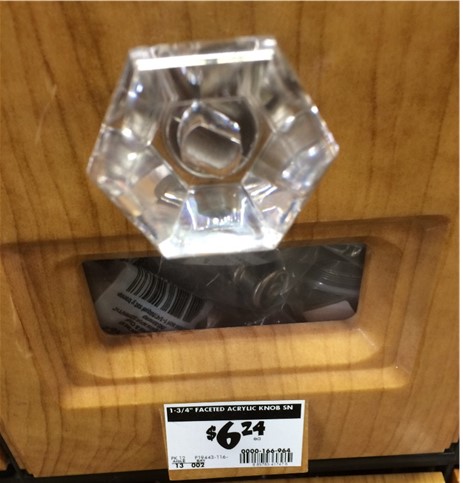
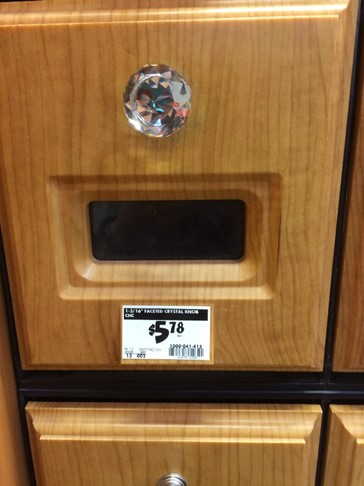
Hobby Lobby has an entire isle dedidicated to knobs!!!
Put them together with the longest screw attached to get the cut mark on the wooden dowel.
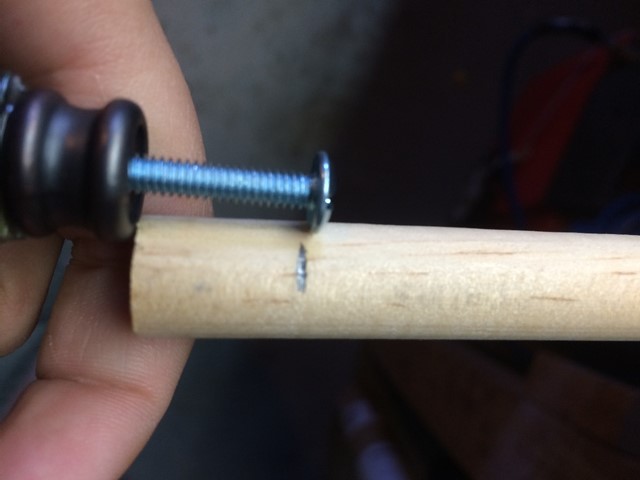
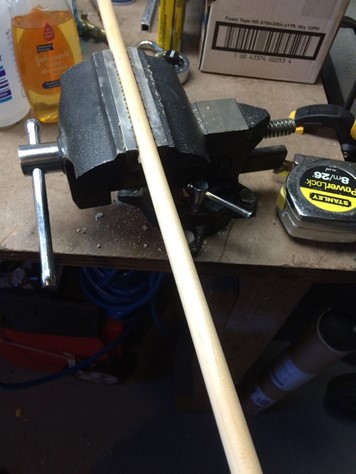
After securing the dowel in a vice grip begin to make your cut, don’t forget to compensate for the width of the blade so that you don’t make the cut too short.
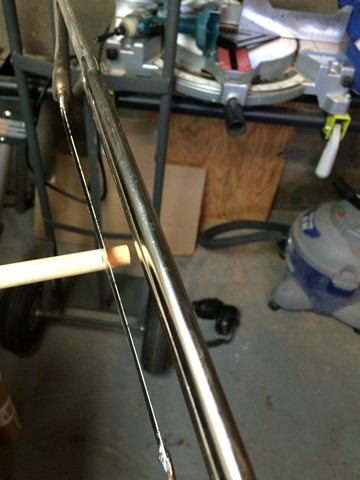
Next use sand paper to remove any split pieces of wood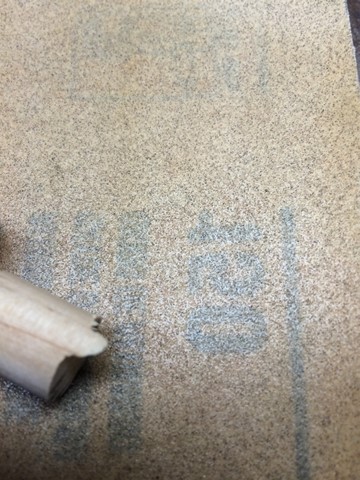
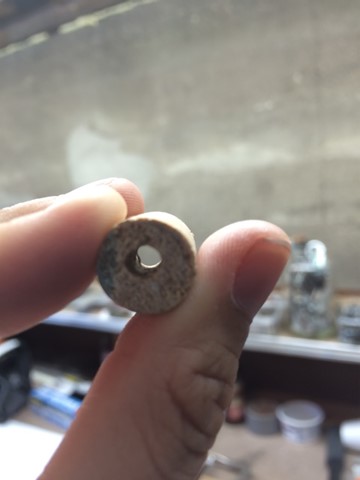

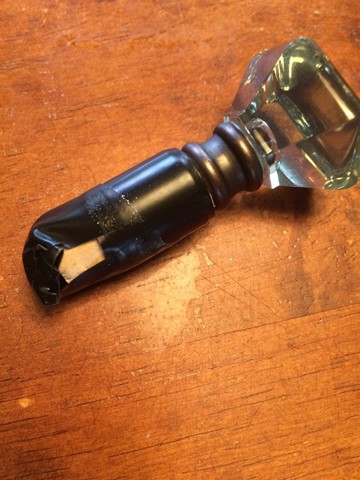
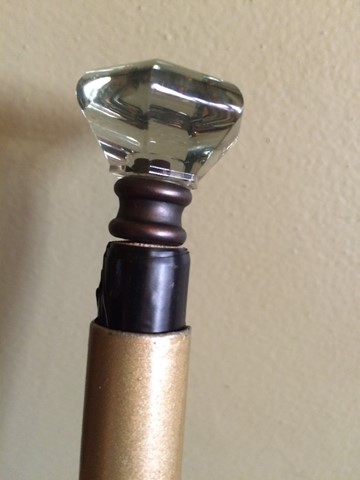
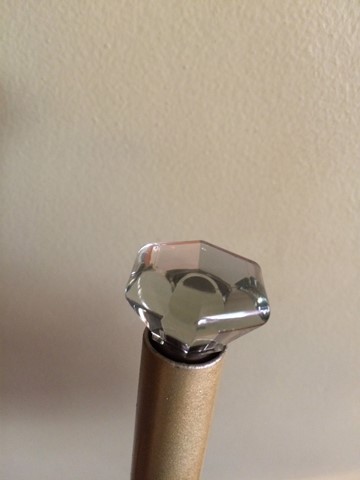
Wrap the wooden dowel in electrical tape until it snuggly fits inside of the conduit. I did not paint the hardware of the finials in this picture because this was a dry run and I waited to paint all of my finial and hardware at the same time.
TIP: I cut strips of an old rubber inner tube and slipped them in between my curtain rod and the holder. This helps keep the EMT conduit from sliding around.
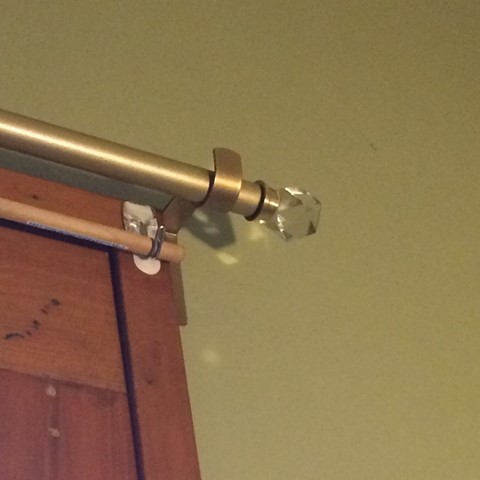
I have a few different styles of drawer knobs shown in the pictures but all of them work great for the finials. If a knob is too small just add a washer to stop it from pushing into the rod.
I finally got around to making my Homemade inverted pleat drapes with warm window insulated thermal backing!
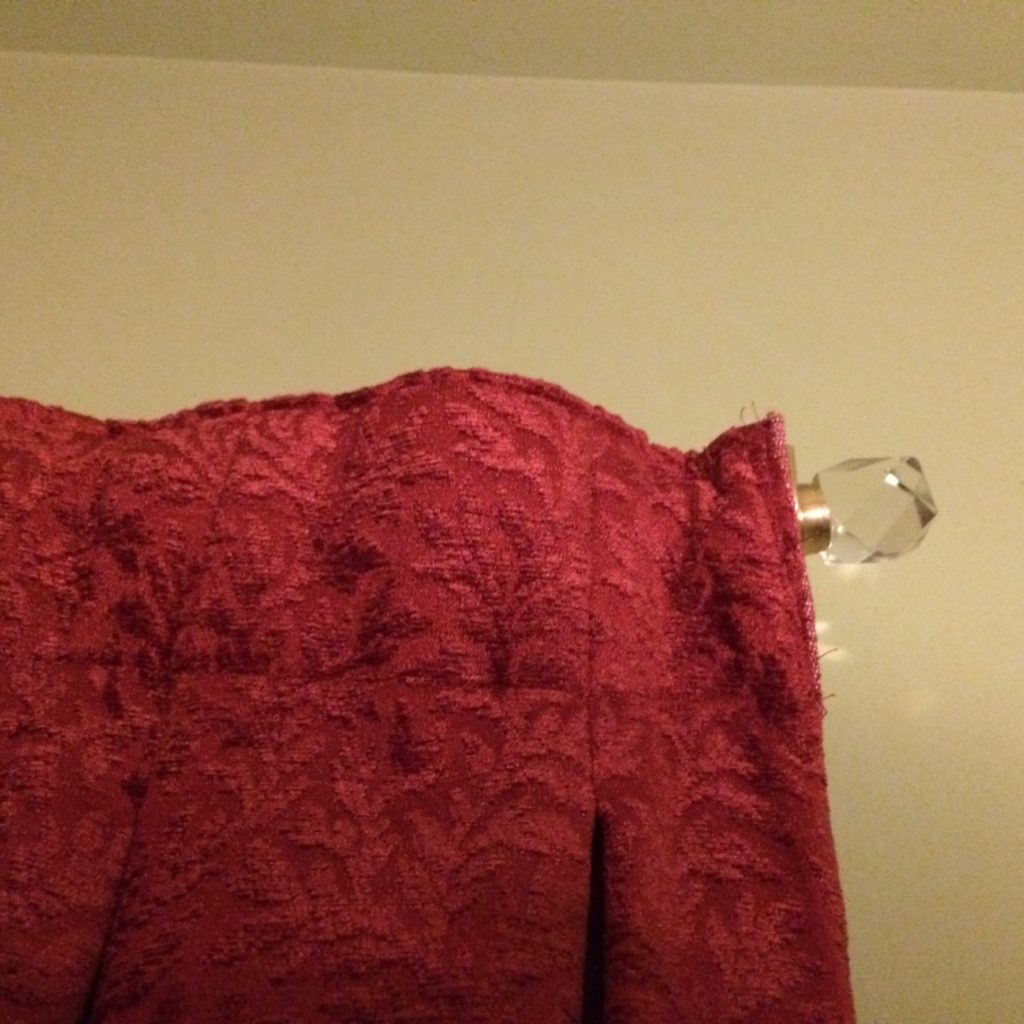
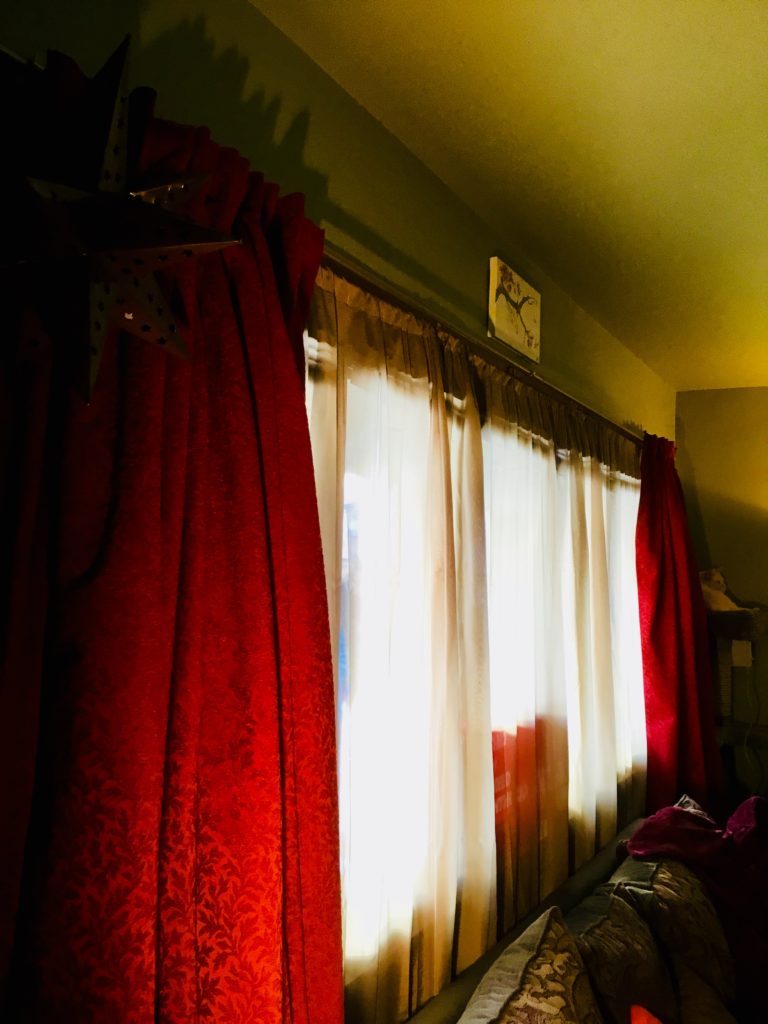
The EMT curtain rods are evenly weighted with my warm window insulated curtains in place!
I do suggest adding heavy duty 3m command strips to the drapery holder in order to prevent the rod from sliding around.