No Sew Potting Mat

Supplies
- 30 gauge vinyl
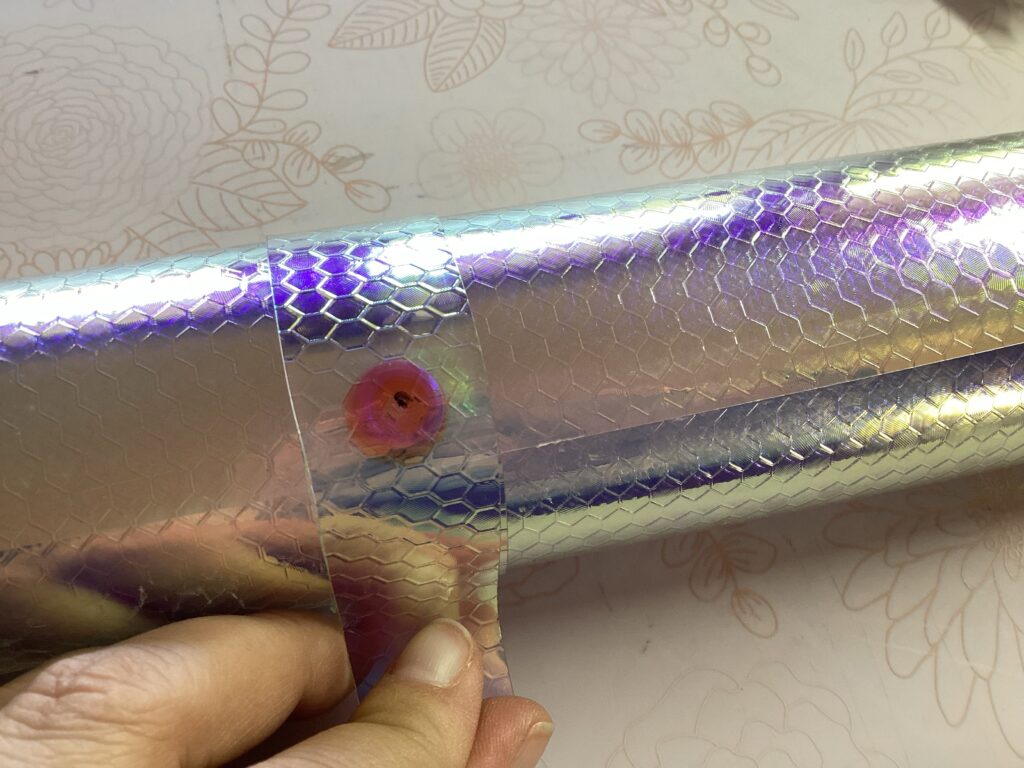
- I chose translucent iridescent honeycomb vinyl. This particular vinyl material comes in iridescent clear only. While similar vinyl comes in an iridescent blue or iridescent pink.
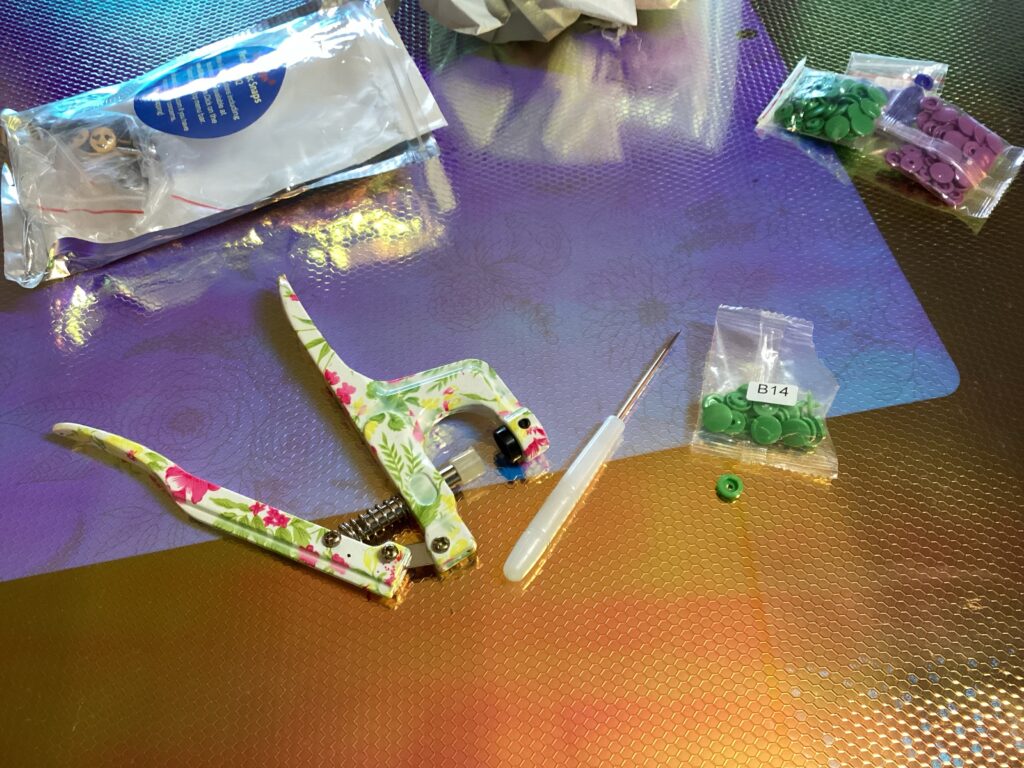
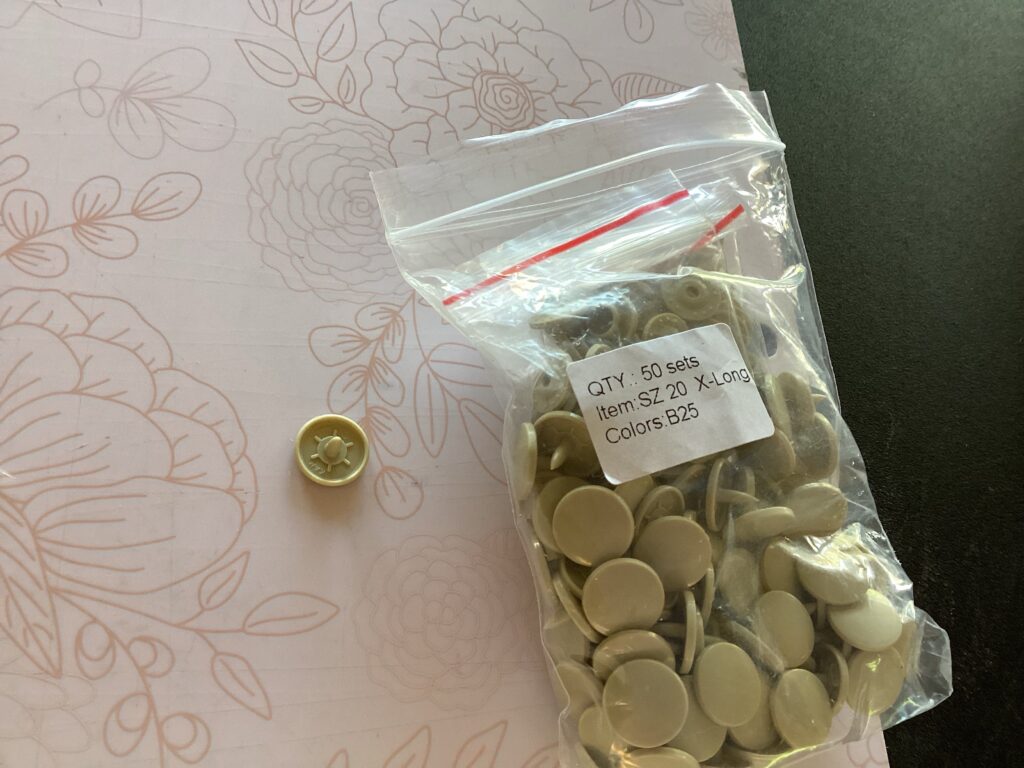
- Kam snaps (XL snap fastener for strap)
- Awl
- Damage free Clips
For this project I only had to purchase the vinyl for $25.00 for 2 yards + S&H.
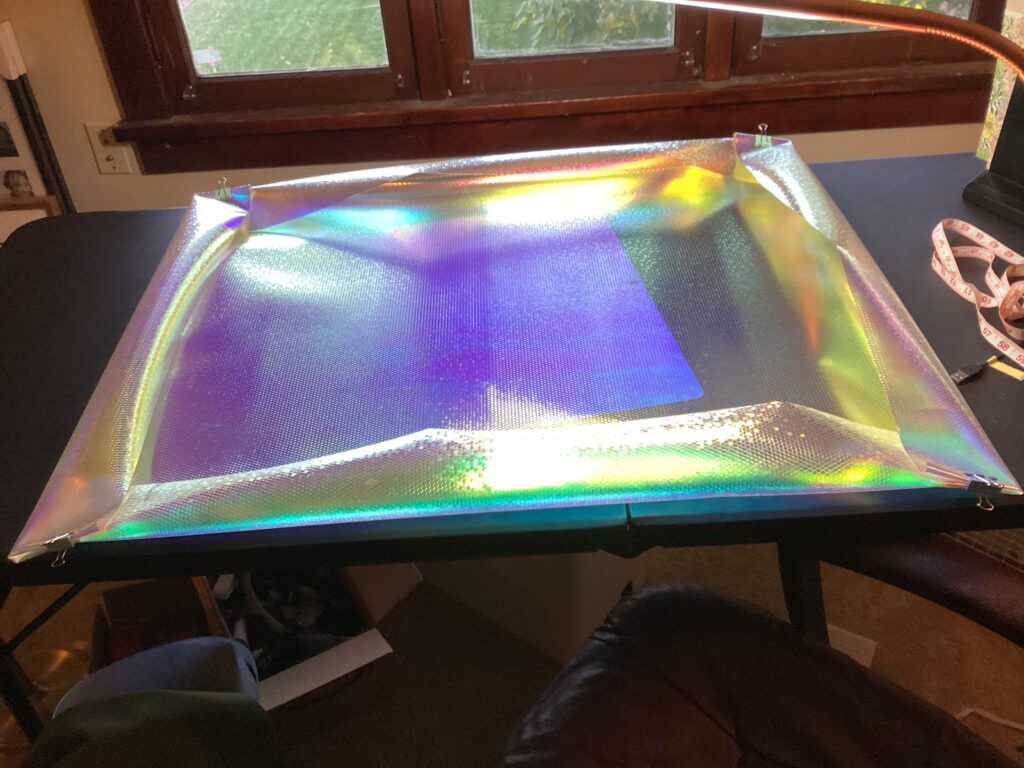
Assembly
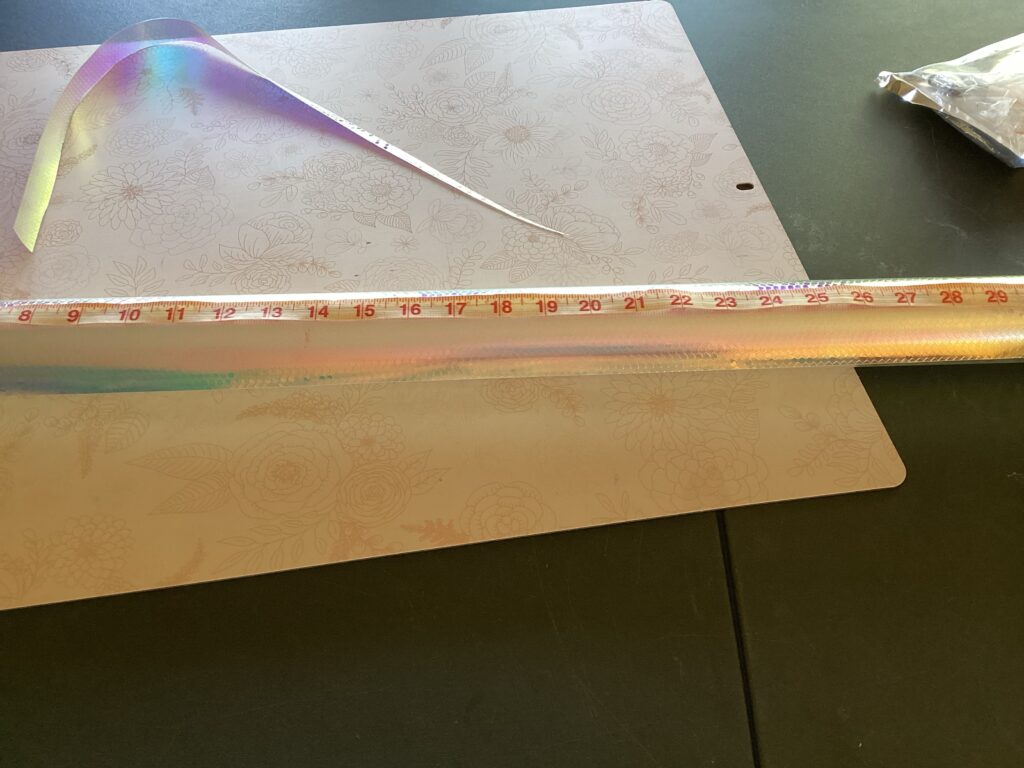
- Cut vinyl to desired size and fold sides and clip in place.
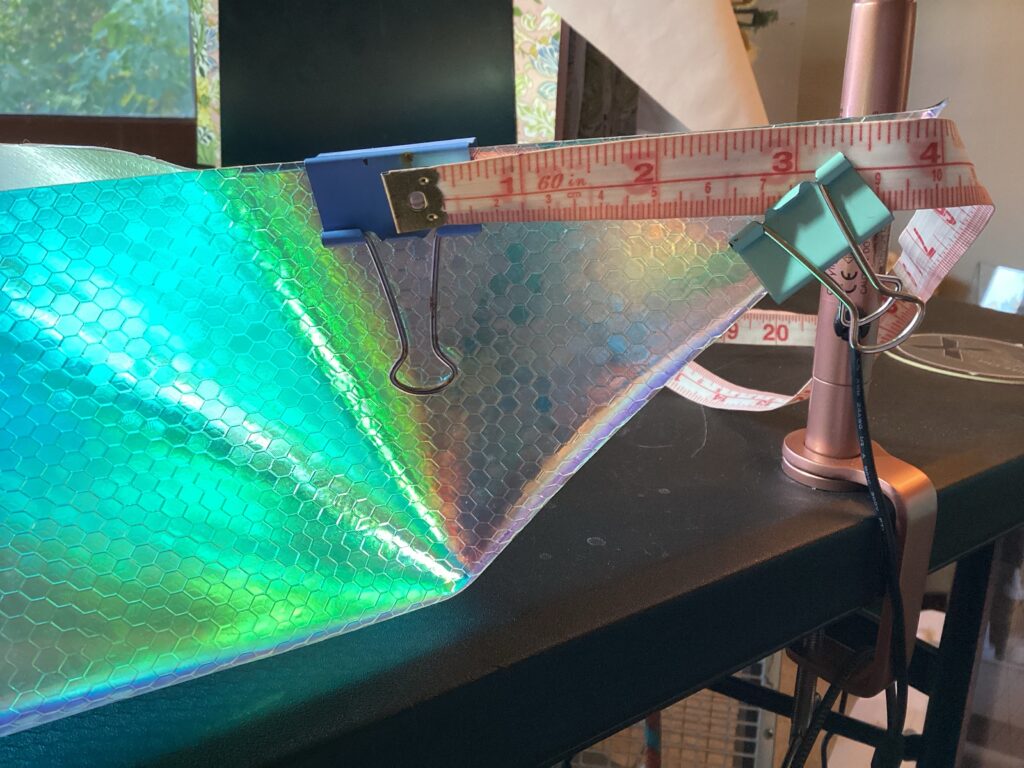
- Be prepared to cut 3/4inch piece from total vinyl to make the securing strap if extra material was not provided in the cut material.
- Please note that I cleaned up my cut edges using a 90 degree L ruler to cut straight edges and remove excess material.
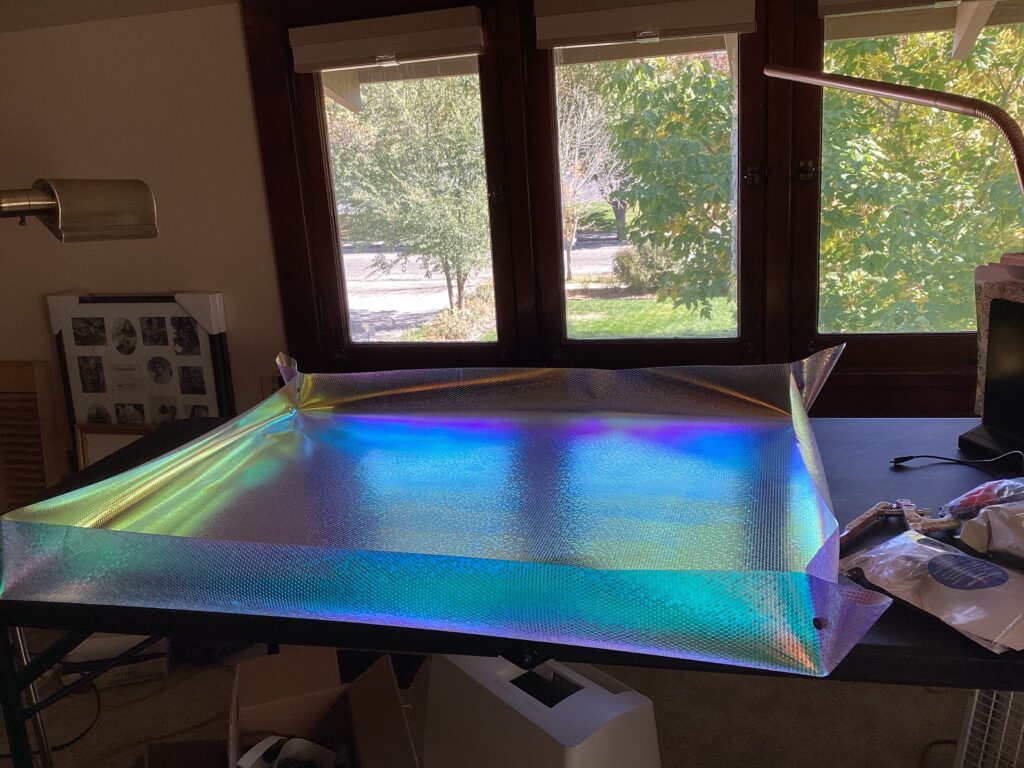
- For my mat size of 38” x 46” I determined a 4” side wall height was best.
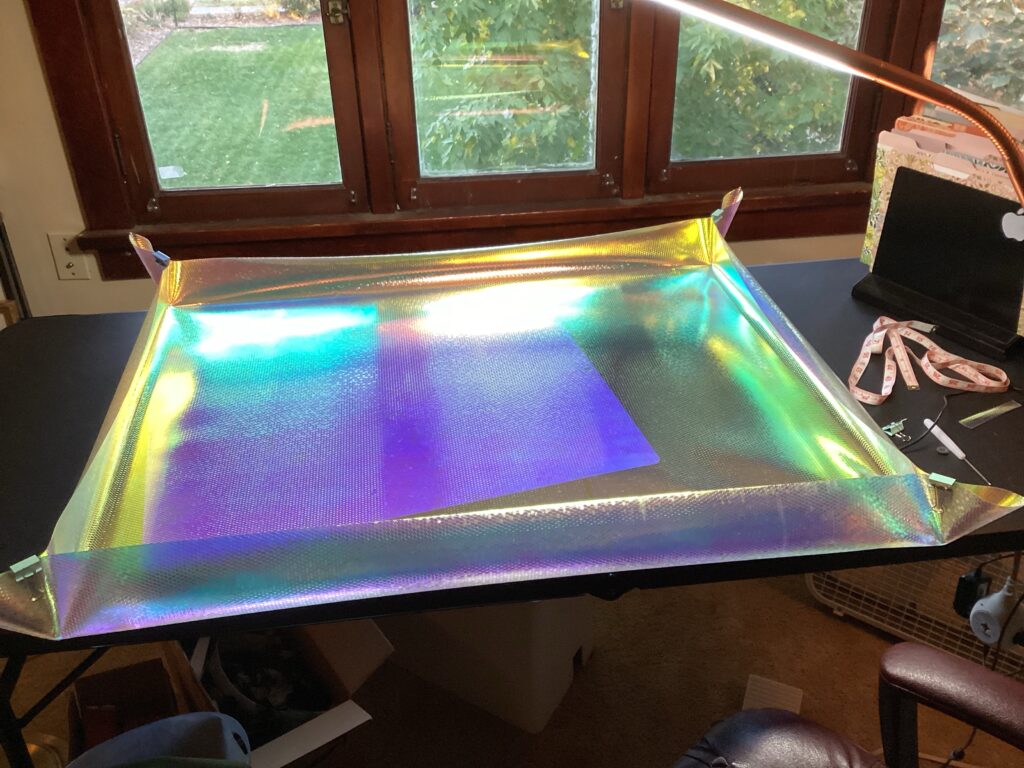
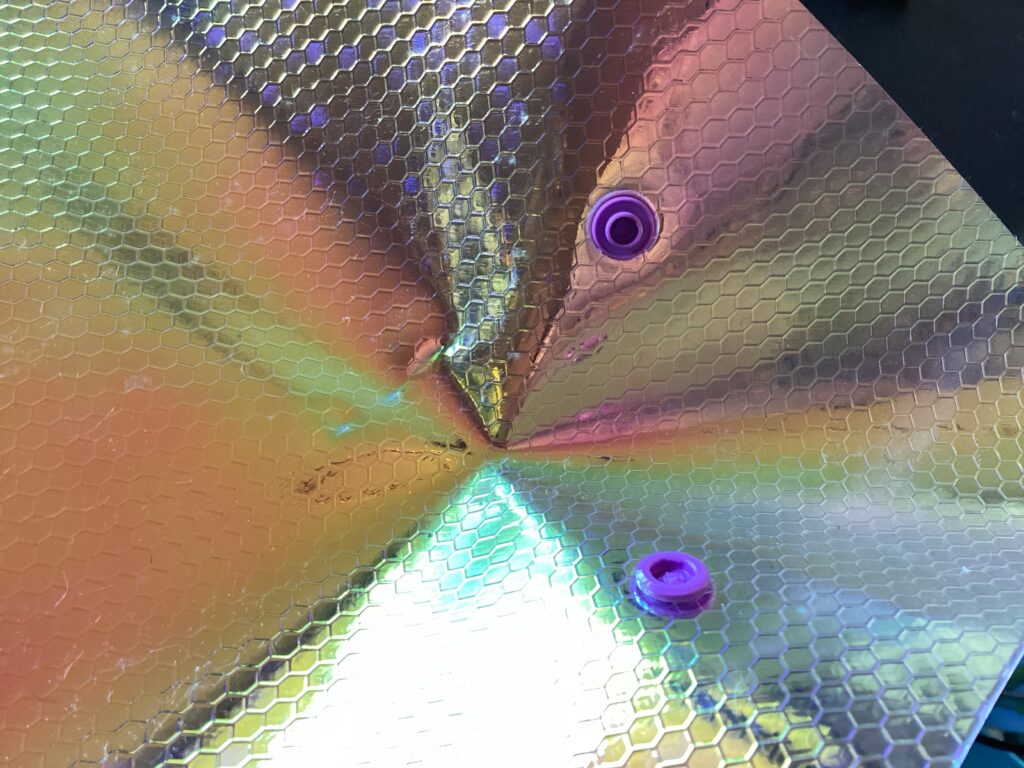
Measure, fold and clip the 4” walls in on themselves to create a crease in all four corners.
Next secure seams in place with the clips 4” on center from the top corner.
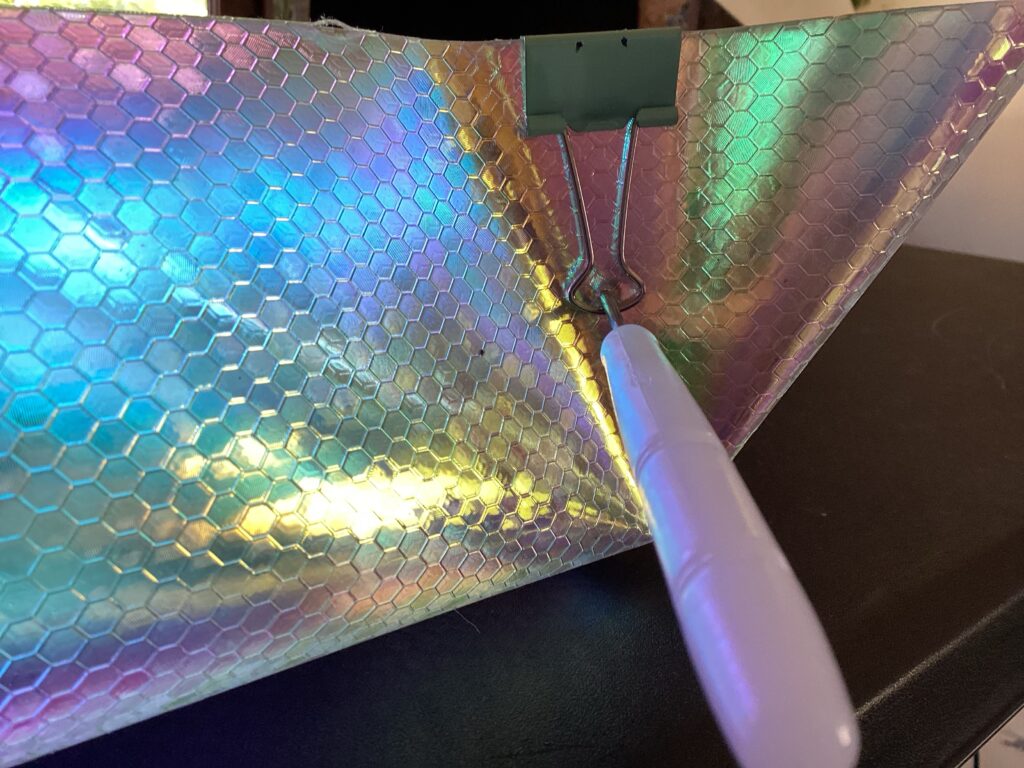
Using the awl puncture the vinyl through the hole of the clip handle.
Attach Snap Buttons
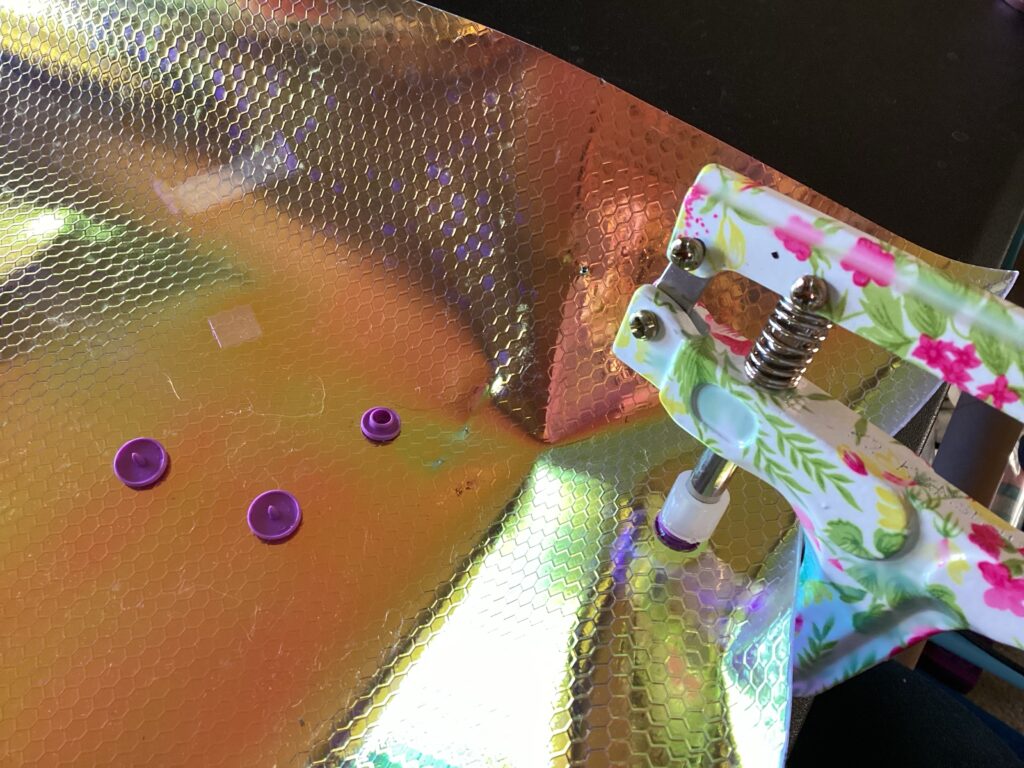
Repeat for the remaining corners
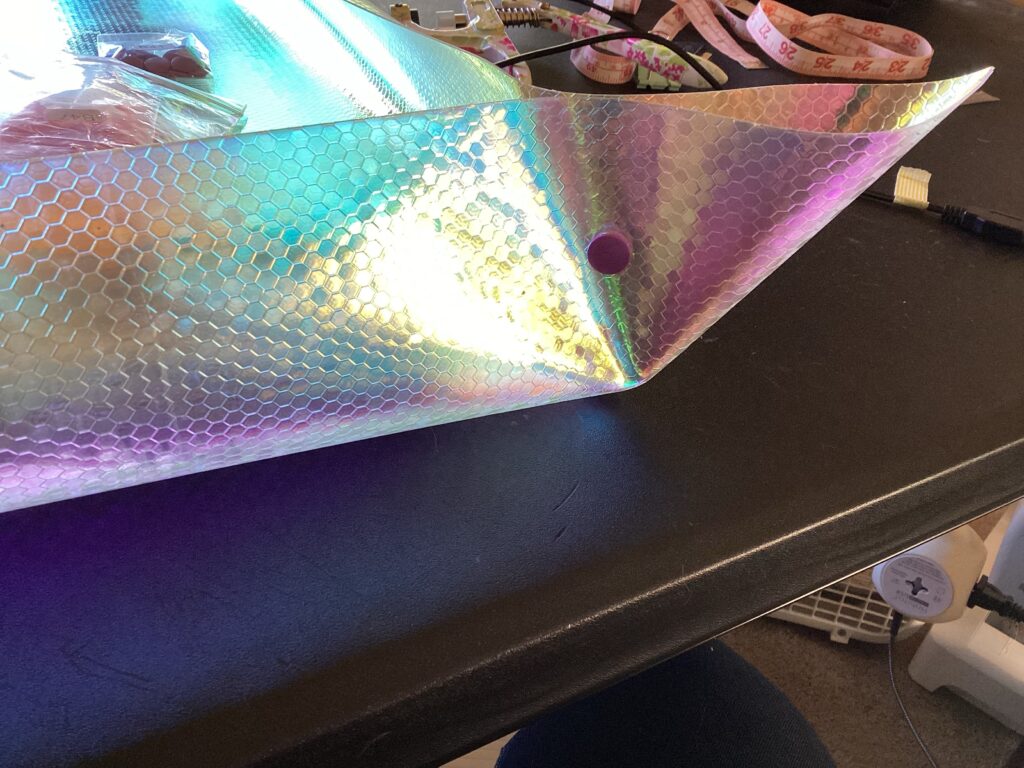
For the Kam snaps an XL fastener is needed to go through two layers of vinyl to secure the strap.
With the mat snuggly wrapped up measure to find the center of the mat and mark it. Next measure up away from the edge, a little more than 1/4 inch, and see if this placement is right for your size kam snap before puncturing the hole.
After securing the bottom snap button I wrapped the material around and marked the hole for the top snap button.

With my 2 yards I was able to make an extra mat as a 🎁 gift.
In the Wild
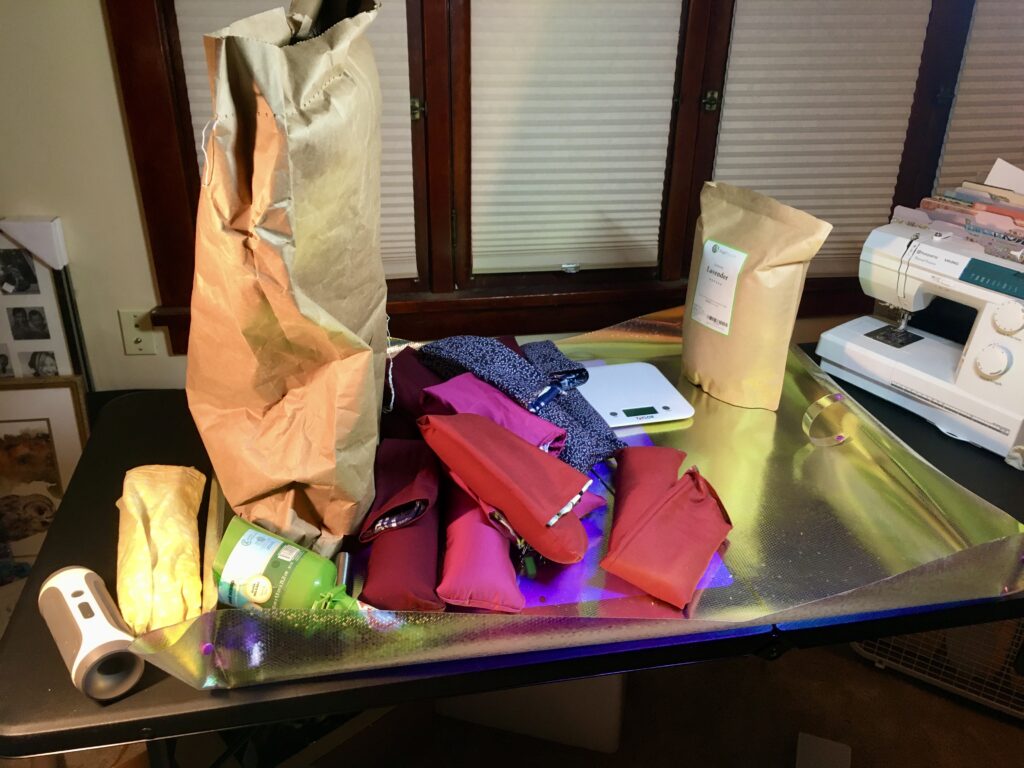
Here it is in use while I make flax seed and lavender neck heat/ice wraps for Christmas gifts.