Restoring My Vintage Wood Plane Keen Kutter #3 for Beginners
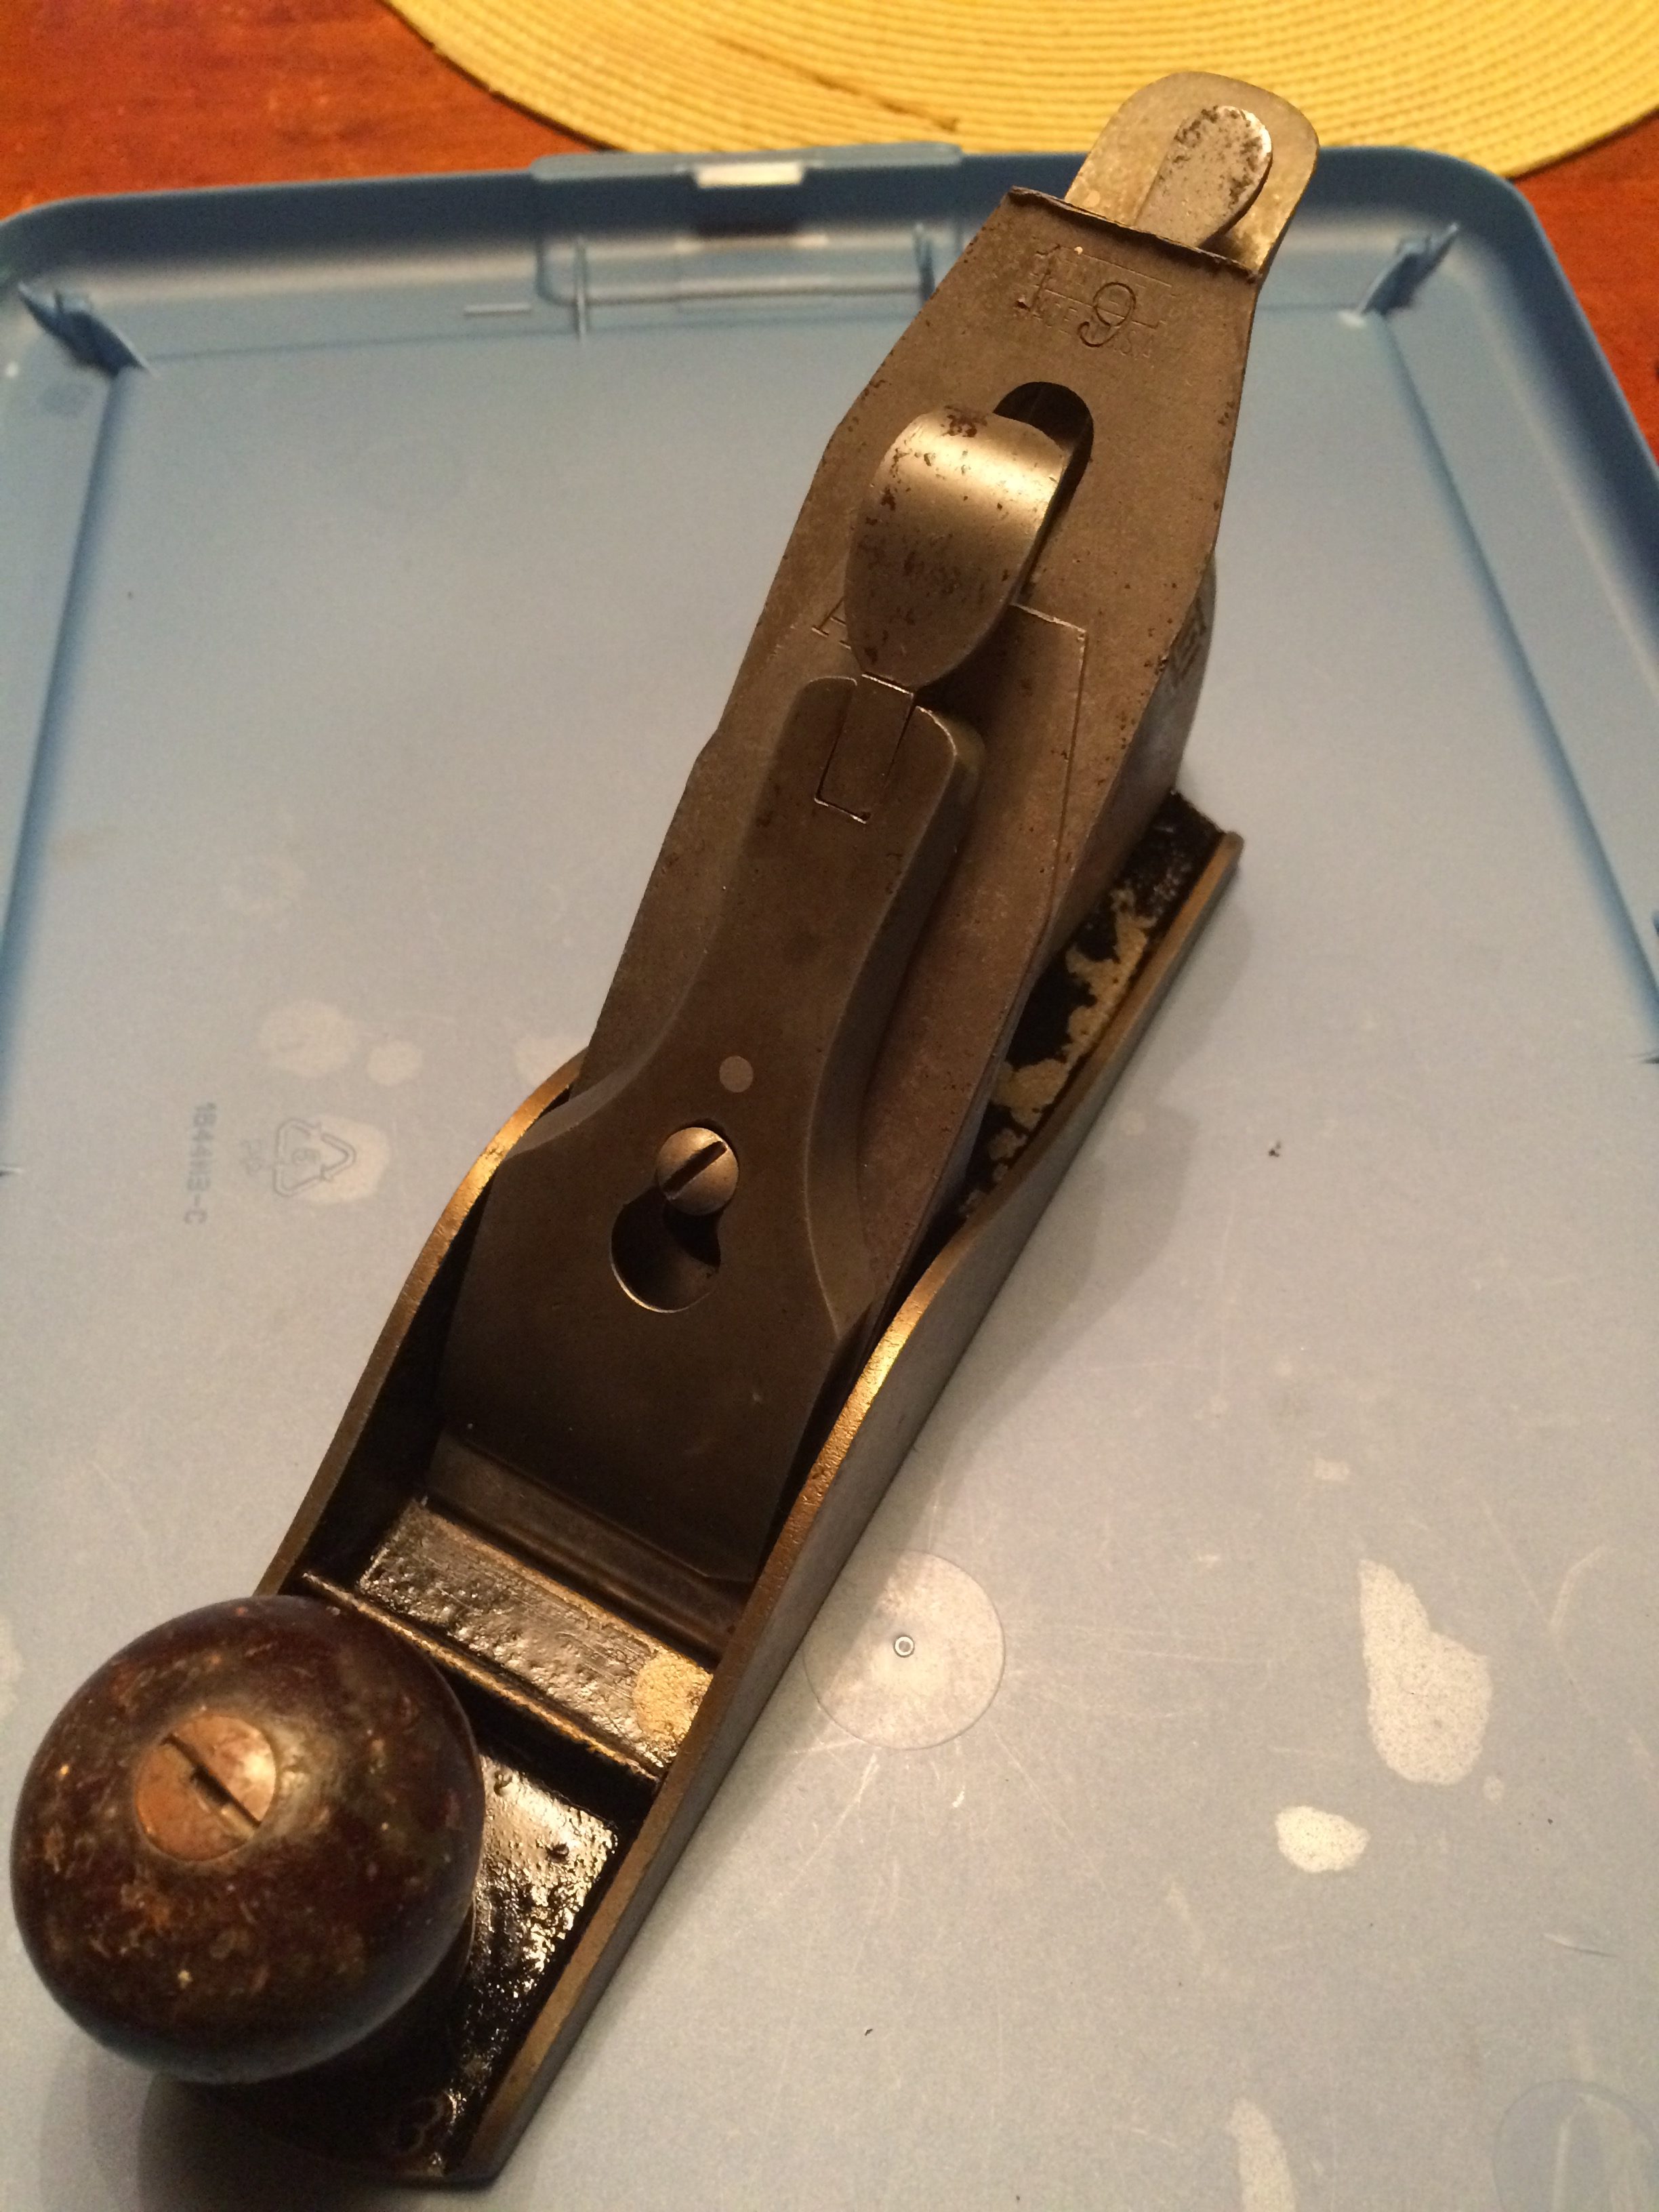
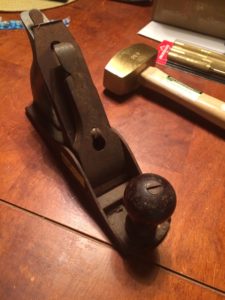
For starters I am not a wood worker however I do have a wood door that needs refinishing and smoothing out. So here is how I restored my Keen Kutter #3 smoothing plane using what I already had around the house.
Please note that after inspecting the sole I decided that it wouldn’t require sanding to re establish the bevels or a flat surface. Otherwise there are additional steps to this processes that I have left out but you can use the included video tutorial below to guide you in the process, thanks to Paul Sellers.
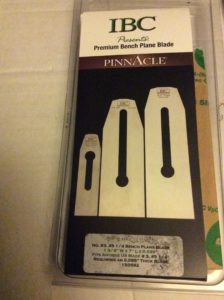
I ordered a replacement blade
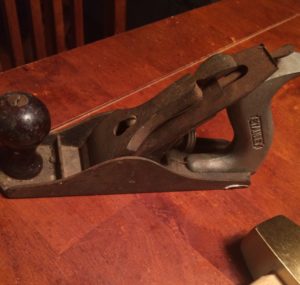
Here are some before pictures!
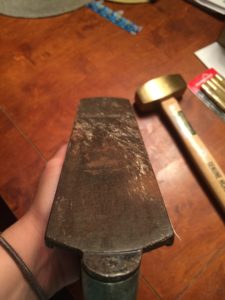
Now time to get to work!
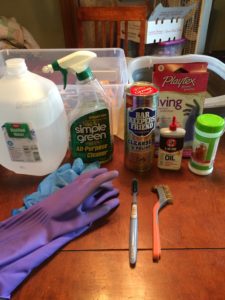
Supplies found around the house
- Eye protection
- two rubber bins
- Distilled water
- Simple green (For degreasing)
- Bar keepers friend (For brass cleaning)
- 3-IN-ONE OIL
- sturdy rubber gloves
- Citric Acid for food canning (Found in stores with the canning food jars NOT the baking isle).
- old tooth brush
- brass brush
- hair dryer
- towles
- paper towels
I started by taking apart the plane
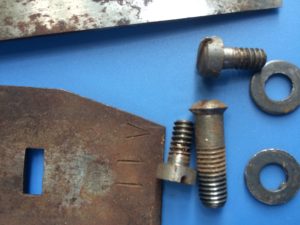
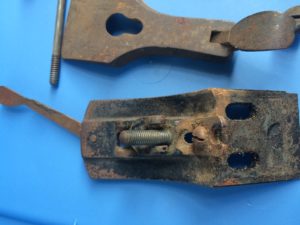
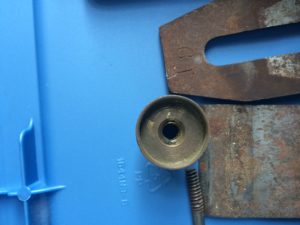
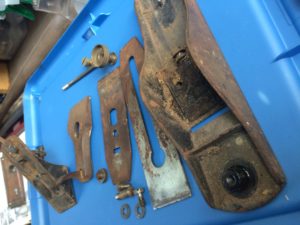
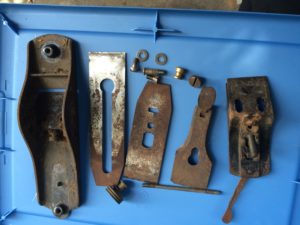
- First I cleaned each piece with the simple green to remove the grease.
- Then I filled my plastic tub #1 with just enough water to cover the planing parts once submerged. With the rubber bin empty I filled it with hot water first and mixed 1/3 cup of citric acid while stirring. Then I added the planing pieces to the solution and once bubbles were seen I left it sitting for 2 to 3 hours.
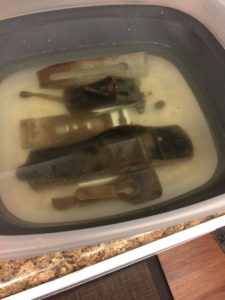
Here are all of the pieces freshly put into the citric acid solution
I came back and using my gloves and used the tooth brush i scrub off rust and debris of each piece and for the most part this worked. Some pieces needed to sit in the solution left ne’er while I worked. However If I could do it again I would only use my brass brush which worked better for tough cleaning spots and crevices.
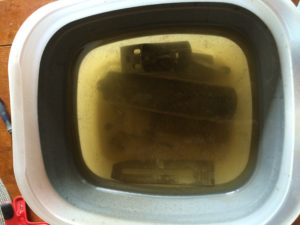
- Next I took tub #2 and poured distilled water into it. After each piece was scrubbed clean I rinsed it in the distilled water in order to neutralize the citric acid.
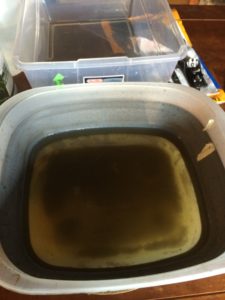
- I used the towel to dry it before using the hair dryer on cool setting to dry the pieces individually. I did this to offset any flash rusting which can happen within minutes of water/moisture exposure.
- The brass pieces were cleaned with the bar keepers friend and the tooth brush to restore the shine and sheen.
- I oiled everything with the 3-IN-ONE OIL to protect it from any further rusting
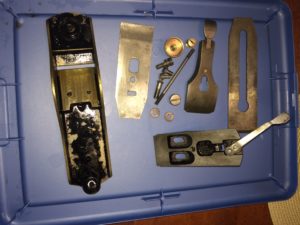
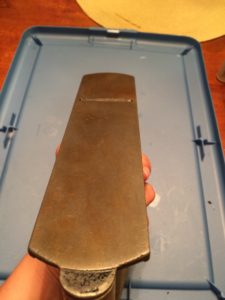

the final step of this process was putting it back together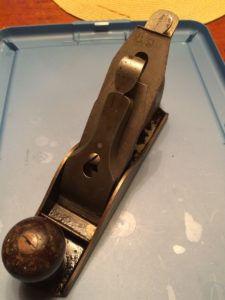
I ordered a new blade to replace the old blade and NOW WHAT?? well I watched the tutorial below to better understand how I was going to put the new blade in and get to working with my refinished wood plane.
Tutorial Video Very Useful
I followed this tutorial for better understanding of the parts and for setting it up for use!