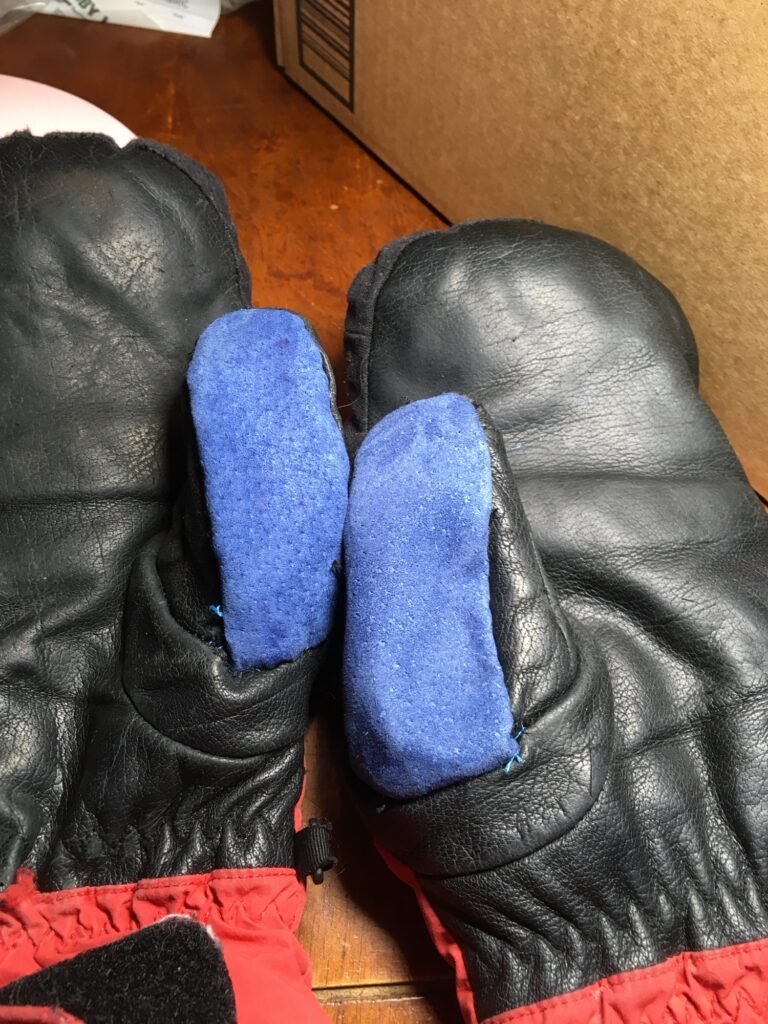
Repairing Worn Out Glove Sniffle Wipe
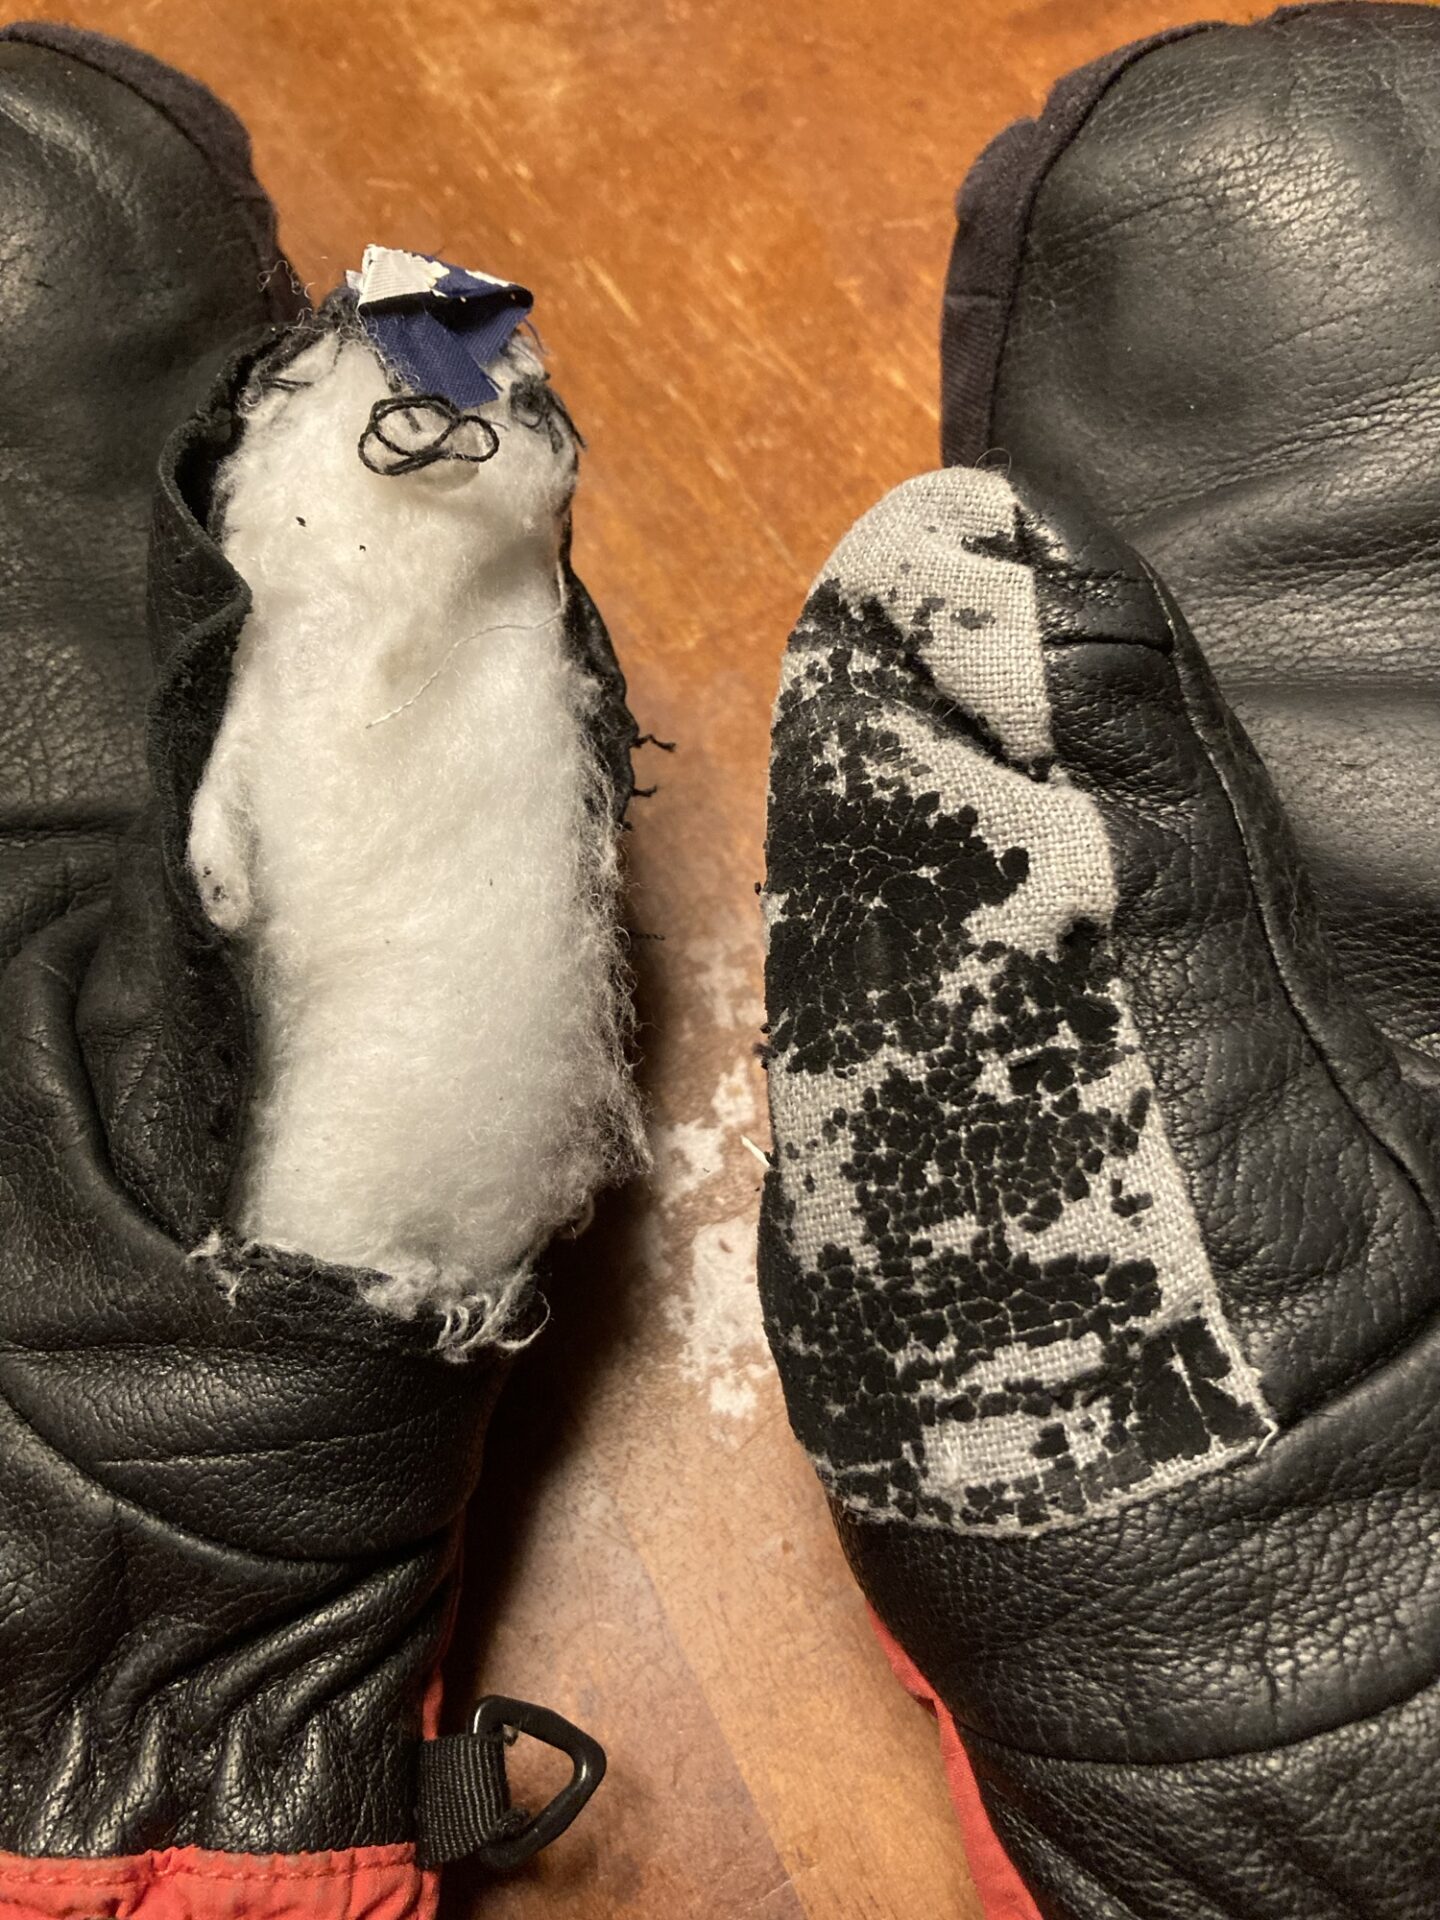
The glove on the left had already busted open at the seams so I seam ripped and removed the deteriorating piece of fabric.
⚠️ This does take basic hand sewing skills and a lot of time. I have given myself 2 days at 2-3 hour sessions for each glove. Working with leather is more labor intensive than working with thinner woven fabrics. The gloves had more damaged areas also requiring repair which the time was not calculated into this particular portion of the repair.
I am working with a leather glove so most of my materials and tools are specific to leather working.
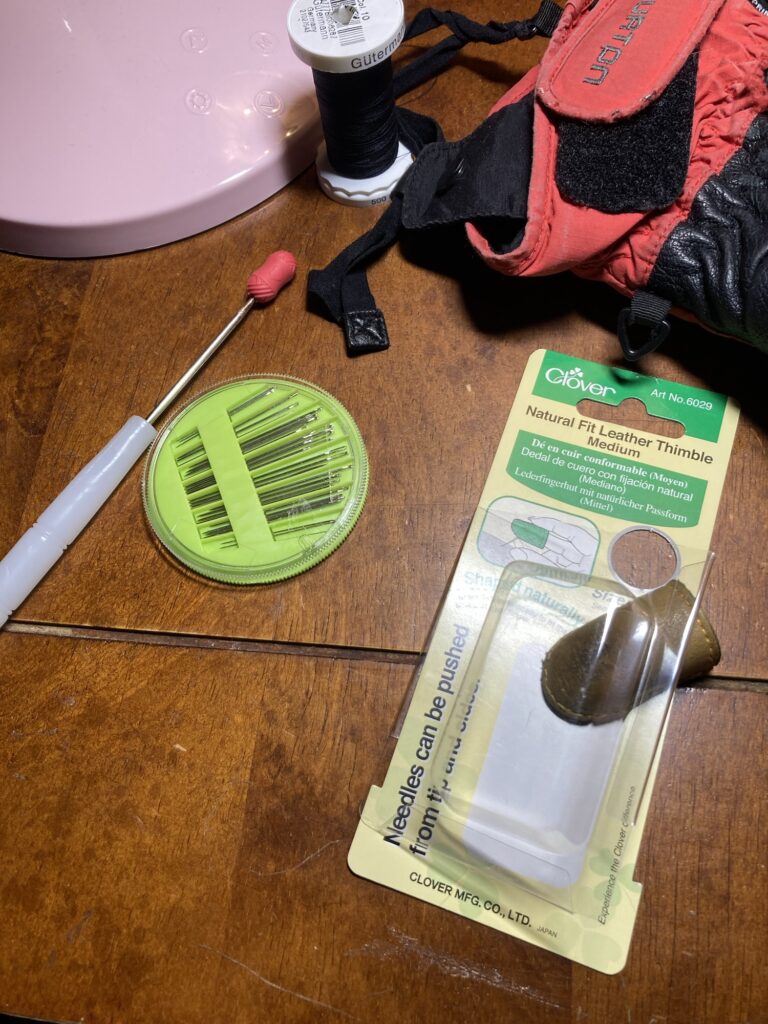
- Sharp dowel
- Various sizes stitching needles if sewing into leather and general use needles if sewing into non leather materials.
- Thimble or pliers for pushing or pulling needle through leather
- Scissors
- Non iron interfacing
- Seam ripper
- Fabric fusion glue stick not the liquid I have here!
- If sewing leather to leather I suggest using a heavy duty upholstery fabric if possible.
- Fine tip sharpie
- Piece of leather $3.99 hobby Lobby

I did buy stitching needles sold at hobby lobby next to all of the leather tools but they were useless and too large to use when making repairs on gloves that generally use a smaller sewing machine needle to begin with. So I do not recommend buying them!I ended up using a needle from my general sewing needle stock.
Sizing the Needle
To figure out what size needle to use I started with the largest and thickest needle in my general sewing needle assortment kit and worked my way down in size until I found one that could easily move through the existing needle holes of the gloves sewing seam line holes.
Next
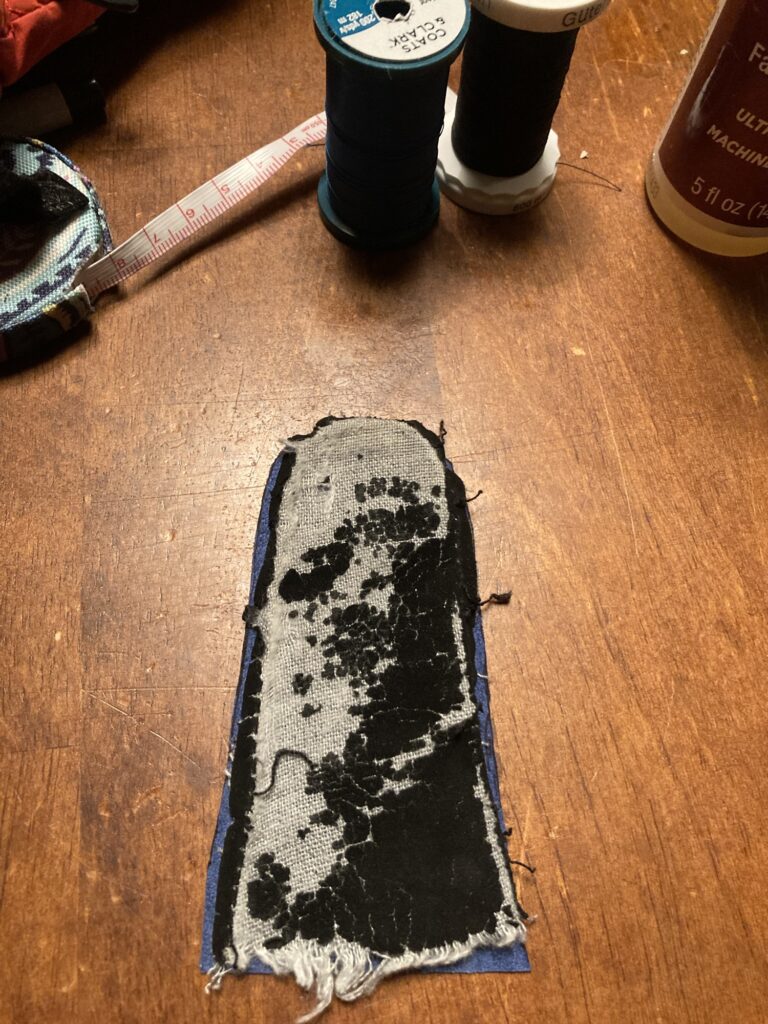
After seam ripping the defective piece out in tact I used it as a template to trace and cut my replacement leather piece.
Interfacing
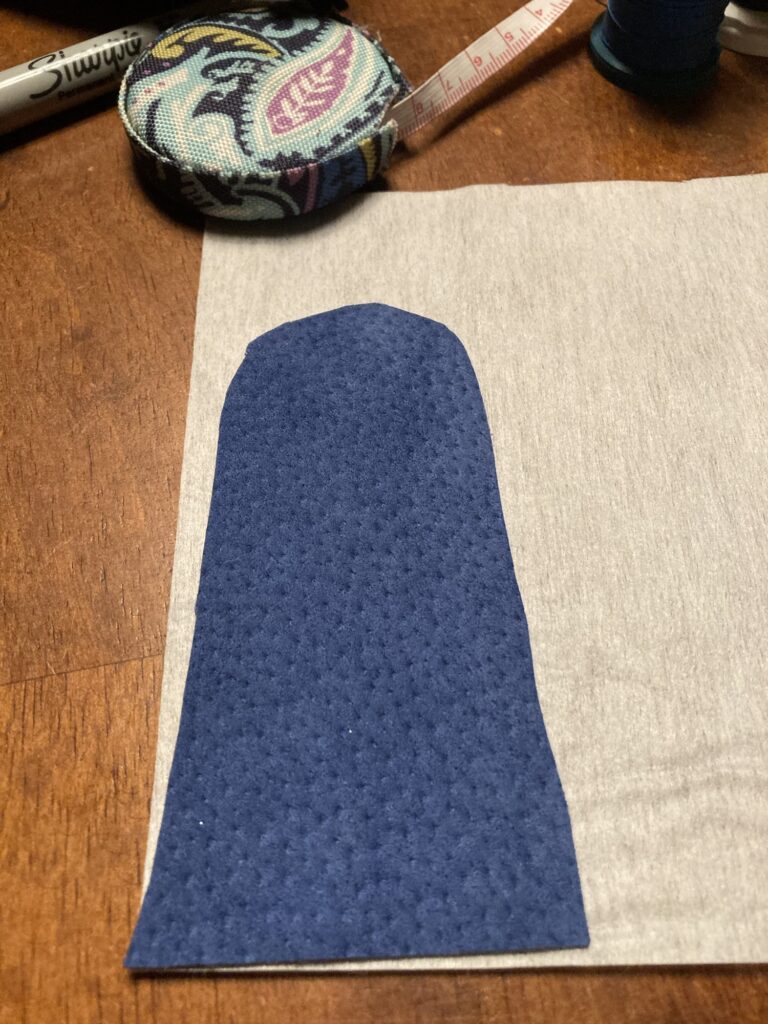
Next I traced and cut my interfacing.
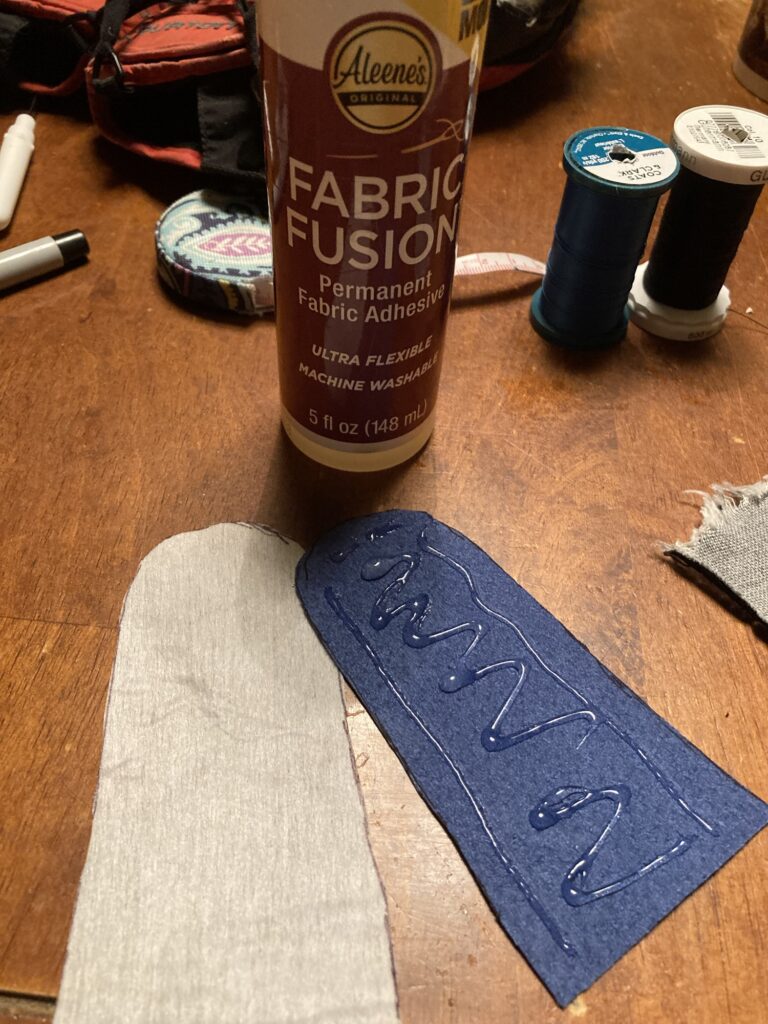
⛔️⚠️⛔️⚠️ This is where I made a mistake⚠️⛔️⚠️⛔️
It is best to use the fusion fabric glue stick instead of the gel because the gel will seep through the leather. So I should have wiped off any excess glue before applying the interface backing. I did not and I had to then deal with cleaning the leather free from the glue that seeped through.
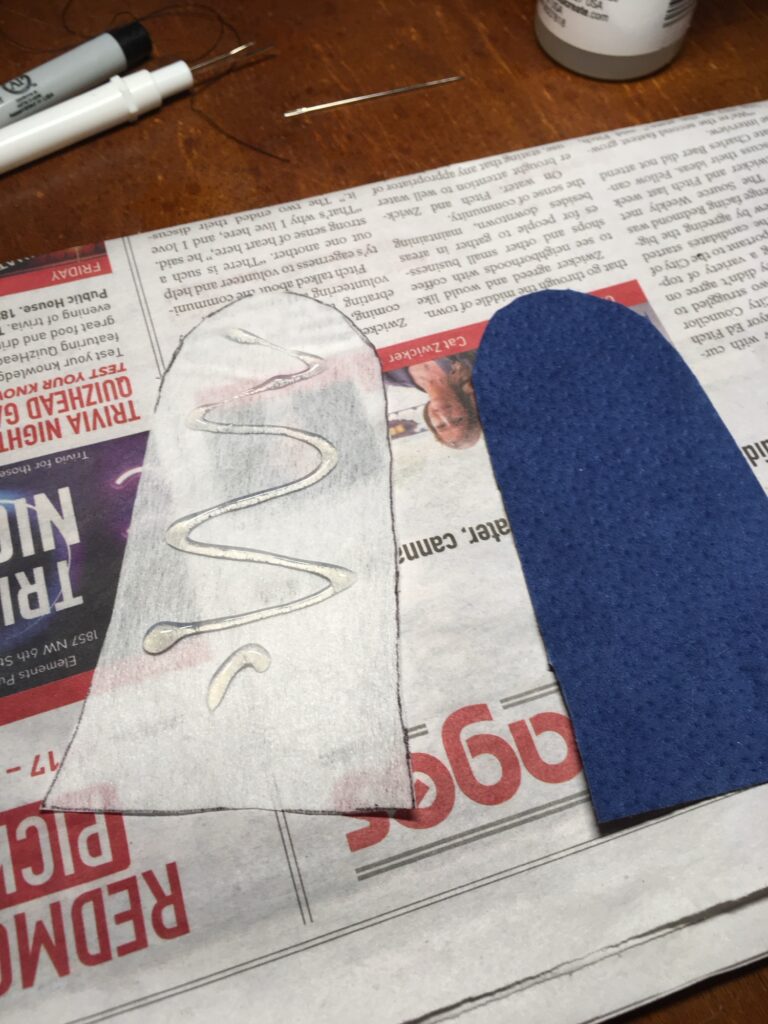
On the next glove I applied the gel directly to the fabric interfacing and wiped down the excess to spread it evenly and this prevented any glue from seeping through.

Draw Seam Allowance
⚠️⛔️ Caution when choosing your fabric color. I don’t like working with black fabrics because there isn’t a good way to draw seam allowances so they are visible.
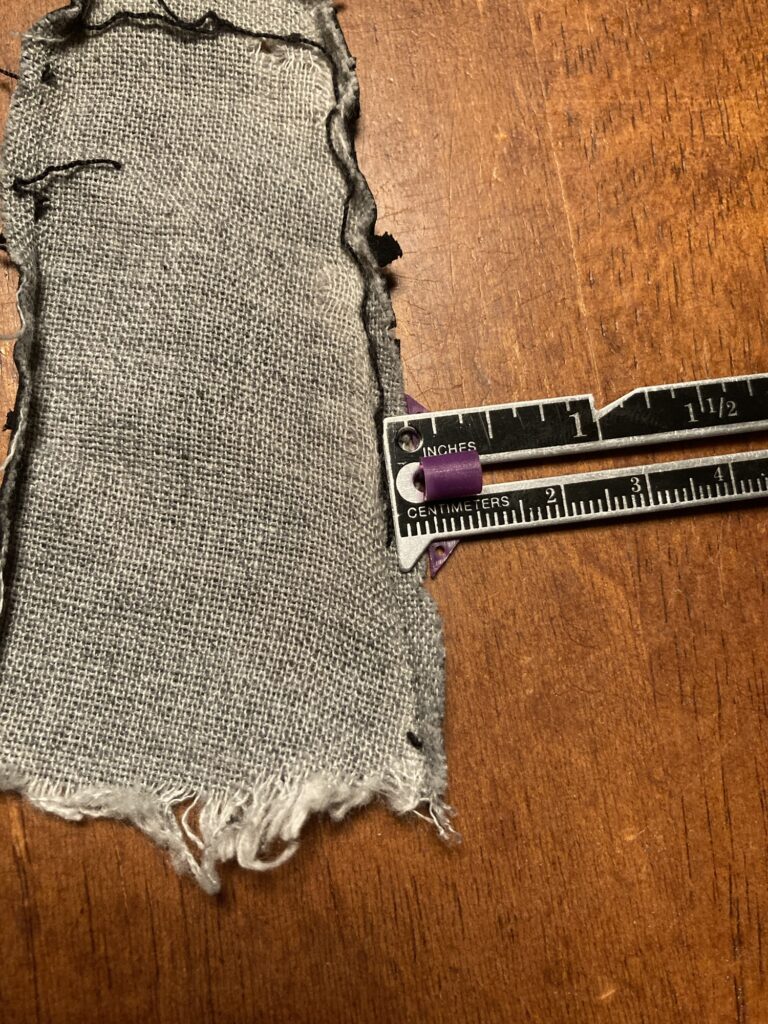

I measured my seam and transferred this to my new leather piece so that I would have a sewing line to follow.
Dowel to pierce new leather
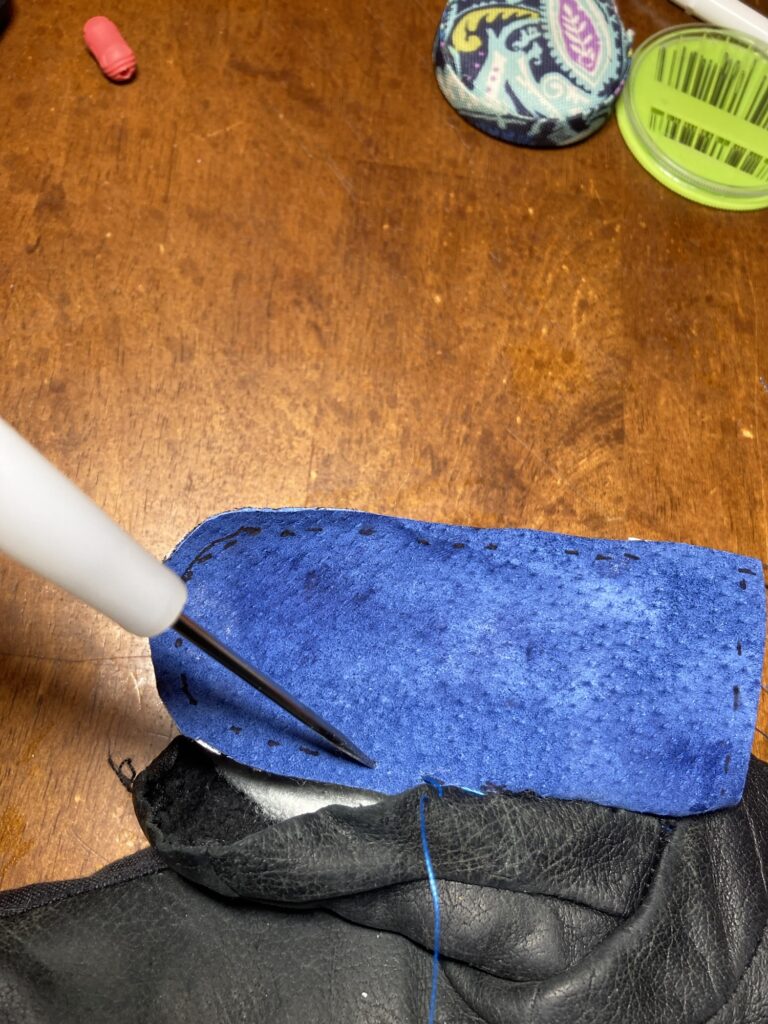
Here you can see the seam allowance aka my sewing line. I am using the dowel to gently pierce, not puncture, the new leather piece. The existing leather had its preexisting holes already for me to sew into. Notice how close the holes are on the pre existing glove. I made similar corresponding holes in the new leather.
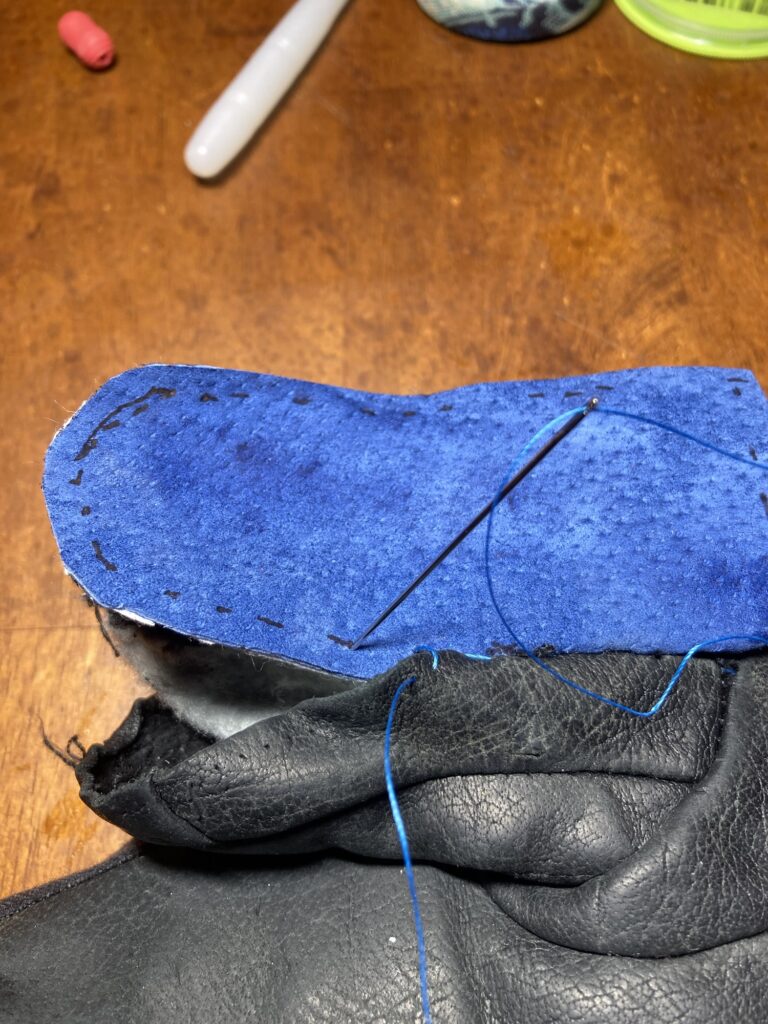
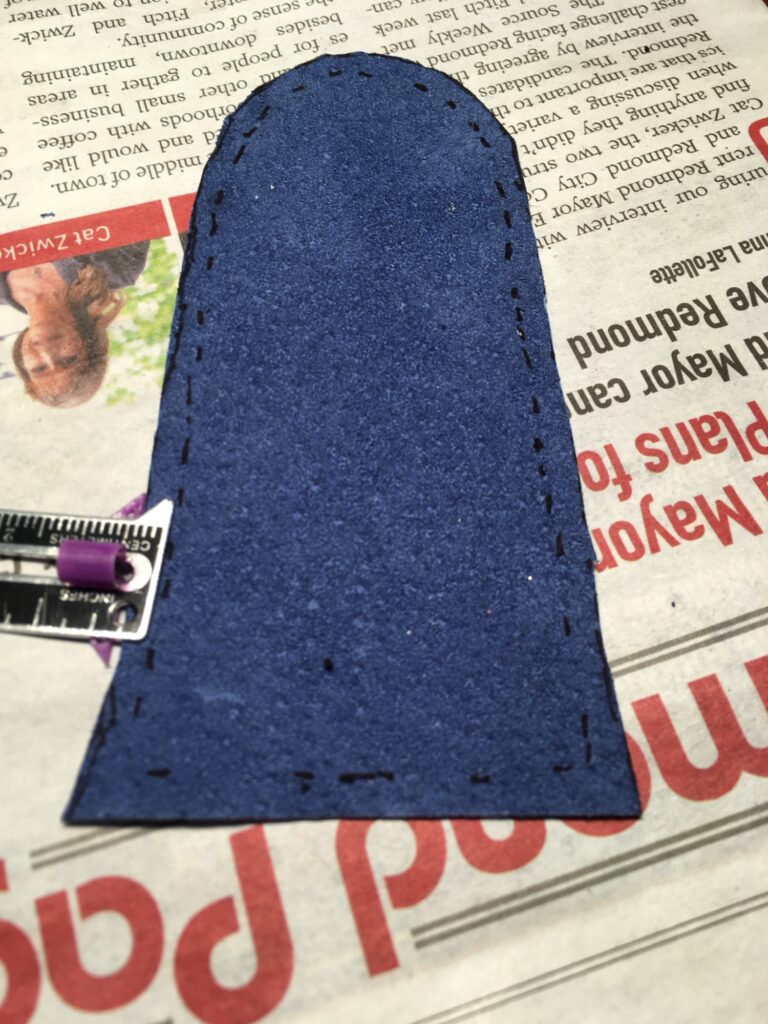
Top Stitch
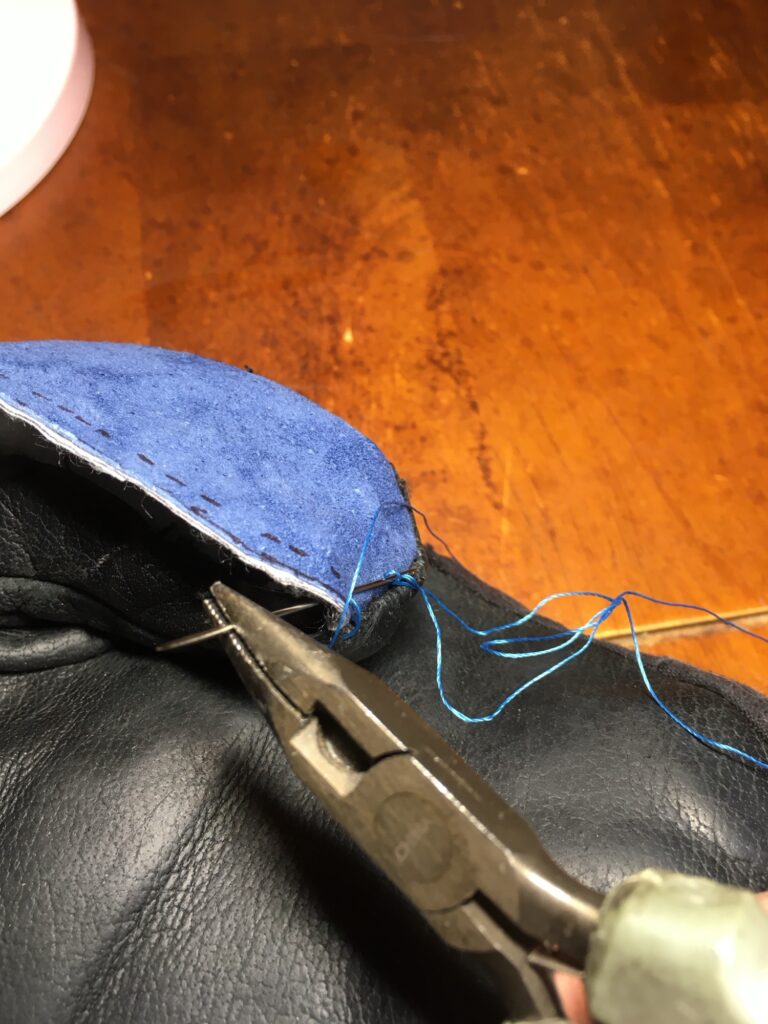
I highly recommend using small pliers to help pull the stitching needle through the leather one hole at a time.
After making a gentle pierce, making sure not to push the entirety of the dowel through. I then used my stitching needle to bring my heavy duty upholstery thread through.
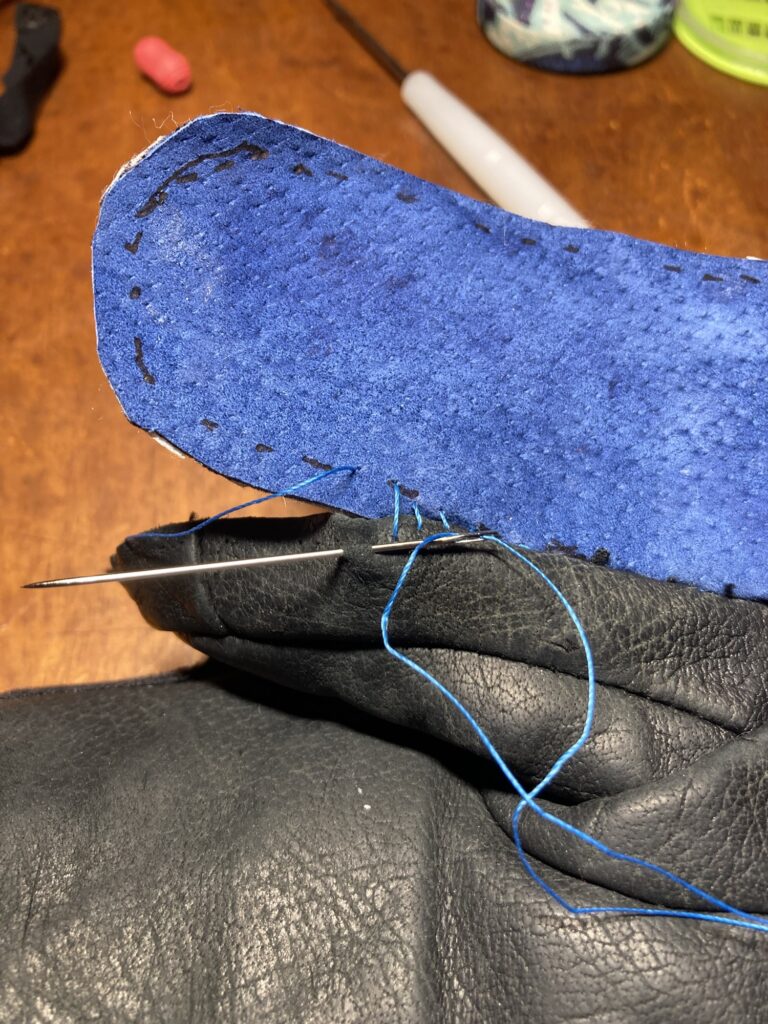
I used a top stitch for a clean sewing machine looking finish . I made sure not to skip or miss any of the pre existing stitch holes.
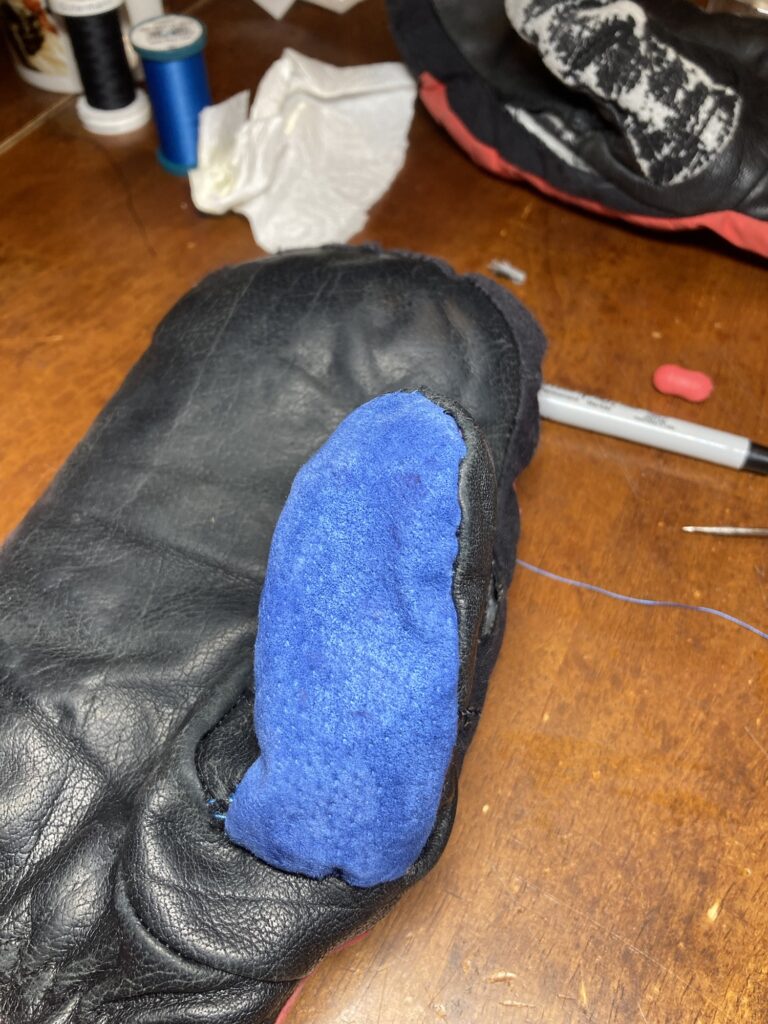
Waterproofing
Using beeswax is a great way to waterproof these if you don’t happen to have any waterproof backing material on hand!