Sofa Back Cat Walk
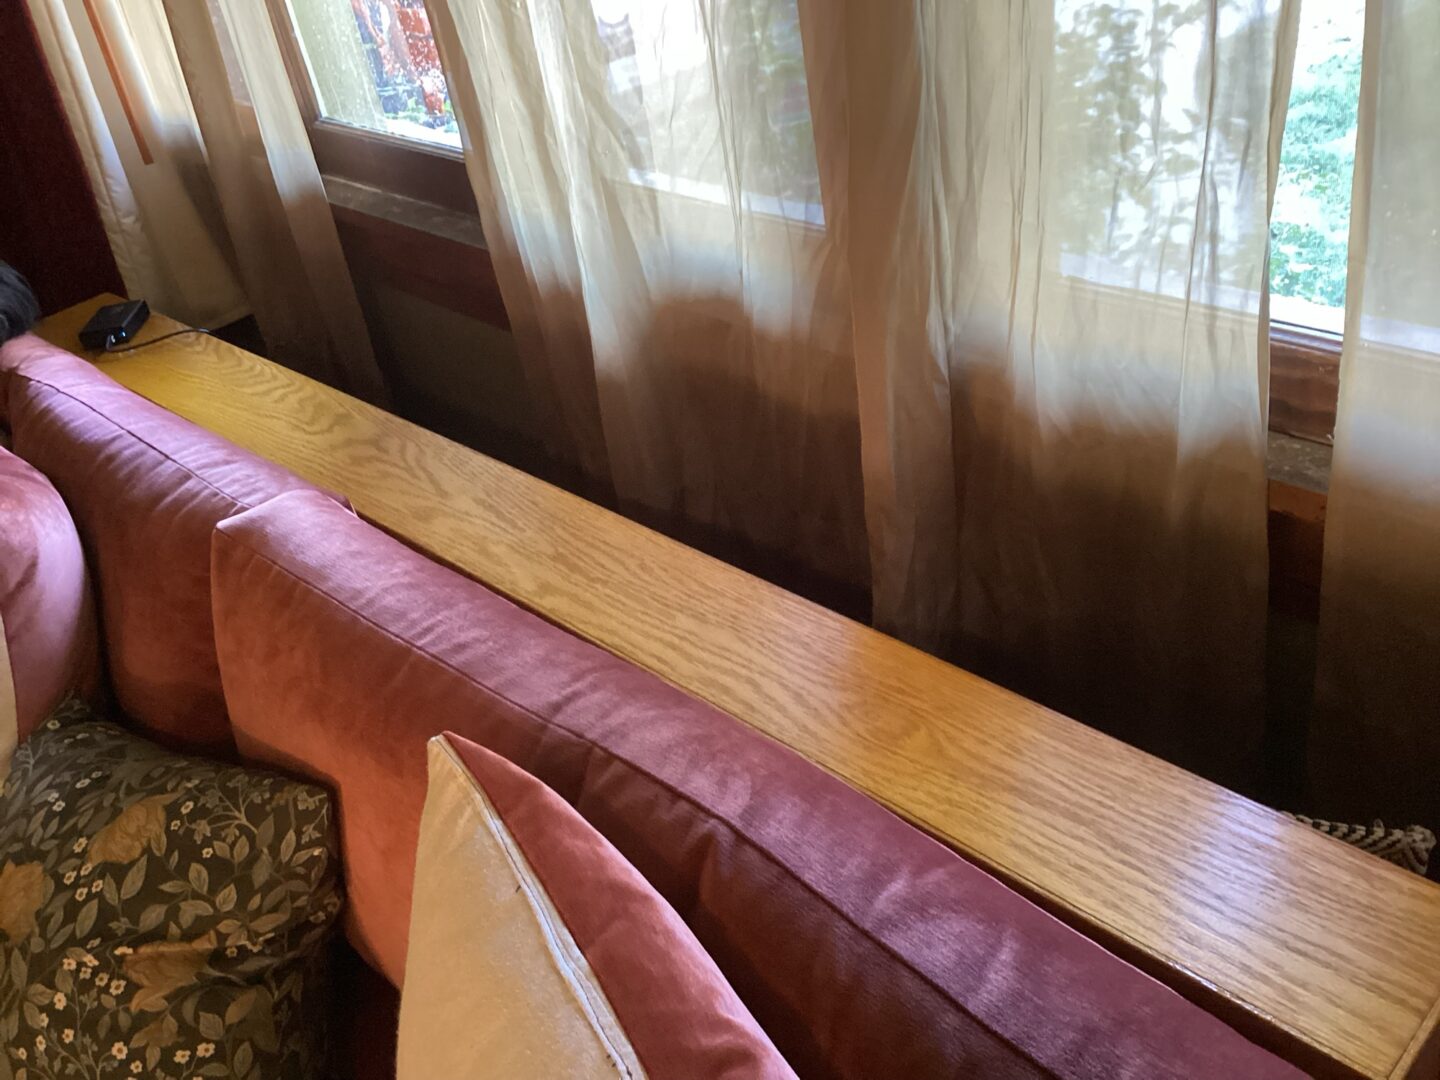
Maybe you want a sofa back table but are limited on space or maybe you need to protect the sofa from the cats perching and lounging… whatever the reason I want to share my solution to creating a minimalist sofa back cat perch & table that attaches directly to the sofa back rail.
- 1in x 6in x (length of sofa back) Oak
- 1in x 6in x 6ft pine
- 3/4in screen molding cut to desired length
- Keg pocket jig 320
- 1-1/4in (soft wood) & 1in pocket screws (for hardwood)
- Kreg Pocket-Hole Screw Starter Kit
- Chop saw
- Table saw
- Sand paper 120 grit & 220
- Tack cloth
- Stain applicator sponges
- drill and hand ratcheted t-handle screw driver
- Dye stain
- Wood glue
- Brad nails
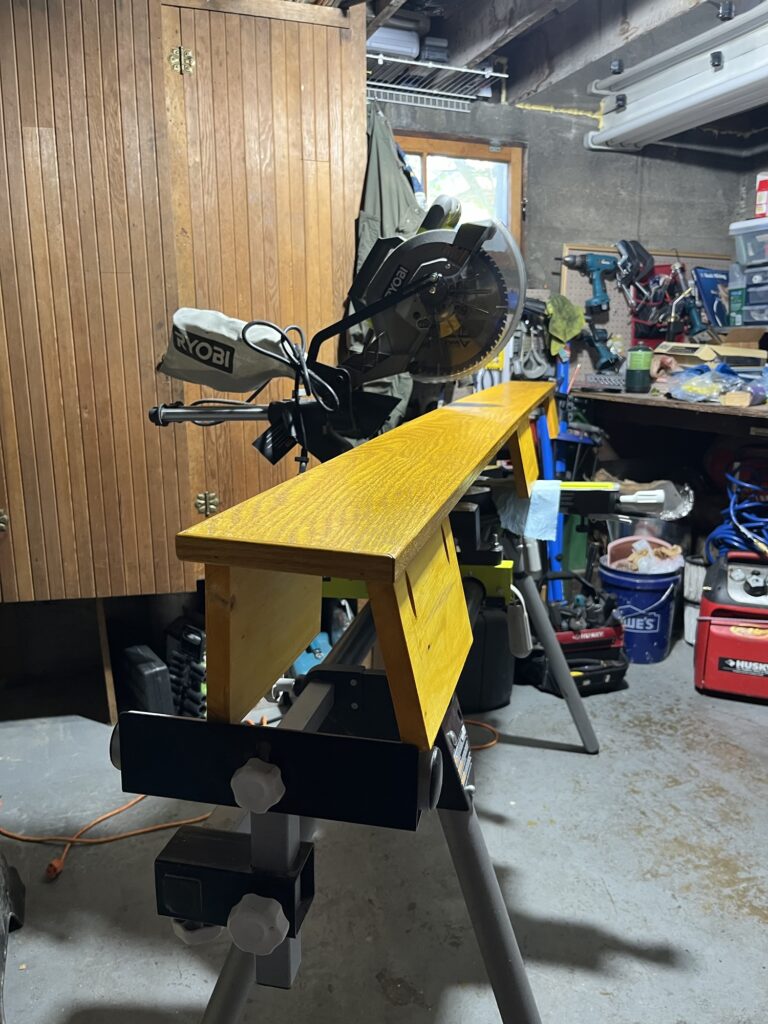
I started by cutting down my top sill plate of white oak 1in x 6in just a bit longer than my sofa back so 81 inches.
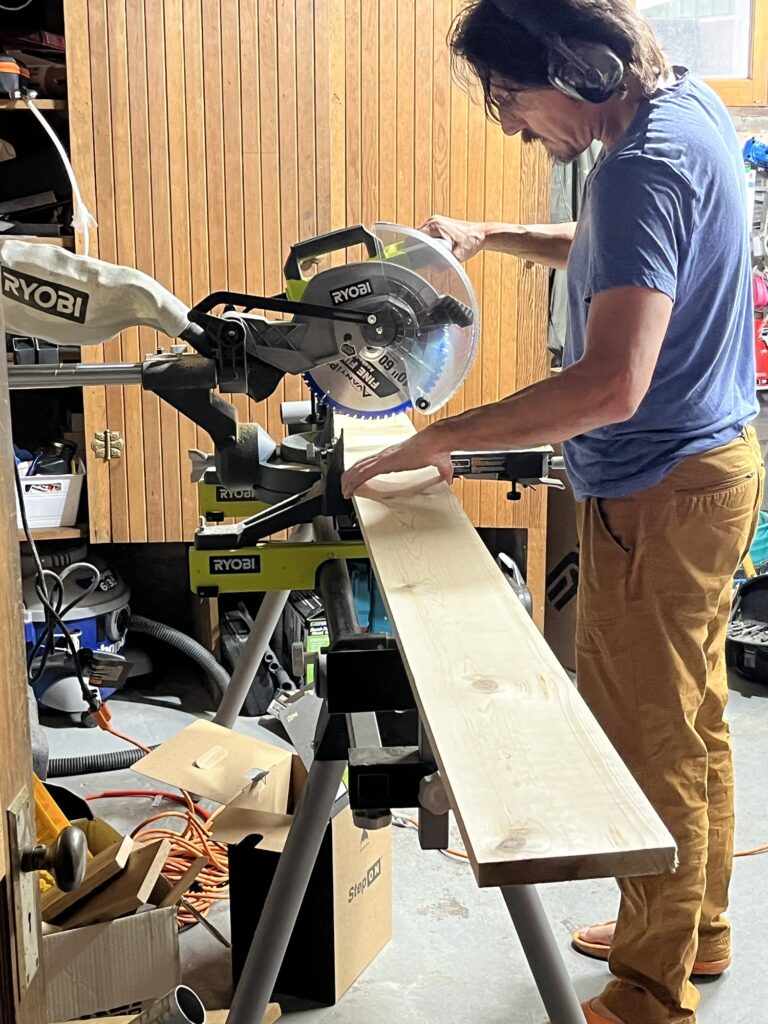
Next I used the pine 1in x 6in x 6ft and cut (4 ) pieces at 8 inches and (2) pieces at 10 inches.
Keg pocket hole jig 320
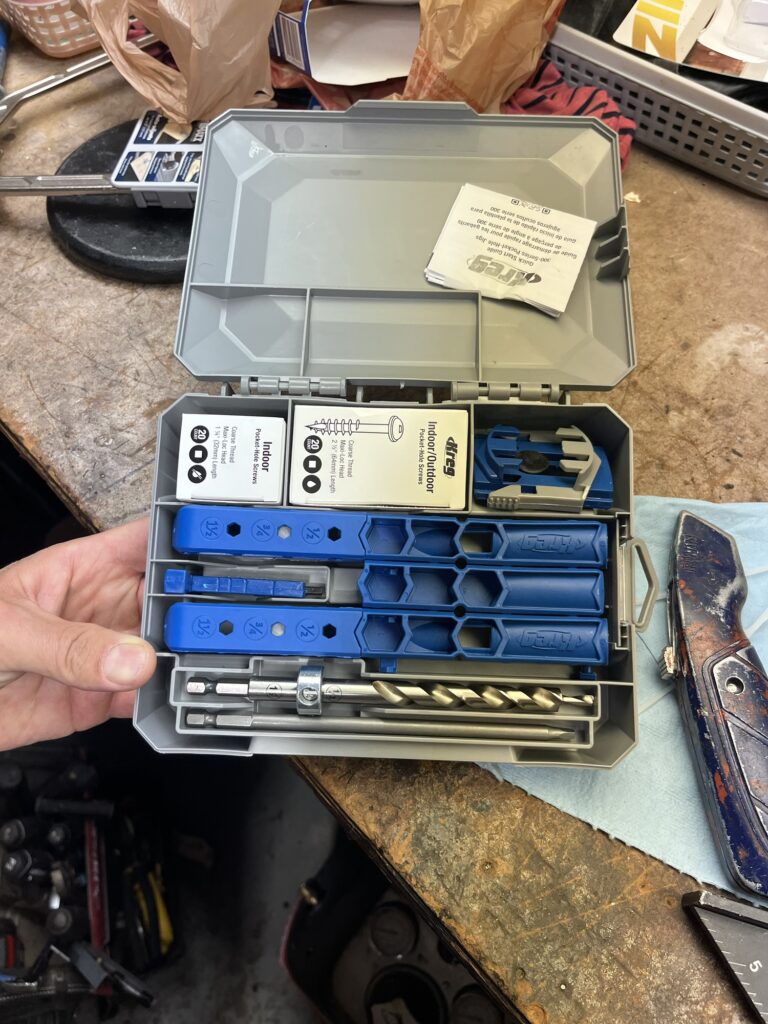
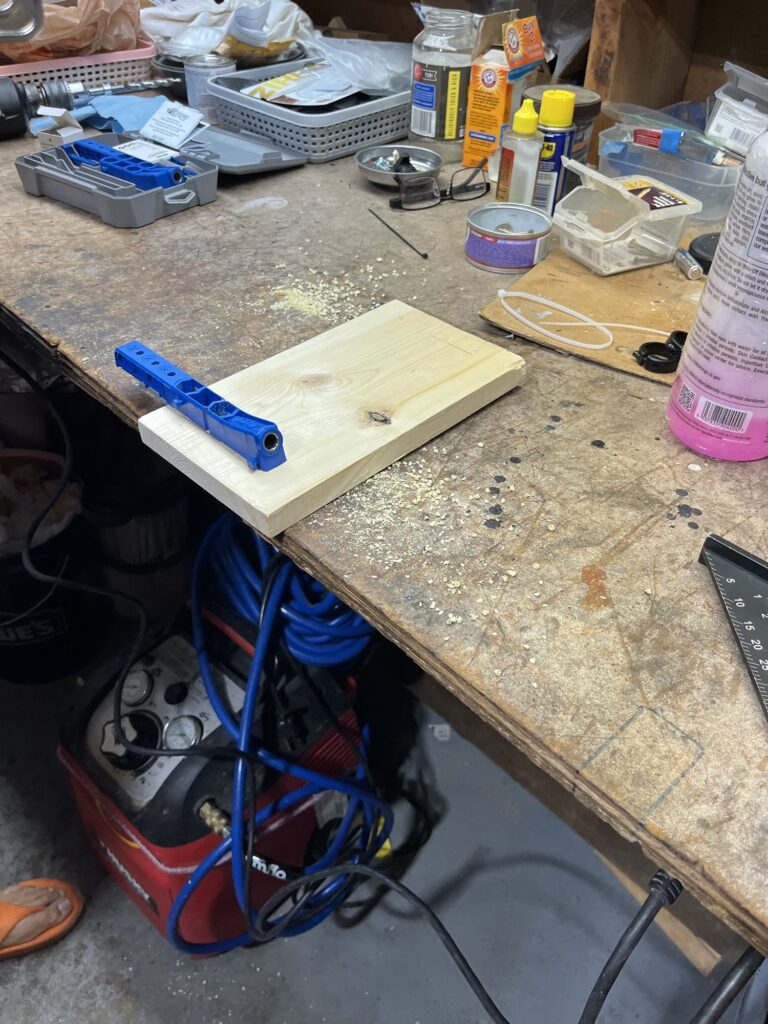
Measure, align, and drill pocket holes.
Measure, align, and attach back pieces. Install the back support pieces by clamping a scrap piece of wood behind it to ensure it does not move when attaching screws.
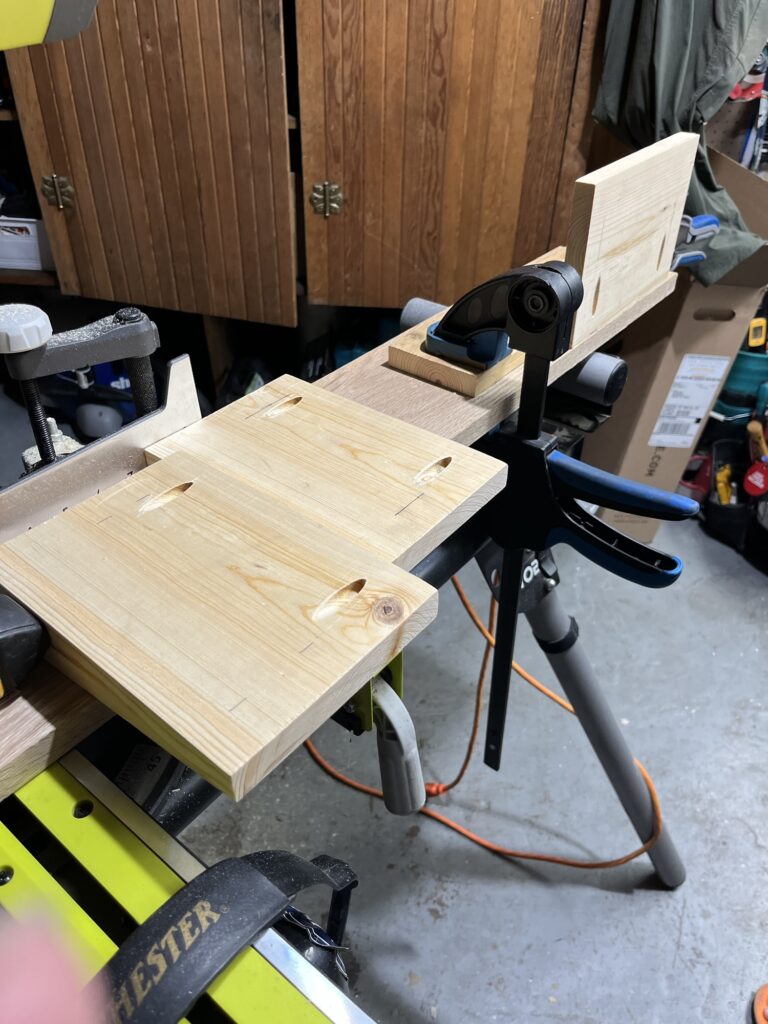
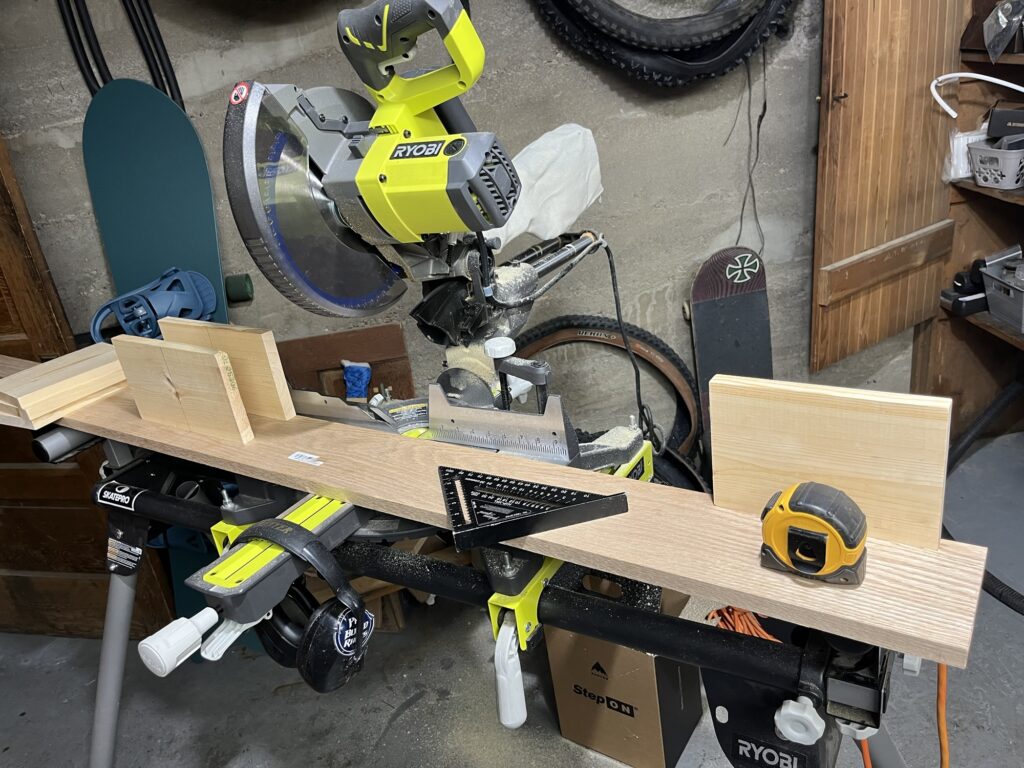
Before screwing anything together I sanded off the burrs. Then I placed one of my 8 inch cuts on the ends and placed my 10in cut in the middle along the back side. The back of my sofa is a straight flat edge and the front of the sofa is angled so the back support pieces could be attached at a direct 90 degree flush surface mount but the front pieces needed to be cut at angle.
Sofa Back Template
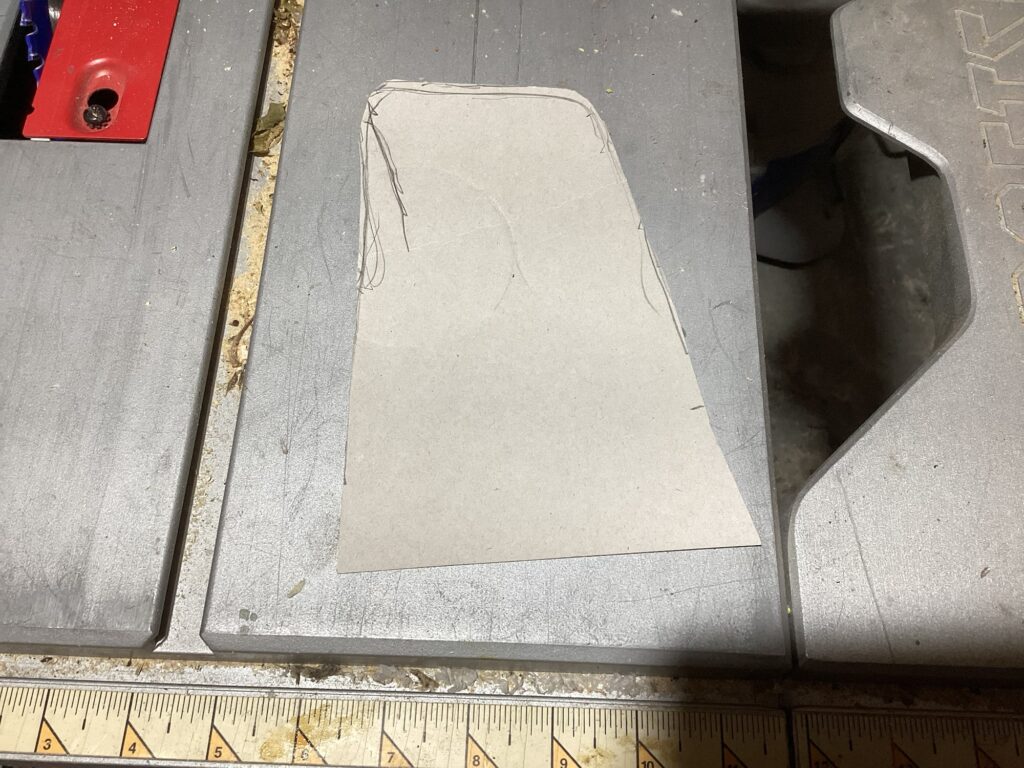
Using a piece of cardboard to make a template of my sofa back I was able to measure and calculate the miter cut angle for my front support pieces.
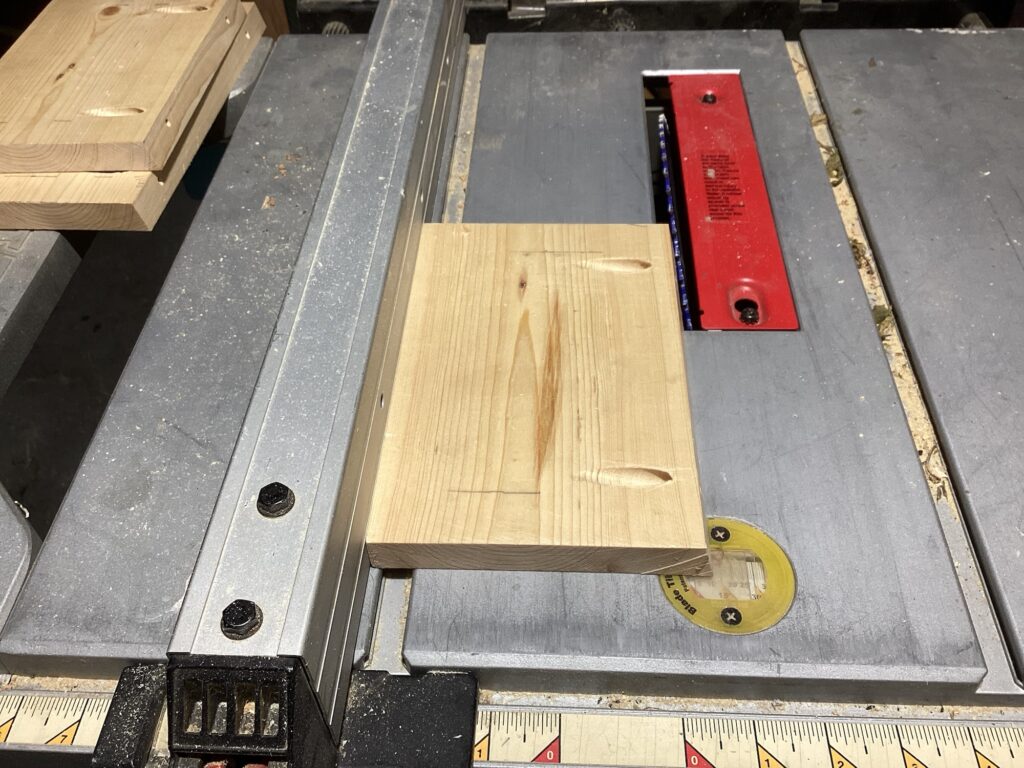
Miter cut using table saw.
Use 1in pocket hole screws for hardwood
The supporting clamped lumber/jig was also cut on one edge to match the 15 degree miter cut so that when attaching the pocket screws the wood could remain in place without moving.
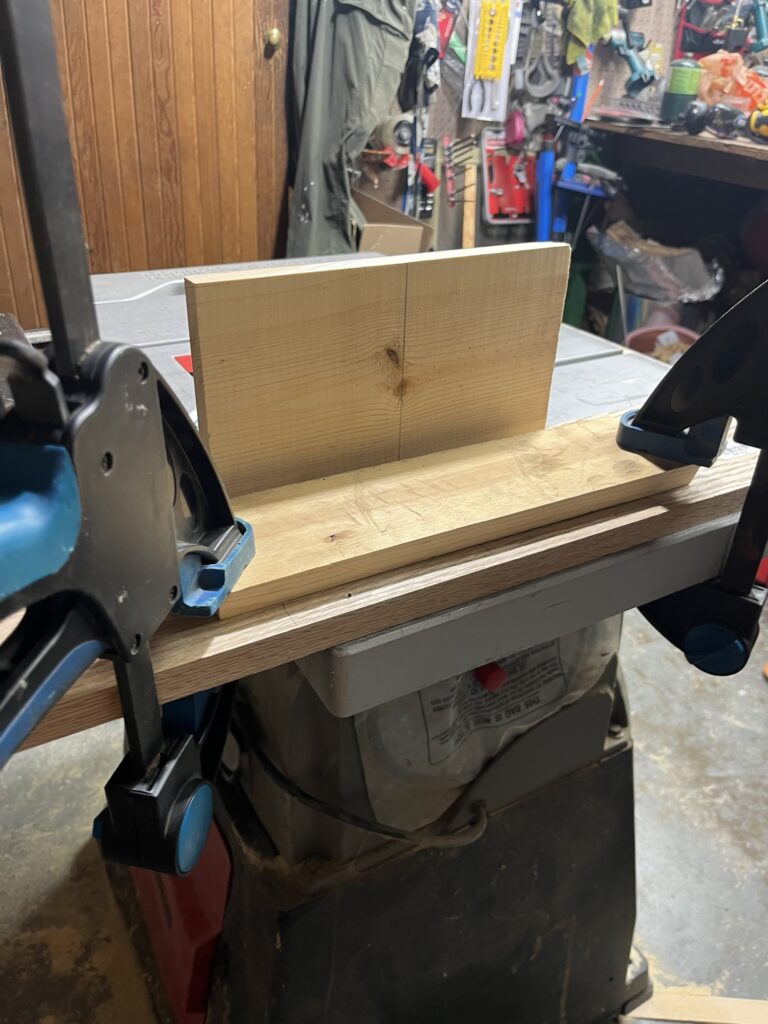
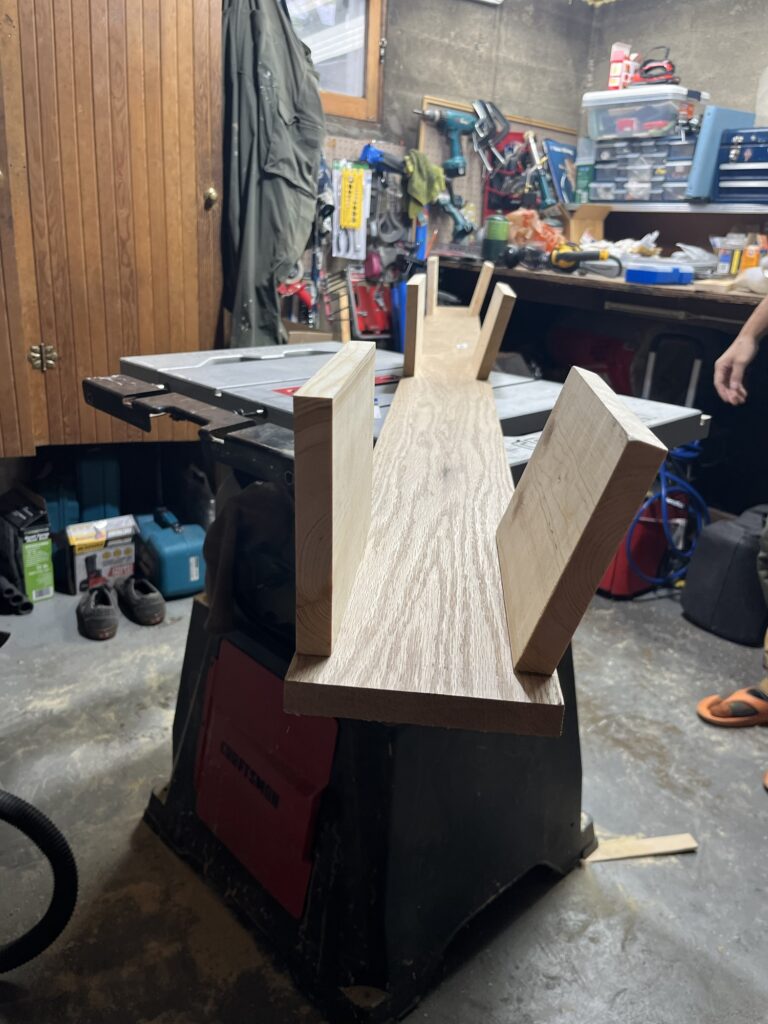
The dry fit is 100% PERFECT 🎉
Trim
I decided to protect my embossed velvet drapes and new sofa Crypton Artemis chenille low nap valvet sofa fabric by adding a low profile finishing trim. This step is optional and can be skipped if you have the patience to sand down the edges and corners.
- The 2 Long Pieces (Front & Back): 81 inches
- The 2 Short End Pieces (Left & Right): 5.5 inches
Using the screen trim and a 45 degree miter cut angle I cut down my trim pieces.
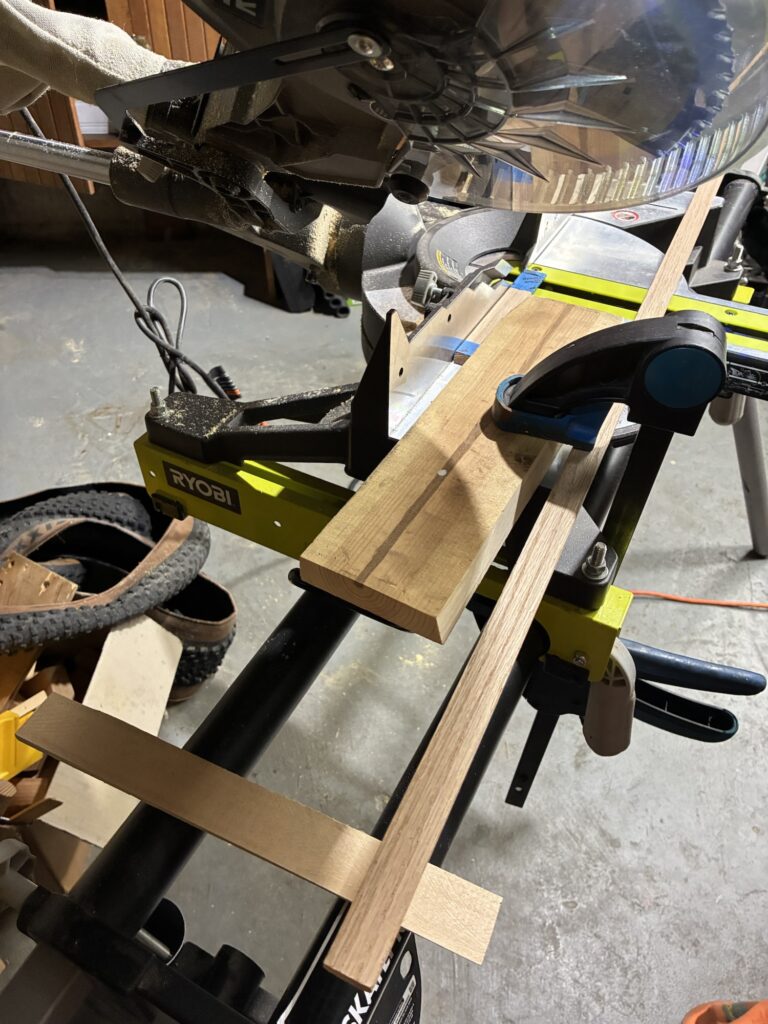
Tape and cut at the 45 degree angle
I cannot stress how important making the correct length cuts is when doing mitered end cuts. even 1/16” too long = a lot of sanding down.
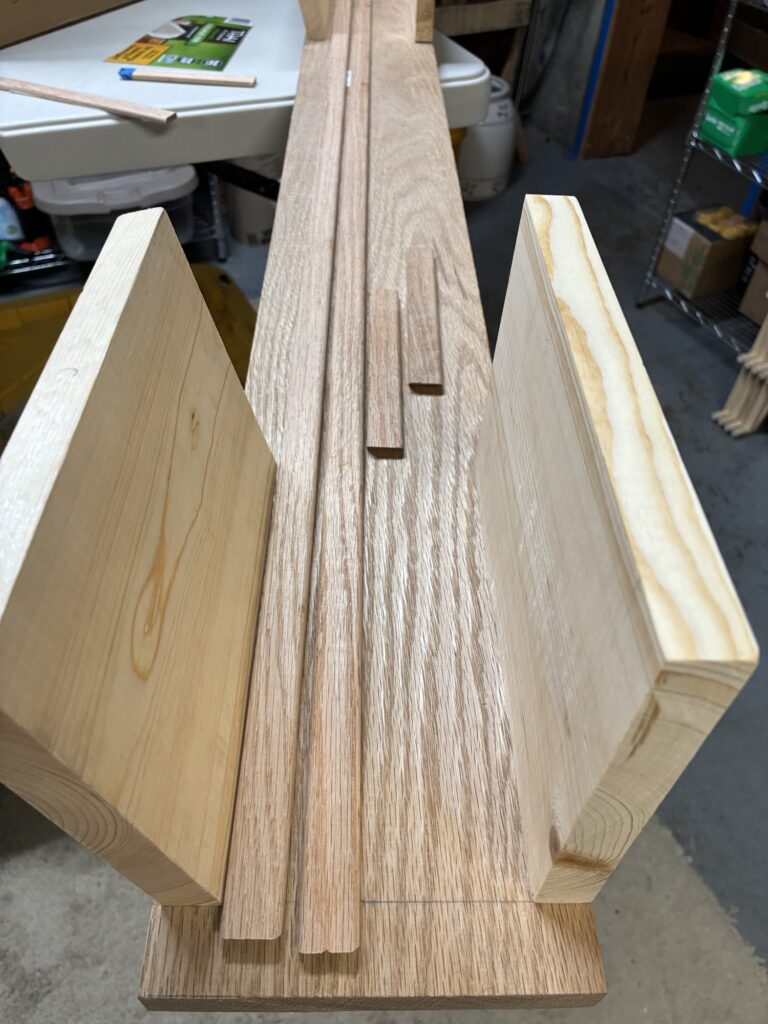
The trim was wood glued and Brad nailed with 5/8in nail.
Staining. & Finish
Follow the instructions on the label for your chosen stain and top finishing coat.
My water based stain indicated to apply 3 coats of top coat.
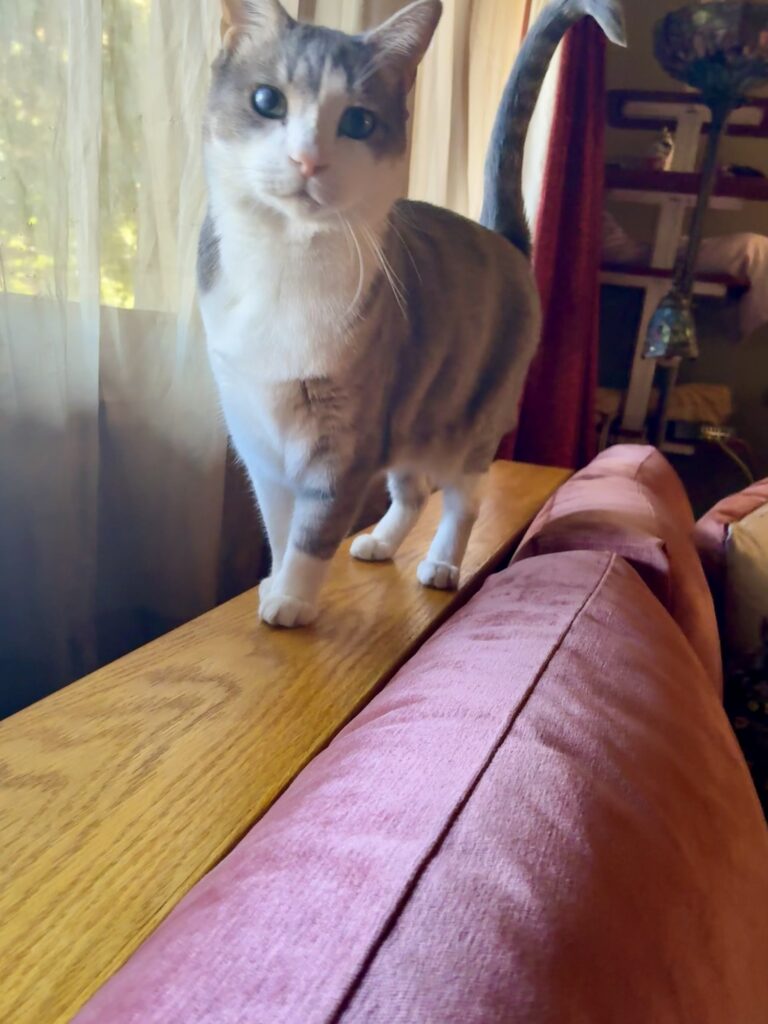
I wanted to protect the back of the sofa which is where the cats love to walk, sleep, & perch while also giving us somewhere to put our charging blocks.