Toilet cleaning tabs

WARNING citric acid is highly corrosive to metals, plastics, rubber and chrome finishings typically found in toilet tanks. Please try and avoid using these DIY toilet tabs in the water holding tanks as it will eat away at the rubber seals and plastic components.
Never use a pumice stone again
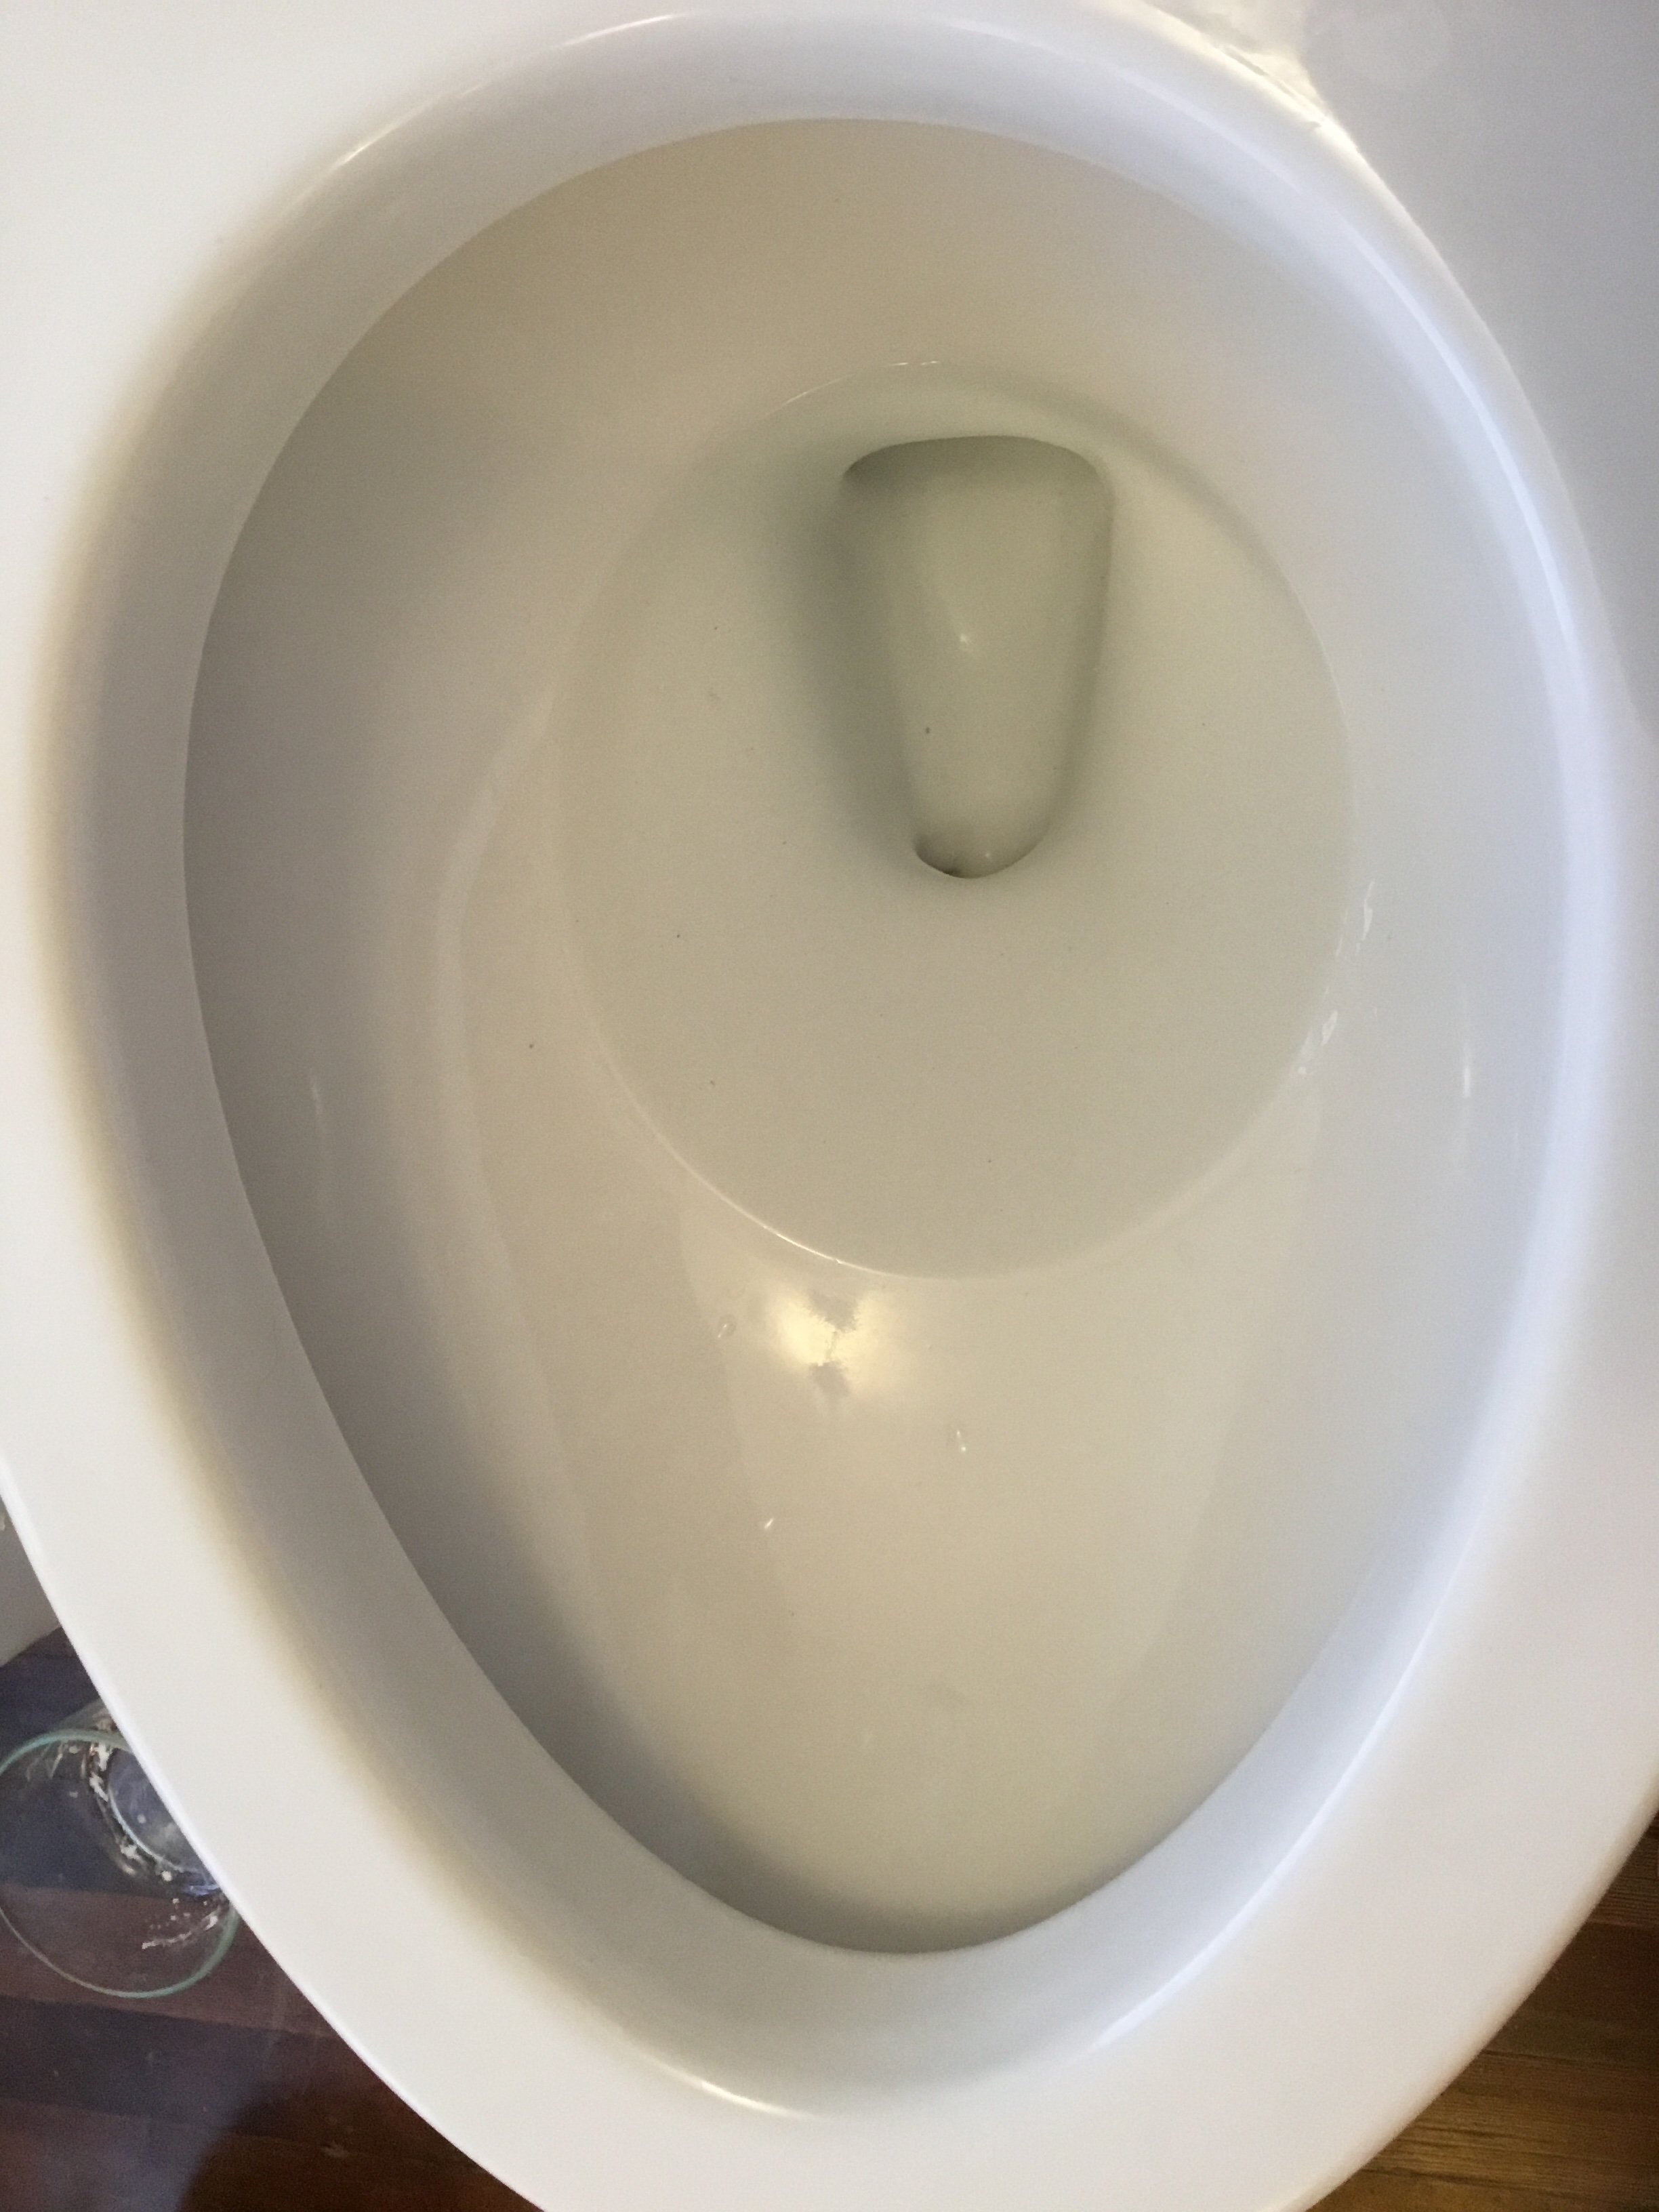
No scrubbing, no pumice stone and hard water removed!
No porcelain top coat damage and looking like brand new Again!
I apologize there is no before picture of the 3 years worth of hard water build up.
Ingredients
- 1 cup of baking soda
- 1/2 cup citric acid – I purchased a 1lb bag at a local store
- 1/2 cup borax (Optional)
- 20-30 drops of essential oil (optional)
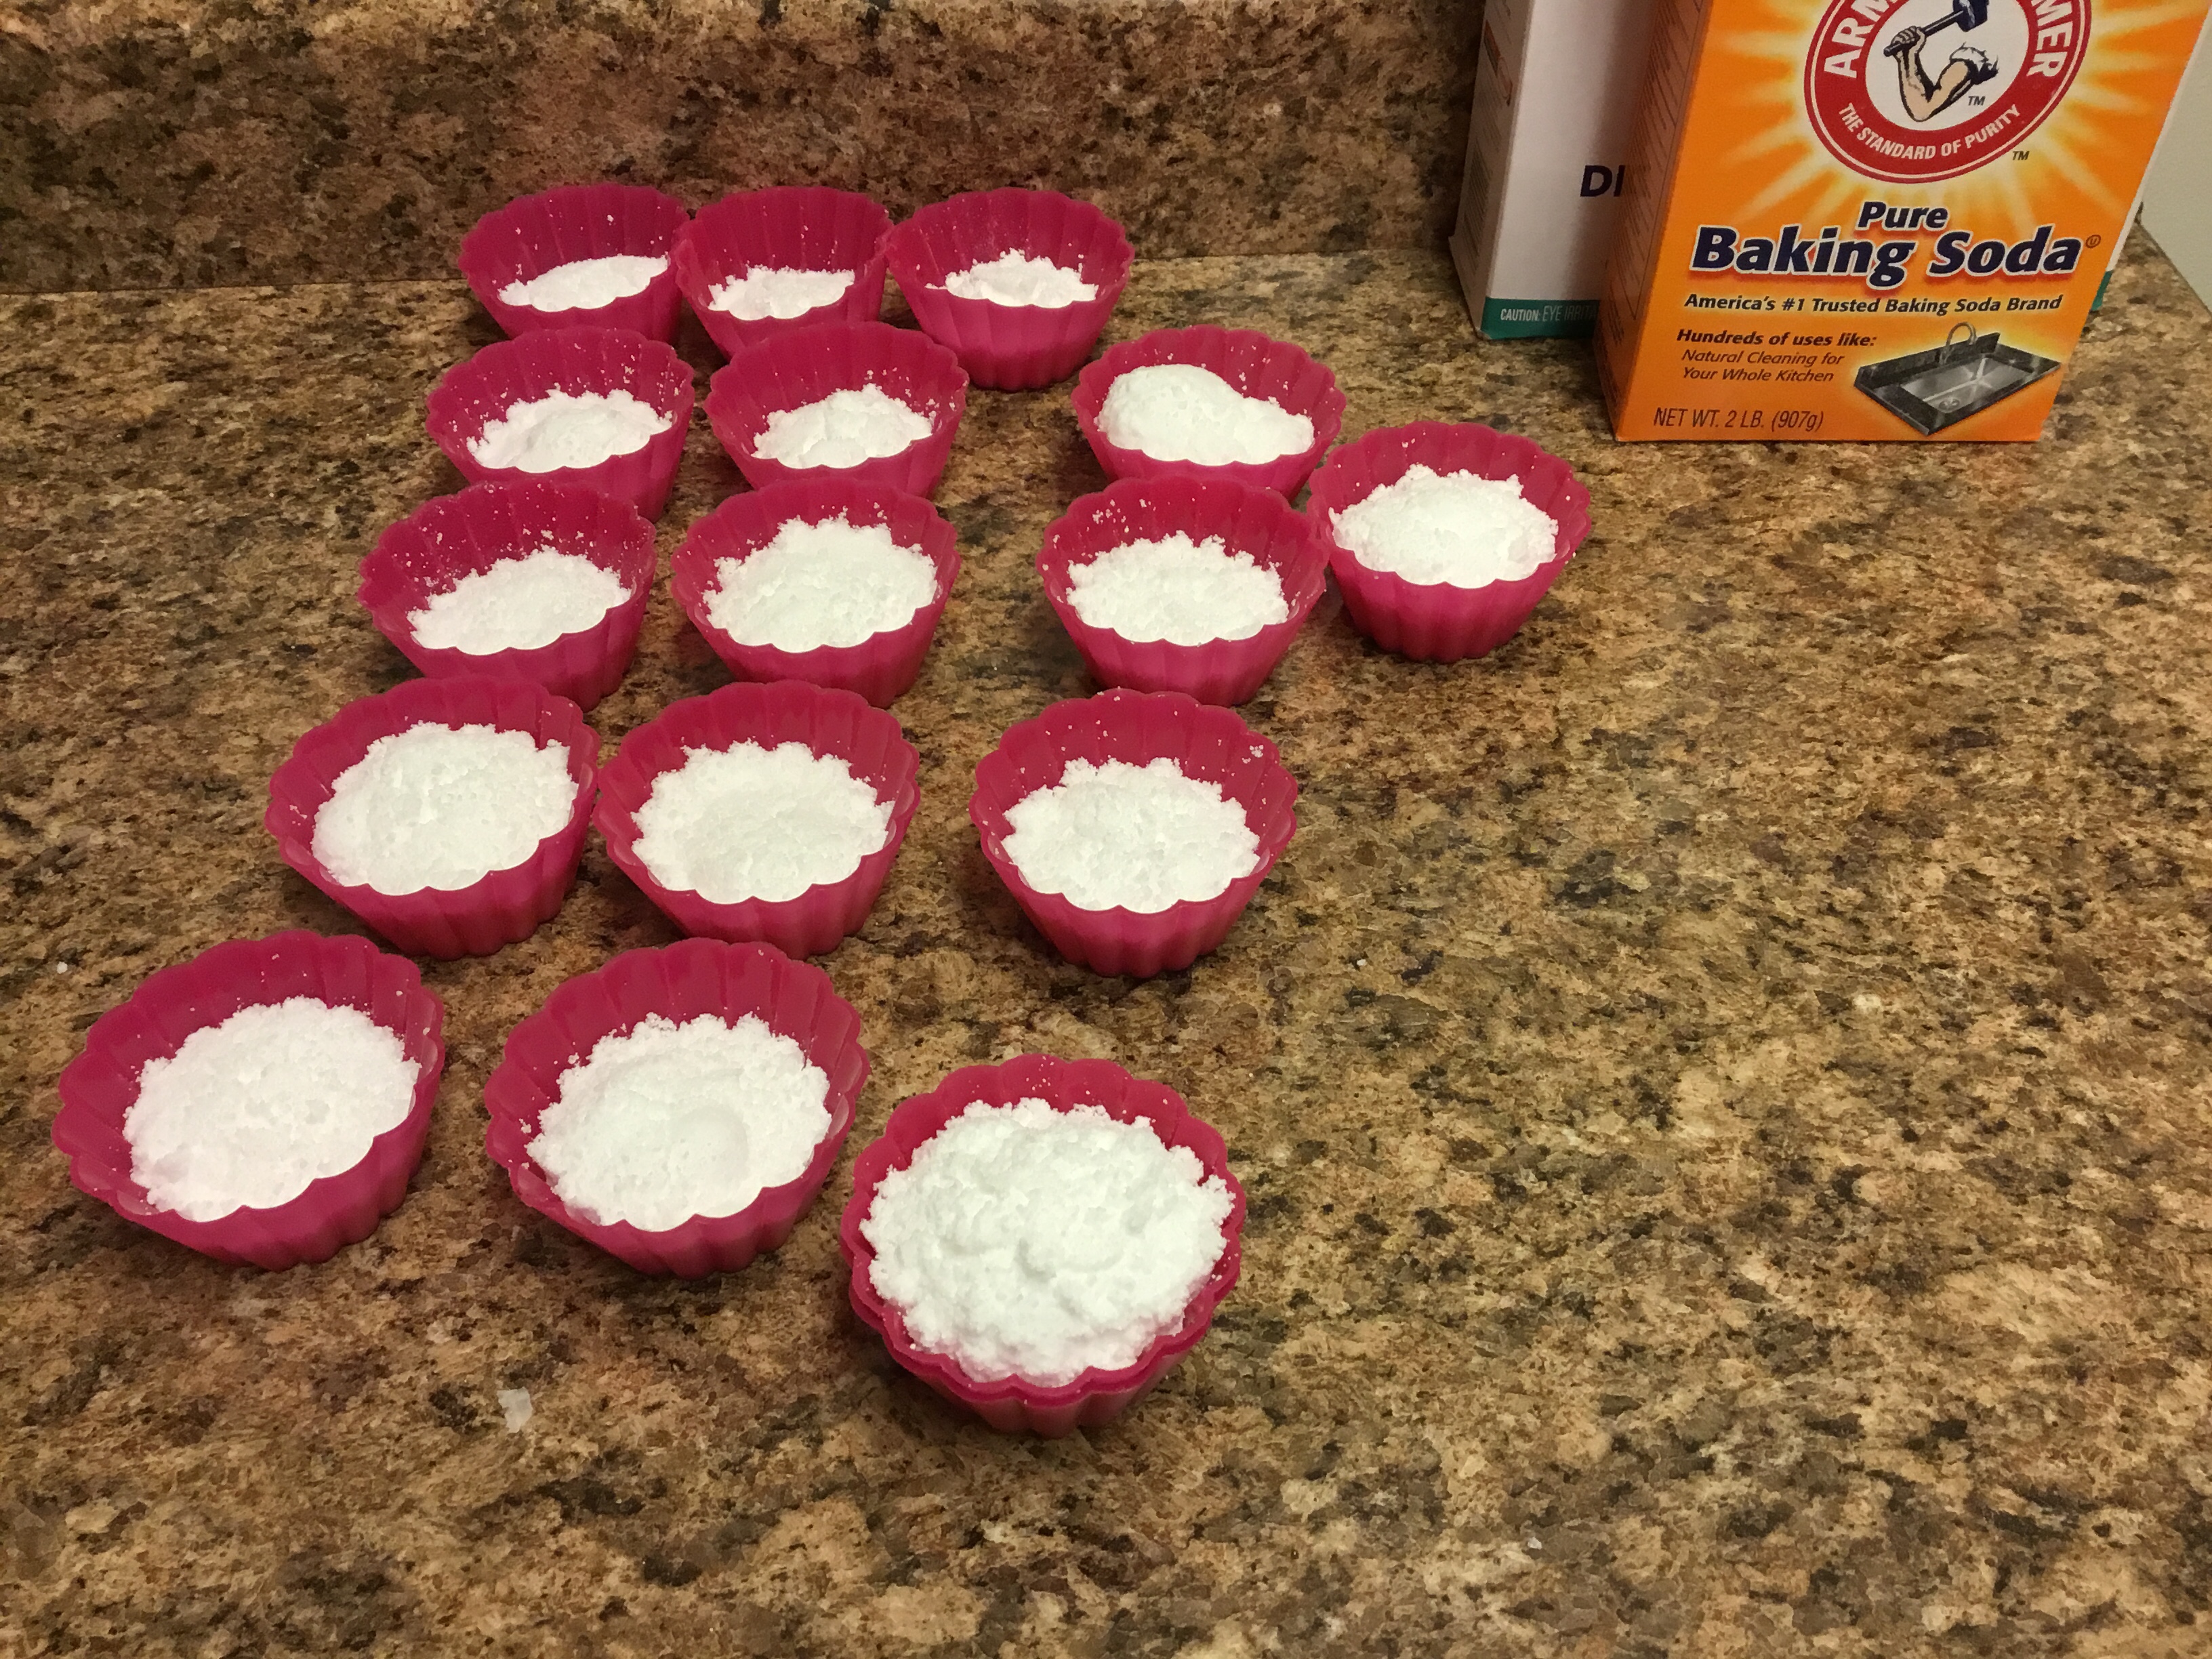
- Moulds (silicone cup cake cups or trays)
- Plastic spoon (citric acid is corrosive and can eat away protective layers)
- Medium bowl
- Mica powder for coloring (optional)
Directions..
- In a medium size mixing bowl combine dry ingredients.
- Add 1tsp of Mica powder at a time until you obtain color consistency.
- Mix thoroughly
- Add essential oil while mixing
- Mix with wire whisk to break apart clumps
- While whisking spray 5-7 spritz of water
- Do not add too much at once or the mixture will begin to react. Do this about two to three times until the mixture begins sticking together in your hand.
- Once wet the mixture will dry and harden quickly.
Spoon two tbsp into cupcake cups and pack down.
- As the mixture dries it will firm up and may expand.
Let sit overnight
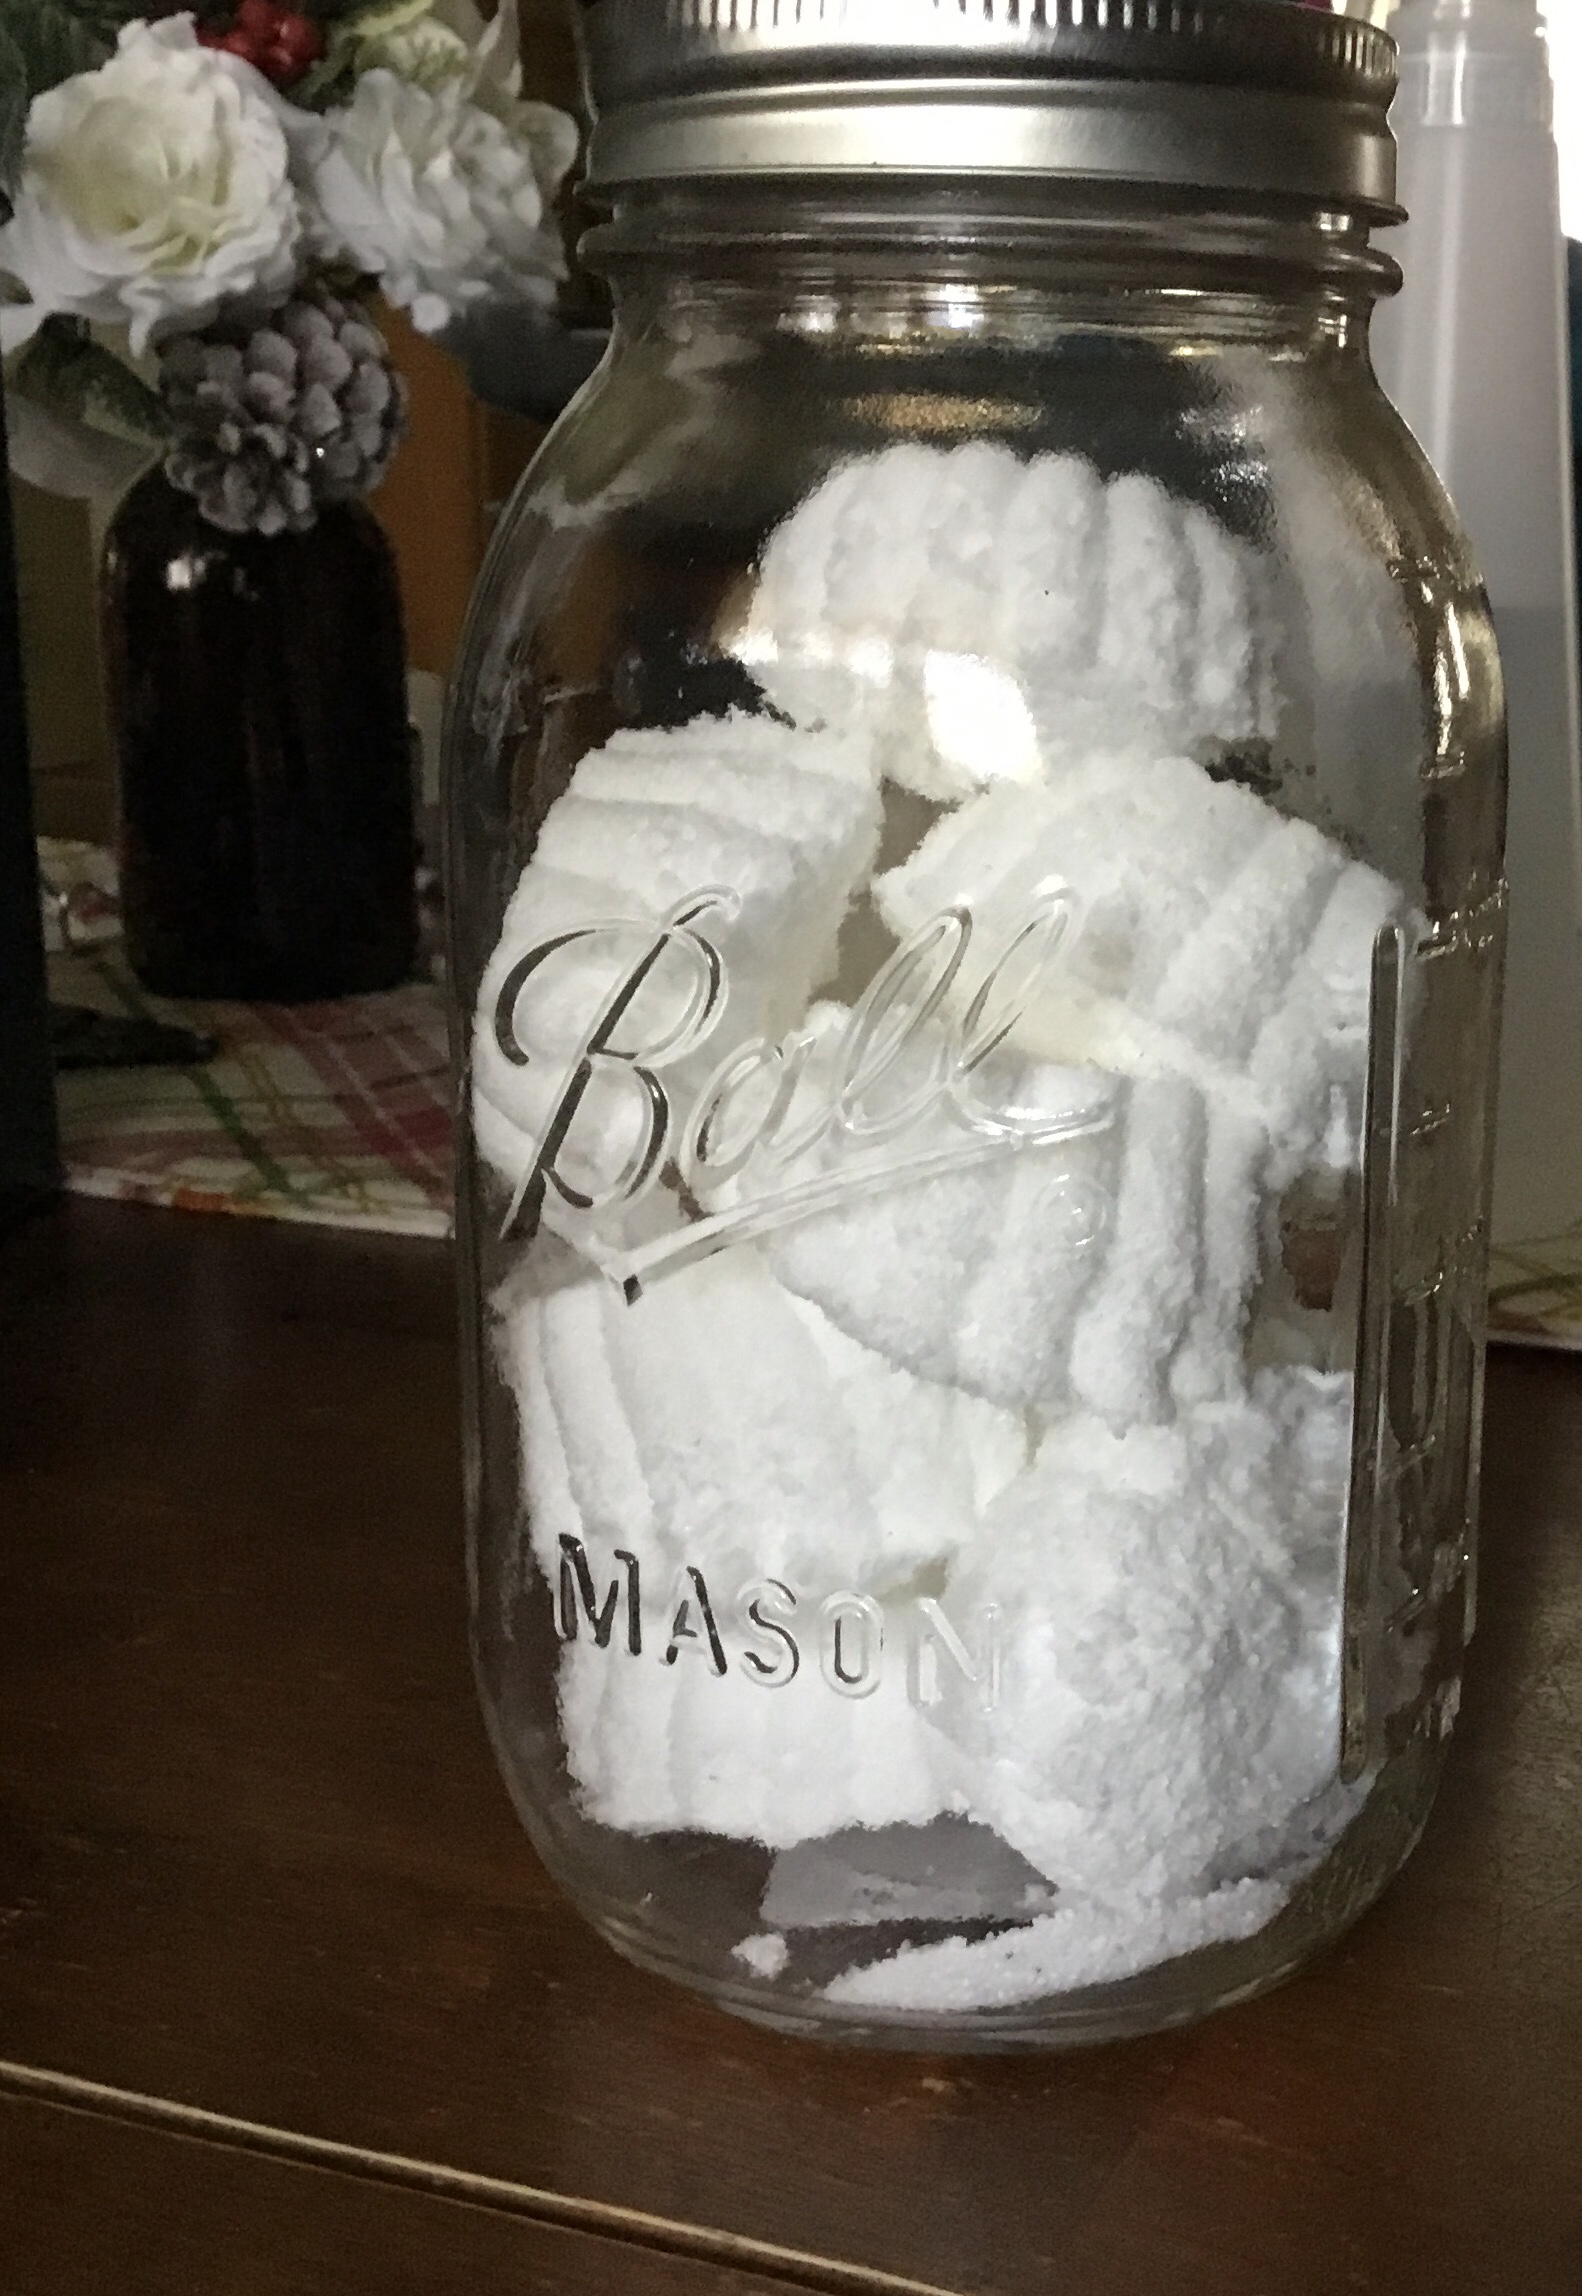
Pop out and store in an airtight container
CAUTION: For what it is worth the thicker the tabs are than they will not dry all the way through!
**I did not use essential oil or coloring additives with my first batch as I was more interested in finding out if these tabs actually worked.**
Do these work?
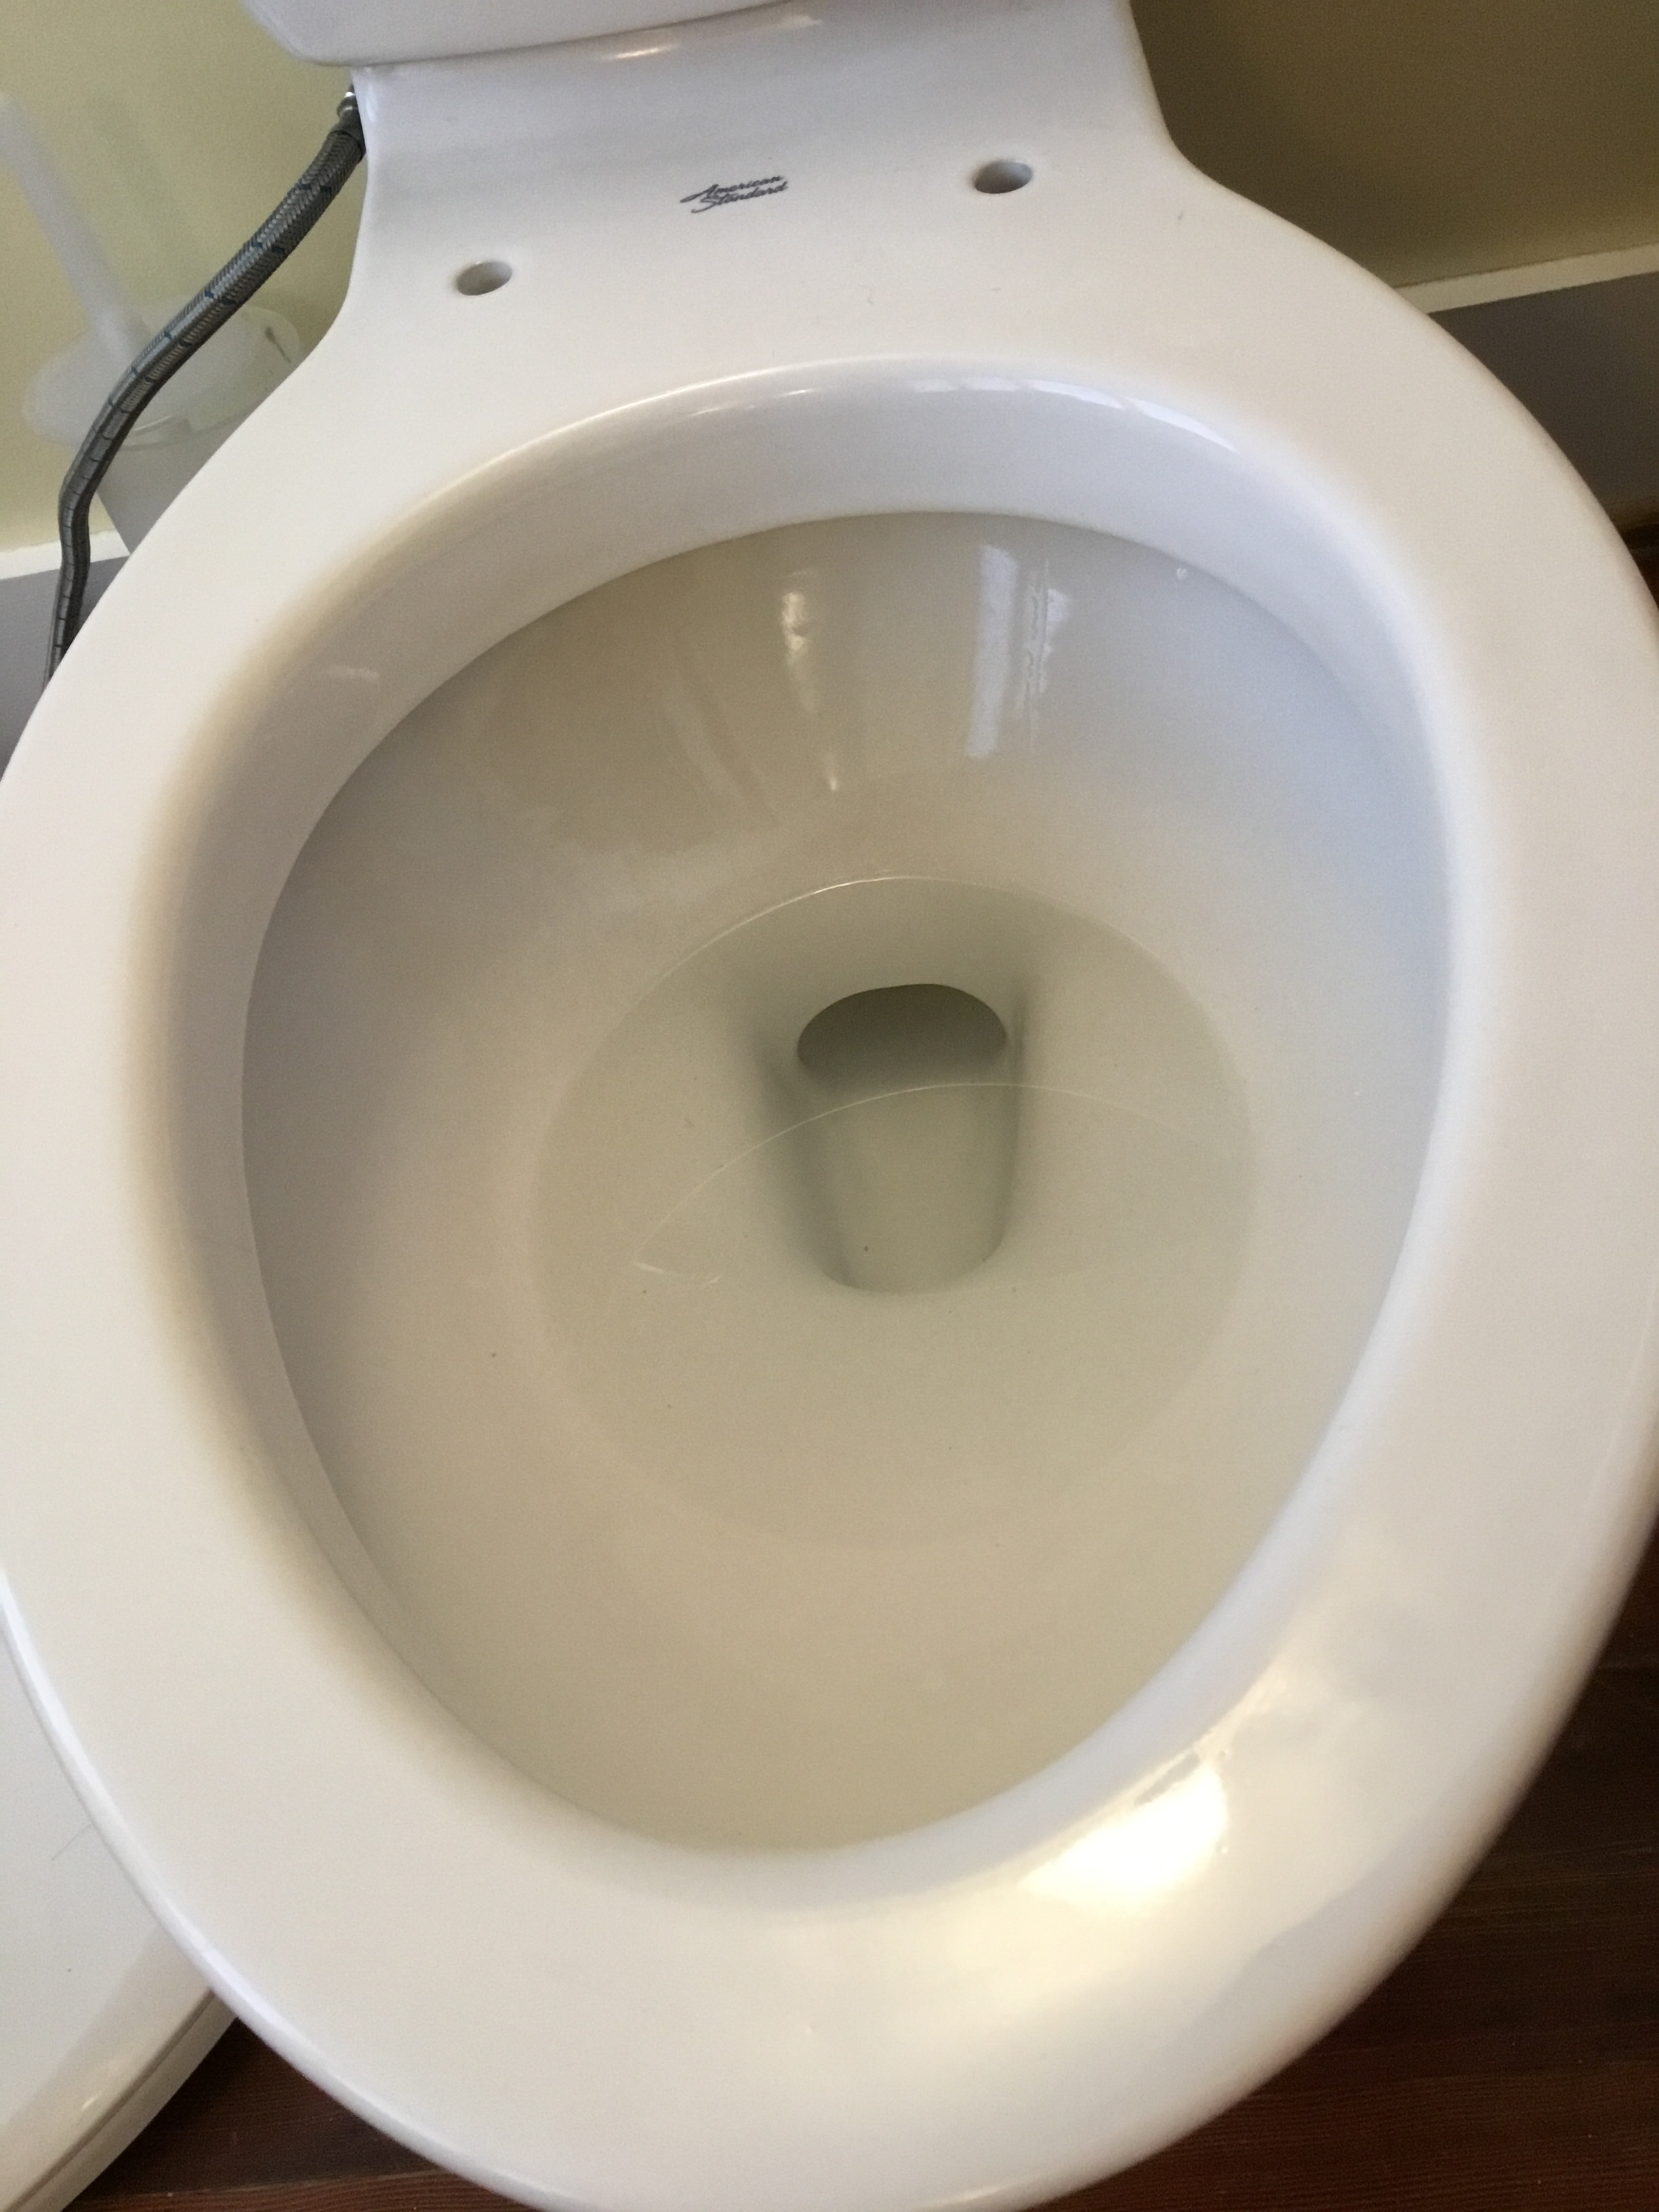
Yes and no! First off, Yes I highly recommend their use for deep cleaning and removal of hard water from the toilet bowls similar to what I have pictured. In which the toilet bowl has a lower bowl jet and not rim jets. I do not recommend using these in the water tanks and they do not help for cleaning rim jets.
I wanted to put these to the test right away on a second bathroom toilet that is solely used by Eric and has been his responsibility to maintain. Needless to say it was kind of gross and in desperate need of TLC. We installed the toilet brand new over three years ago and obviously it had never been deep cleaned of hard water build up since it was installed. After dropping 2-3 tabs into the toilet bowl and letting it sit for a few hours i didn’t see any improvement until I physically wiped the hard water build up away by hand. This took no elbow grease and little effort. I then removed all of the water from the bowl and covered the bottom of the bowl with distilled vinegar and let it sit over night.
The results are in and my toilet looks brand new with minimal effort. However this did take a lot of patience and not using the bathroom for the better part of two days, mostly because I got lazy. I don’t honestly believe that these tabs are 100% toilet brush use free as claimed by others. Yes I ended up draining the toilet bowl and cleaning the build up by hand but the build up did come off effortlessly with minimal contact. I think these tabs helped to loosen up the build up but I still filled the bowl and bottom water jet with distilled vinegar to set over night to get anything left behind that I couldn’t see or reach inside the jet. I do think these help but they aren’t a miracle brush free toilet cleaner and physical contact is still needed for tough jobs, albeit drastically less elbow grease!
I will continue to make and use these tabs.
In this picture you can see the lower bowl water jet opening. This area from the opening all the way over The bottom of the toilet was caked on with a nasty hard water brown layer. It would not come clean with normal toilet brush cleaning methods. I tried several different store bought cleaners but none of them worked!
Cleaning Method
I used paper towels soaked in distilled vinegar to line the toilet rim to remove the mildew build up. Left them in place for 3-5 hours and when I came back I simply removed the paper towels and wiped down the rim. The build up and mildew were gone!
The toilet bowl ring where the water sits inside the bowl was a bit more stubborn and that took an additional 2 hours of soaking before it was completely gone.
Rim vs bowl jets
I have a rim jet eco flush Gerber toilet in the master bathroom and an American standard bowl jet in the second bathroom.
Rim jets
Pros: the rim jets are easier to deep clean weekly vs the bowl jet. For the rim jets I soak paper towels in distilled vinegar and pack them under the rim and walk away for a few hours while the cleaning occurs.
I don’t have to ever drain the toilet bowl completely in order to deep clean!
Cons: if there was ever a severe mold growth that got inside the rim water jets than it would be 10 times more involving and more work to clean out then just simply using paper towels soaked in vinegar. It would involve buying a water pump, hoses, and running bleach actively through the tank and the Jets for a few hours.
Bowl jets
Pros… Less likely to have to buy a water pump to run bleach through jets. There really aren’t many pros to this style of toilet.
Cons: I still have to use paper towels and vinegar and pack them underneath the rim for deep cleaning even though there aren’t any jets there!
I have an extra chore to completely drain the toilet bowl in order to deep clean the water jet.