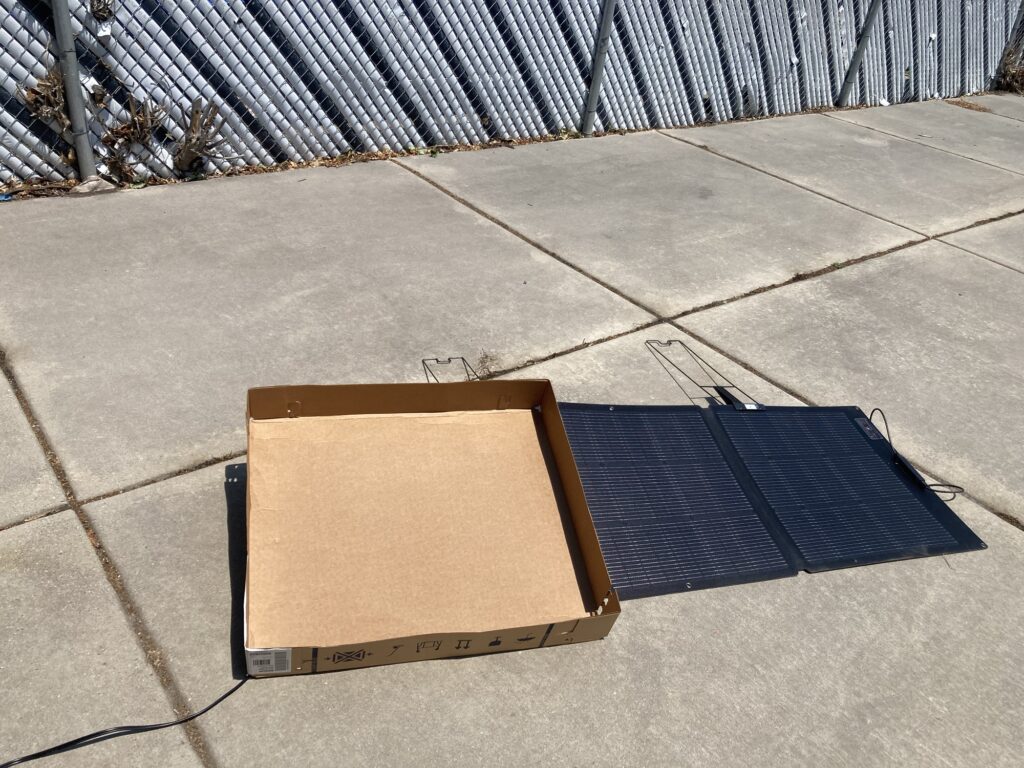
Ecoflow 160watt Next Gen Solar Panel
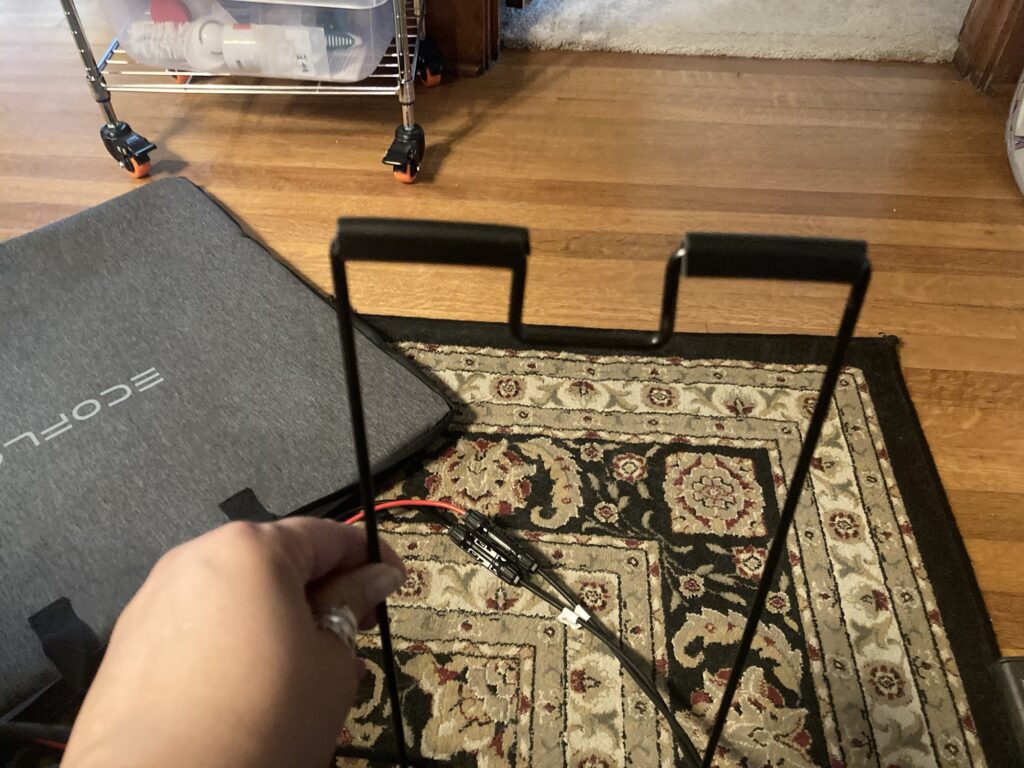
For my application of hooking up to my vehicle installed AUX battery I needed an electrical extension cable of which Ecoflow does not provide. Thankfully I had a spare on hand from my Zamp solar panel.
The Ecoflow is marketed towards consumers using generic plug and play off the shelf battery systems such as the goal zero. In this instance the Ecoflow does come with the necessary connectors to instantly get up and running.
Real world testing July 16th 2024 1pm full sun in Utah 97 degrees Ecoflow hooked up to AGM battery no load and Zamp hooked up to Wet battery no load.
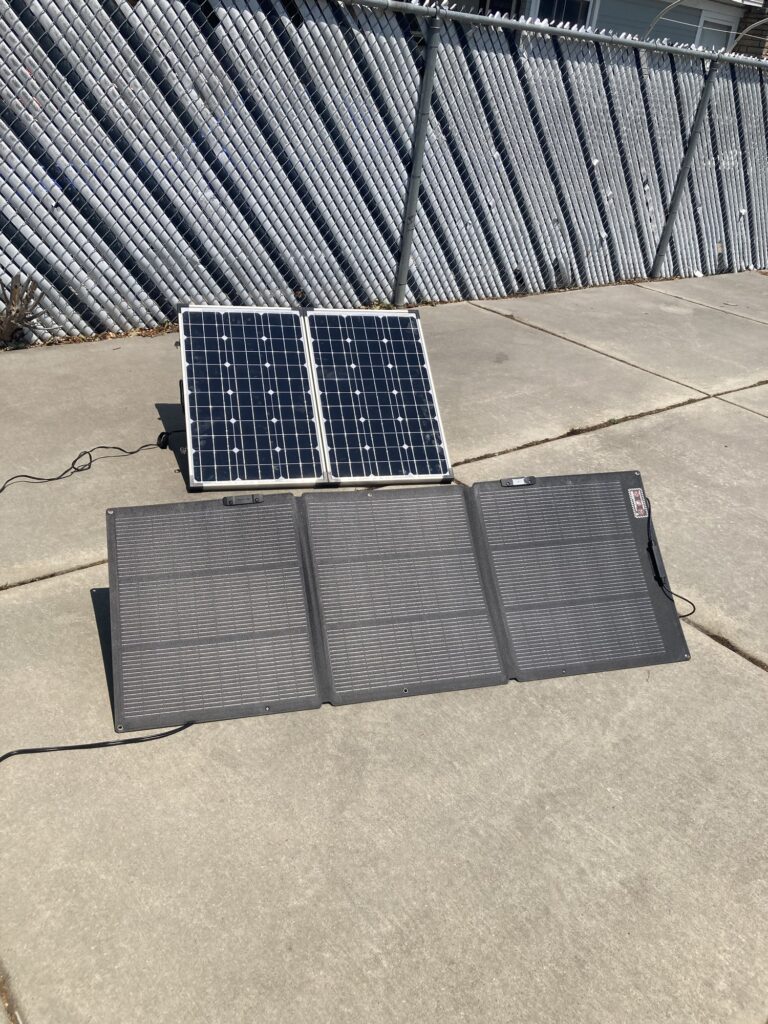
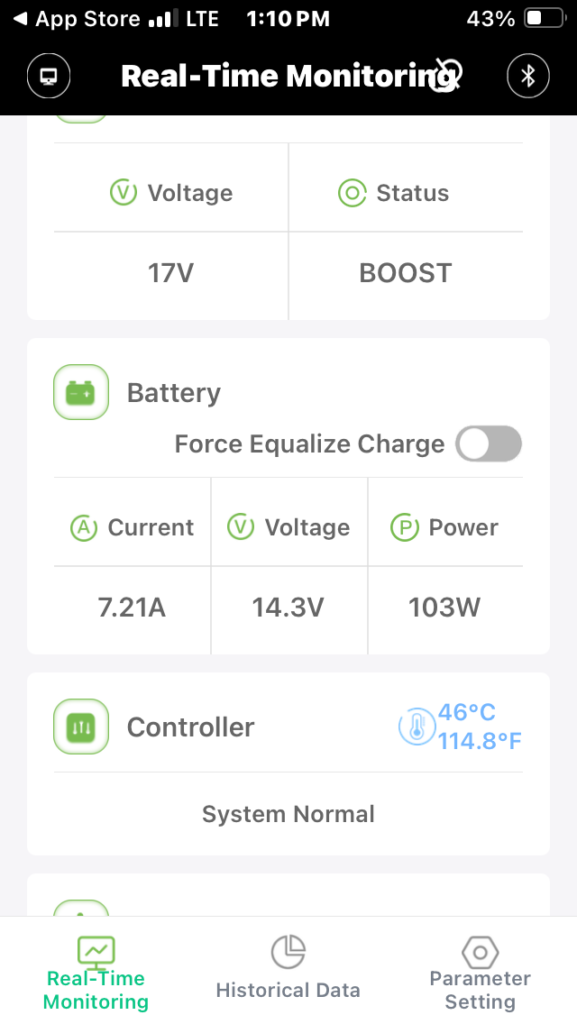
On the ecoflow I saw flashes of 8.5amps but the panel consistently hummed along pumping out 6.7amps using an MPPT controller.
⛔️the battery level of charge will dictate the electrical current as controlled by the solar controller. So the closer to a full battery the lower the amps will be.
1 hour follow up 2:20pm Zamp solar panel is pumping out 5.3amps vs Ecoflo 2.6amps.
My Zamp 120amp monocrystaline 10+ year old solar panel using a PWM controller gave me 7amps of power at its highest output.
Testing Under Load

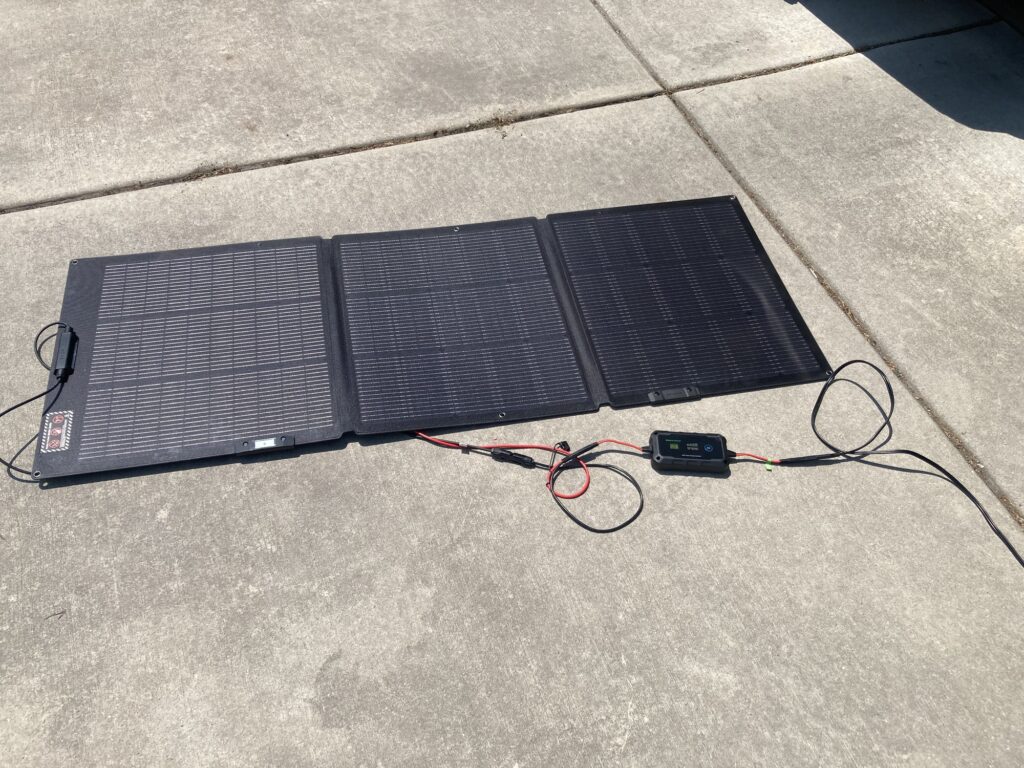
I hooked up a 12v ARB fridge on 8/4/24 clear sunny sky 100+ degrees. the fridge starting temp while empty was 67degrees.
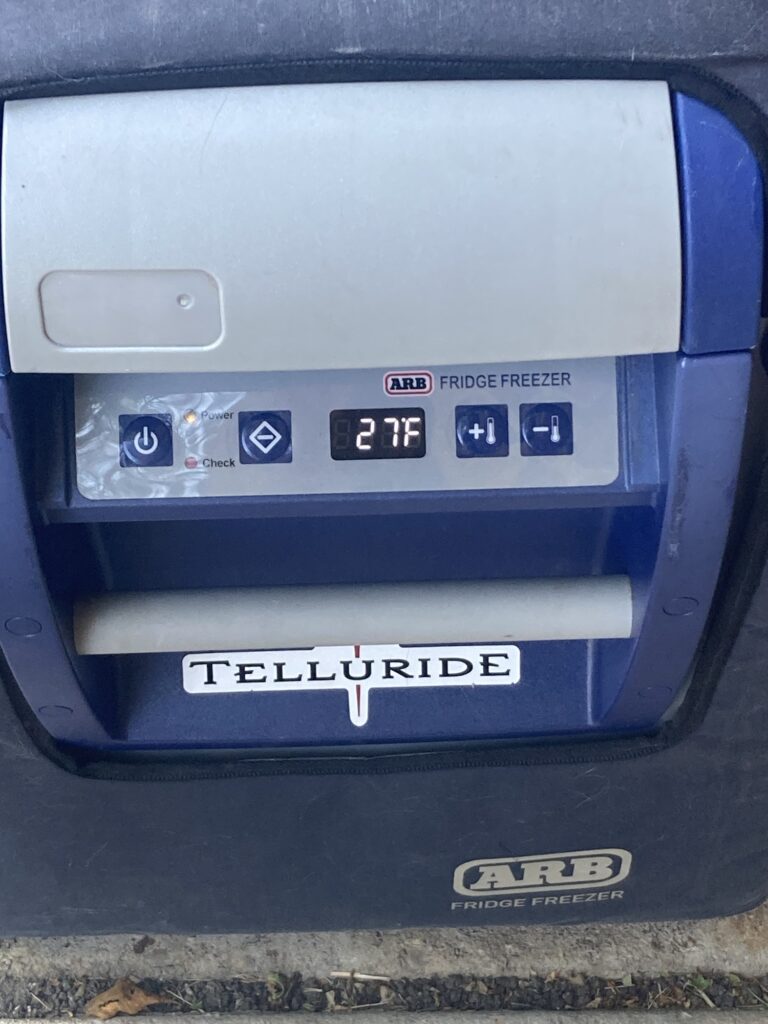
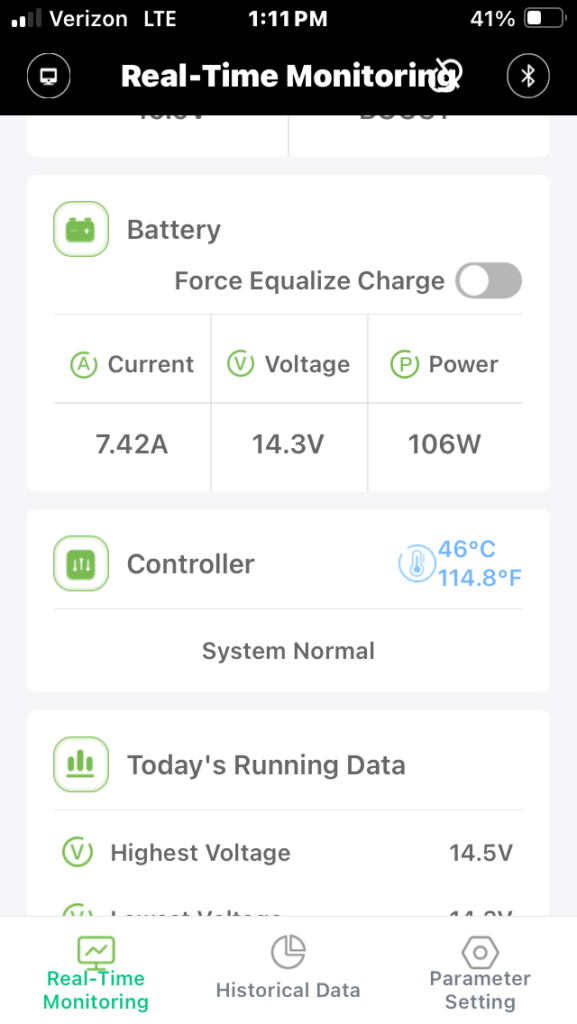
The results were much better this time. I saw higher AMPs being allowed through to the battery. So I suspect that the MPPT and PMW controllers reduce power flow as the battery reaches a full charge. So having the battery under load allowed me a more accurate depiction of the solar panels power capabilities. once the fridge reached 27degrees and powered down then the solar controller began trickle charging the topped off battery.
Using charge pro app.
Shade Testing

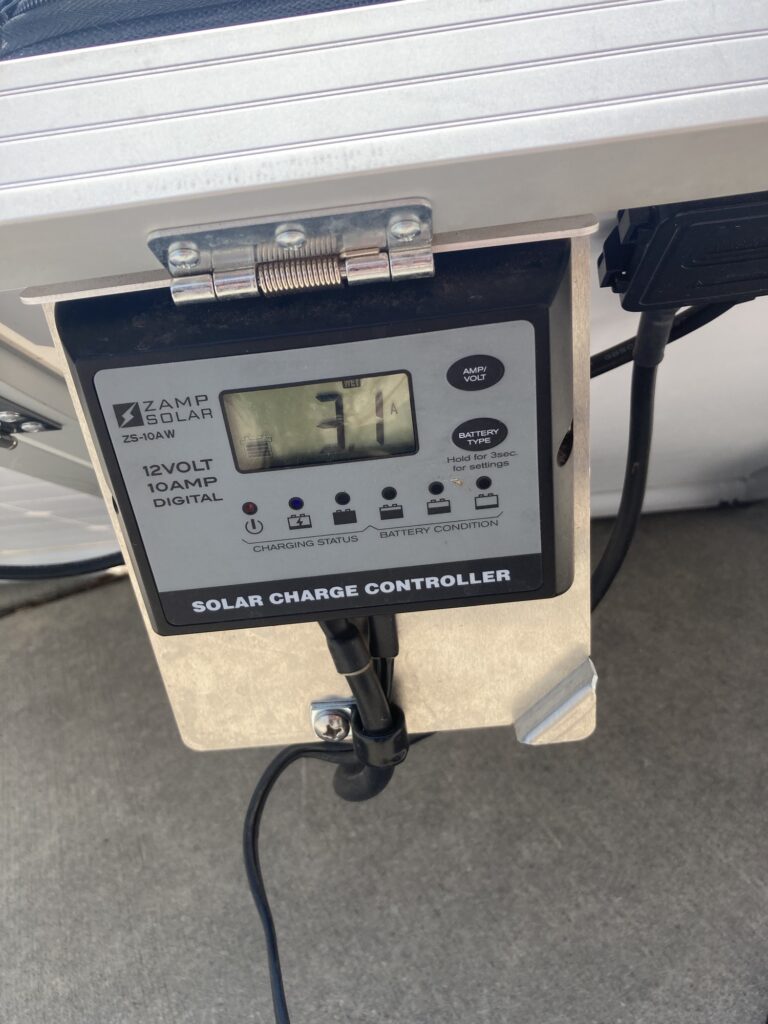
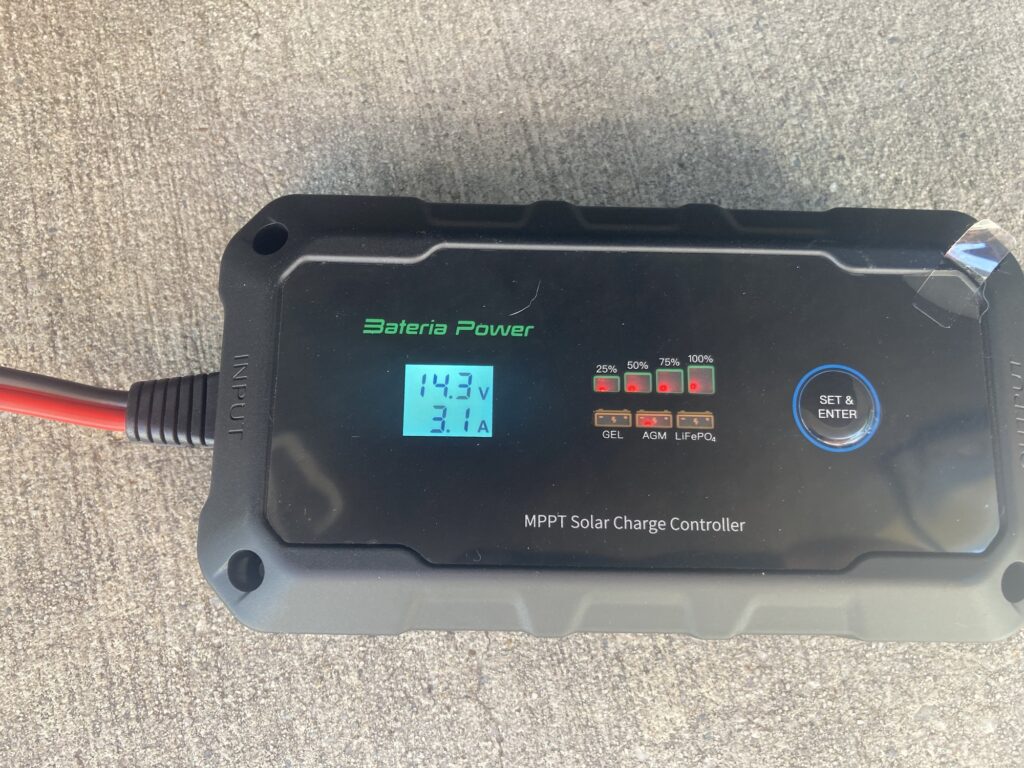
When obstructing or shading a panel on my Zamp the controller kept working at 50% capacity indicating that 3.1amps of power was still being produced.
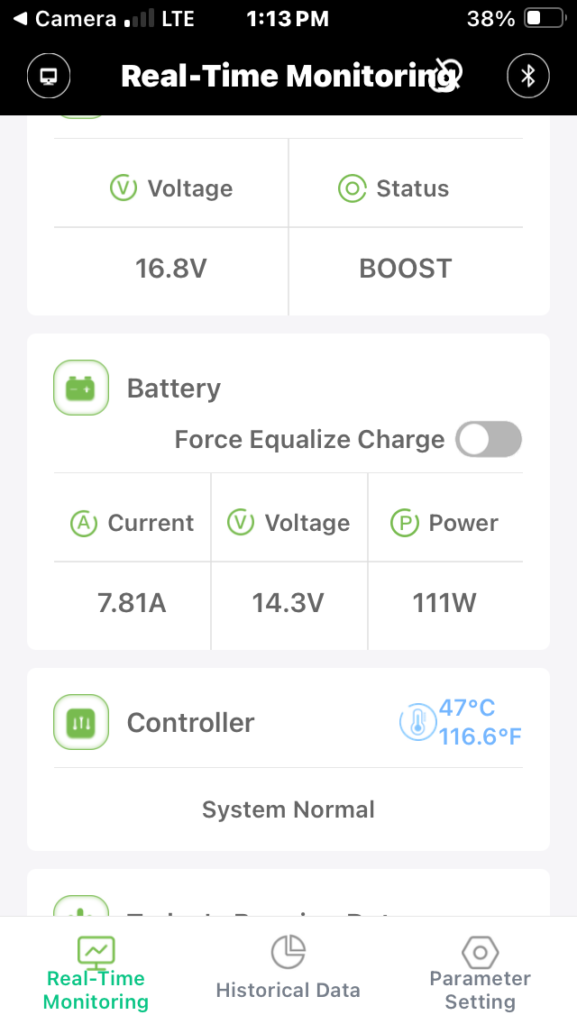
When I obstructed an entire panel on the Ecoflow solar panel it simply kept humming along producing 5.9amps of power ❤️.
Angle
Changing the angle of the Ecoflow panel did not appear to make any drastic improvements. I prefer the set it and forget it stand of the Zamp solar panel. Setting the Ecoflow at the same angle as the Zamp appeared to be the best angle to also set the Ecoflow.
First Impressions
I have decided to keep the Ecoflow solar panel to bring camping instead of my heavy Zamp panels. I will need to add some automotive edge guard to the bottom and sides of the Ecoflow to protect it from damage. I will also be adding some form of straps to hold my solar controller up off the ground and away from the panel.
The Ecoflow solar panel has a long or wide foot print. This is not an idea length for a solar panel being used when camping near wooded forest areas. It’s best to have a narrow foot print to optimize chances of getting the most sun out of the smallest patch of sun light. Chasing the sun and avoiding the shadows cast by trees etc.. is the name of the game when camping with solar panels.
If however you are camping in mostly exposed sunny high desert type areas where trees are non existent than these long/wide low to the ground panels will be fine.
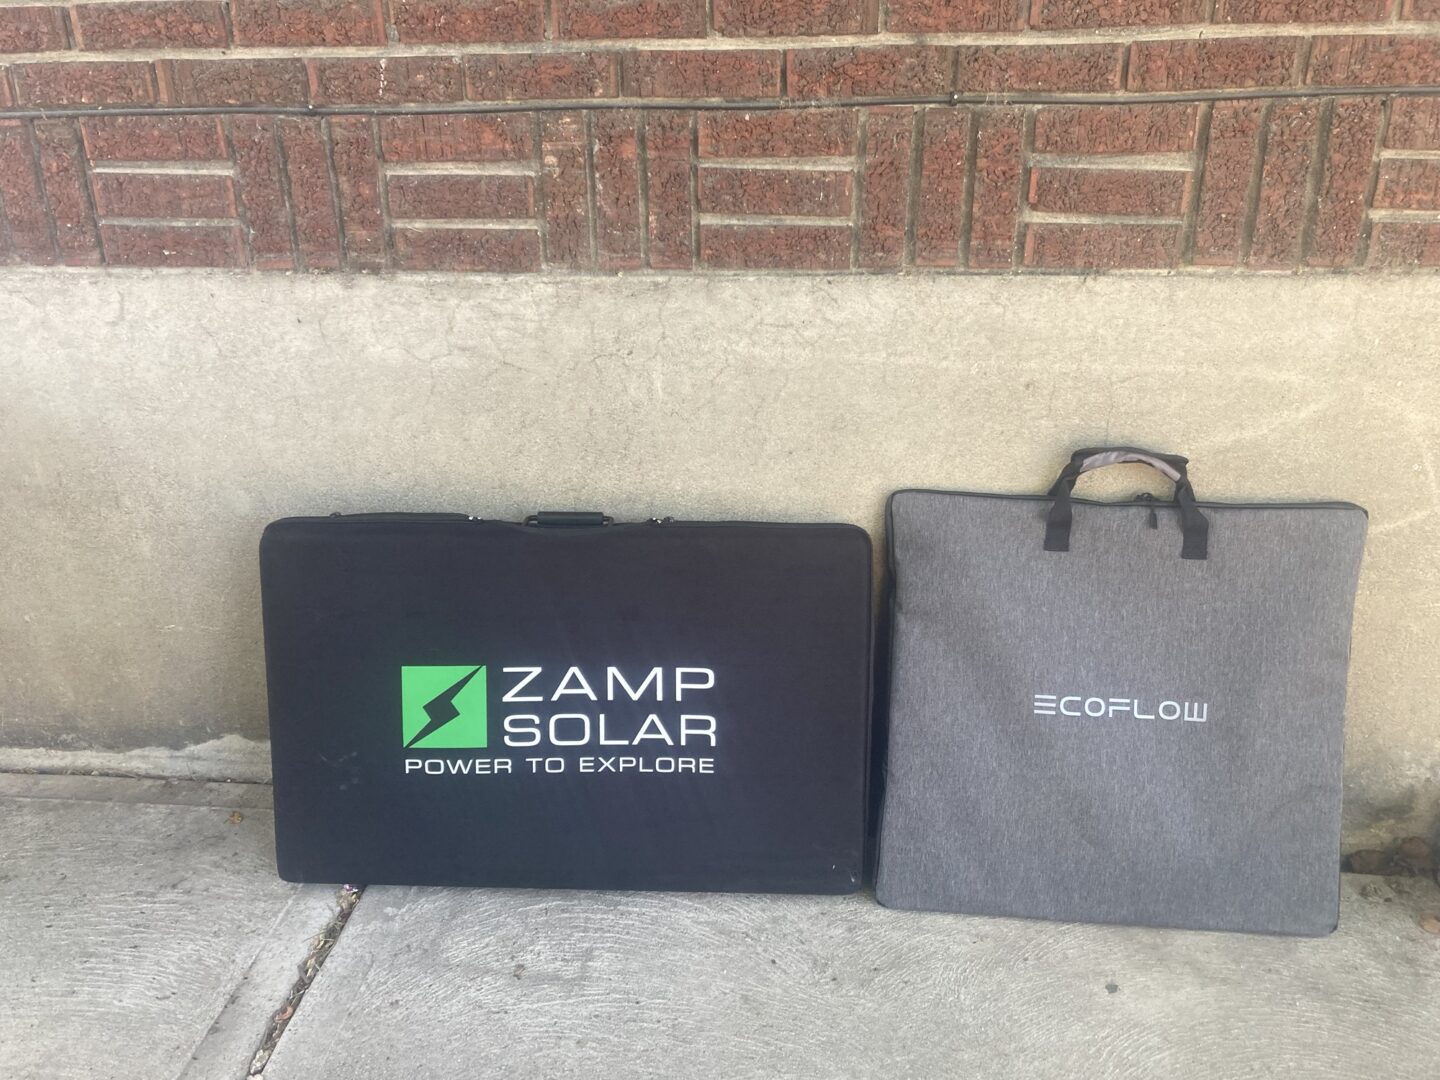
The Ecoflow solar panel weighs in at 13.4lbs in the bag with my adapter SEU to mc4 cable connected, minus the solar controller and cables. My Zamp solar panel weighs in at 30lbs with all controllers and cables.
Will The Ecoflow panel give me the full 9amps of power it promised? So if 160watt at 12v = 13.33amps and the industry standard is 70% efficiency so 160W x 70%= 112W at 12v = 9amps which the solar panel is rated at and I am really hoping to get the full 9amps of power flow but in my few tests so far I have not seen it remain above 8amps but I am optimistic it will give me the power I need. The pricing for what this solar panel is and is not is simply outrageous with a manufacturing retail price of $449 and sale prices of $350 (Home Depot). I suggest buying it when the Manufacturer sale prices drop down to $240. It’s a decent deal if you can wait for a manufacturer July or Black Friday sale then it is worth it.
I needed to purchase an MPPT controller for the Ecoflo and cable adapters for another $110.00 bringing me to $350.00. The Zamp solar panel is 100% plug and play ready but at a premium price. I paid $500+ (2014) when I purchased my Zamp solar panel and the prices for those solar panels have increased for a basic 150amp panel running $650 on sale.
The major advantage that the Ecoflow has going for it is that it is compact and light weight at 13lbs. I appreciate the simplicity of the two kick stand legs which all makes it easy for me to set it up. The solar tracker seems like a great idea but only time and use will give me a better idea of its usefulness in the long run.
Ecoflow and Zamp
I bought an Ecoflow because I needed more amp output while being light weight and compact. I always try and buy local first and the Ecoflow could be purchased from Home Depot which price matched the manufacturer sale price of $239.00 and offers a 90day return window. Zamp solar panels has a US based warehouse in Bend Oregon which means you can call and get customer service or swing by and see them and purchase local. Ecoflow has a US based warehouse but I was only able to communicate with them via email.
Overall with my experiences with Zamp I can attest that customer service and getting ahold of someone is a non issue.
Ultimately I feel that the Ecoflow is a great addition and stand in for my rugged Zamp solar panel.
Ecoflow 160 Watt Next Gen Mod/Upgrade
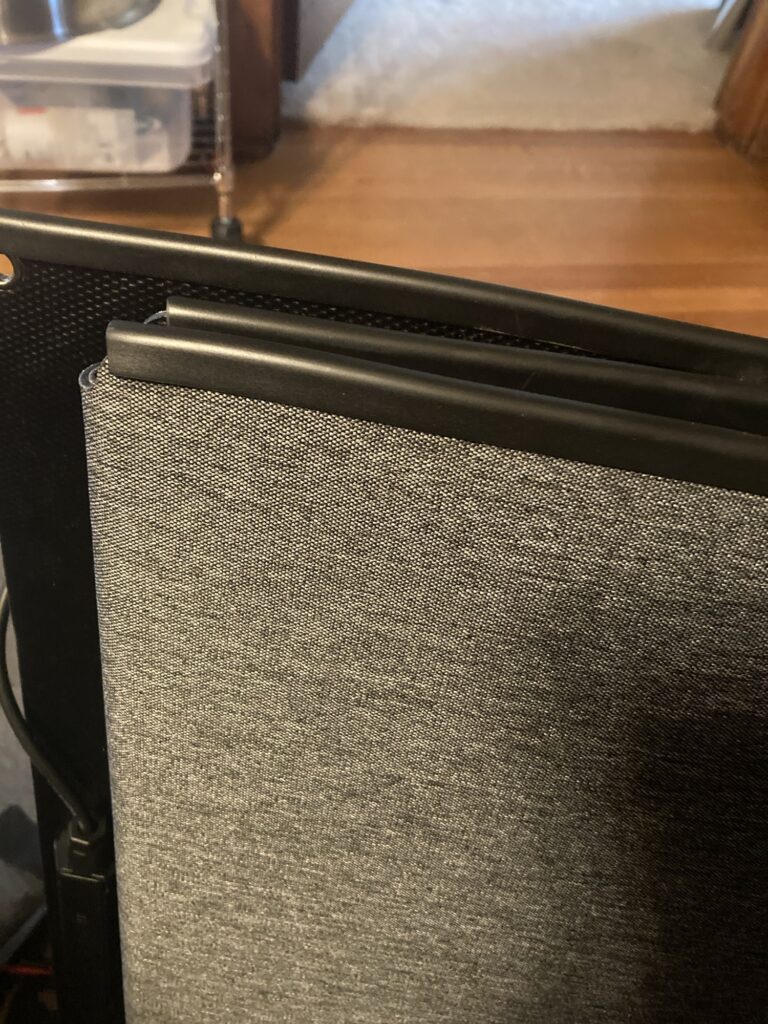
So after only setting up the solar panel twice for testing I was already concerned about premature delaminating and deterioration of the panels base edges and the support legs.
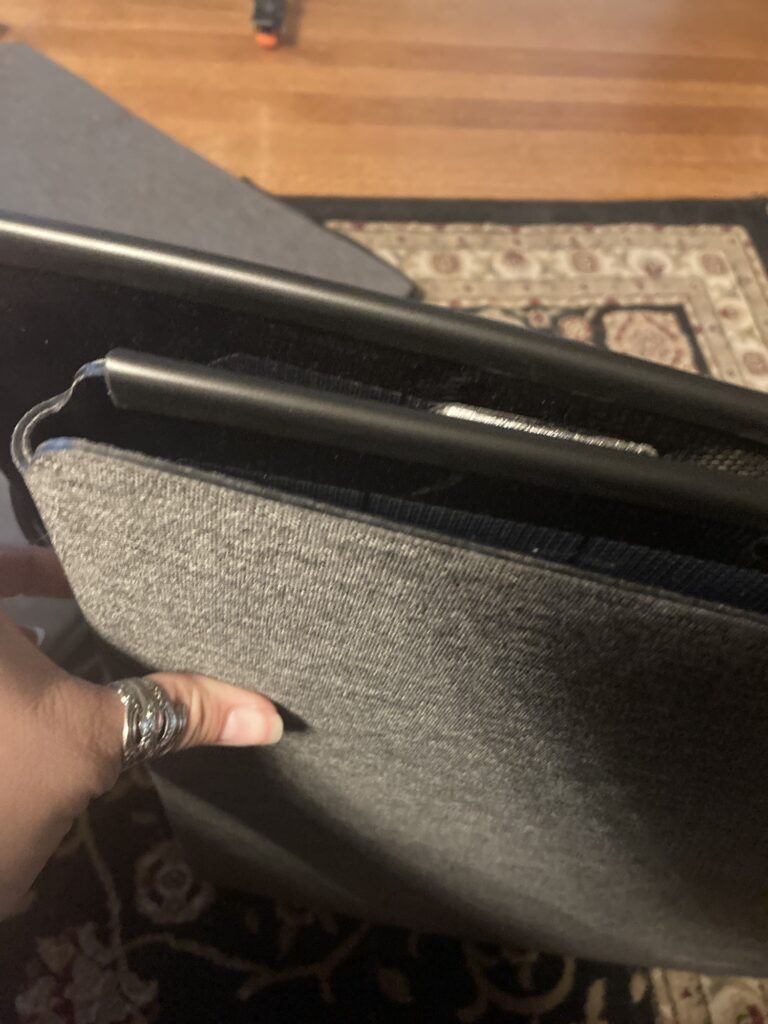
I bought some 8ft automotive edge guard and I also suggest buying 3M automotive trim adhesive if you do not have some on hand. The 3m auto adhesive is rated for exterior temps and all weather conditions. You can directly apply the edge guard without the adhesive but anticipate the adhesive that comes with this trim guard to wear out or dry out and separate.
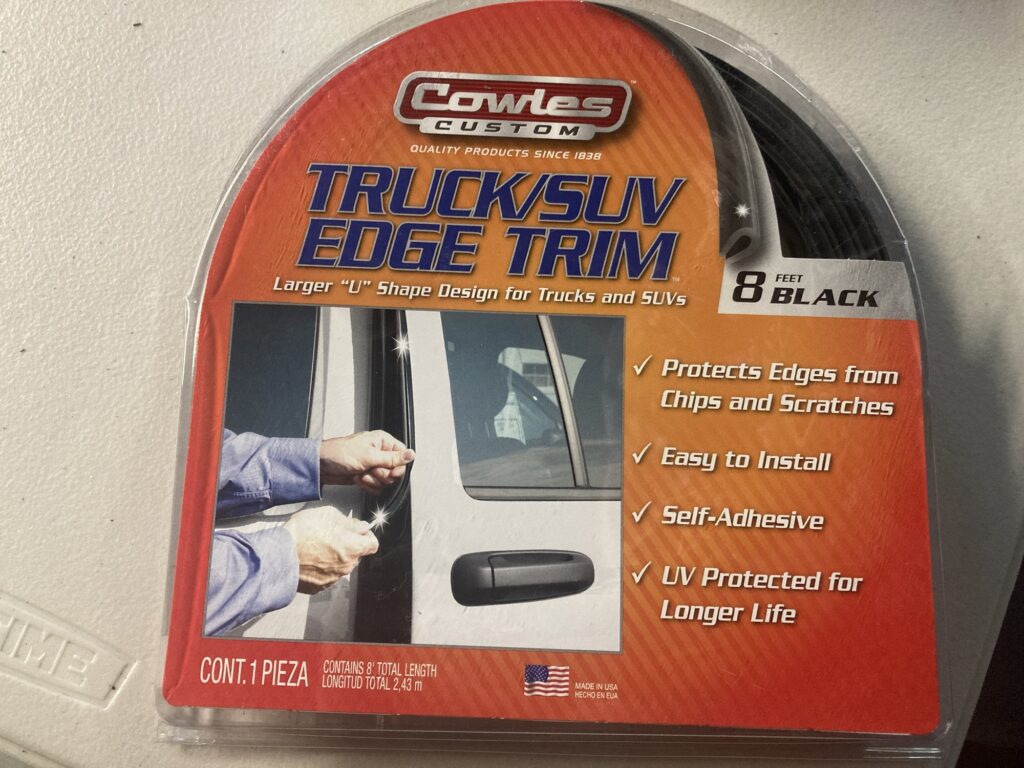
I like to first add the trim guard without the 3m adhesive and allow it to mold to the shape. Once the trim guard adhesive wears out I then add the 3m trim adhesive which is a bit easier to do once the trim guard has molded to its shape.
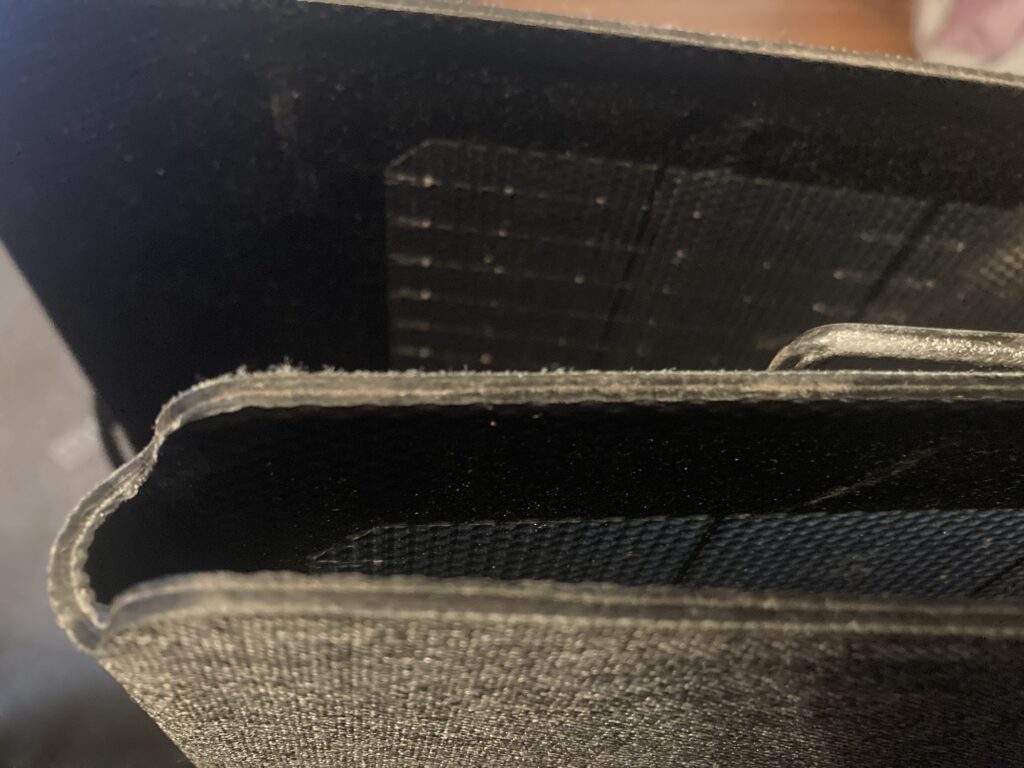
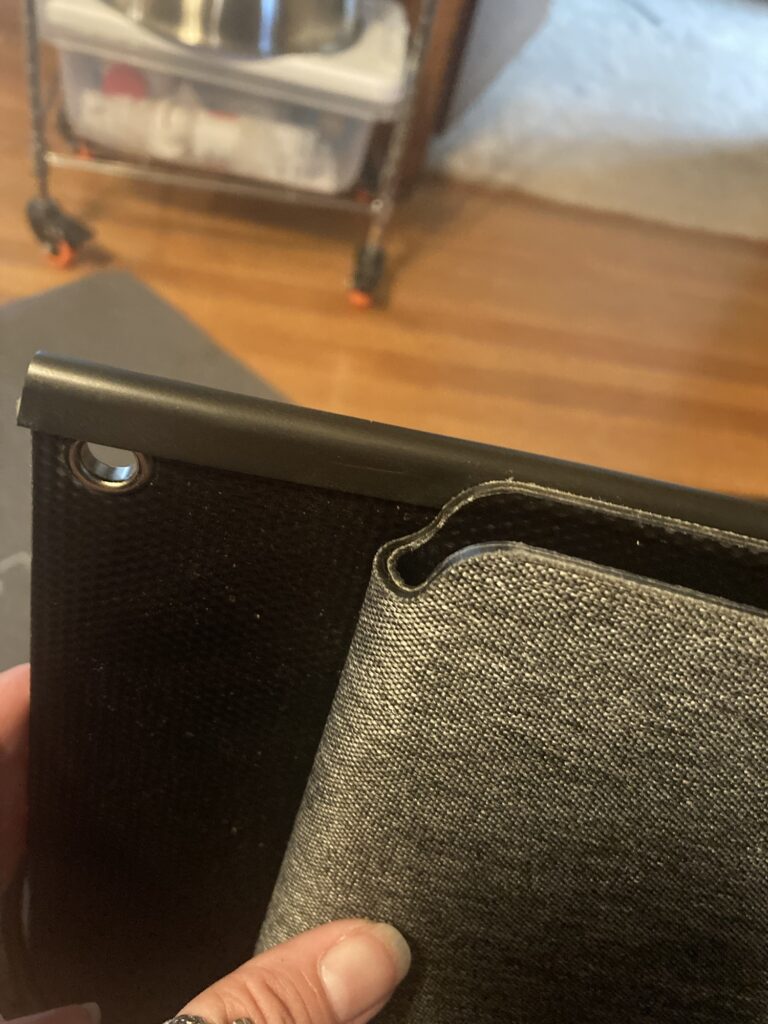
The panels are not identical lengths so measure each panel edge before making cuts to the edge guard.
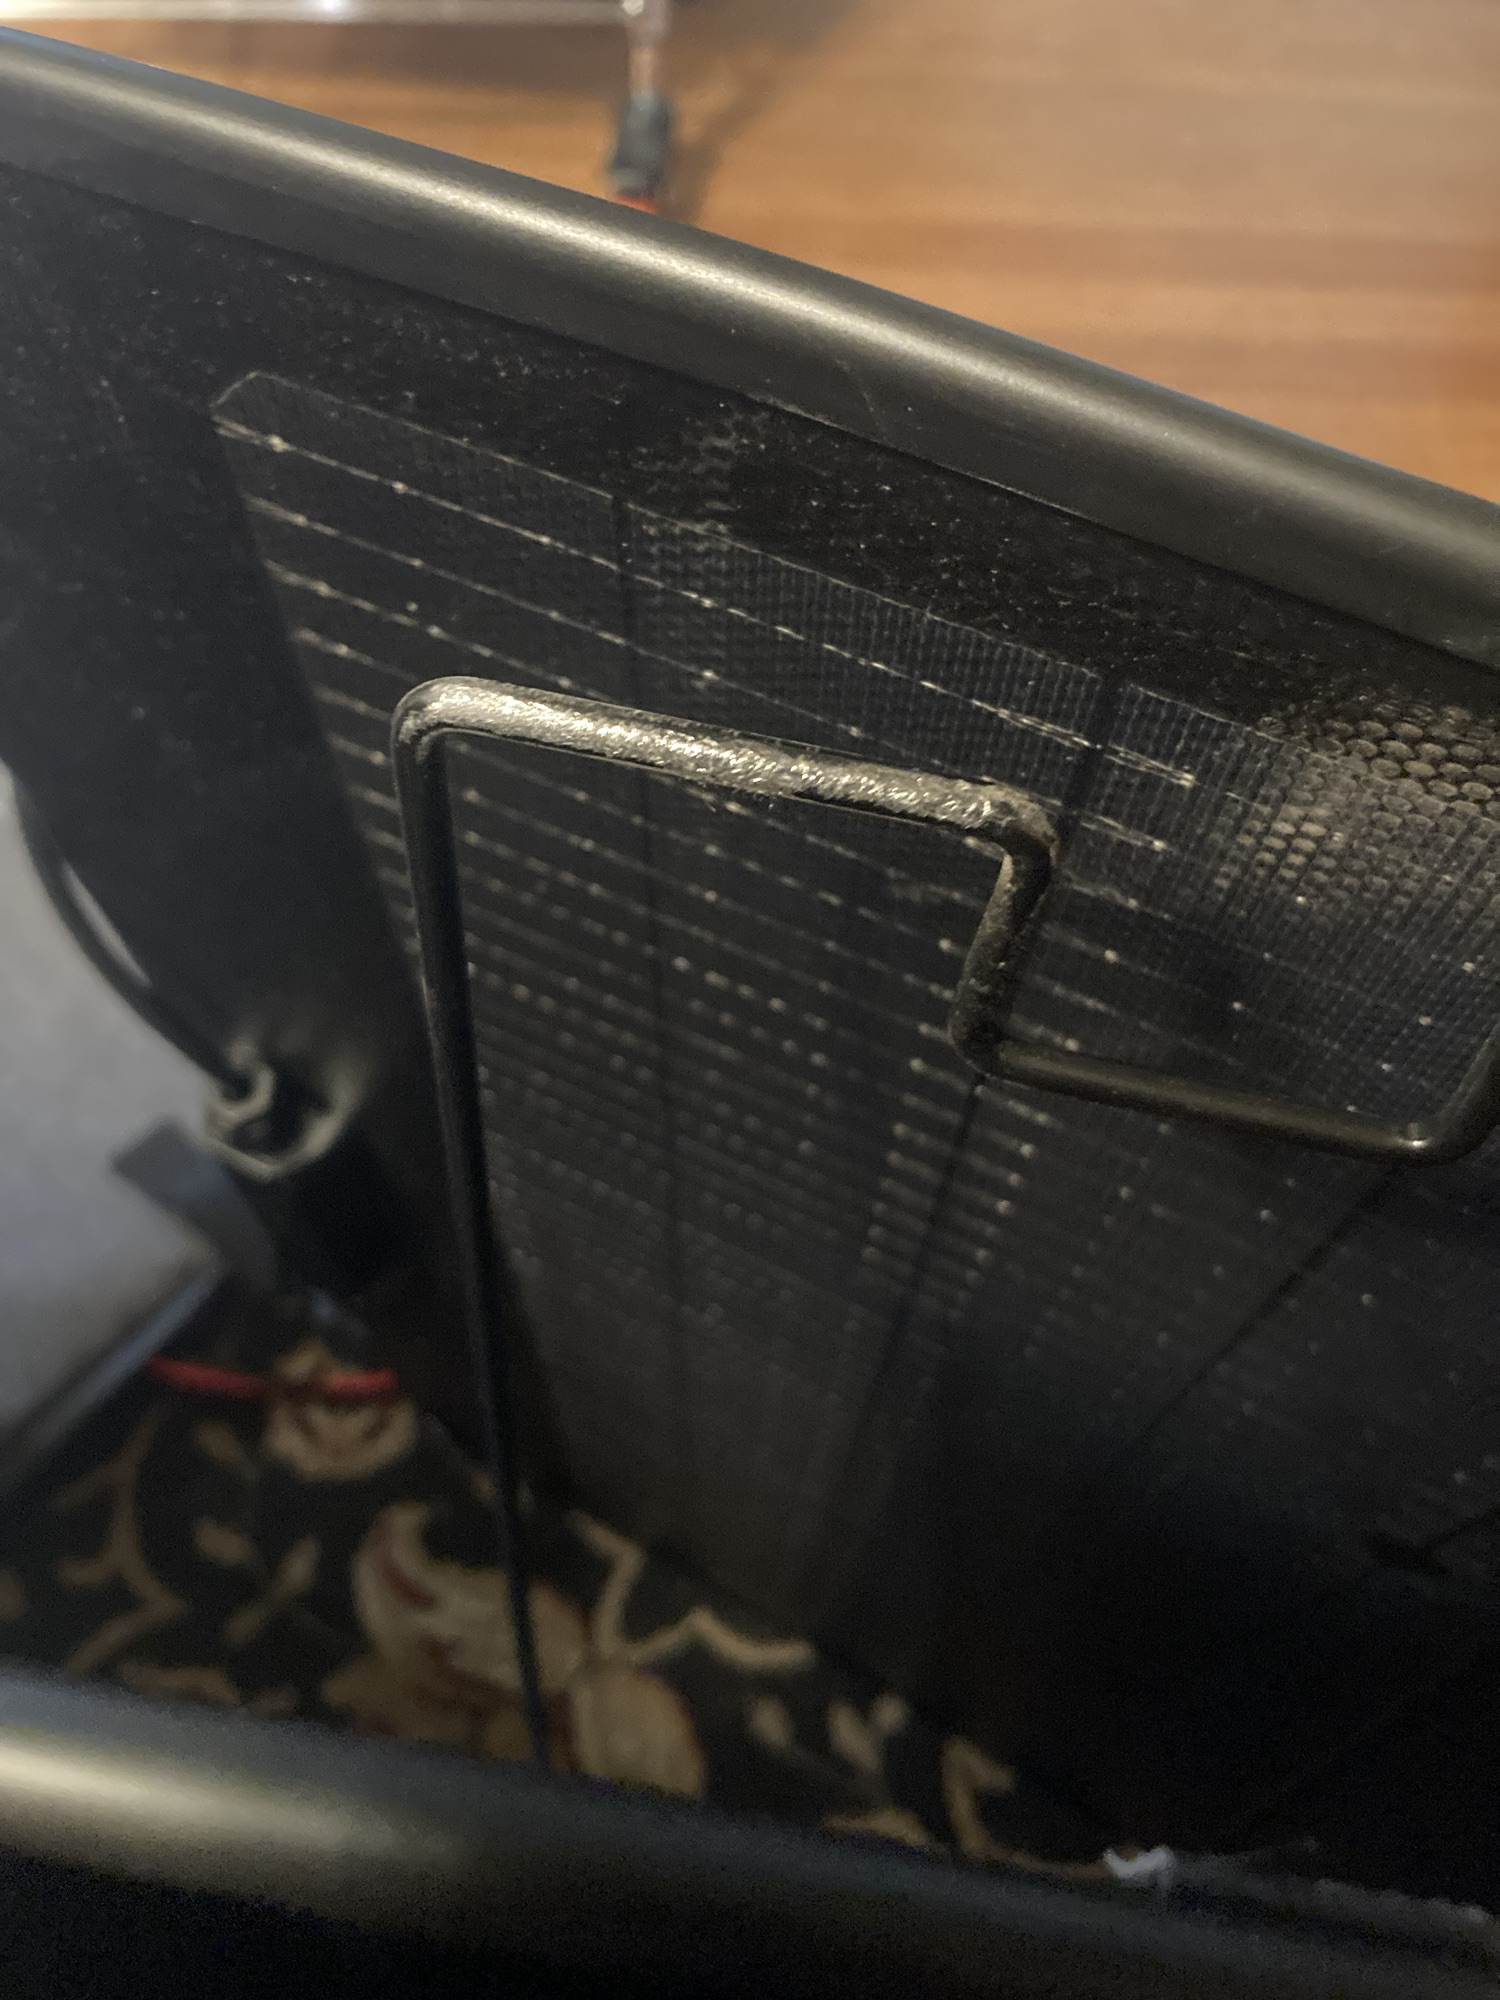
Next I turned my attention to the support legs which were already showing signs of wear and tear.
I expect that the trim guard will quickly fall off of here and require me to use the 3m trim adhesive or add uv rated zip ties.